Hello and welcome to Lesson 4 of the articy:draft First Steps tutorial series.
Review:
In the last lesson we had at first look at articy’s main user interface and saw how the workspace can be customized by adding additional view panes.
This Lesson:
This time we will take an important step for every story: we will create our main character. We will learn how to create a character entity and how we can pass on specific properties to this character via the template system.
How to create a new character
1. Start up the Dracula project in articy, by double clicking the project tile in the project selector.
👉 Note: If you just started articy:draft now, you’ll be on the Jumpstart Page. If you are continuing from the previous lesson, or saved the changes last time, you’re in a different space now. As we learned before, you can get back to the jumpstart page by clicking the home button.

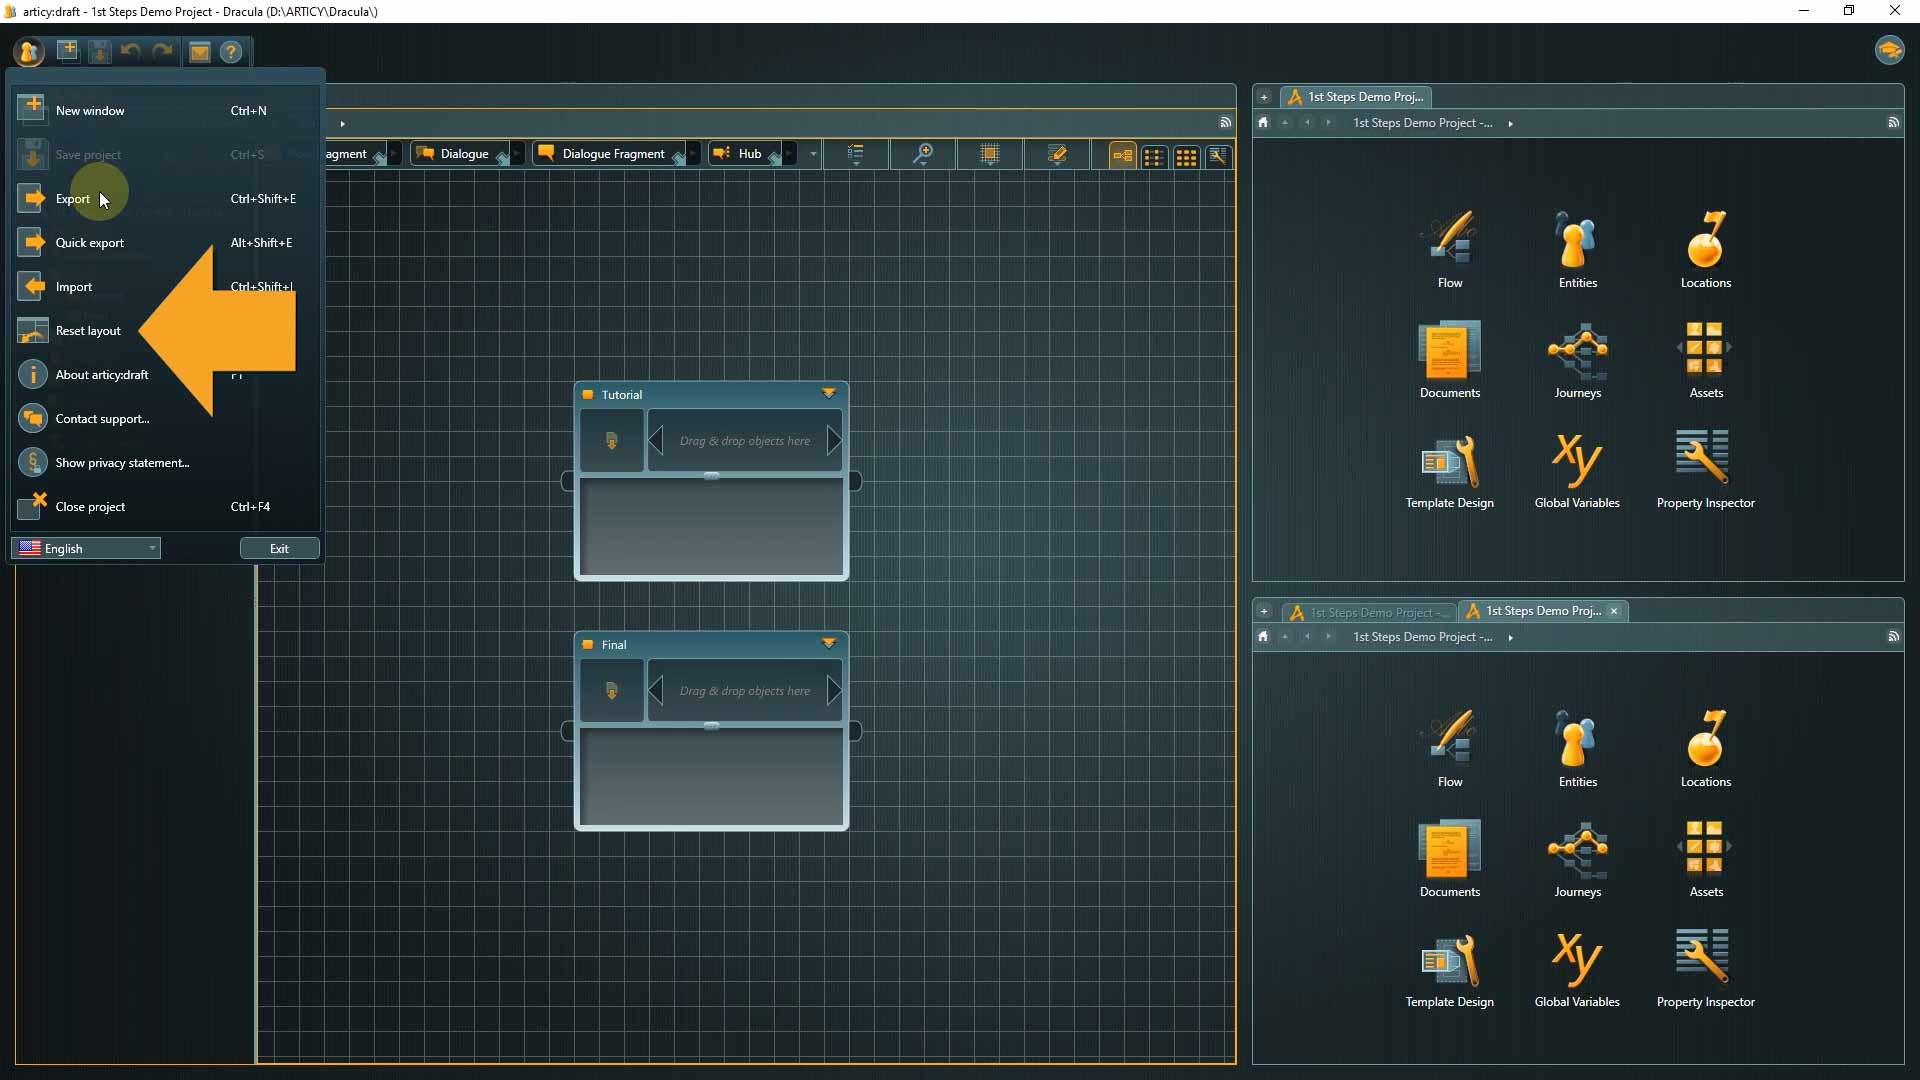
👉 There’s also a quick way to get back to a single window if you already created additional windows or view panes. Just go to the Main Menu and select Reset Layout. Easy, right?
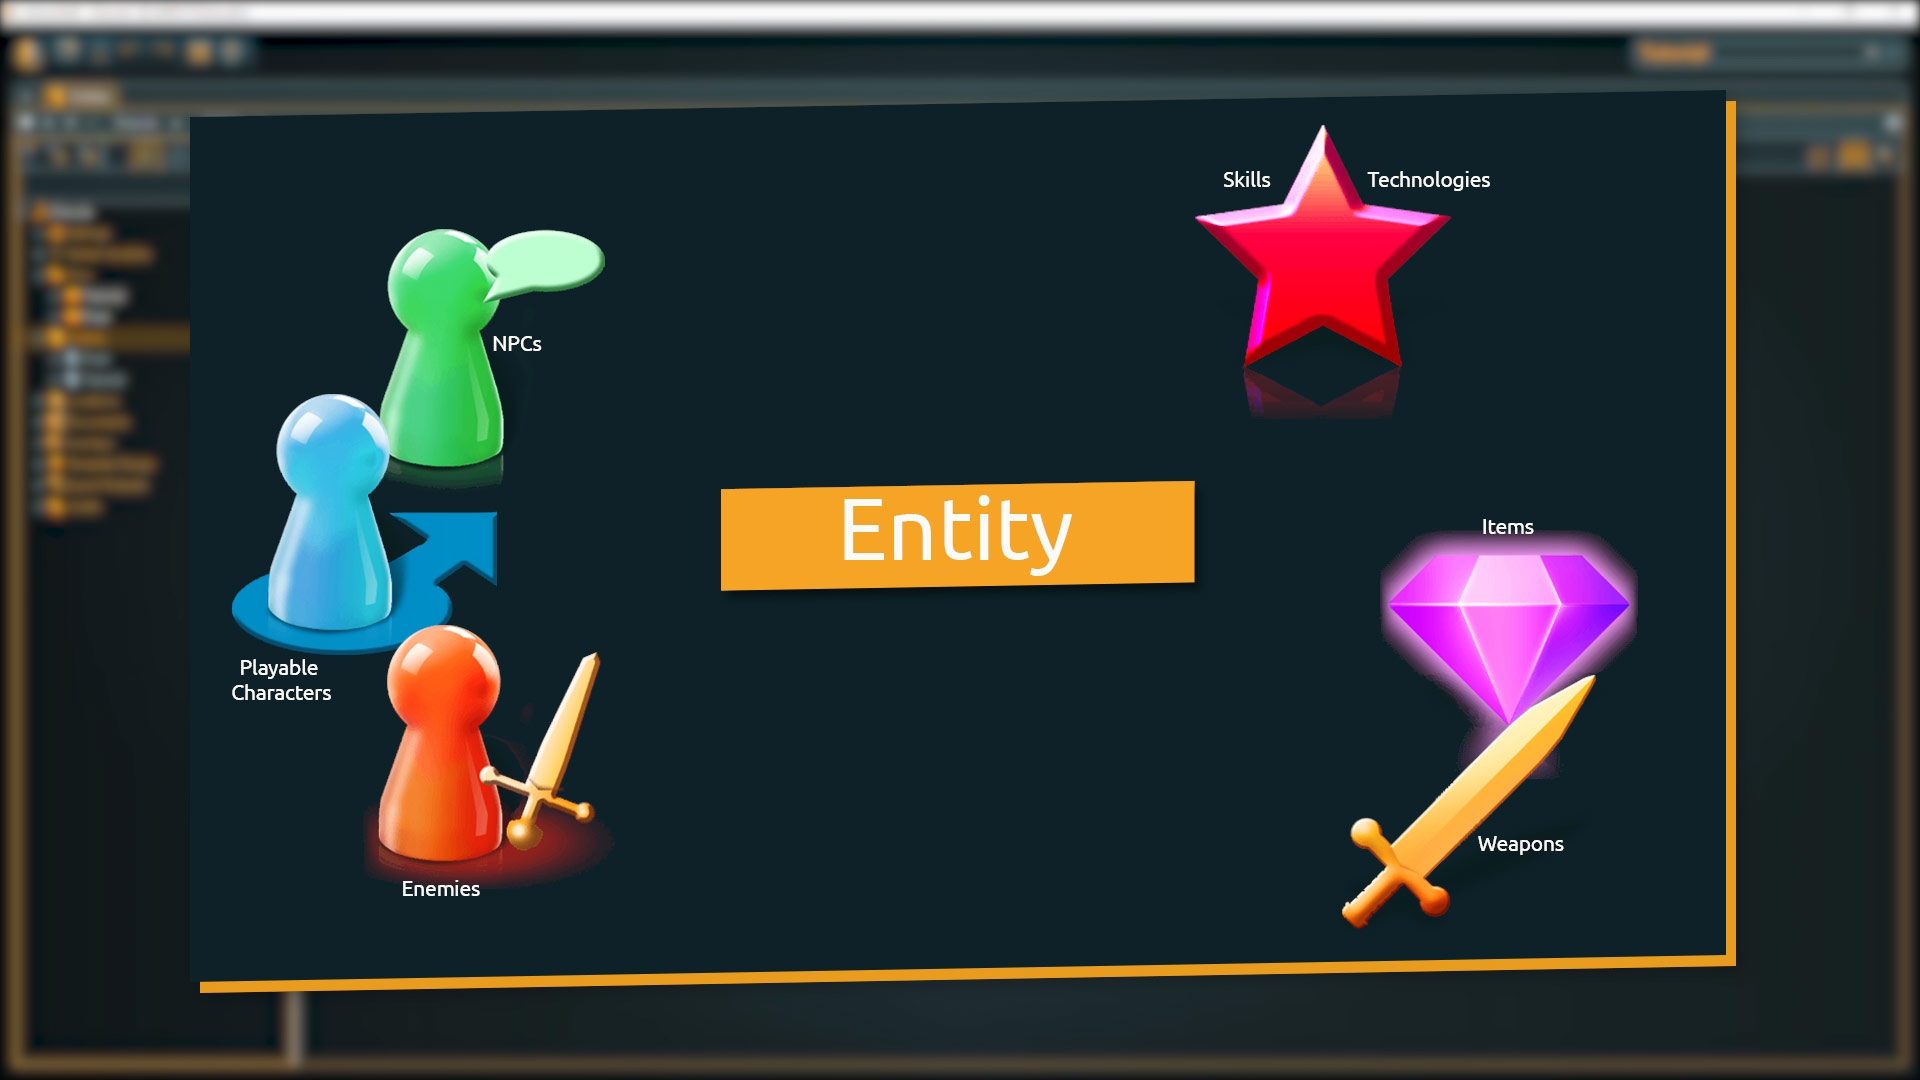
2. From the jumpstart page we now go to Entities by double clicking the meeples icon.
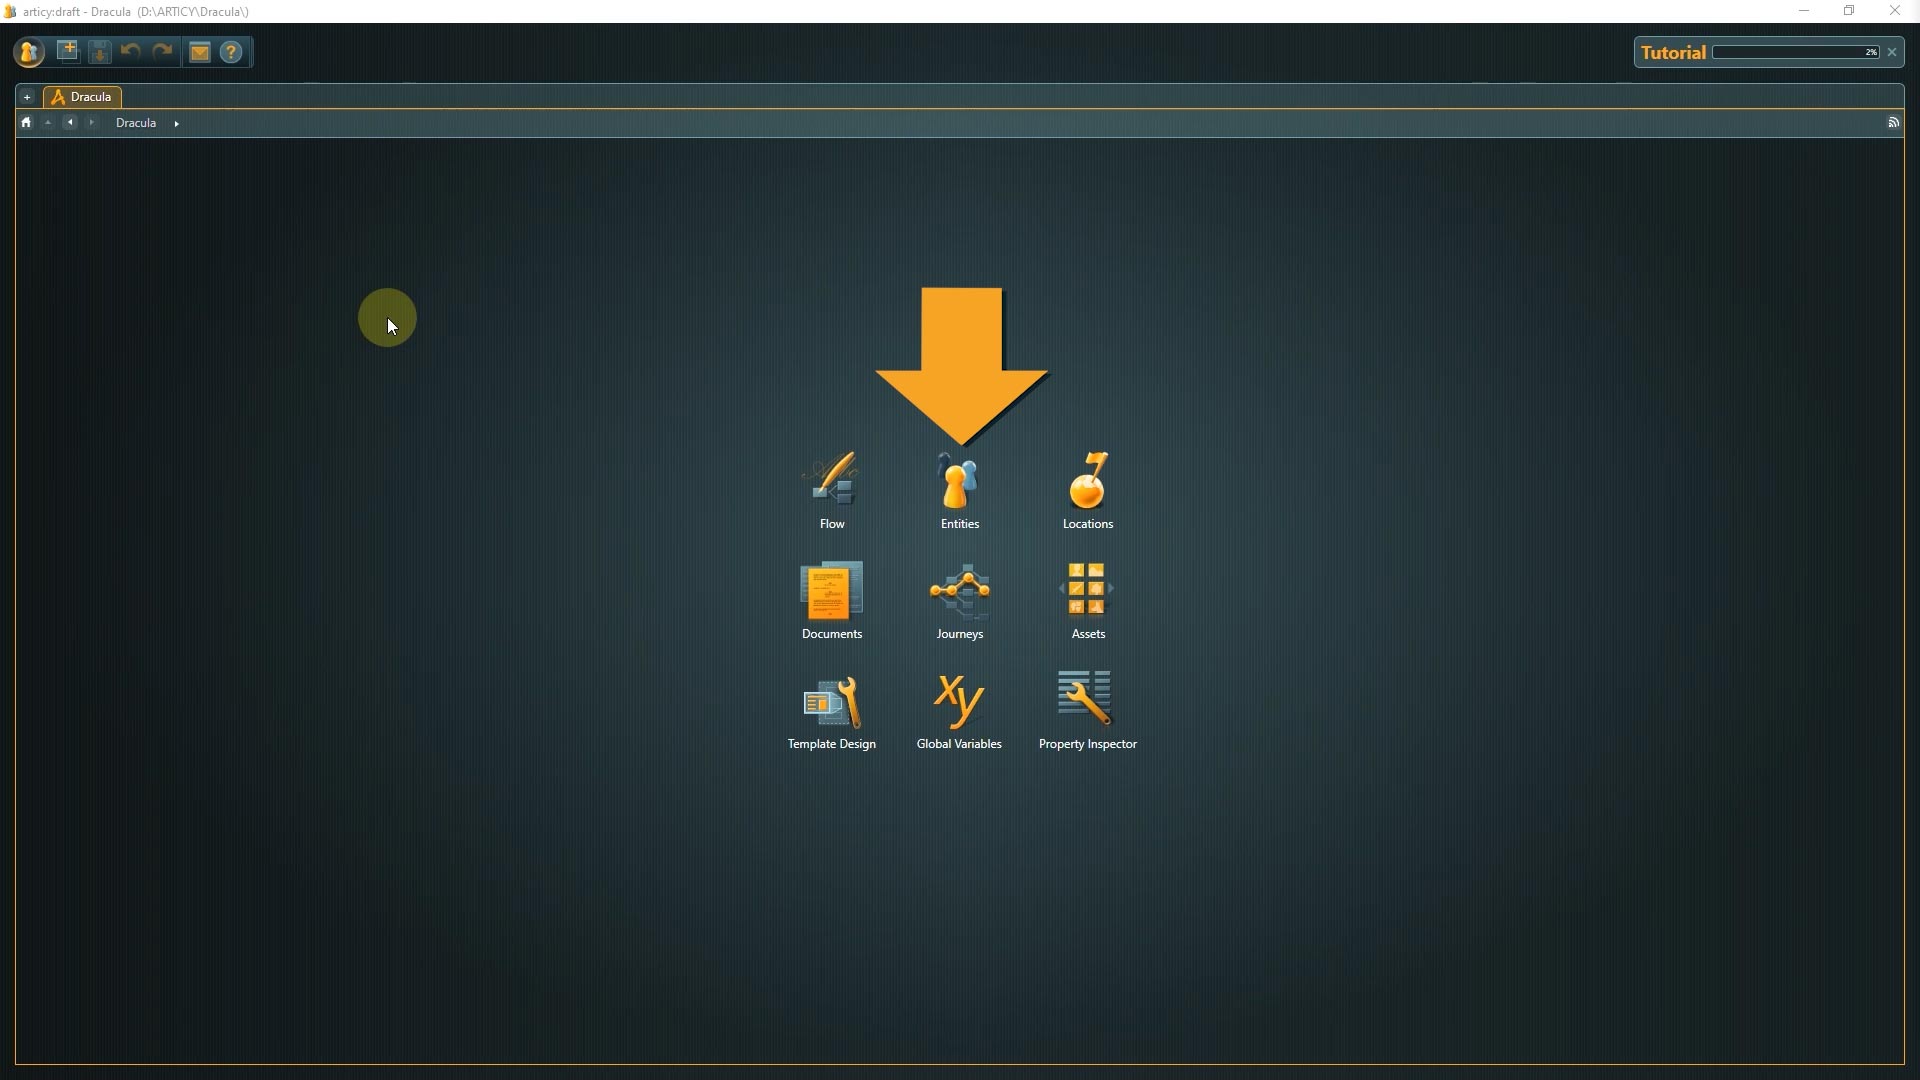
Entities represent all kinds of objects in articy, for example playable characters, NPCs or enemies; items and weapons; or information like skills and technologies.
👉 Note: In the Entities directory you can see two subfolders – Final and Tutorial. As mentioned previously all content is existing twice in this project, but we are only working in the Tutorial folders.
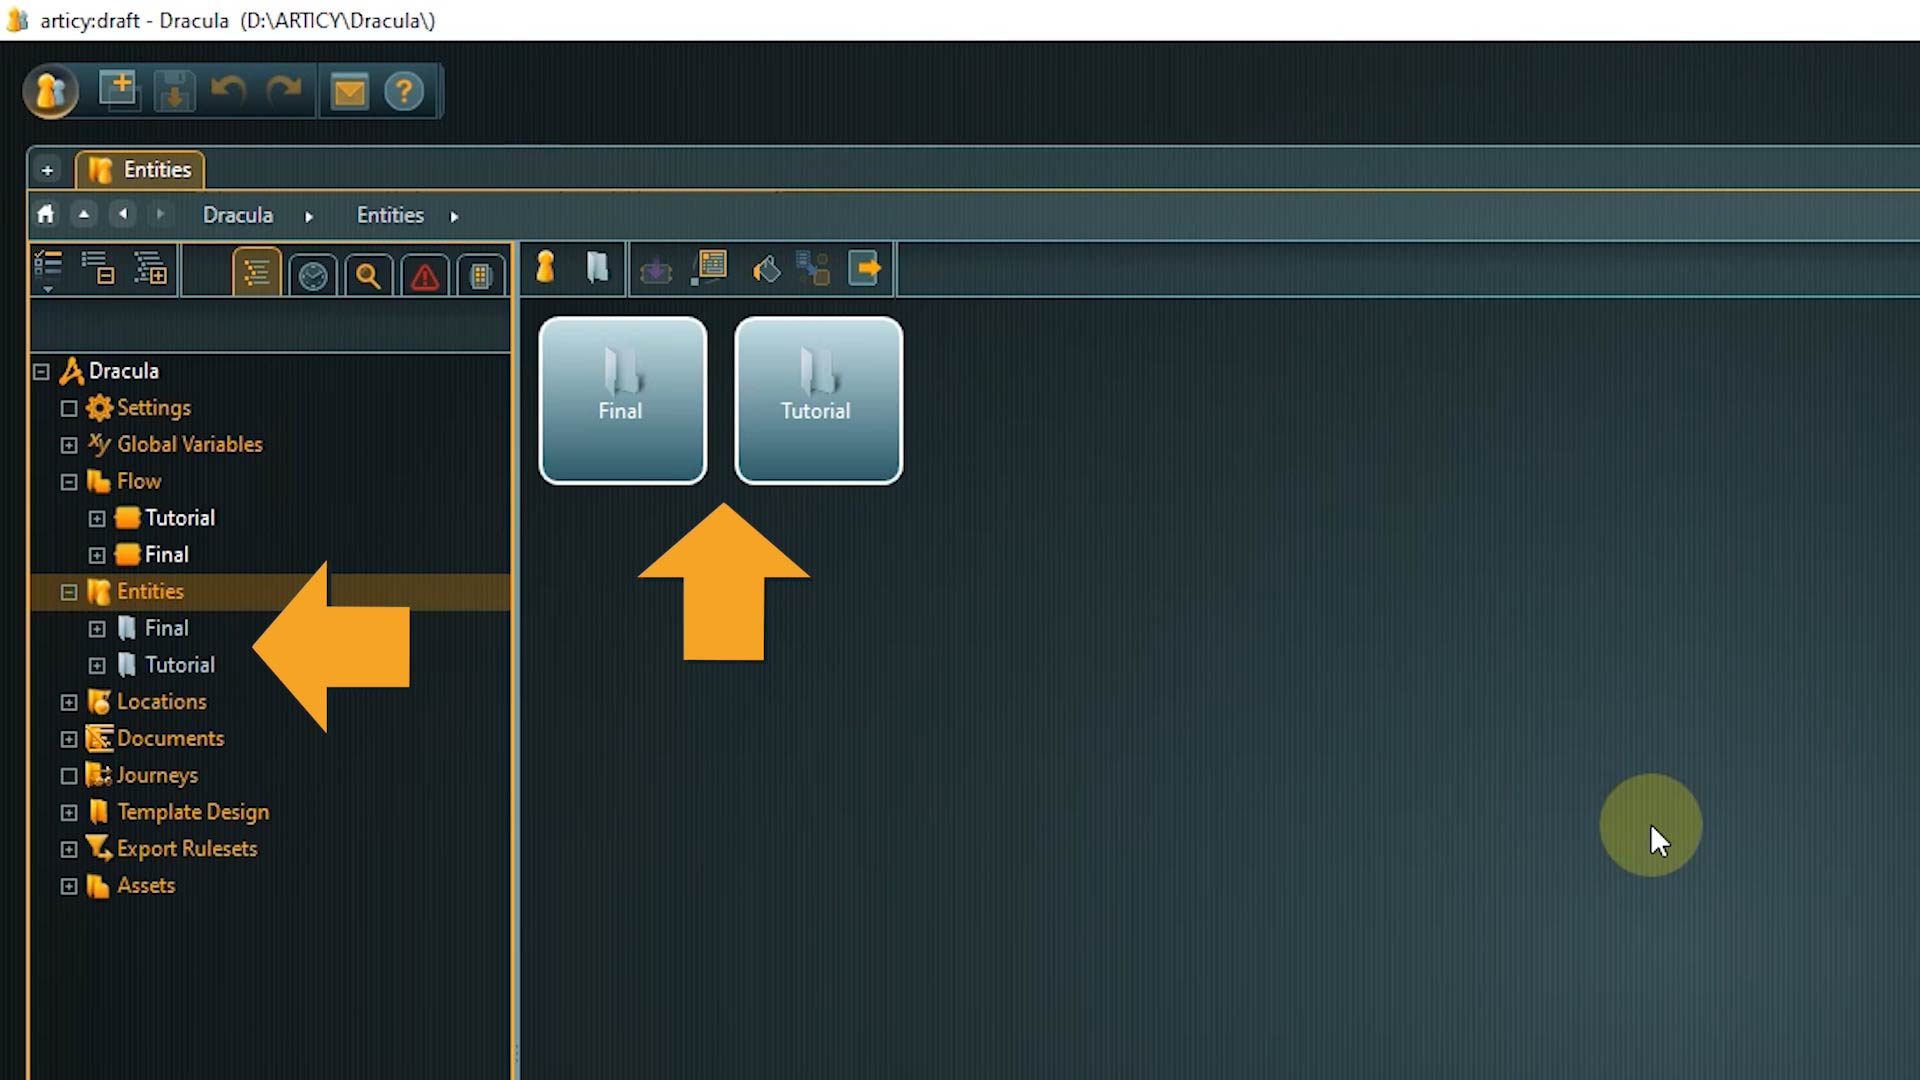
⭐ Tip: If you want to take a look at the complete project, or you think you missed a step somewhere, check the Final folder of the corresponding topic to see how something is supposed to look when it is finished.
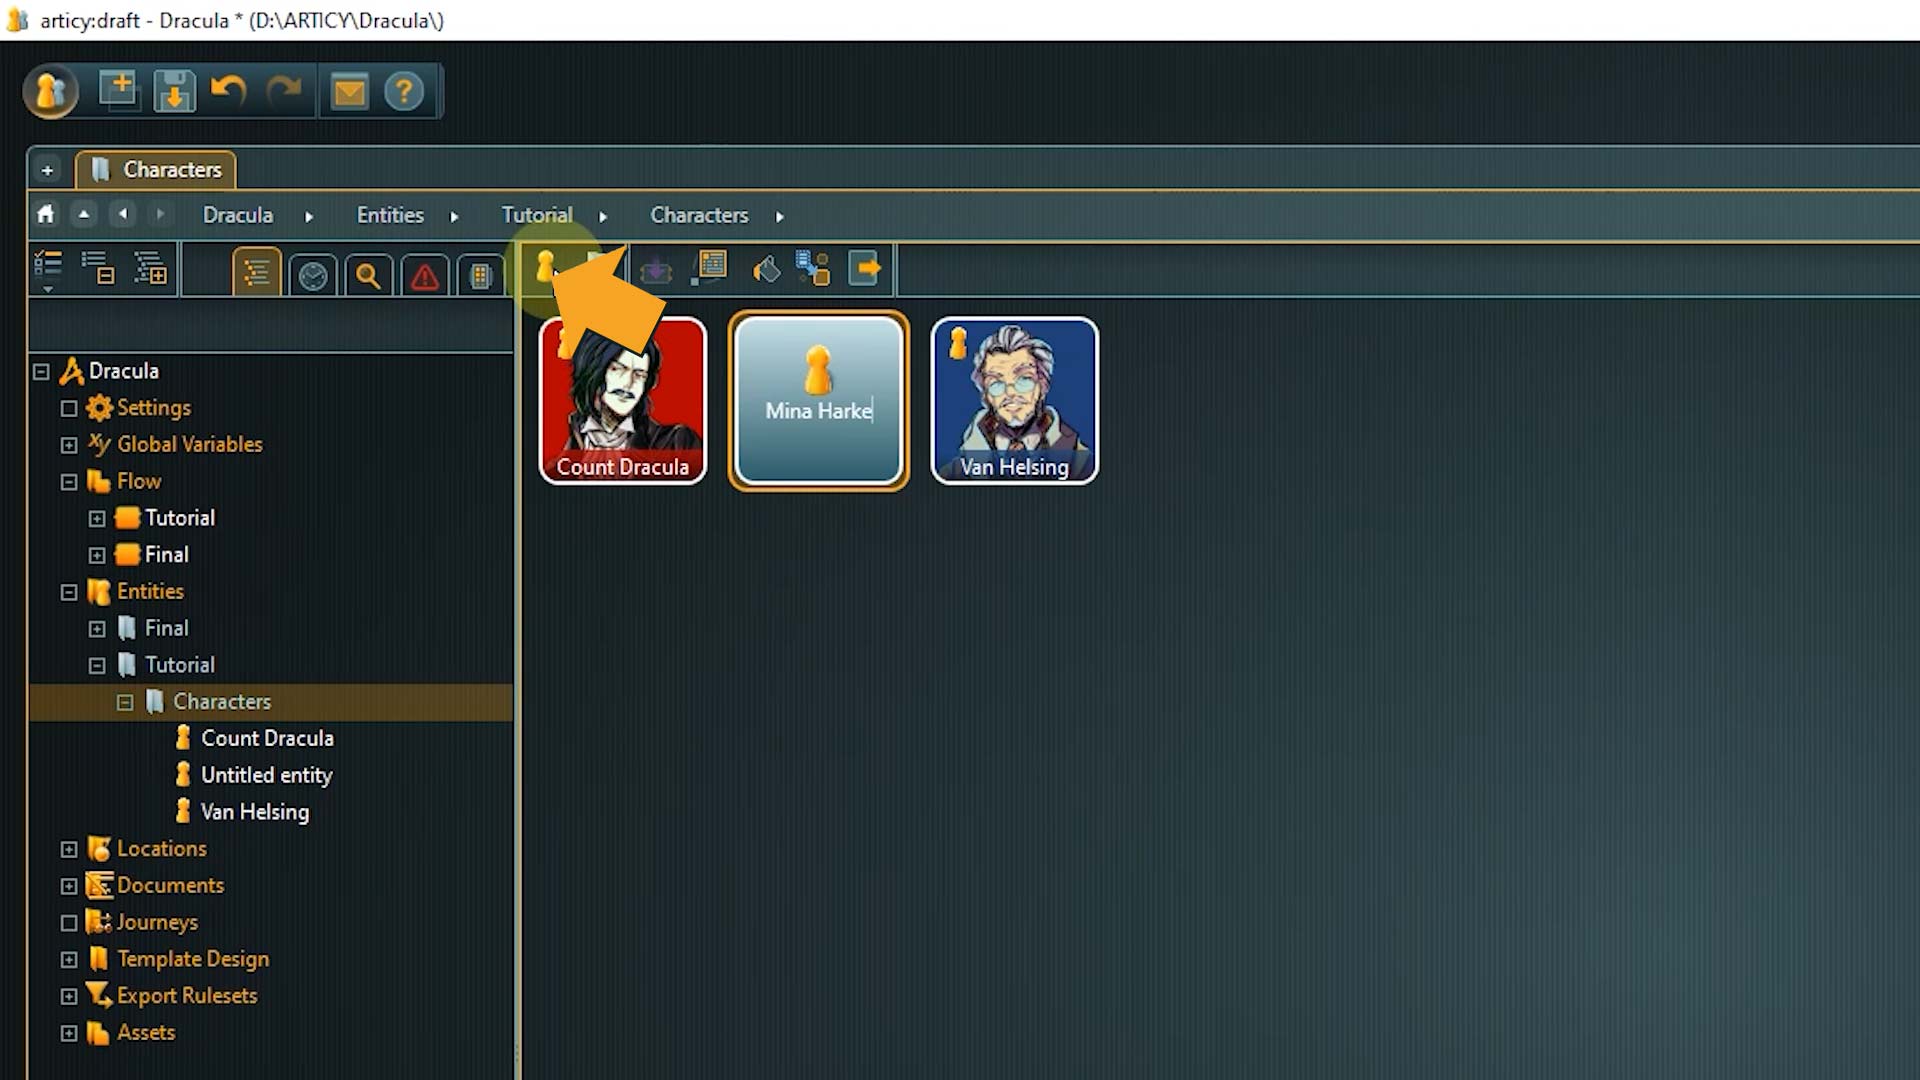
3. Go into the Entities Tutorial folder now and select characters.
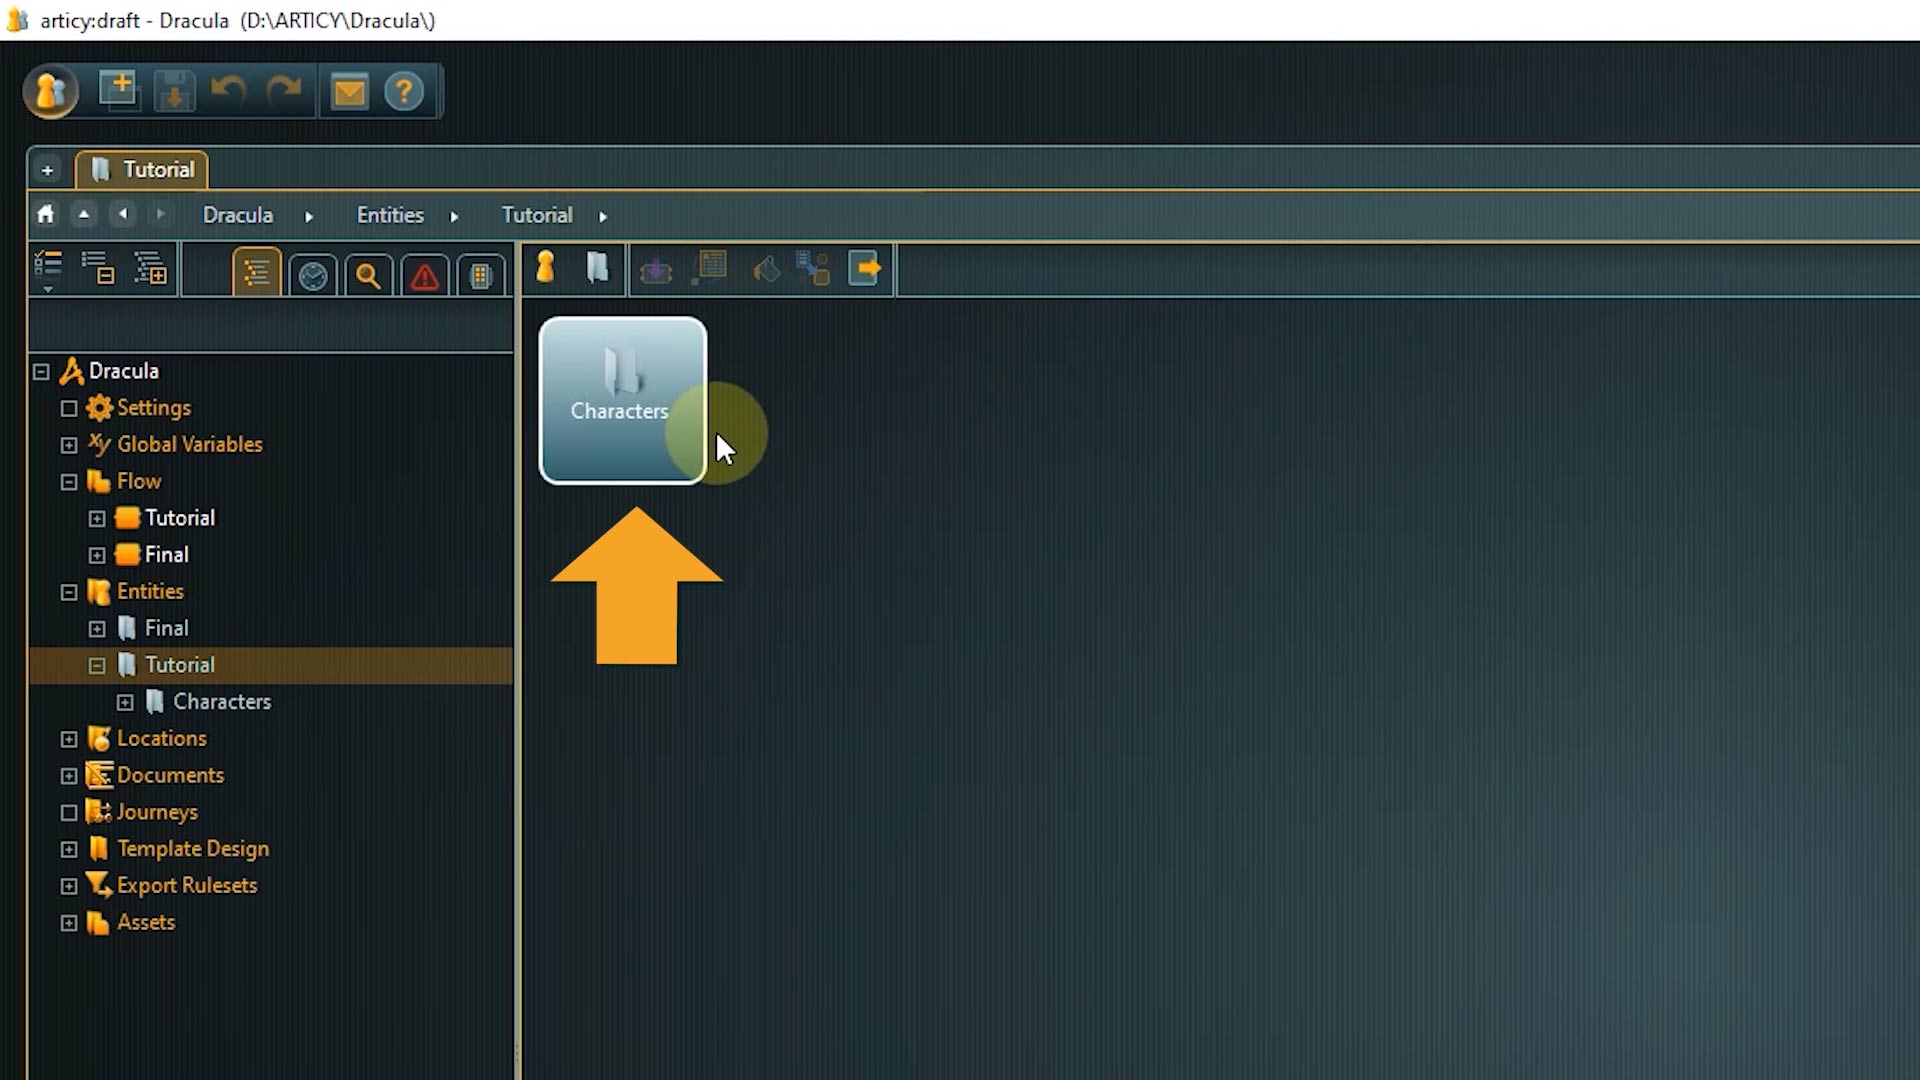
You can see that we already have two characters in here – Dracula himself and Professor Van Helsing. What we are missing is our main player character, which is going to be Mina Harker.
Before we create the character, let’s take a quick look at the existing ones.
4. Double click the Dracula tile to open it.

What we see now is the Entity’s so called property sheet. Here all the object’s properties are listed in a well-structured way on several tabs.
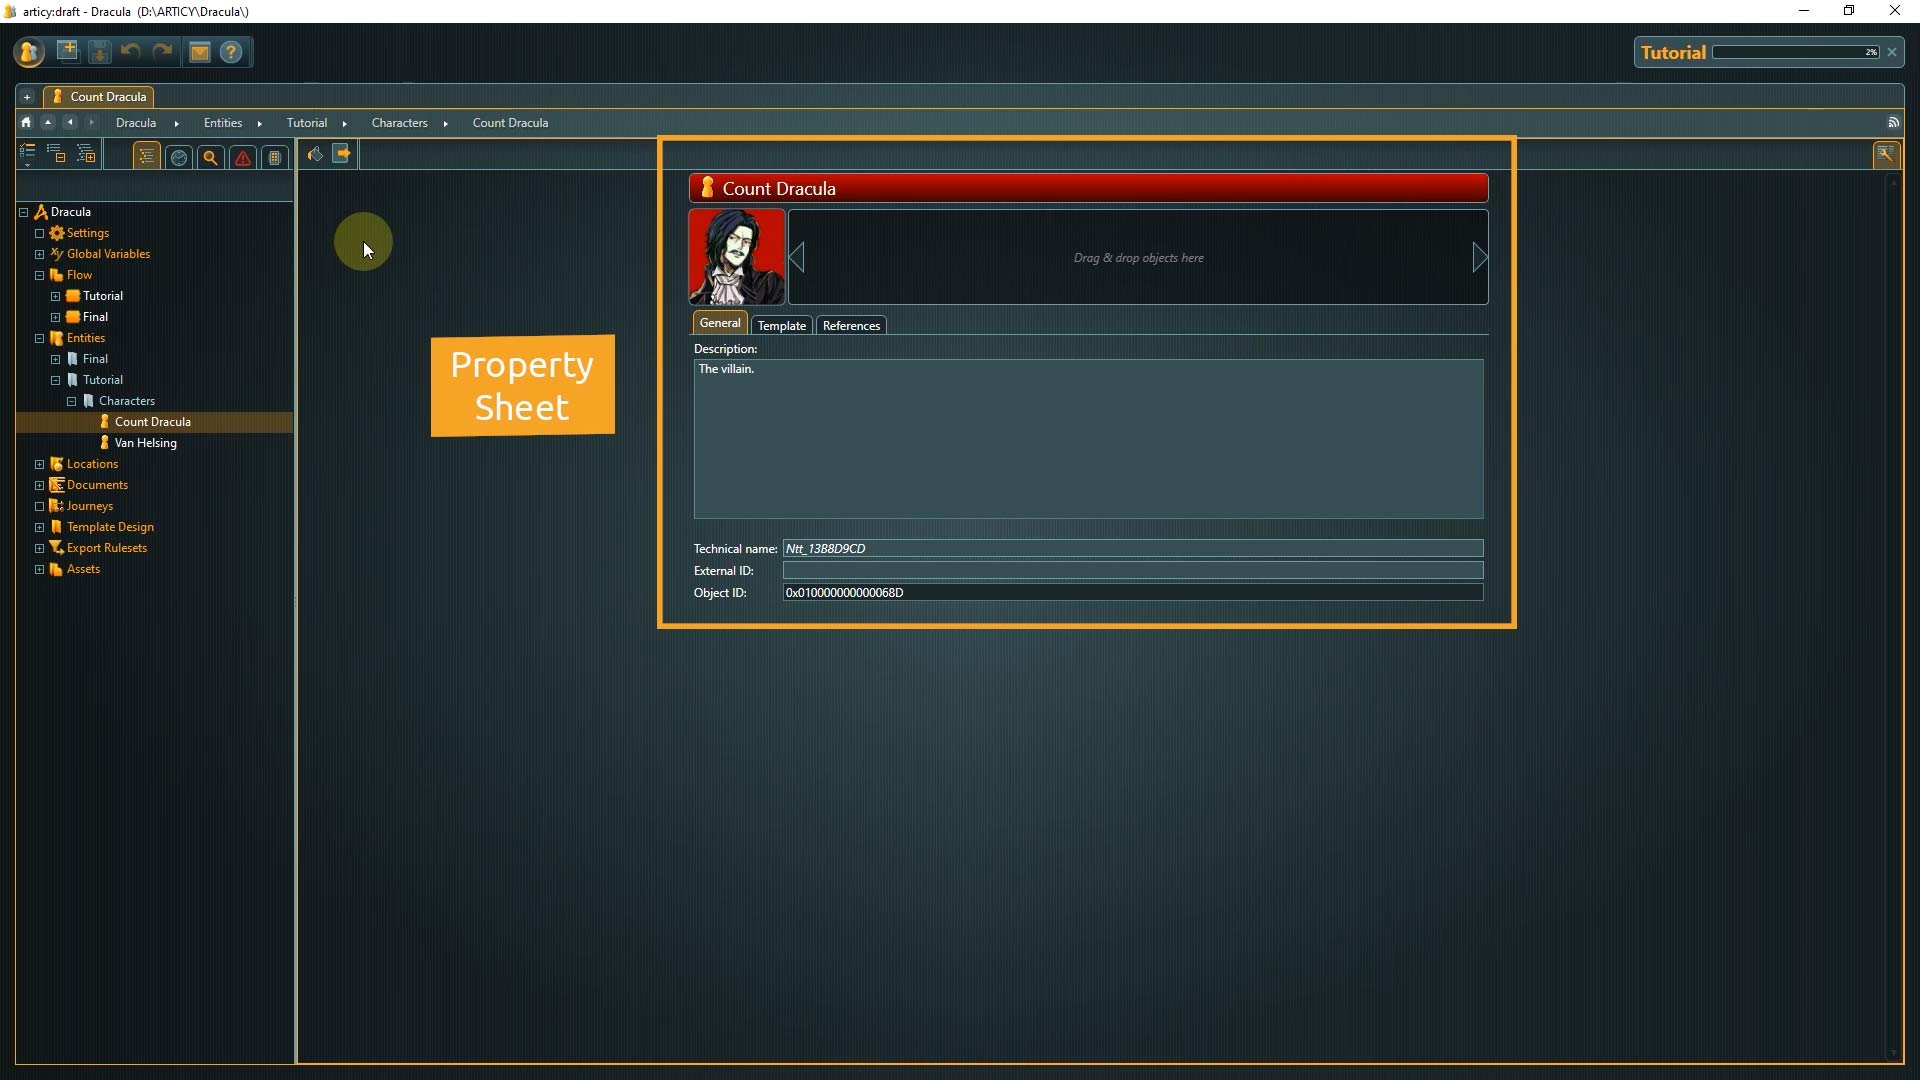
4.1 The General tab contains very basic properties that are shared by almost all object types inside articy. The name of the entity is displayed at the top. Below that is a preview image and a reference strip. You can use the reference strip to add references to other entities, concept art, even documents. Basically all information regarding this object you want to have readily available. Below that you find a general description field.

4.2 The References tab provides an overview of the connections to other objects. This is done automatically. For example, Dracula is already used as a speaker in a dialogue, you can see it listed here.

4.3 The Template tab shows which template is assigned to this object. You might have asked yourself – if an entity can be almost everything, how can articy and later the game engine know that this specific entity is supposed to be a character? The answer is Templates!
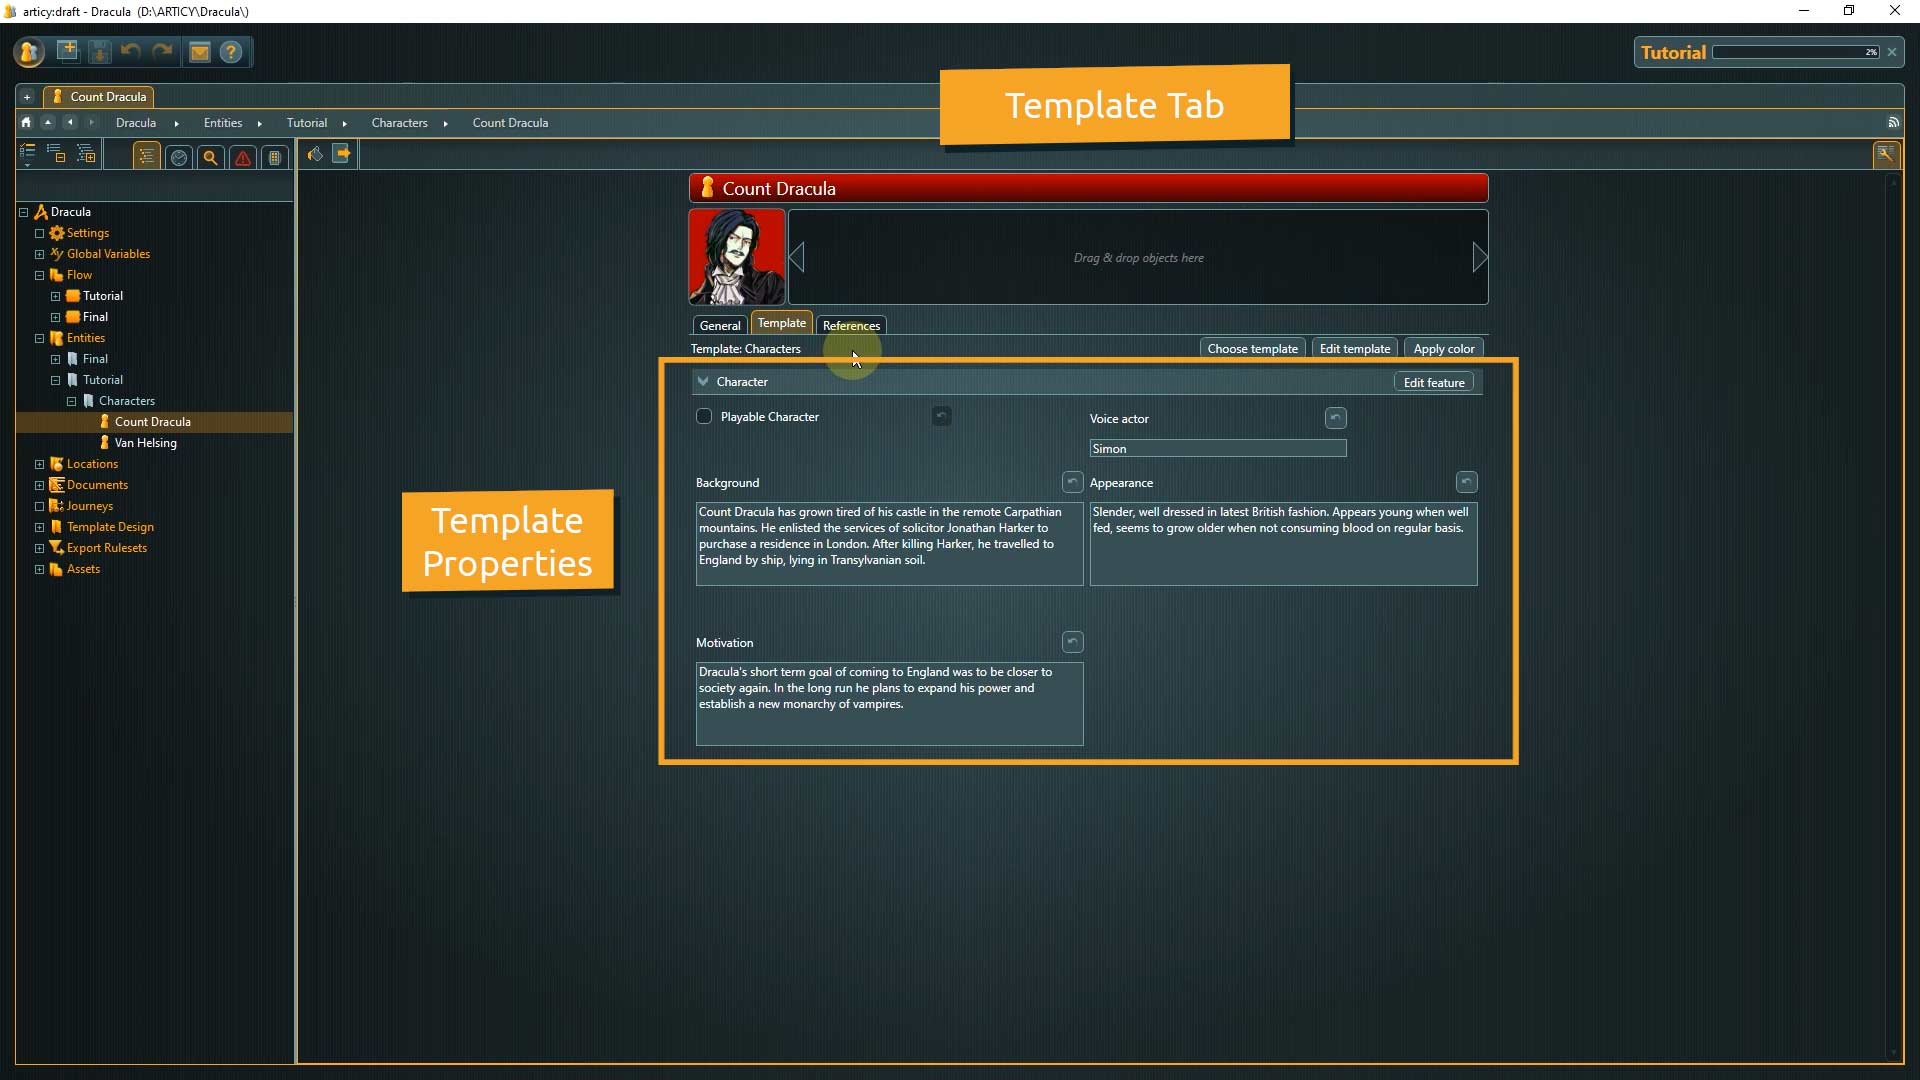
Templates are a powerful feature, with which you can assign custom properties to any kind of object. Think of it as blueprints. Extremely flexible and adaptable to your game project. If you want your character to have traits like Strength and Intelligence you can do this via a template. If in your game information like shoe-size or favorite food is important then you can assign these properties with the help of a template as well.
For the Dracula entity you can see that a template named Characters is assigned to it, and the properties that belong to this template are text fields like background, or motivation.
We will go deeper into the topic of templates later in this series, where we will see what kind of properties can be used and how new templates are created from scratch, for now just keep in mind that the Template feature gives you a lot of flexibility.
Now that we have seen how an entity becomes a character, let’s finally create the main player character for our project – Mina Harker.
5. To create an entity, click the “Create new entity” icon in the Toolbar and type in the name.
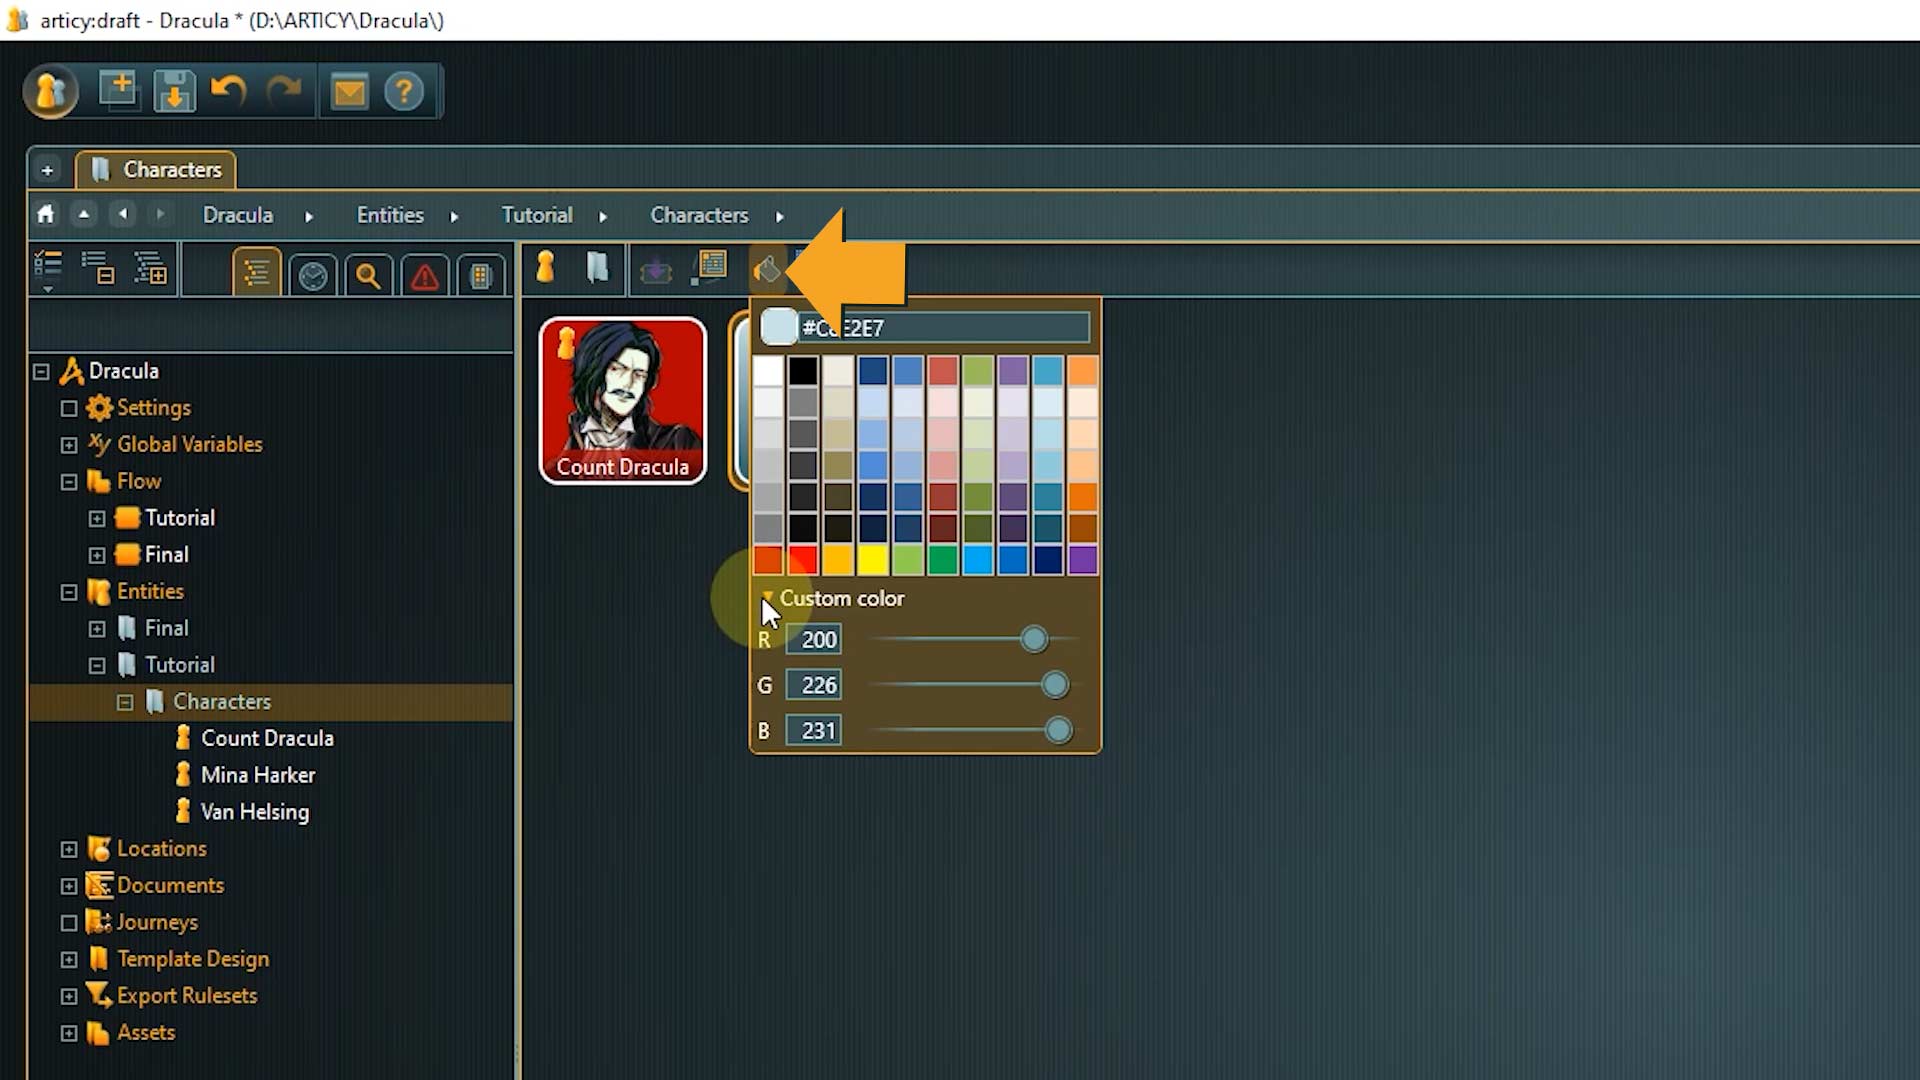
6. You can assign specific colors to your entities, for example for organizational purposes or to keep a better overview. To do that click the bucket icon and select a color. I will pick the nice orange from the color chart, but of course you can also create a custom color by using the RGB sliders.
7. Now double click the tile to open Mina’s property sheet. articy:draft is a visual tool, so let’s set a preview image, to easily distinguish our characters. Double click the file icon in the empty preview image frame. We are now in the asset selection. Assets in articy can be images, videos, music, or text-files, which you can all connect to objects as references.
8. Go to the tutorials folder and select the Mina image. Click OK to confirm.

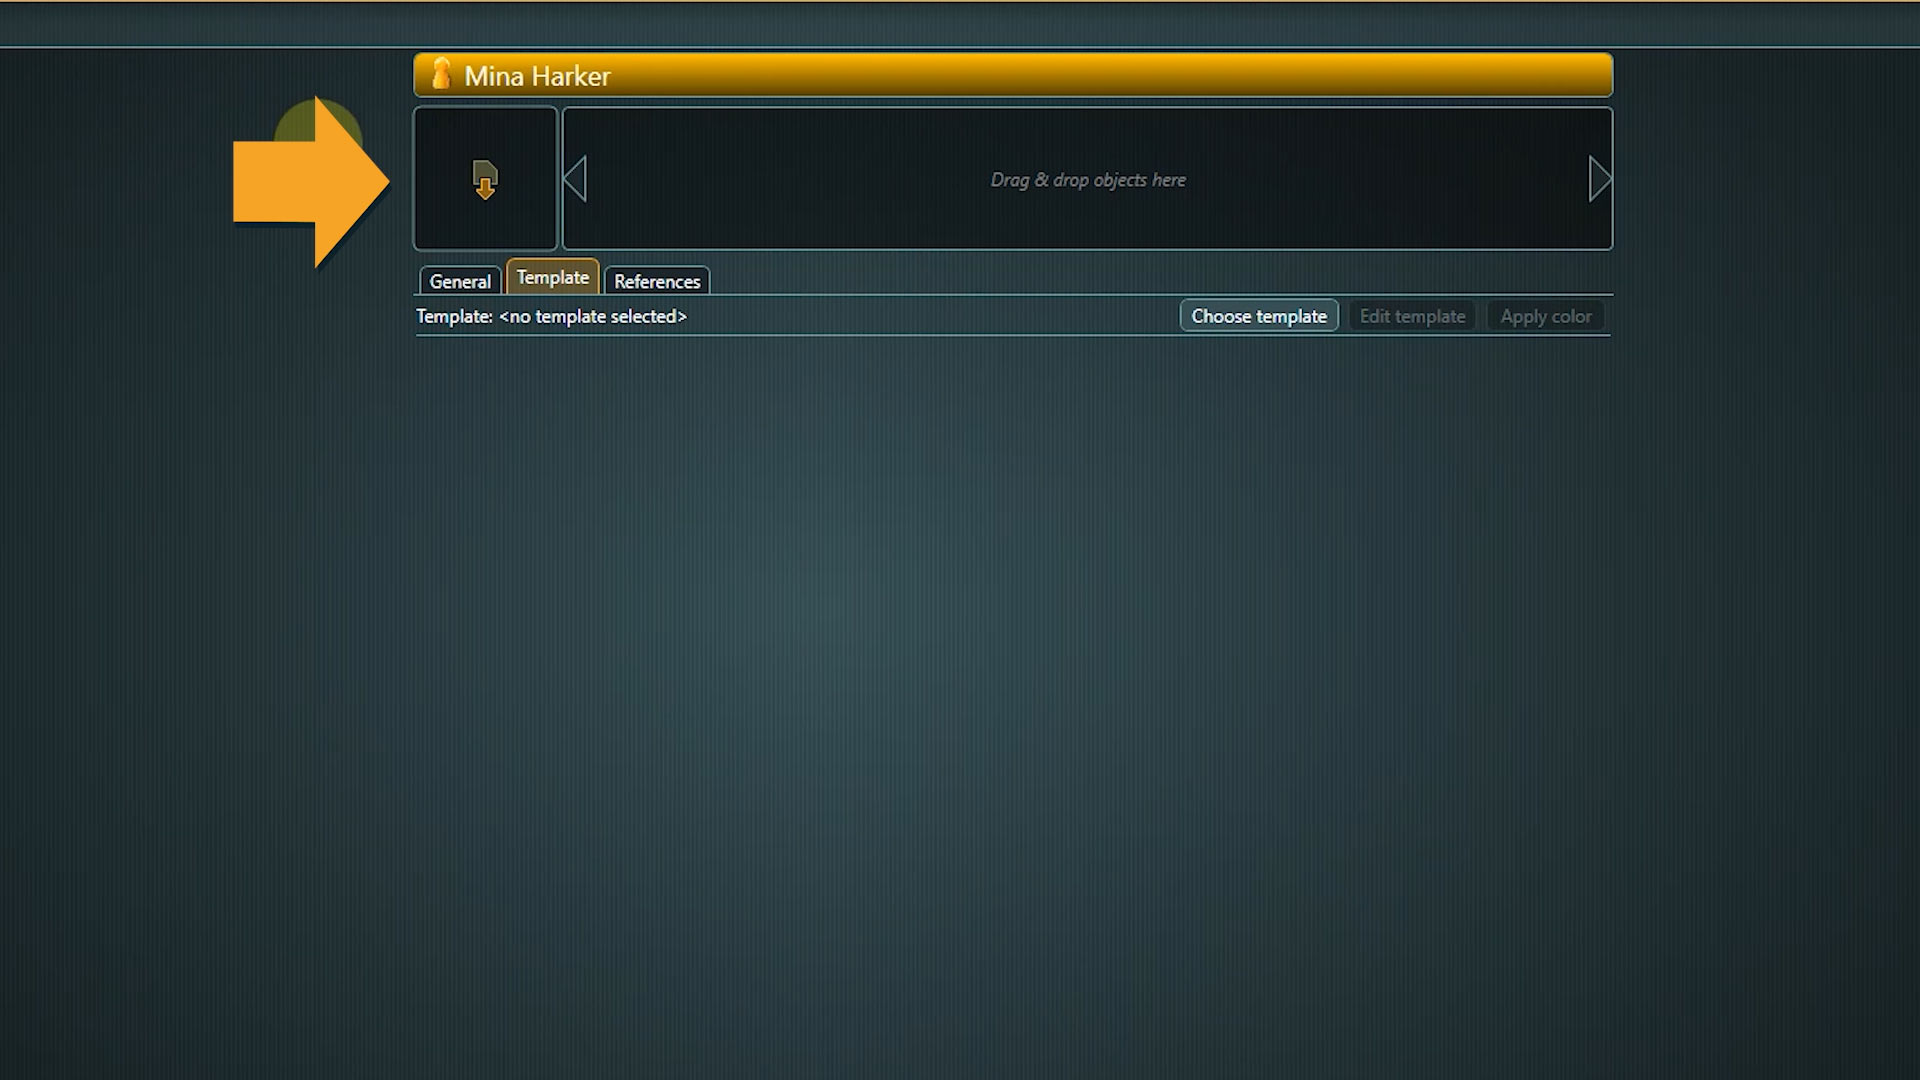
👉 Note: If we now select the Template tab, you will notice that the tab is empty. There is no template assigned to the Mina entity, she is not a proper character yet.
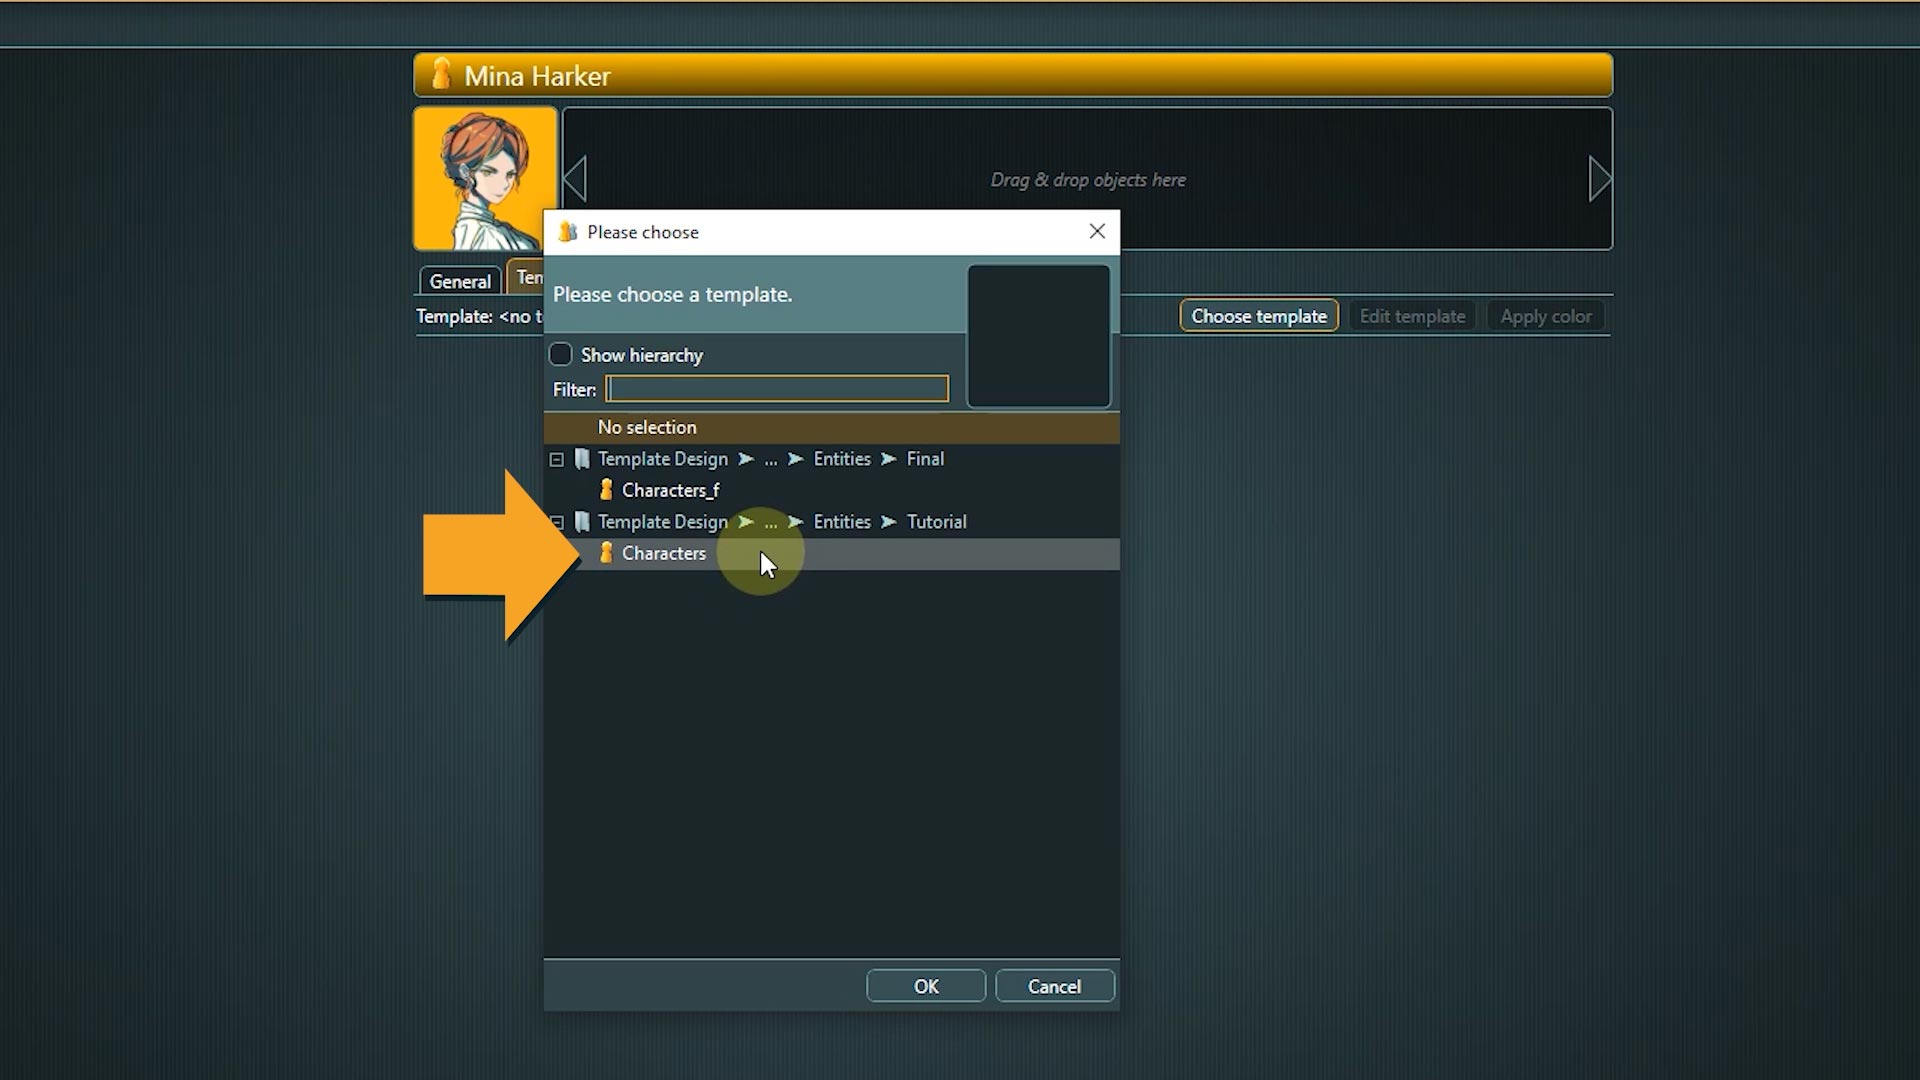
9. To assign a template, click the Choose template button.

10. Select the Characters template in the Tutorials folder.
Now the character properties are shown and we can fill out the unique character information. We want Mina to be the player character, and there is a property for that in the template.

👉 Note: Keep in mind that the functionality of what is supposed to happen if this property is checked has to be programmed into the game engine. But once the functionality has been coded in, the writers and designers can change the player character from within articy, without having to go into the engine.
You don’t have to fill out everything immediately, you can always come back to the property sheet later to add more text or change something.
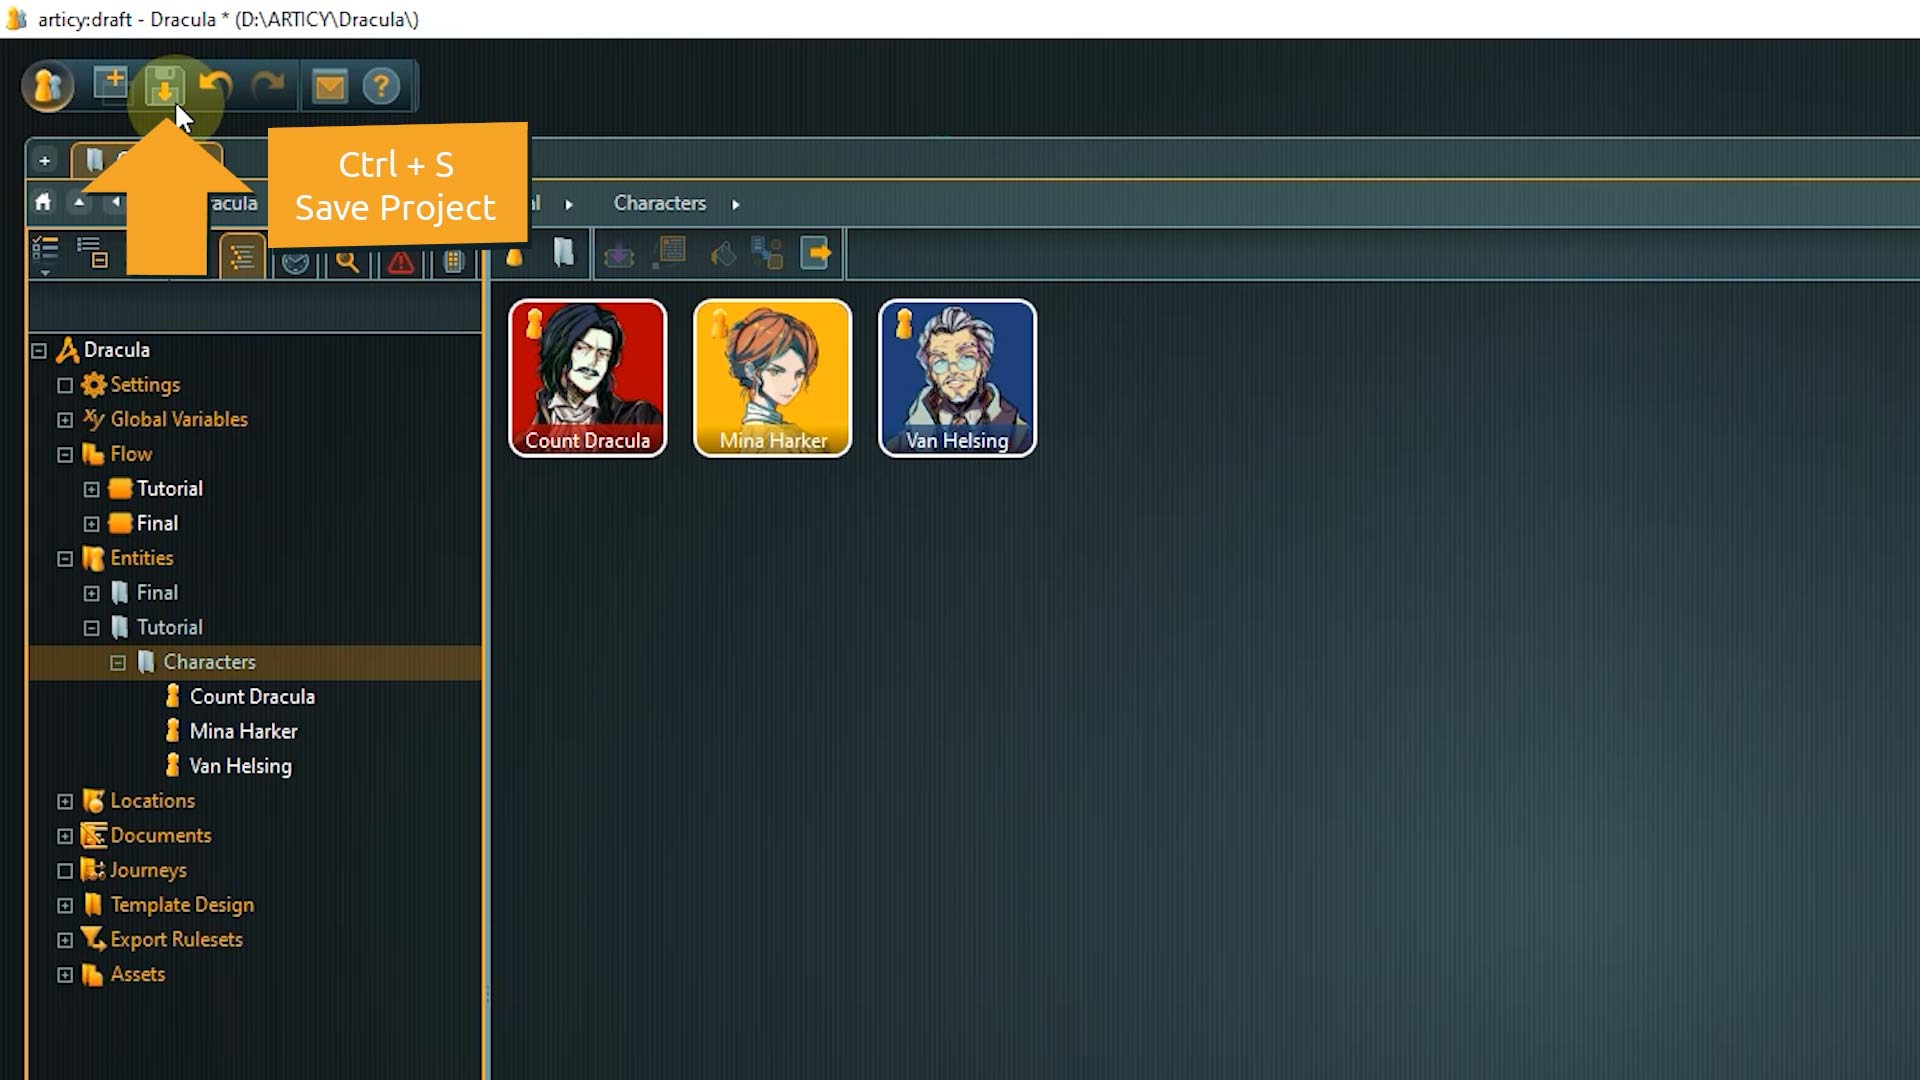
👉 Do not forget to save your progress once in a while. This can be done with a click on the save icon in the master toolbar or the hot key Ctrl+S.
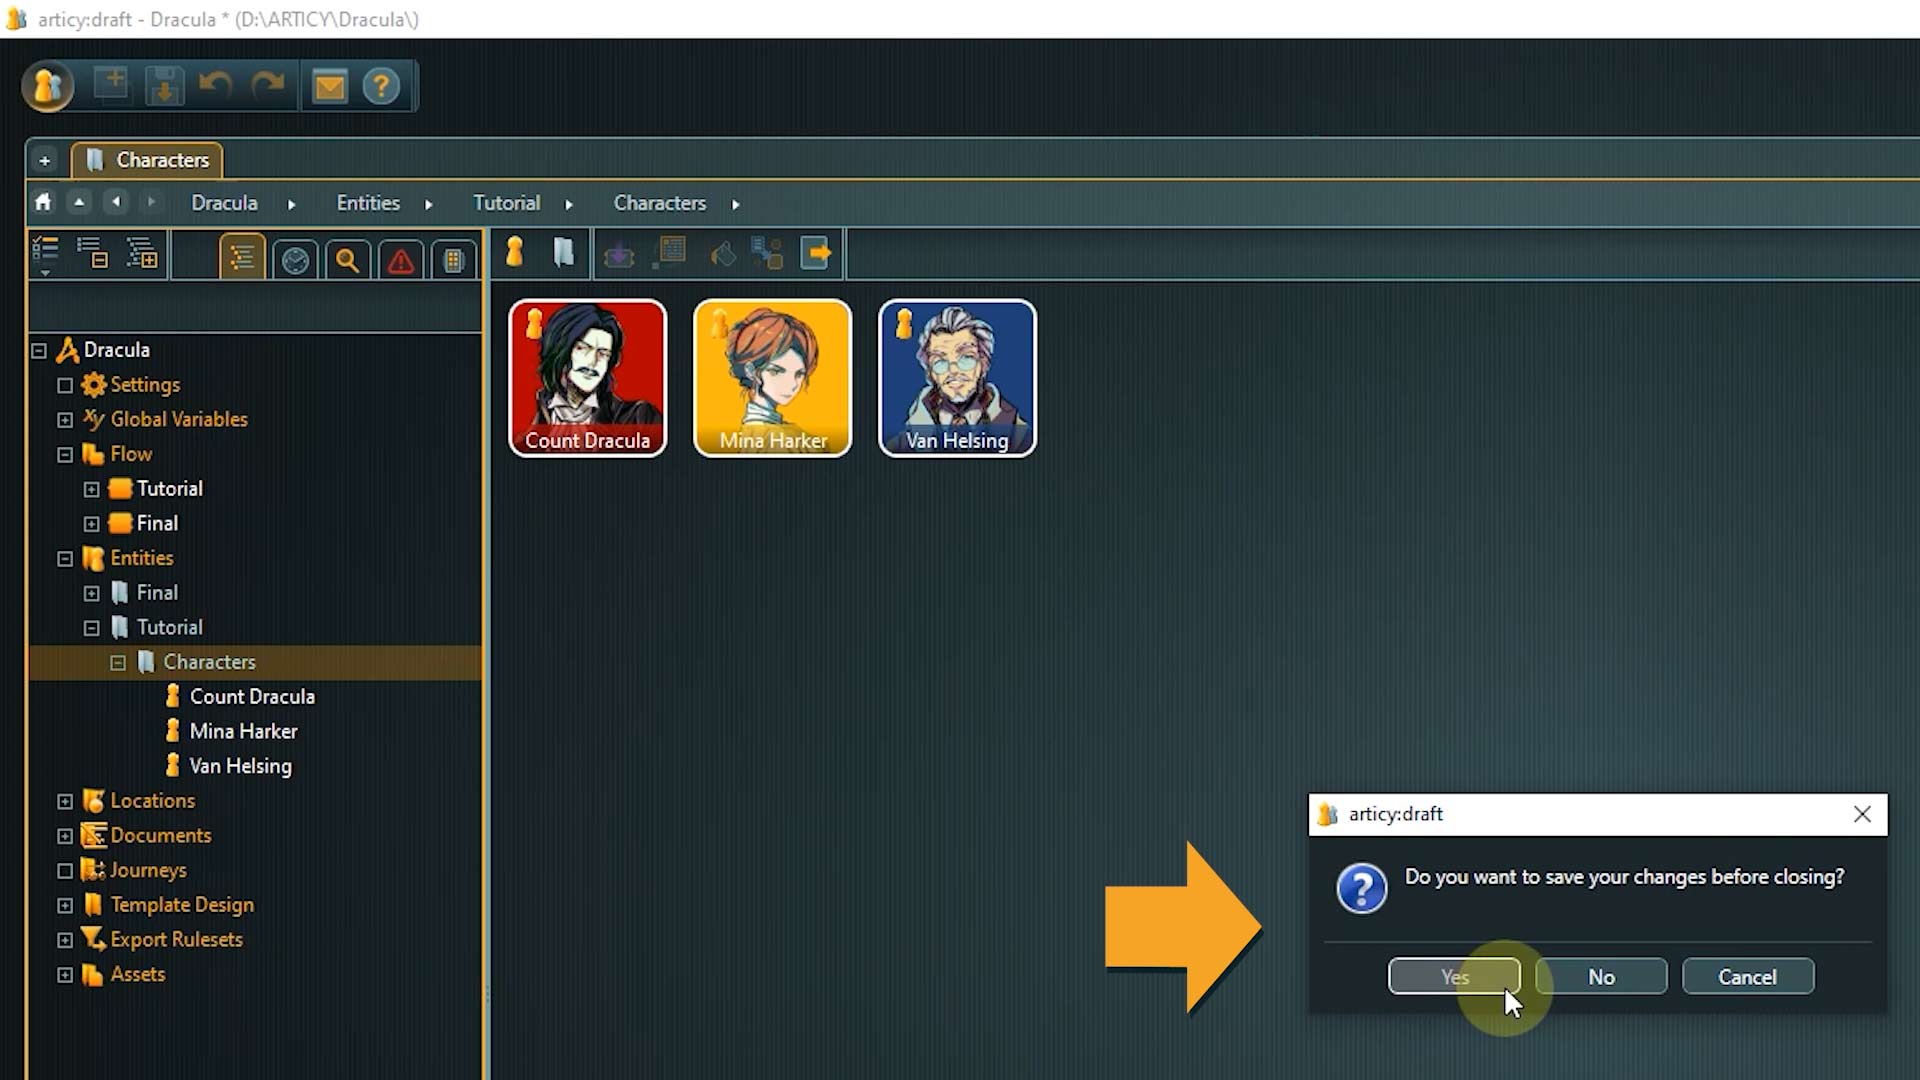
👉 You will be also be asked if you want to save when closing the project or exiting the software.
This concludes today’s lesson.
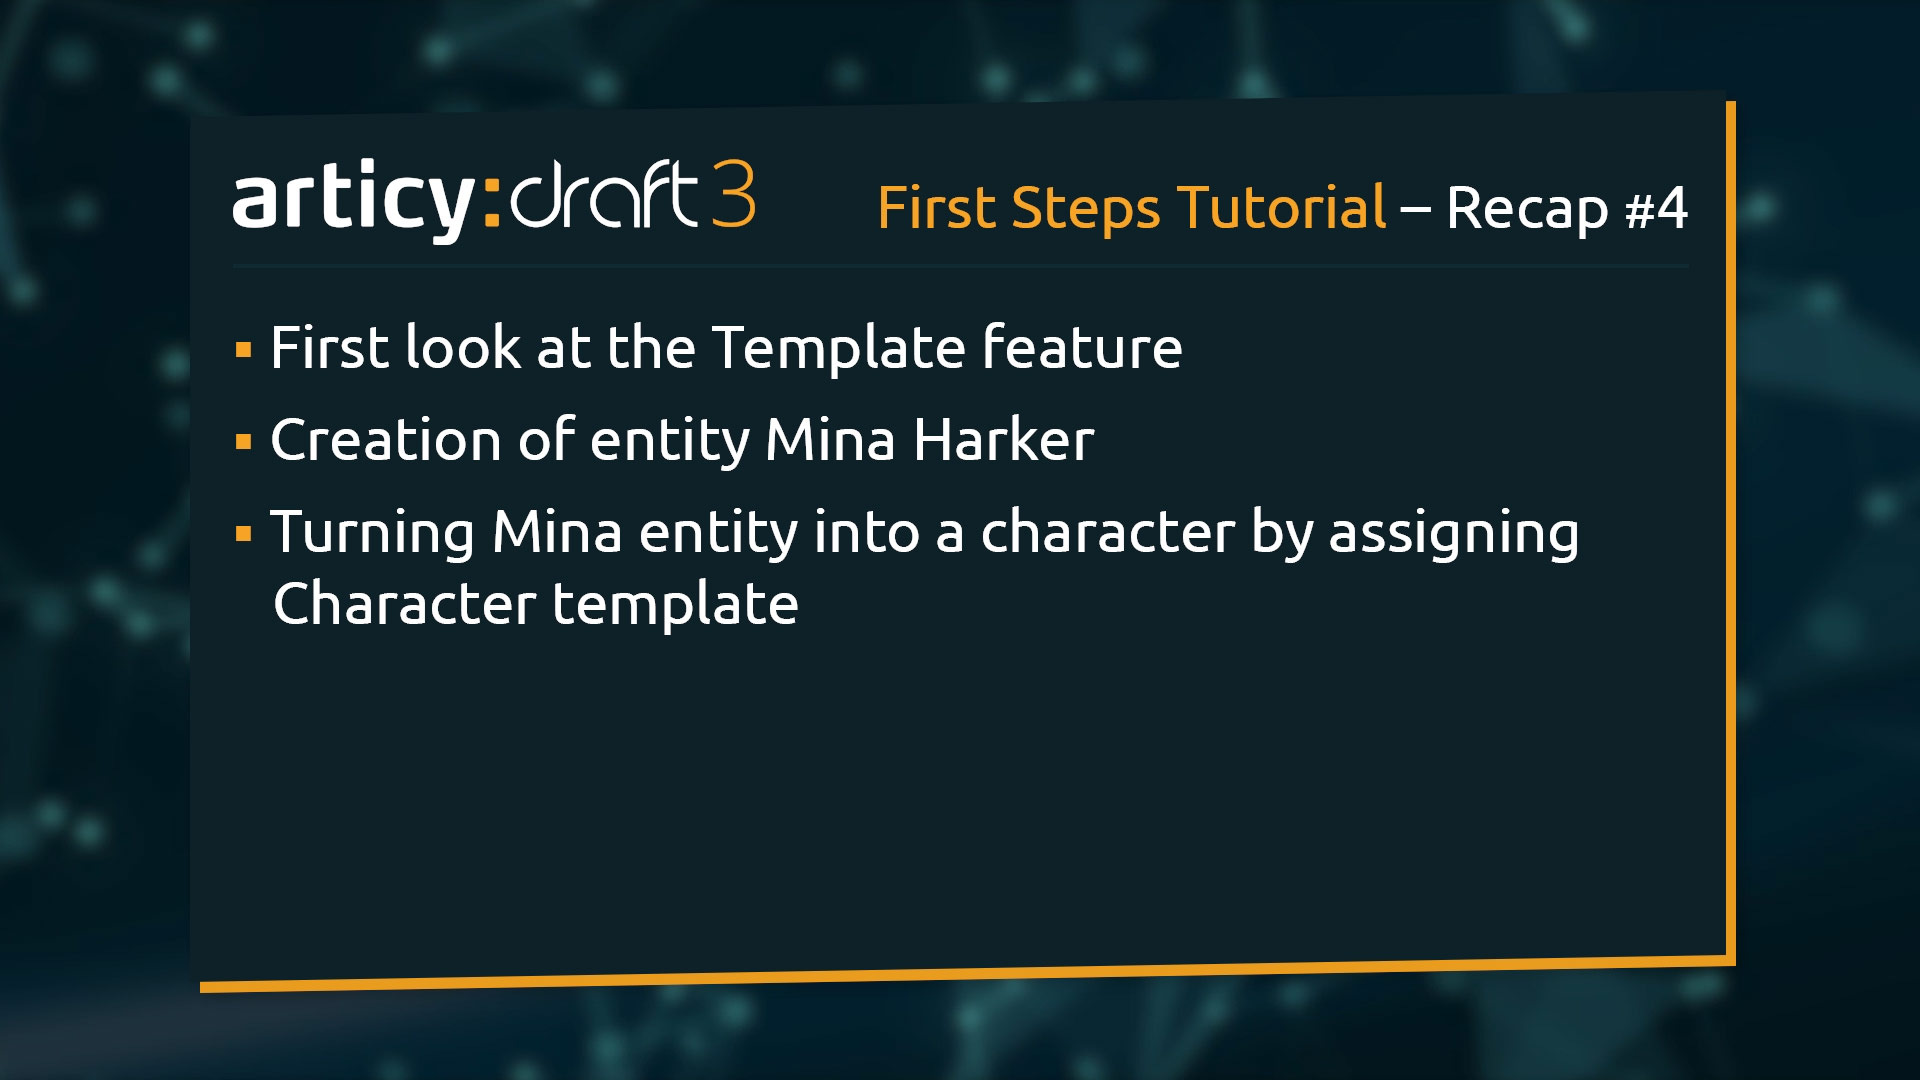
Recap:
In this lesson we took a first glance at the blueprints of articy – the template feature. We also created an entity and made it into a character by assigning a template.
Up next:
In our next lesson we will visit an area of articy:draft where you will most likely spent a lot of your time: the Flow.
Thank you for joining us, and join us again in our next tutorial.
Useful links:
Don’t have articy:draft X yet? Get the free version now!
Get articy:draft X FREE
*No Payment information required
Follow us on Twitter, Facebook and LinkedIn to keep yourself up to date and informed. To exchange ideas and interact with other articy:draft users, join our communities on reddit and discord.