Hello and welcome to Lesson 5 of the articy:draft First Steps tutorial series.
Review:
In the last lesson we tackled an exciting and important step for our project. We learned about entities, created Mina, the story’s main character, and took a first look at the Template feature.
This Lesson:
Today we will visit the very heart of articy:draft – the Flow. We will see what makes the flow so important, talk about the concept of nesting, and create the top-level structure for our story.
Let’s dive right in.
Flow overview
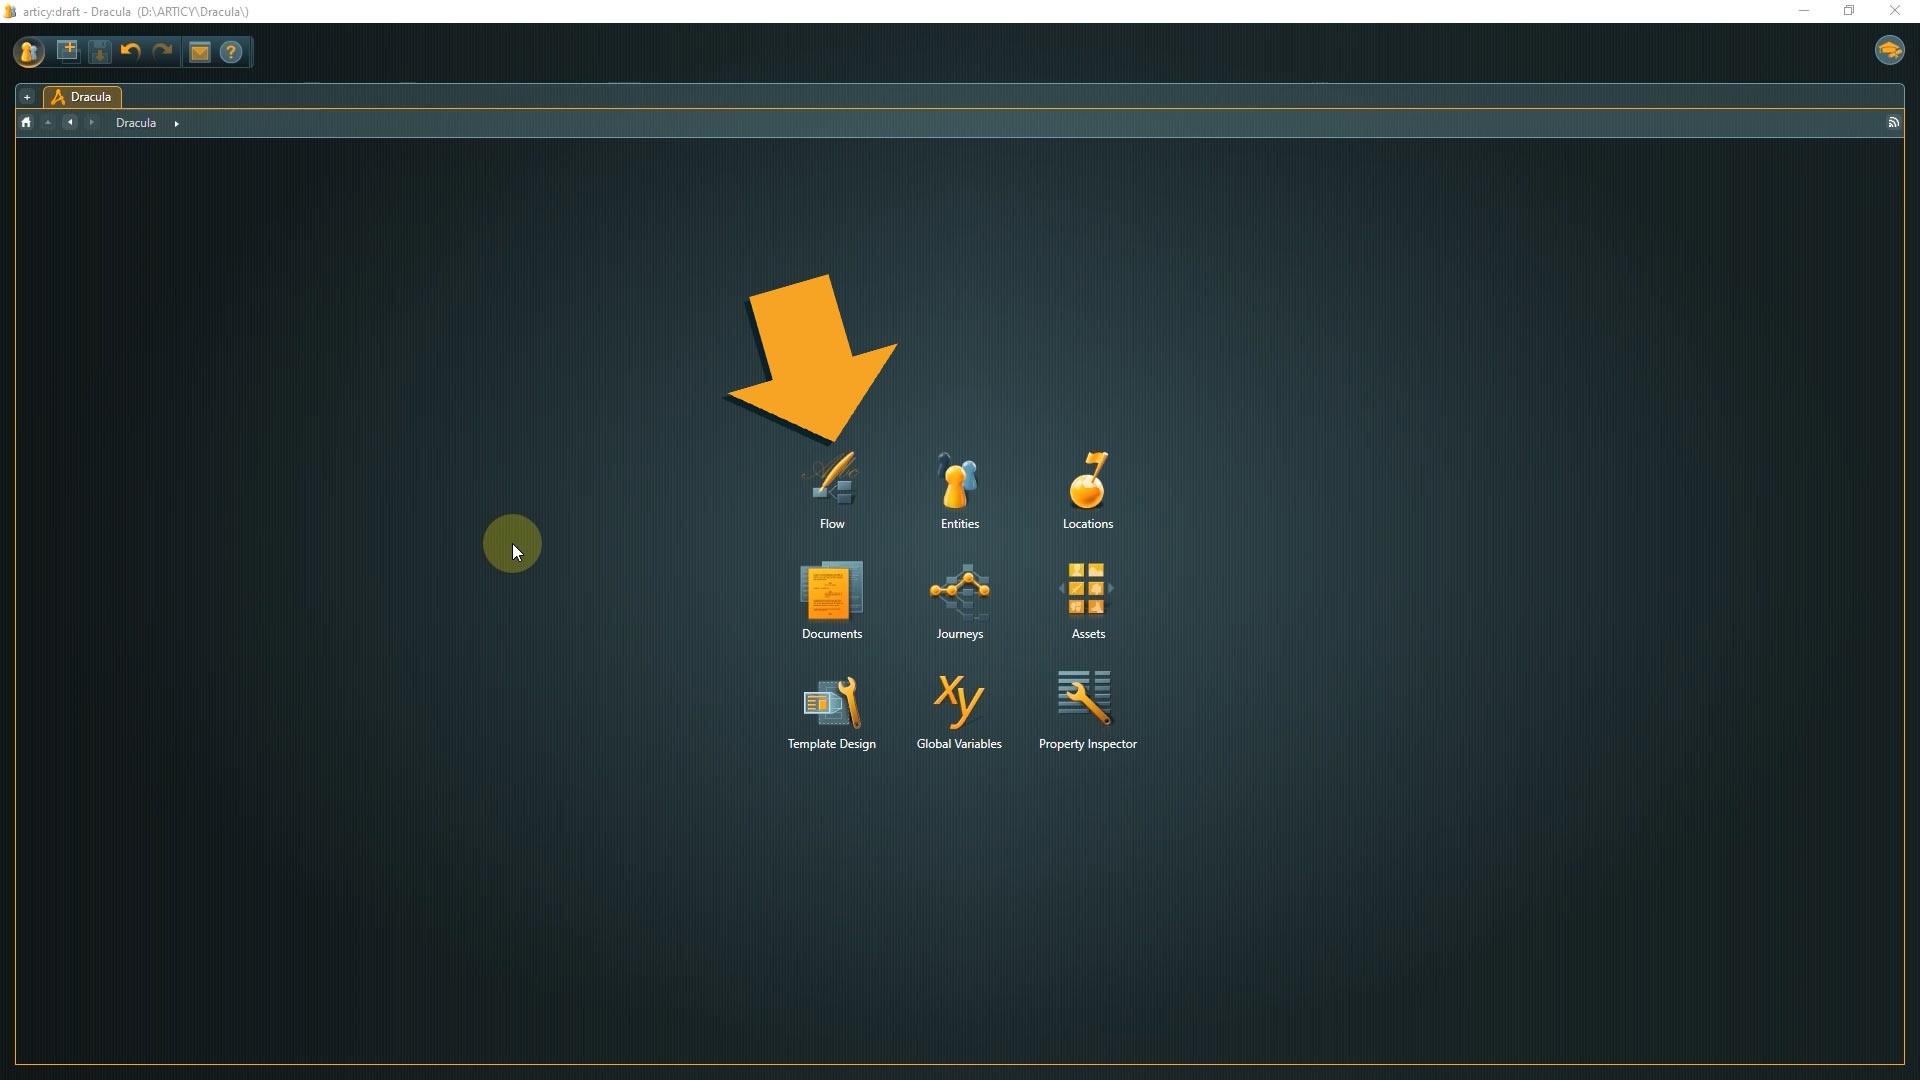
1. From the Jumpstart Page of our Dracula project double click the Flow icon
On the left side of the screen we have the Navigator, with the hierarchical, explorer-like data structure. In the content area, we see the content displayed in a visual way on the so called canvas. There is not much going on here at the moment, so let’s take a look at an already existing flow structure.

2. In the Navigator first expand the Tutorial entry, then expand the Dracula and Mina – Final confrontation entry. Now click one of the lines to jump to the content.
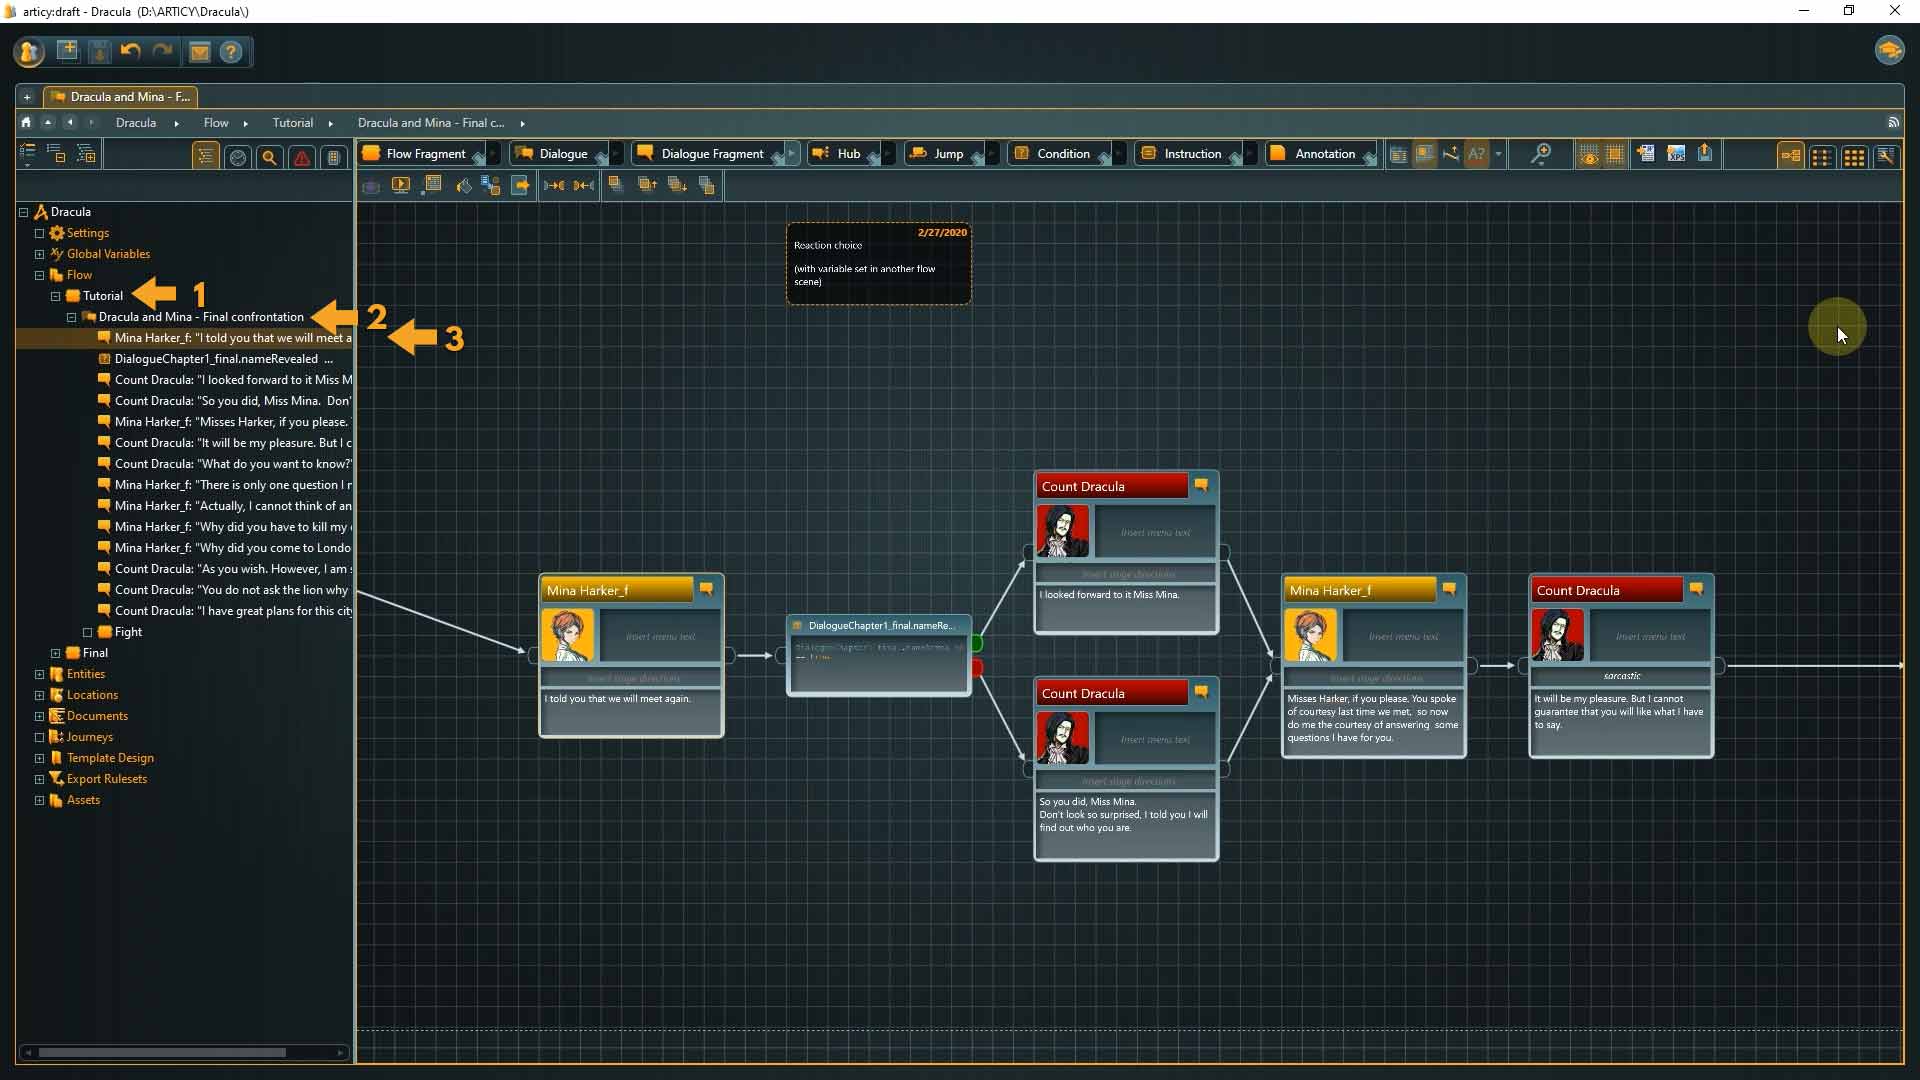
The Flow displays content in an easy to grasp visually structured way – like a flow chart – which makes it super helpful when it comes to branching story lines and interactivity. You have different elements – called nodes – available to create your story.
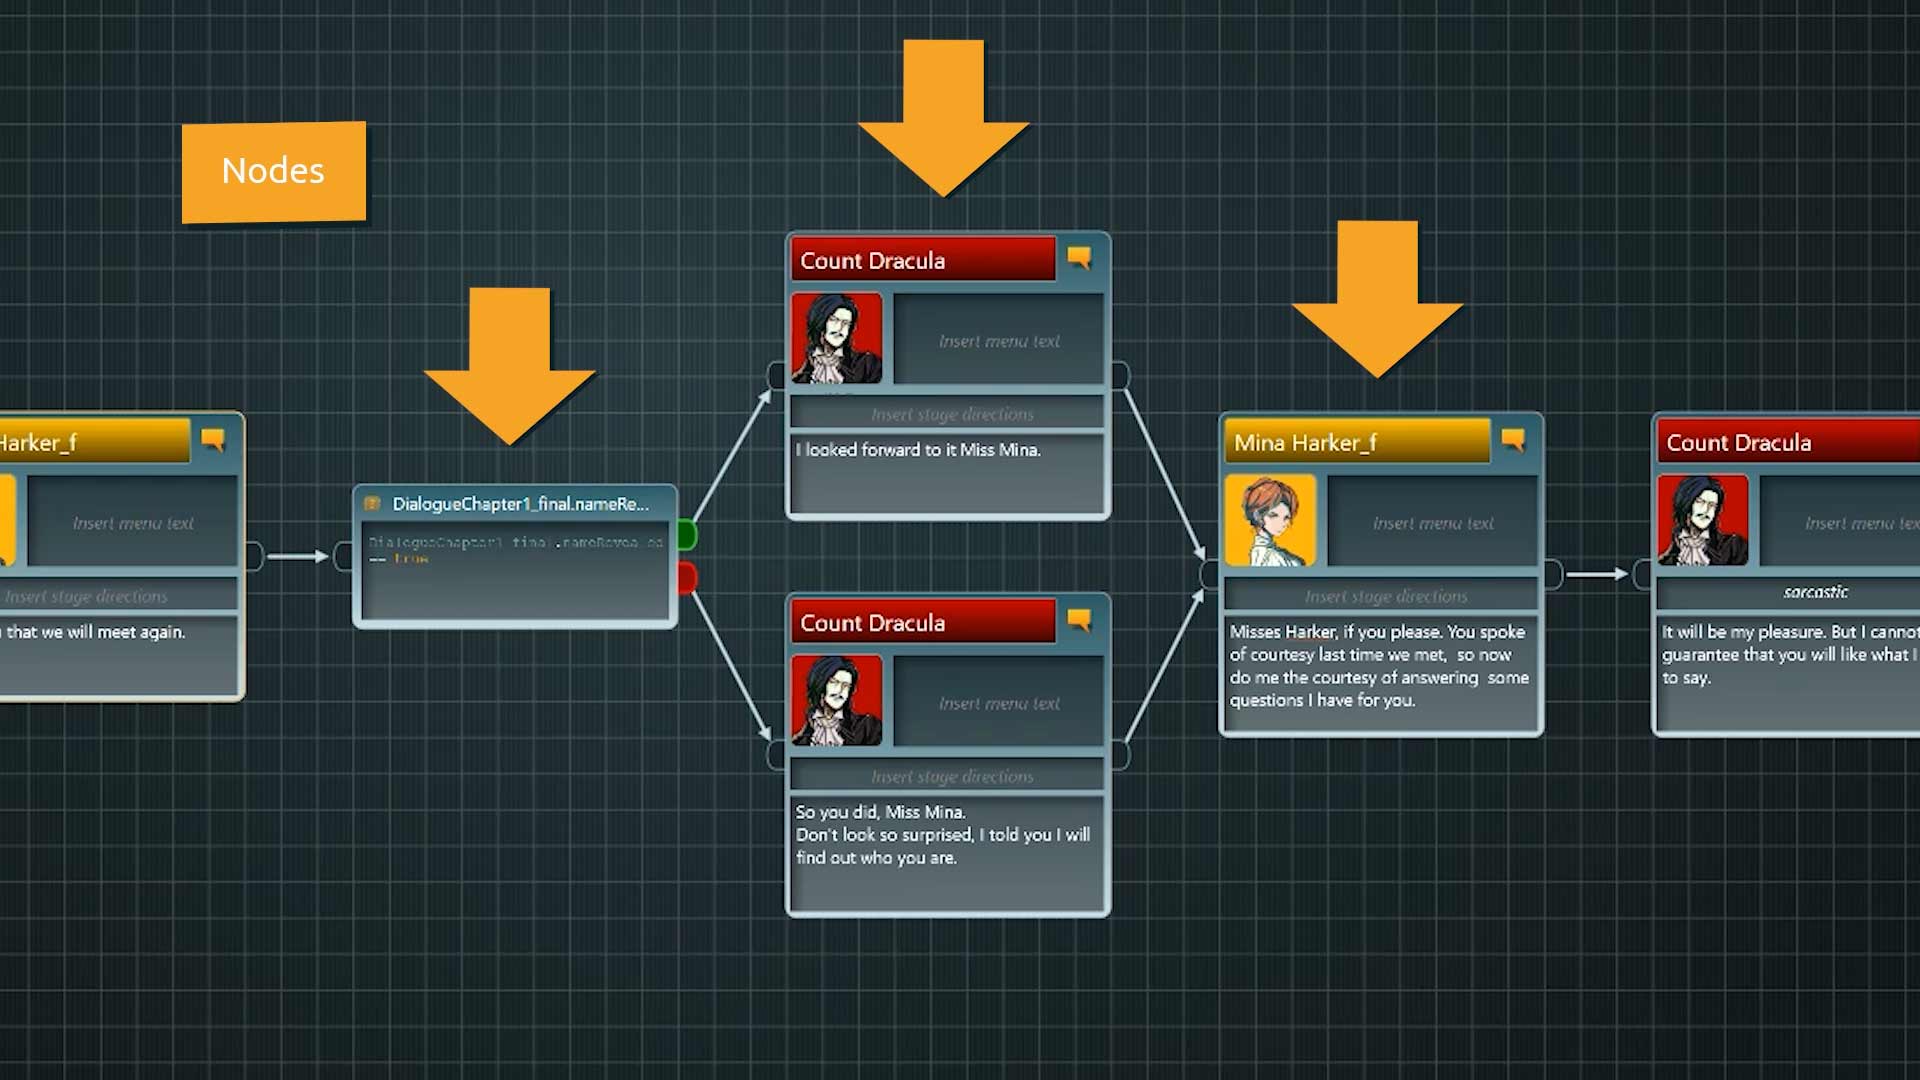
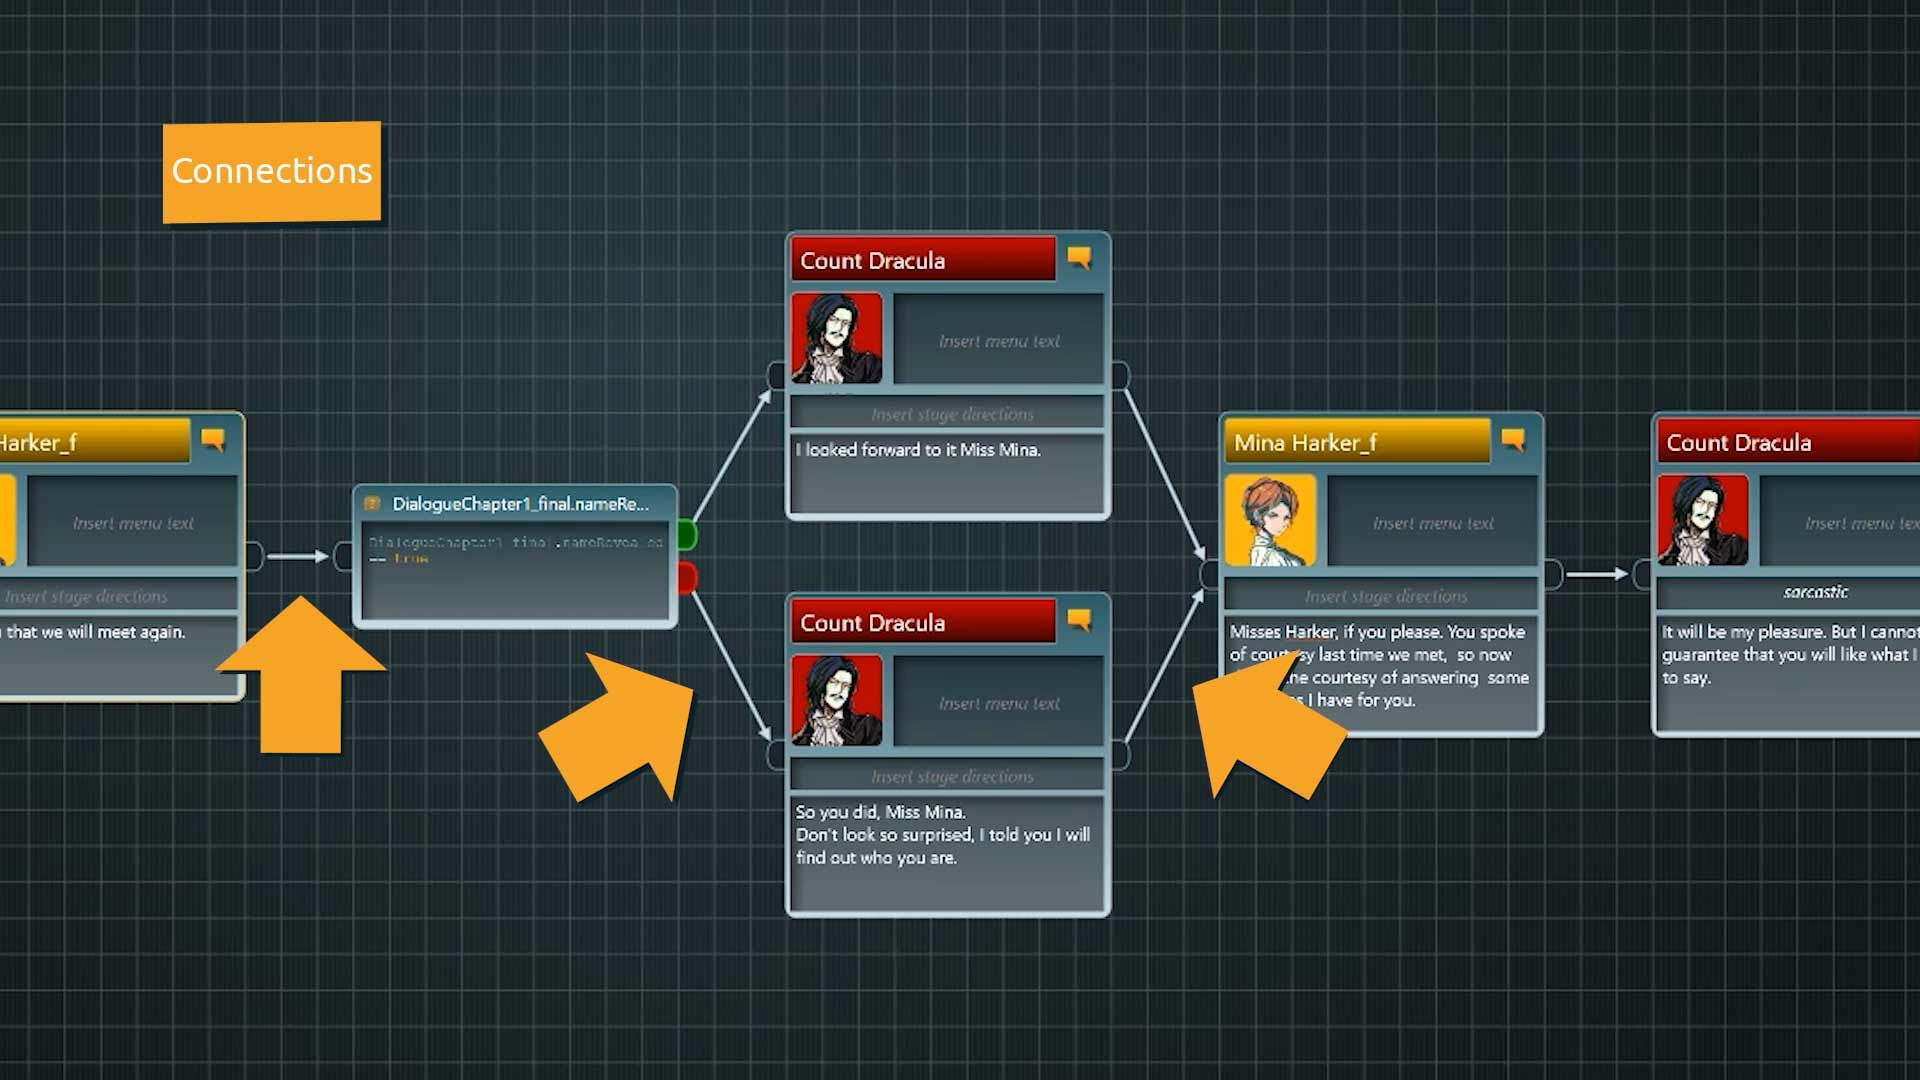
With the help of connections the branching flow structure is composed.
👉 To navigate within the Flow you can zoom in or out with the mouse wheel and pan around by holding either middle or right mouse button and dragging.
Not long and we will create a flow like this ourselves. Actually, it will already happen in the next lesson. But before that let’s talk a bit about another crucial element of the Flow: the support of nesting.
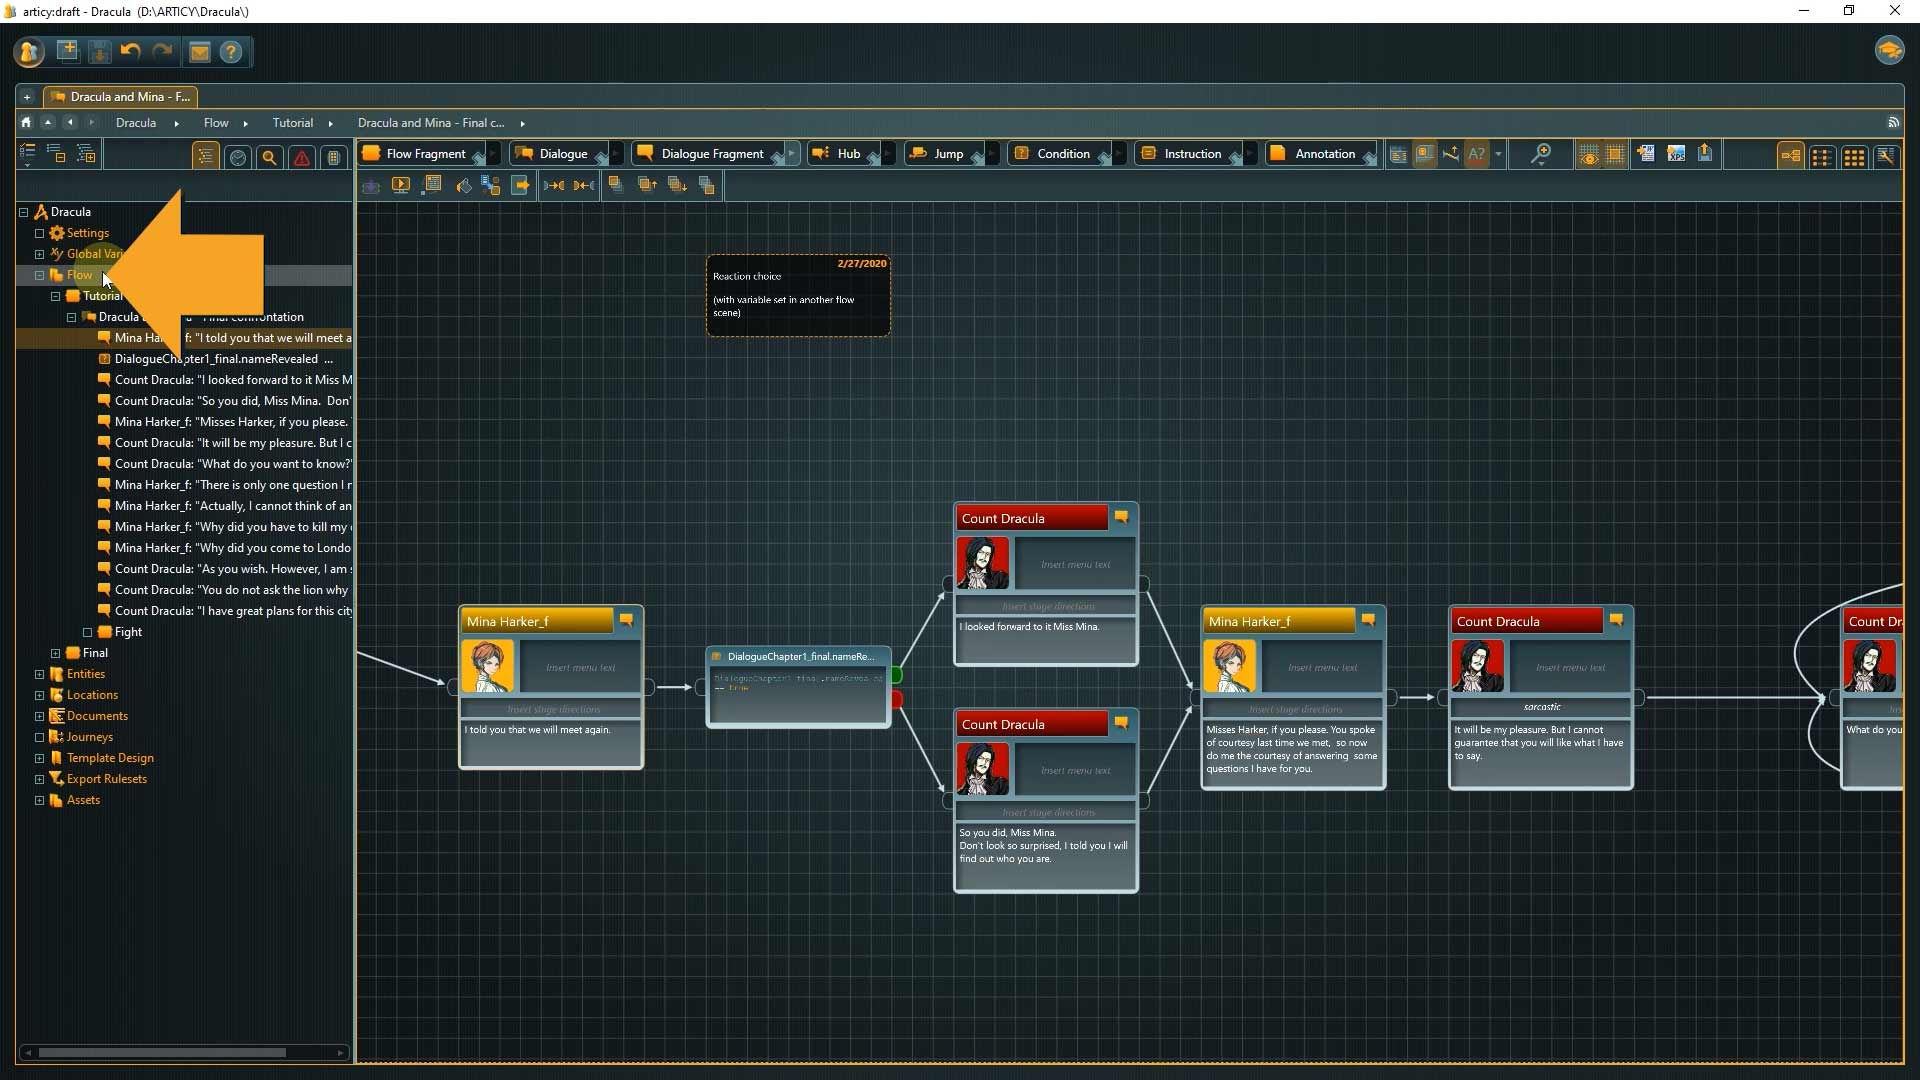
3. Click on the Flow entry in the Navigator to get back to the view of the Tutorial and Final nodes.
The Concept of Nesting
Nesting allows us to structure our content on different layers, and is first and foremost a tool to help structure our story from macro to micro, from broad ideas down to single lines of dialogue, while always letting us keep the overview.
But enough of the theory, here is how Nesting works in articy:
As we have selected the Flow entry in the Navigator, what we see on the right is our top most layer of content. It’s the Tutorial and Final data.
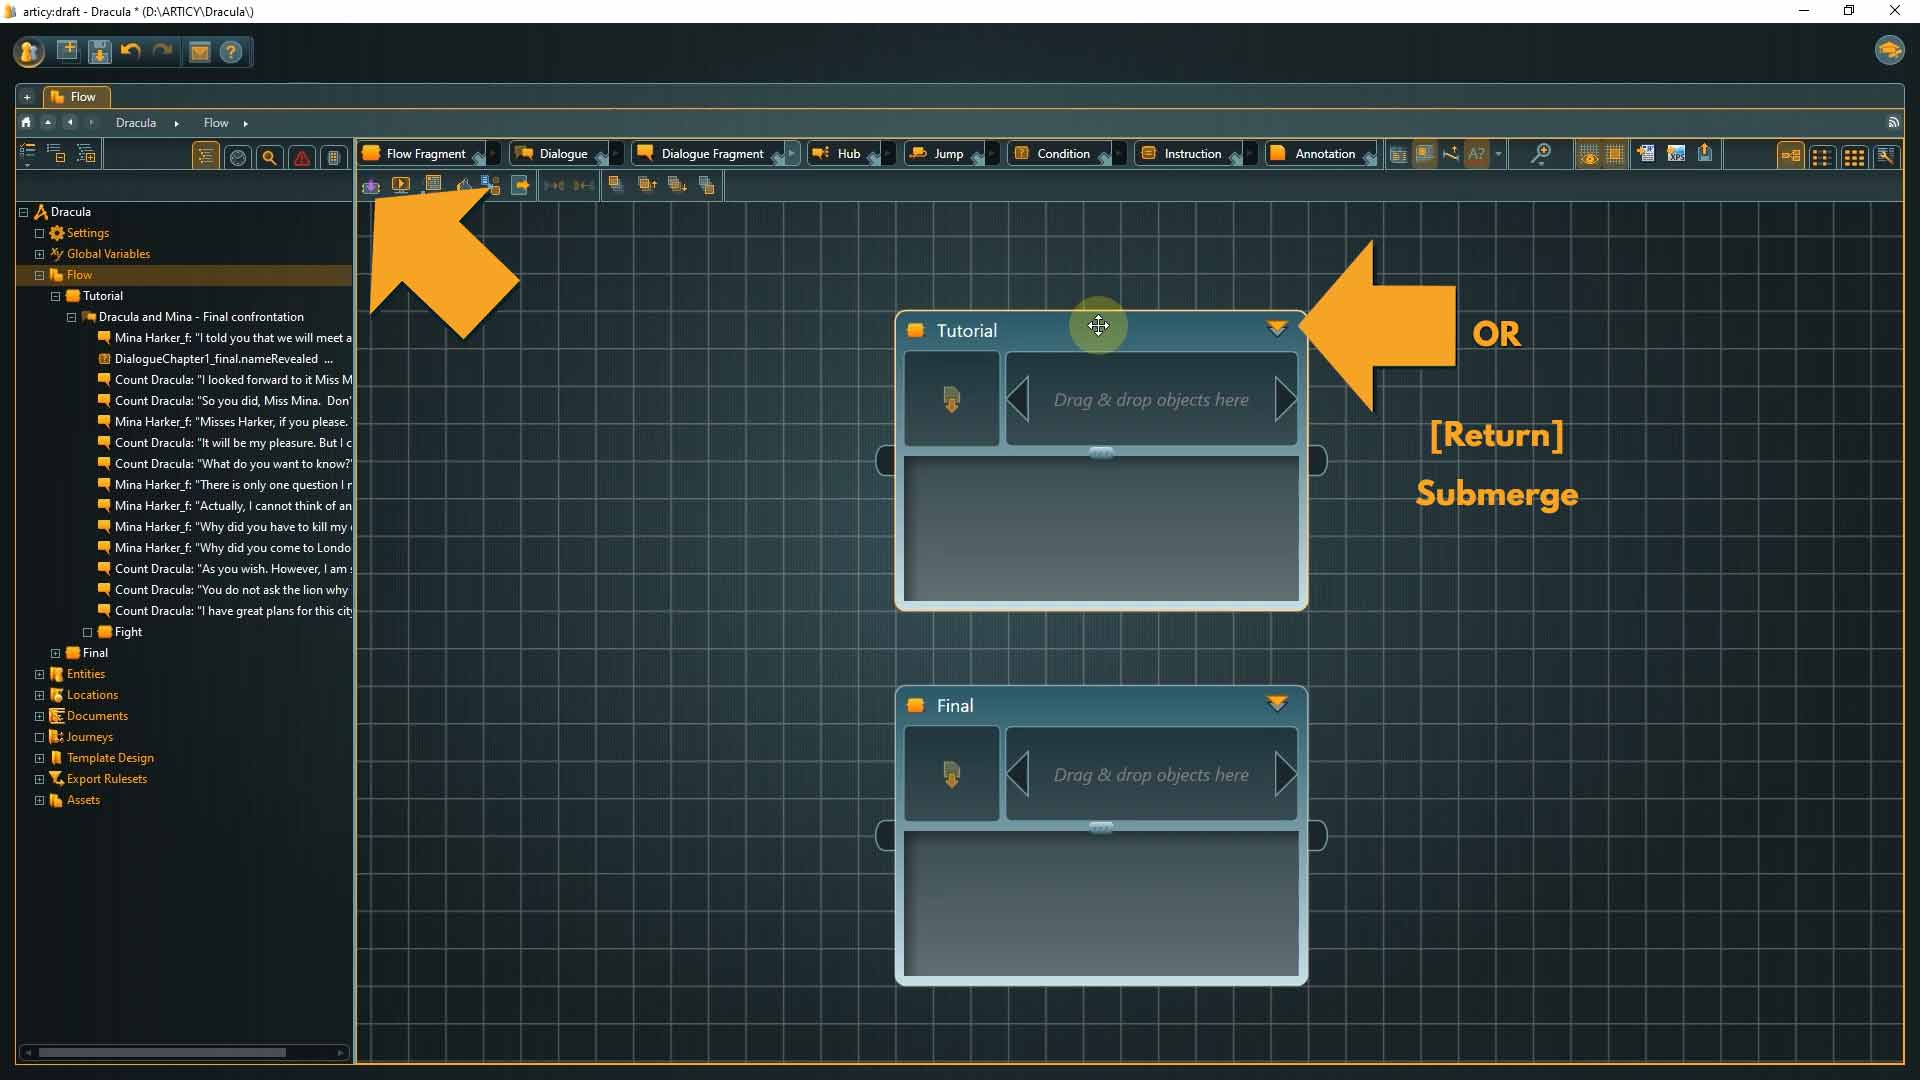
1. Select the Tutorial node with a left click and watch the tool bar while you are doing it. A second line of commands appears, context-sensitive to this specific element.
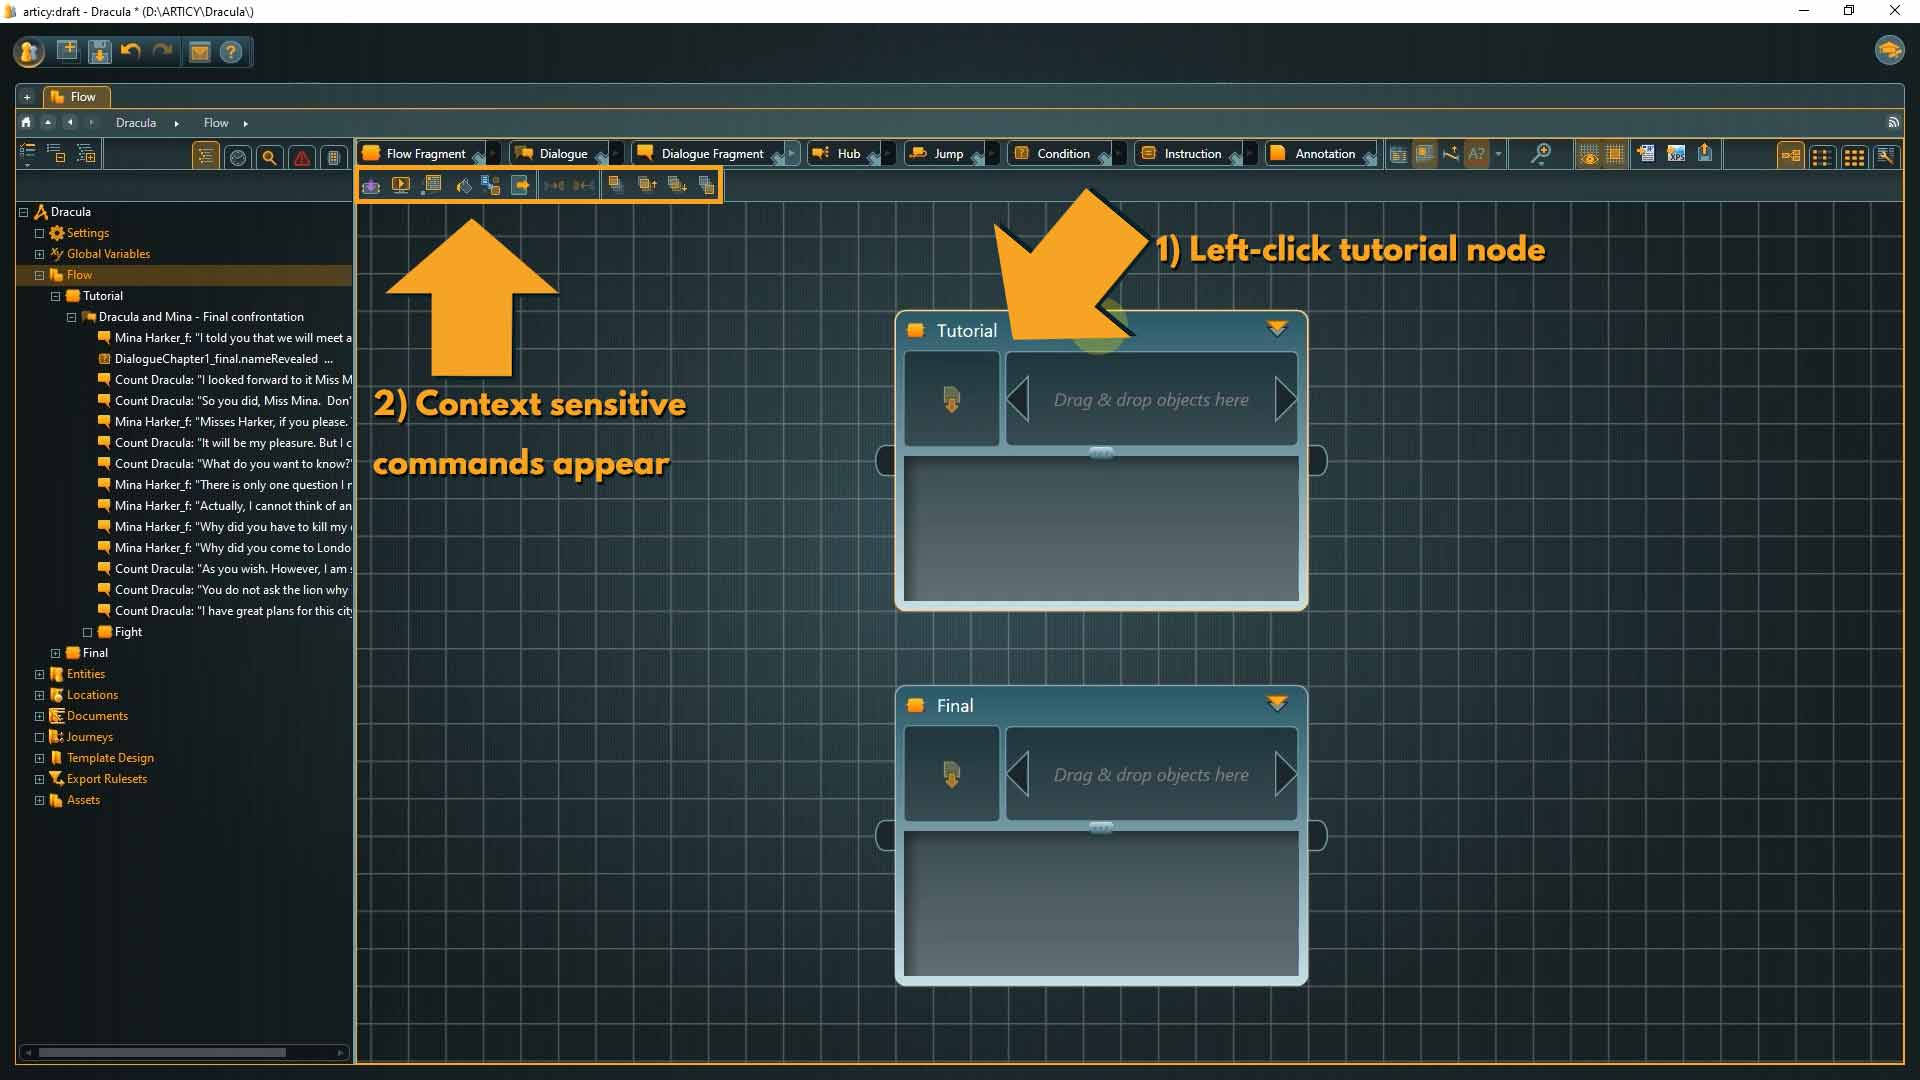
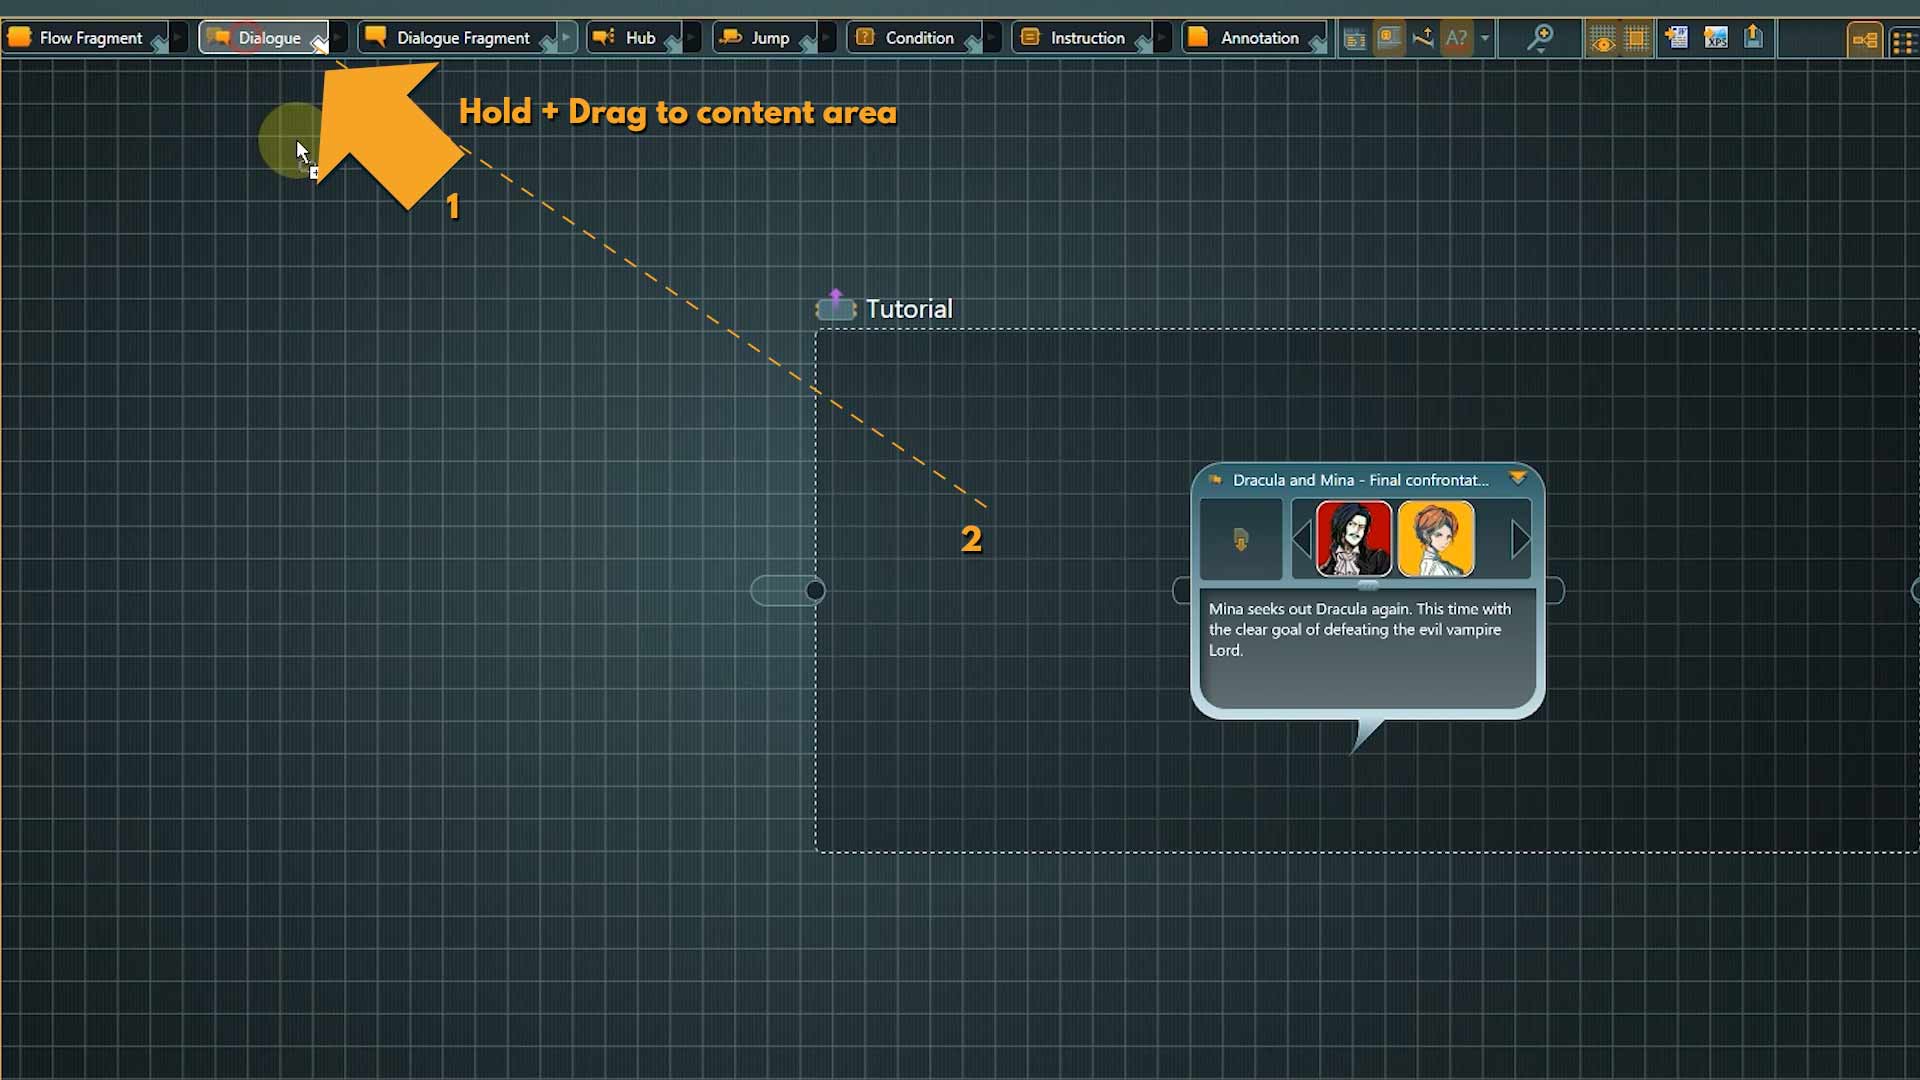
2. To go one layer deeper, or to “submerge” as this action is called in articy, you can click the Submerge button in the toolbar or use the hotkey “Return”. In case the node already has inner content you can double-click the inner content symbol at the top right of the node, which consists of two little triangles.
We are now submerged in the Tutorial node. We can easily see where we are with a look at the Navigator – where now the Tutorial entry is marked, or by the name of the parent node located at the top left of the area marked with a dashed outline. The marked area symbolizes the parent node which surrounds this inner content.
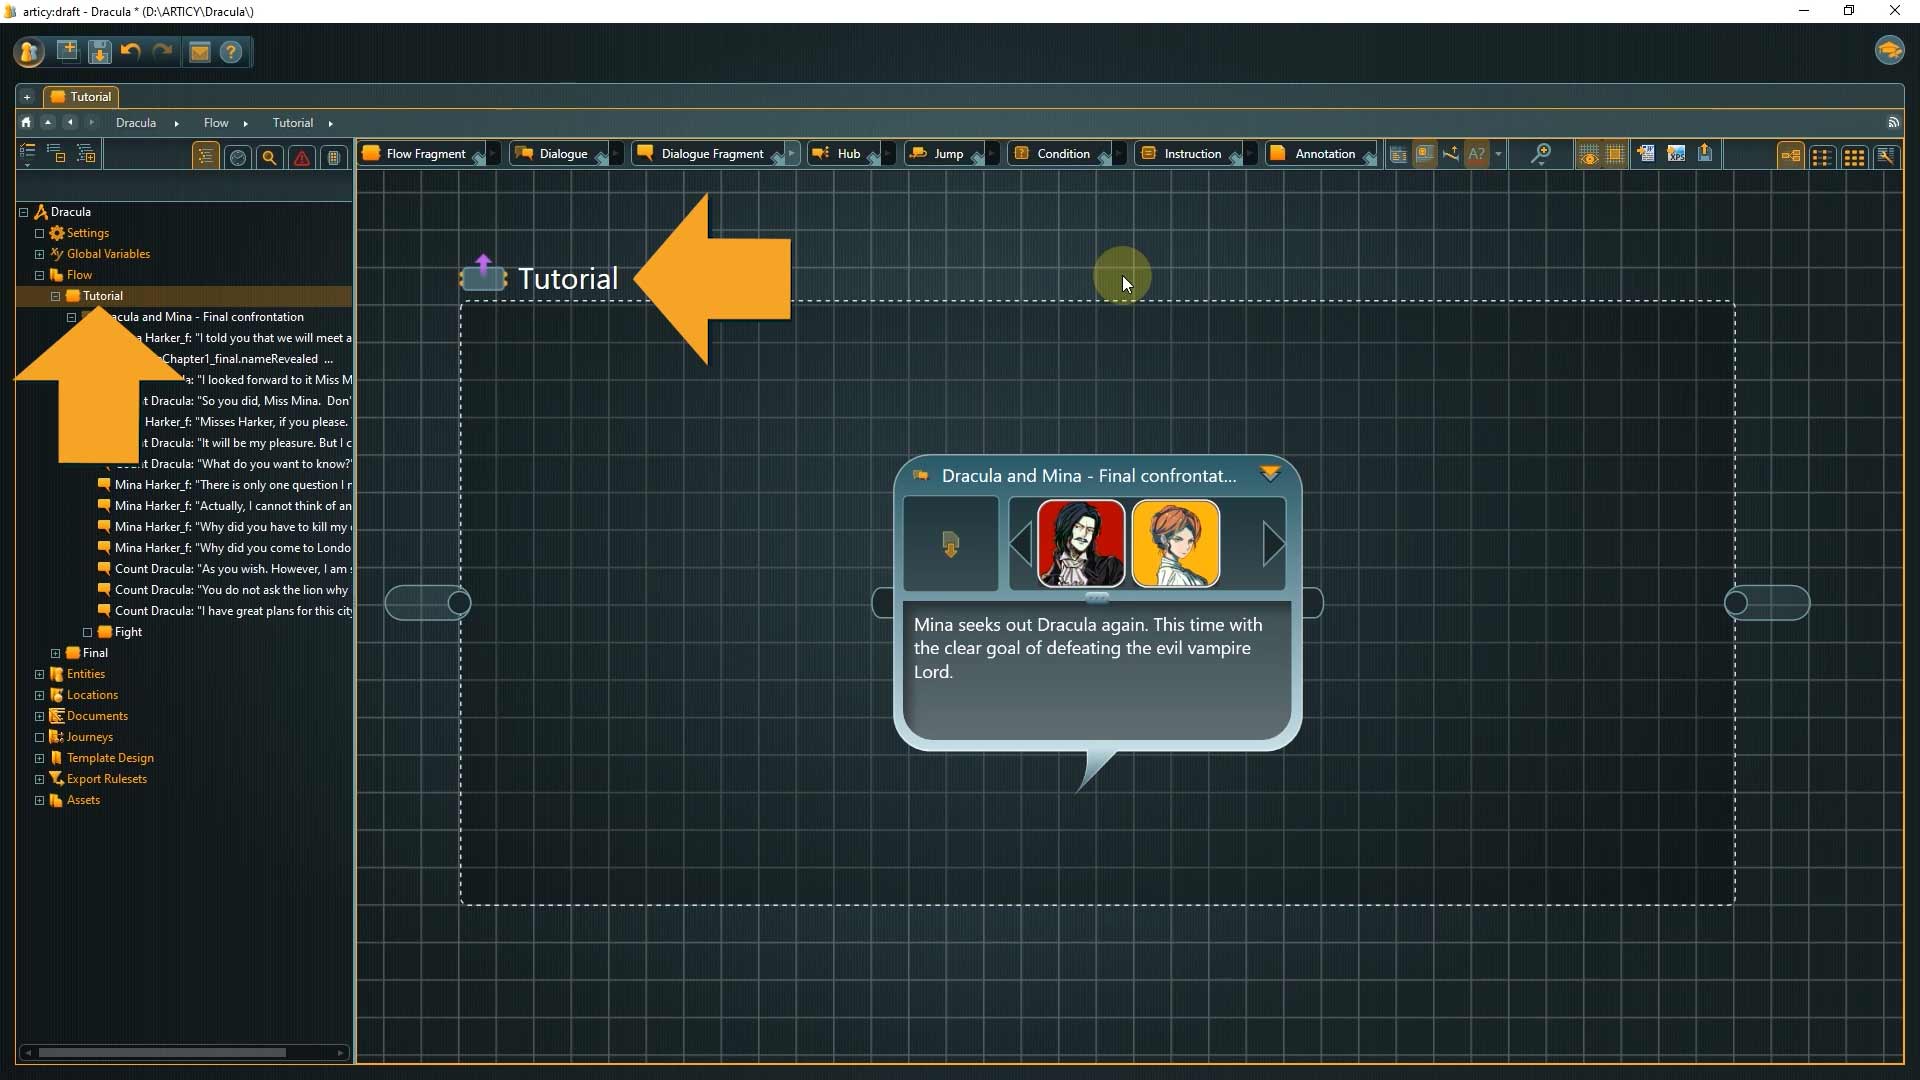
Next to the parent’s node name we find the Emerge button, which brings us up a level again.

Creating a top level story structure
At the moment we have one object on this flow level, with the name “Dracula & Mina – Final confrontation”. It is a dialogue node. A dialogue node is a container for individual lines of dialogue. Another type of node we will discover today is the Flow Fragment. With these two node types you can structure your entire content – everything that will be a typical dialogue in your game goes into dialogue nodes, and gameplay related content and general descriptions are created with flow fragments. If you are familiar with the standard screenplay format the templates Action and General would be the type of content handled with Flow Fragments in articy.
⭐ Our tip: Tip: It is a good practice to differentiate your content with dialogue nodes and flow fragments. First off it helps to keep the overview, and it makes it easier if you get to exporting your content for use in a game engine.
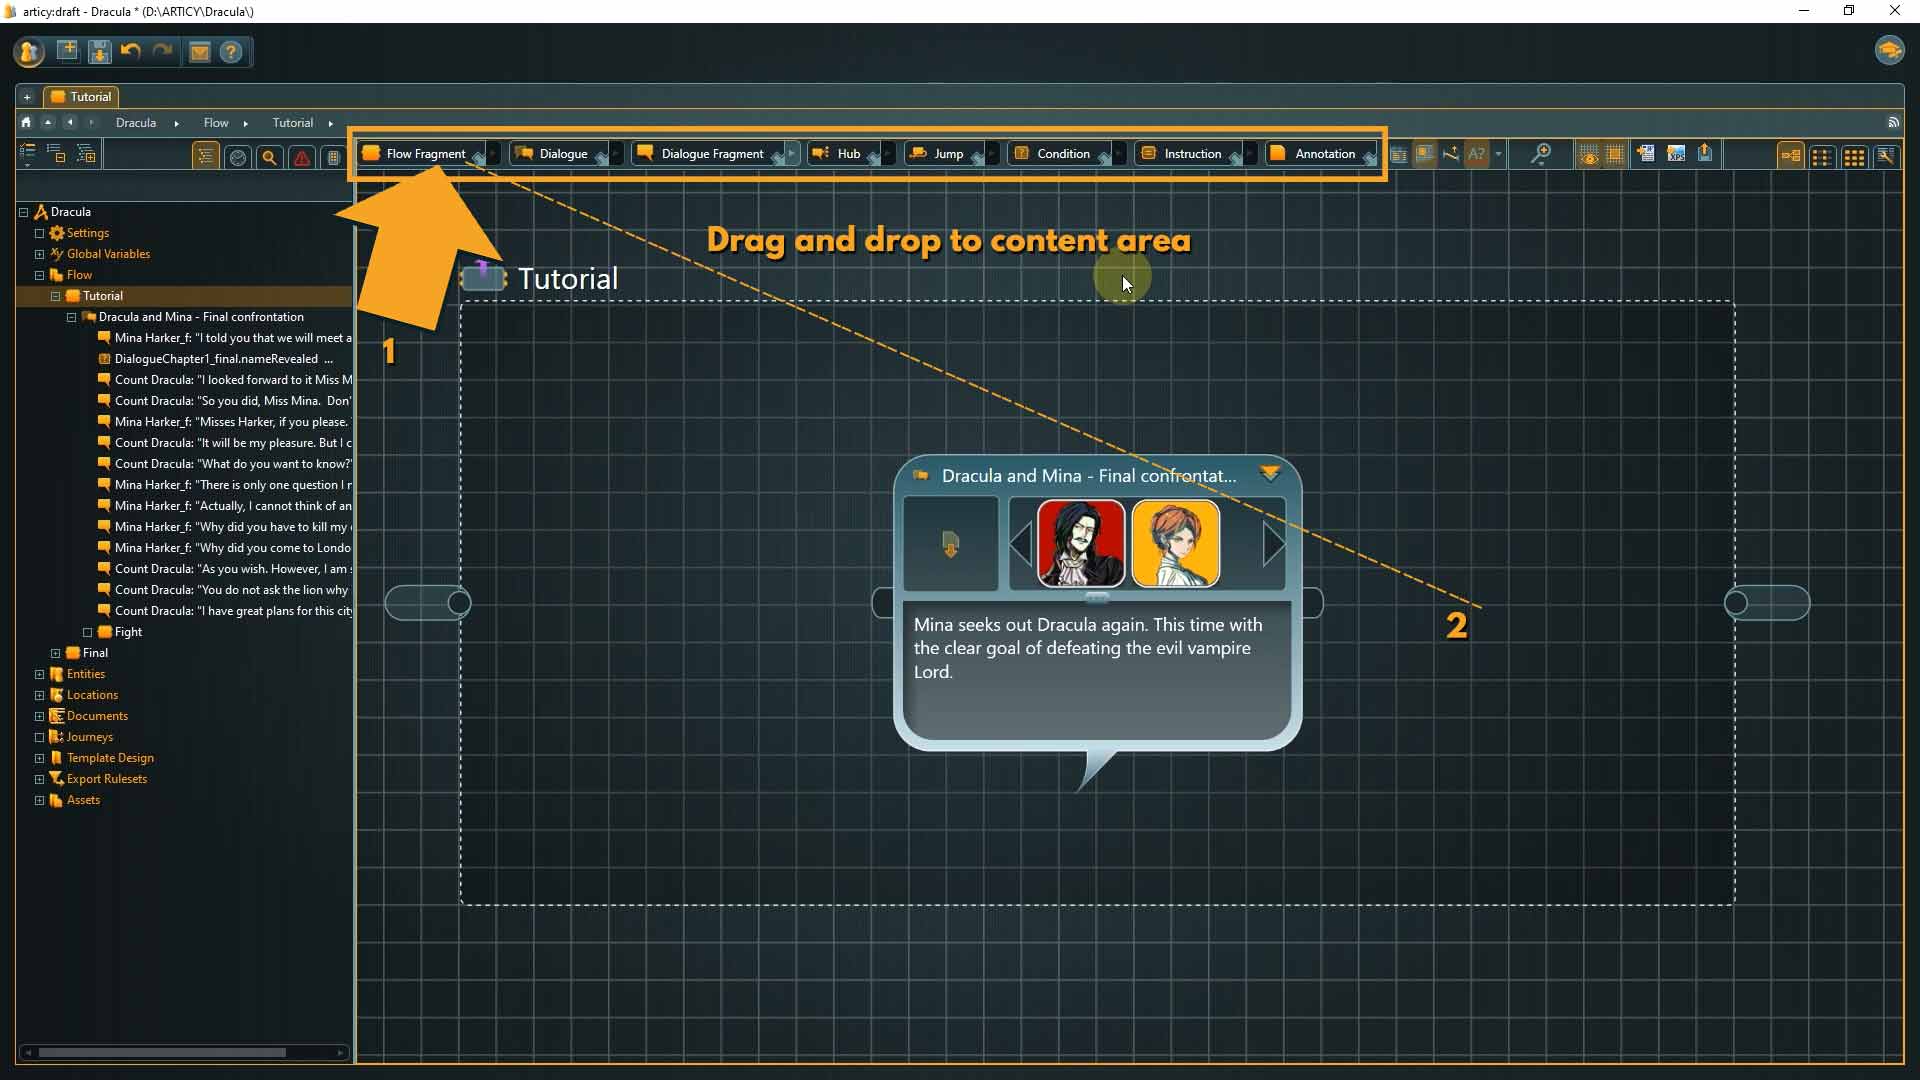
1. To create nodes left click on the corresponding button in the tool bar, hold the mouse button and drag the element onto the canvas of the content area. Create a flow fragment node, so we can compare the two elements side by side.
In the upper left corner you can find the template icon. You can use custom icons for templates, so if these are assigned it is visible at a glance.
Next to it is the name of the node.
In the upper right the container symbol is located. Both dialogue node and flow fragment are so called container nodes. That means you can put other nodes into these nodes and by that create the nesting structure we saw earlier in this lesson. If the container symbol is visible it means that there is inner content. This dialogue node has inner content – the dialogue we have seen earlier – the newly created flow fragment of course does not yet have inner content.
Below that you can place a preview image and attach other objects in the reference strip, in the same way as we have already seen with entities. For this dialogue node the reference strip was used to show which characters are involved in the dialogue within.
Below the images is room for a description text, you can for example use it for a brief synopsis of what happens in this story part.
On the sides are the in and output pins. As the flow direction goes from left to right, the input pin is always on the left side and the output pin always on the right side of a node. The pins are used to create connections between nodes.

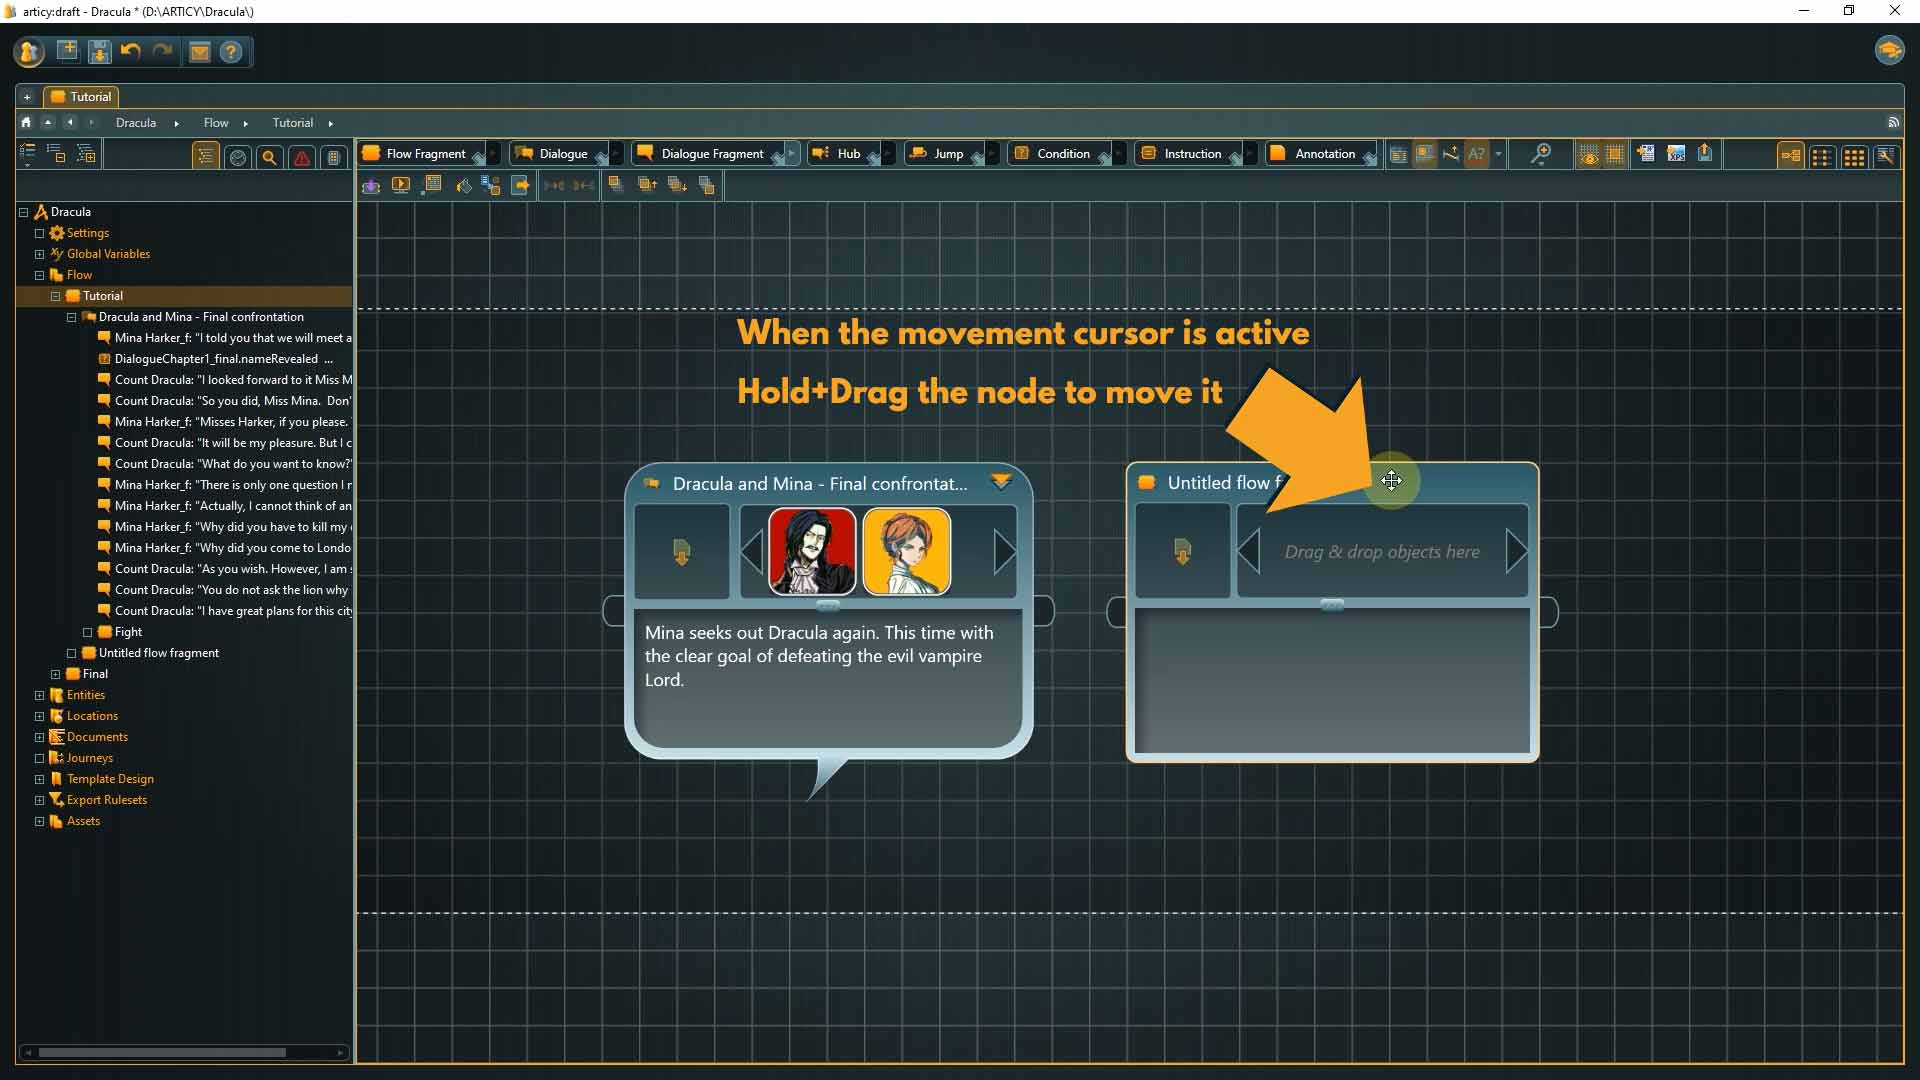
2. You can move nodes by bringing the mouse cursor into the title area. There it will change to a movement cursor. Now left click, hold, and drag to the new position.
3. To resize a node bring the cursor to one of the corners and it will change to a scaling cursor. Again, left click, hold, and drag to the desired size.
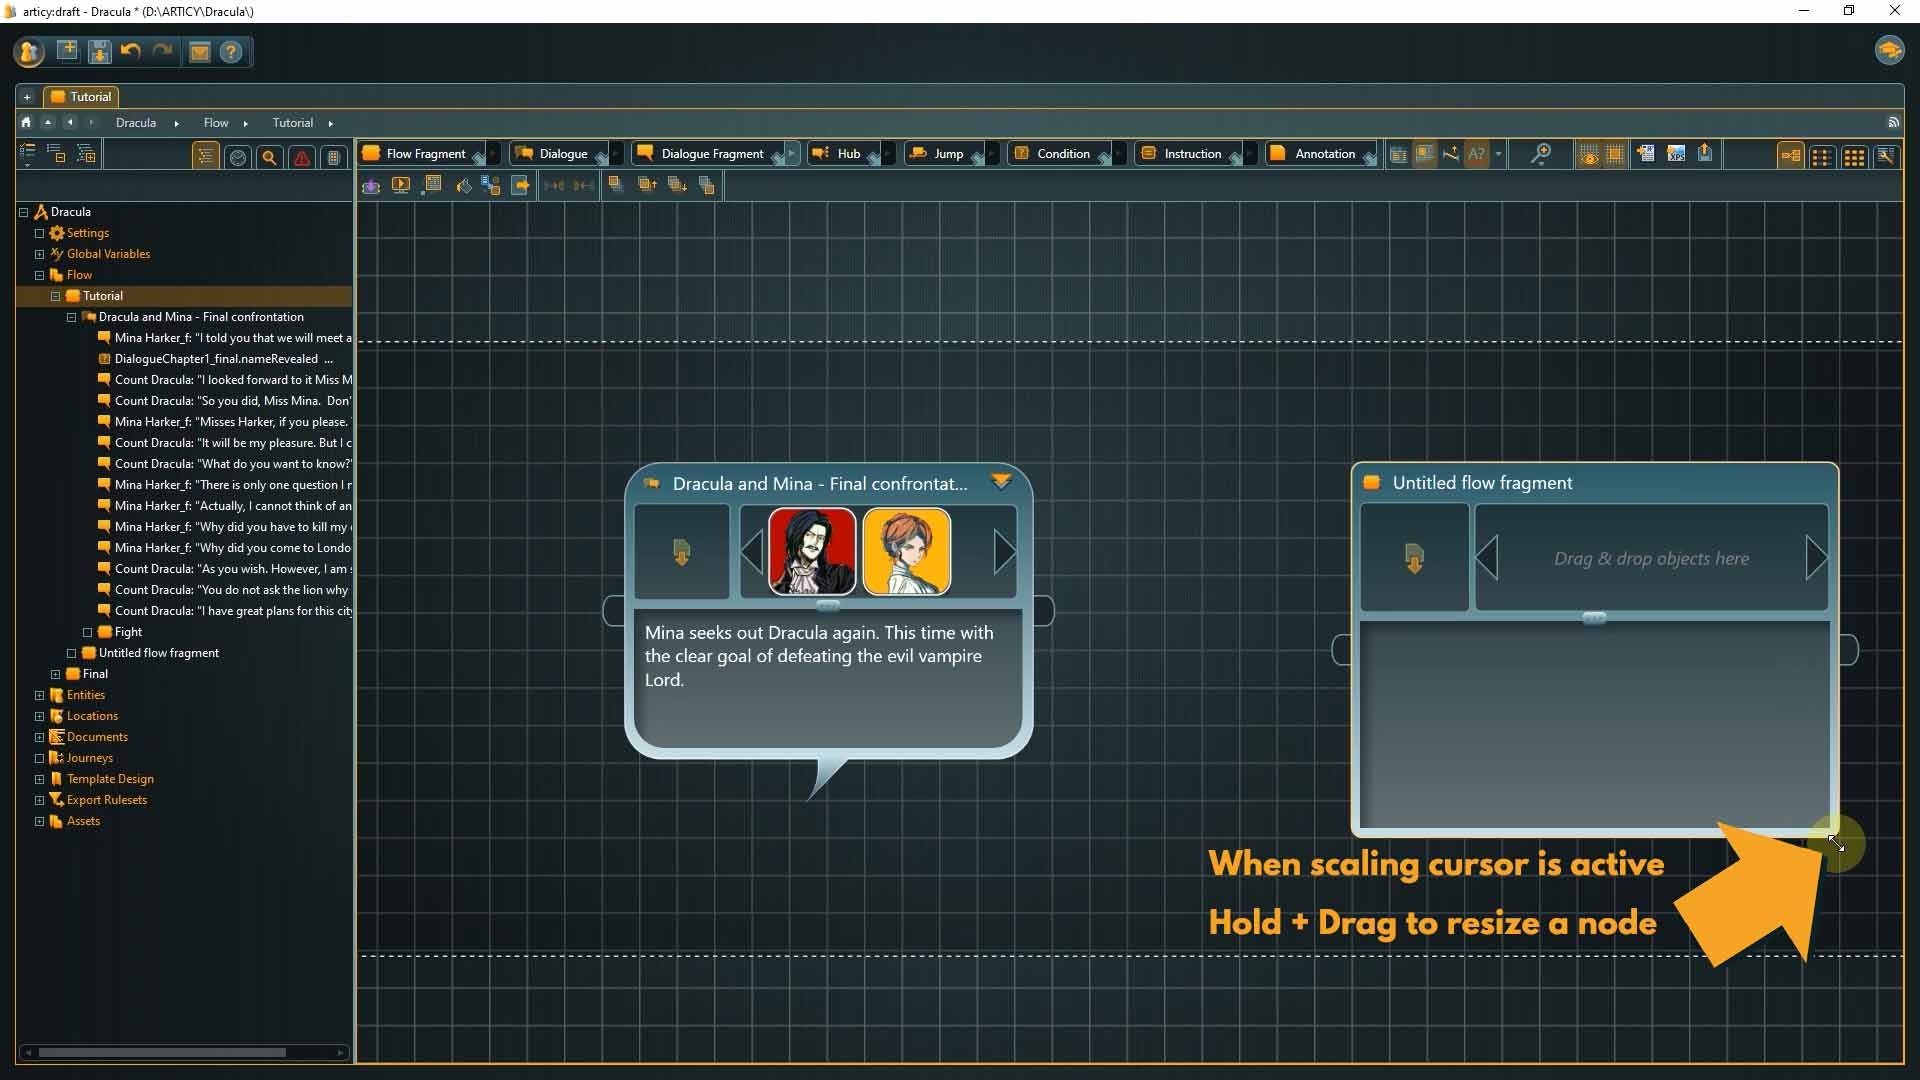
👉 The visual size of a container node has no influence on the amount of content it can hold within.
While we are at this flow layer, why not create the broad structure for our story? I envision a cutscene-like dialogue with Mina and Van Helsing and two full-fledged branching dialogues featuring Mina and Dracula. As we want to use the overall structure we talked about earlier, we should use Dialogue nodes for all these elements. That means we can get rid of the flow fragment we created earlier.
4. To remove a node select it by left clicking it and then press the Delete key
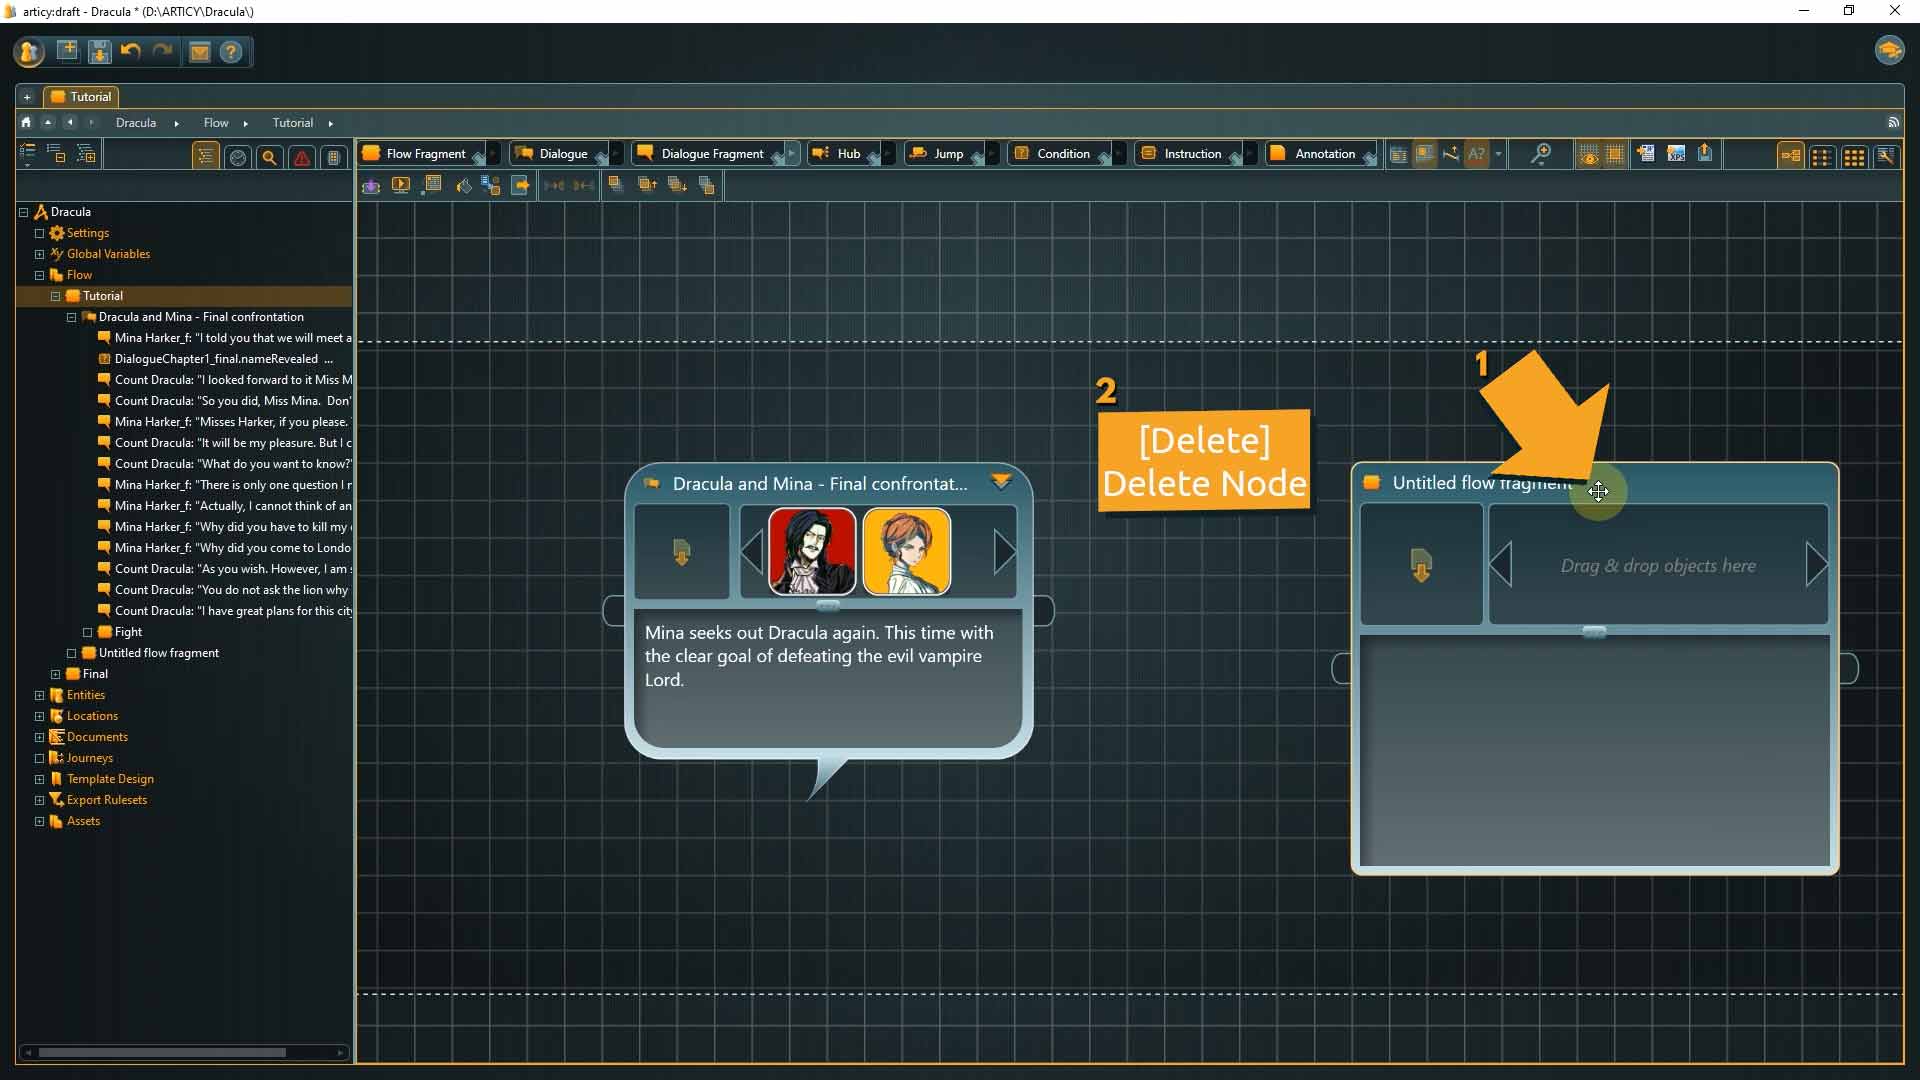
You can also use the right-click context menu and select delete from there.
5. Create two additional dialogue nodes. Do that by dragging them from the toolbar.
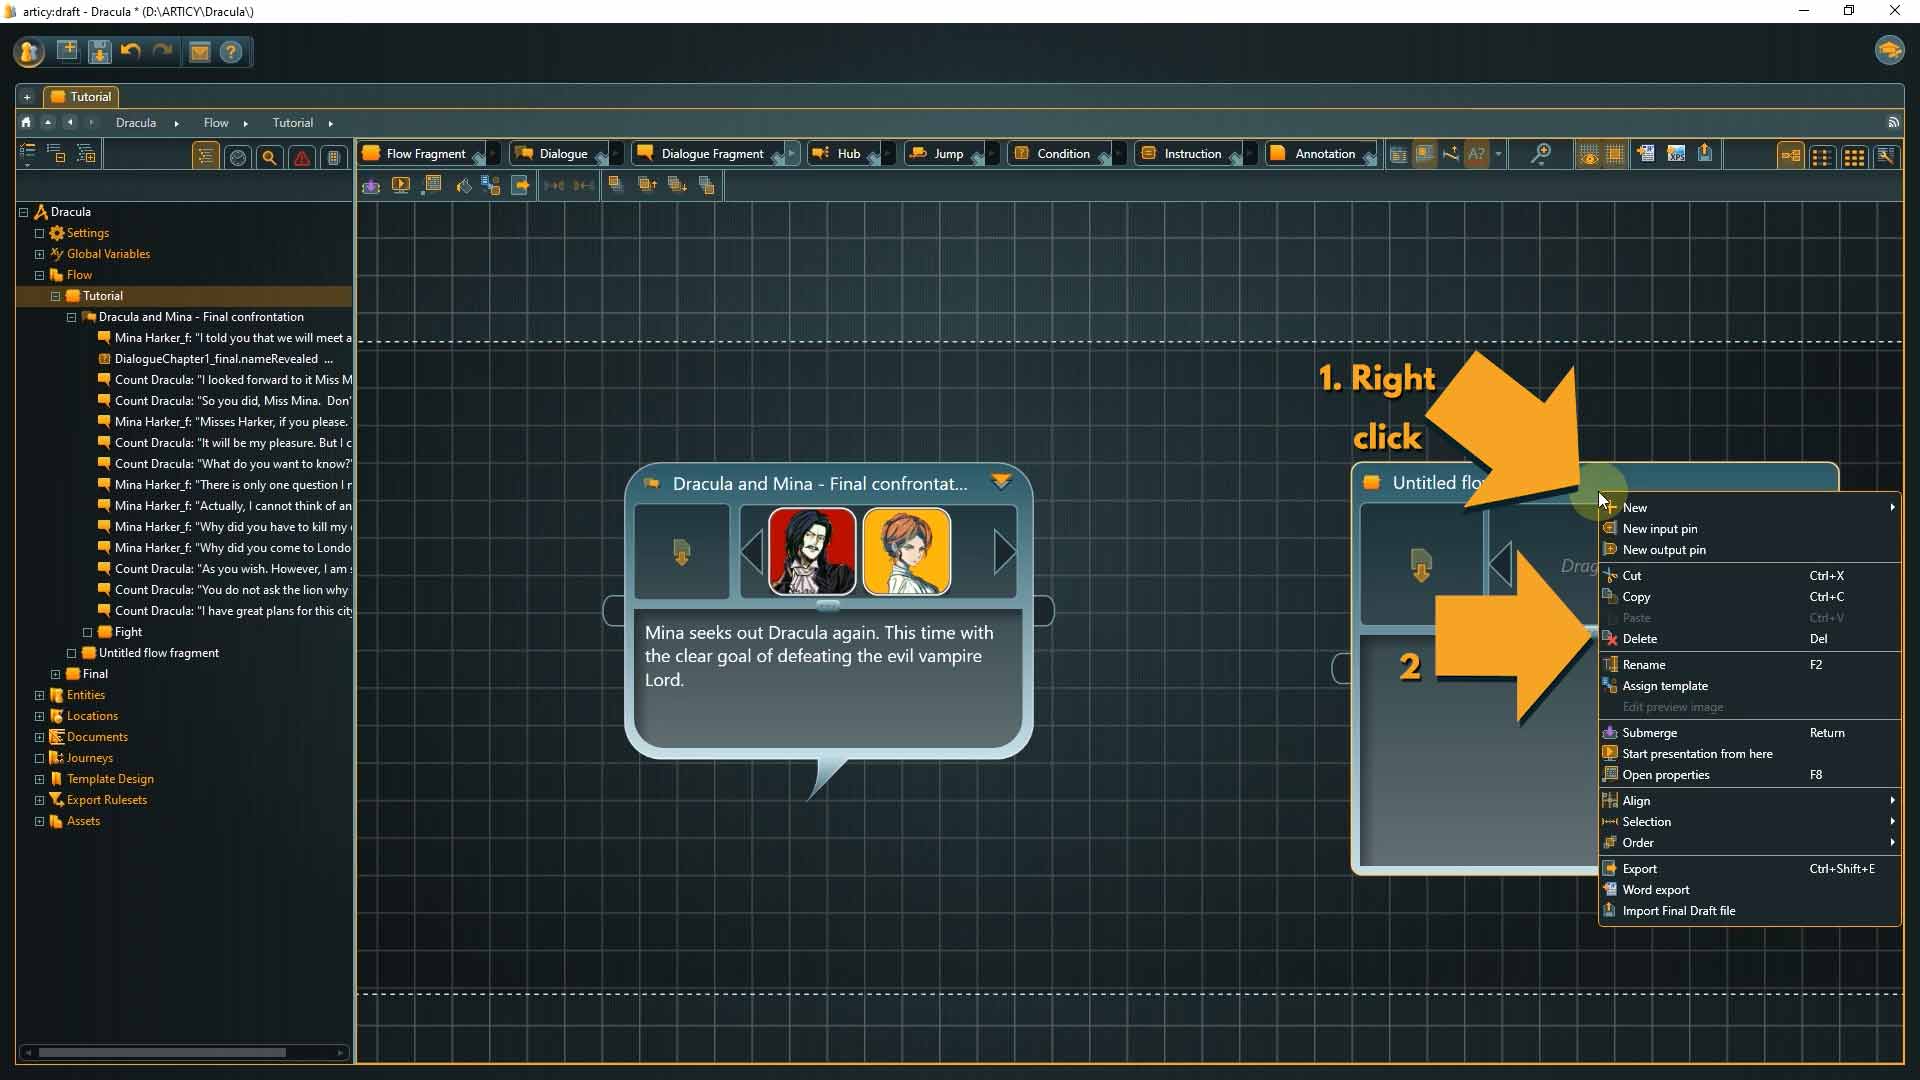
We can also create nodes by right-clicking the canvas and using the context menu that appears.
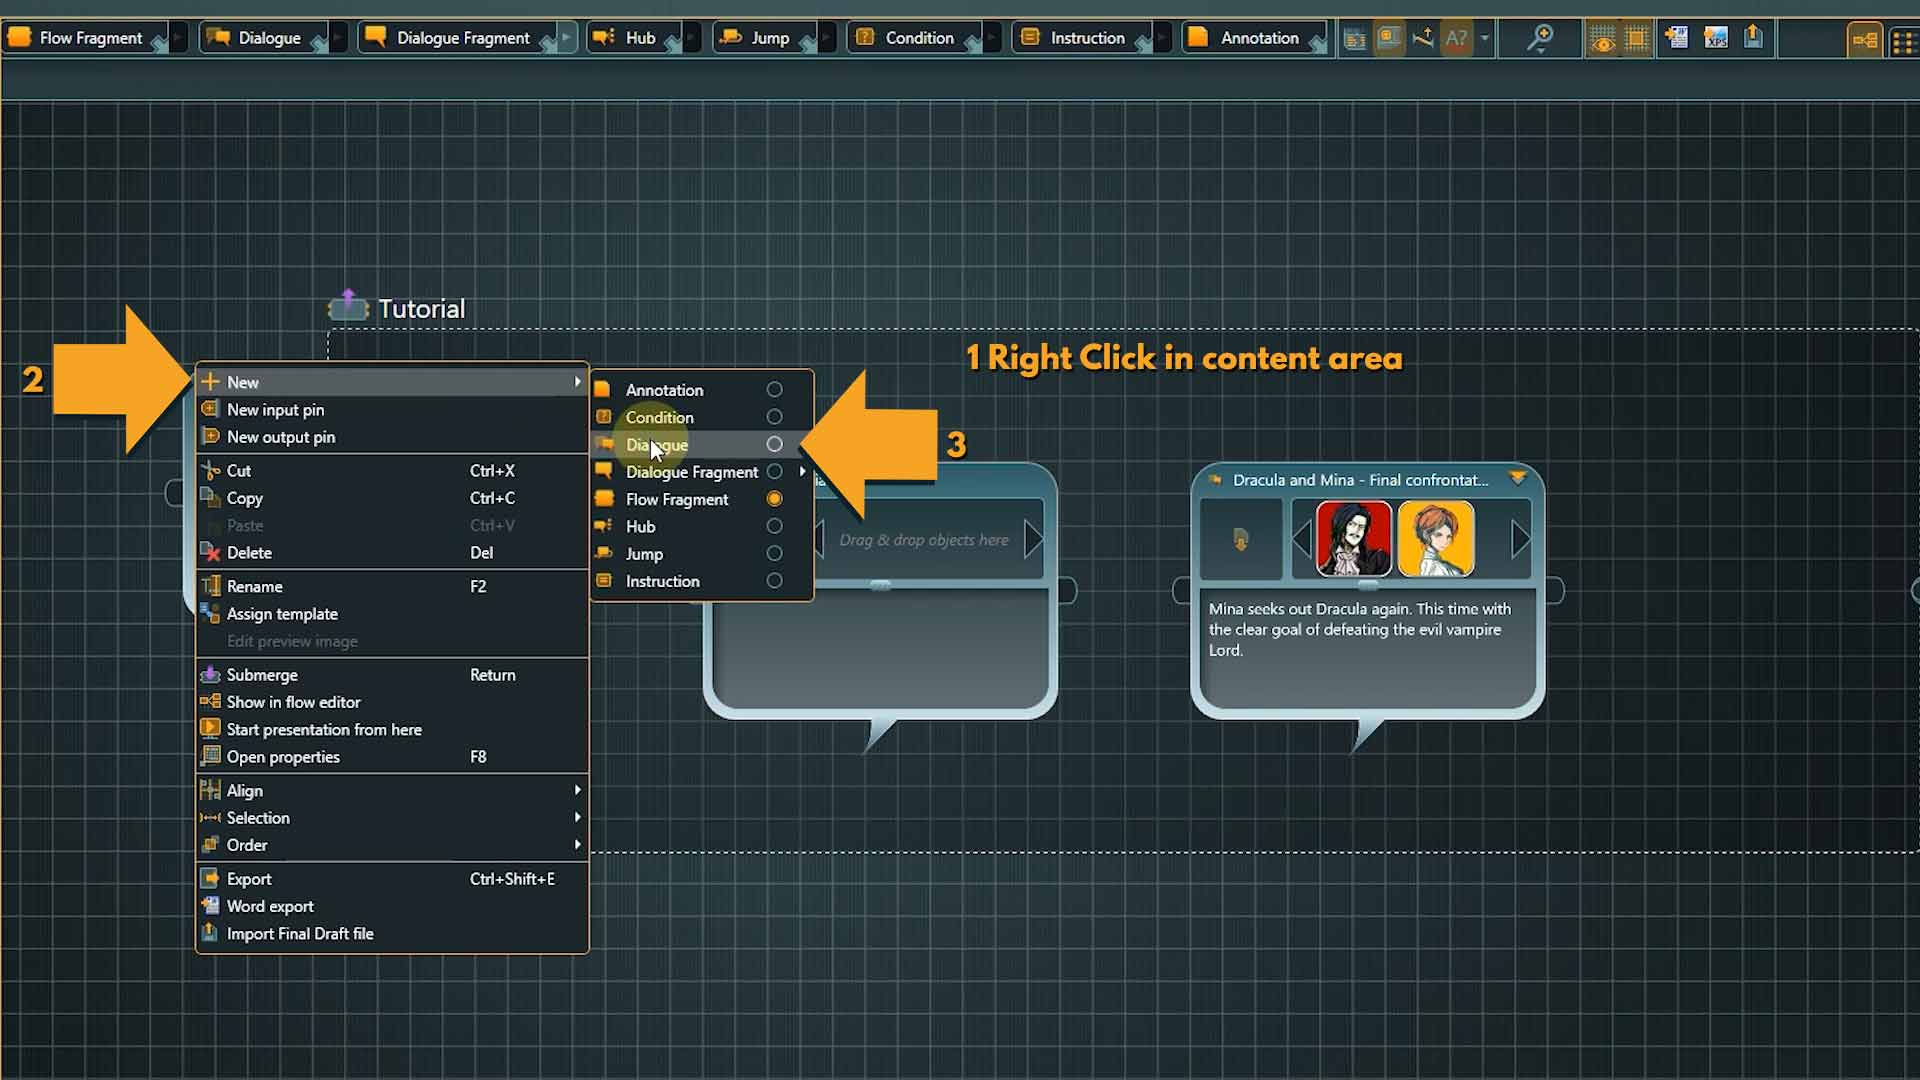
👉 The right-click context menu usually offers an alternative way to create elements and work with them.
If you like, you can label the nodes and describe the planned content with a few words, then we are almost done with our story framework. All that is missing now are the connections between the nodes to complete the flow structure.
6. To add a connection simply left click the output pin of the first node and drag a connection to the input pin of the second node. Repeat for the third node.

Our broad structure is finished. We could already show this to a colleague or friend to present our story ideas and get some early feedback. And thanks to the nesting approach we can continue using this structure, flesh it out over time and fill it with content by adding additional layers.
This will be all for this lesson.
Recap:
Today we learned a lot. We visited the heart of articy – the Flow-view, we learned about nesting, the anatomy of dialogue and flow fragment nodes, and created the top-level structure for our game story.
Up next:
In lesson 6 we will create our first actual dialogue.
Thank you for joining us, and join us again in our next tutorial.
Useful Links:
Help Center – The Flow
Help Center – Dialogue Node
Help Center – Flow Fragment
Don’t have articy:draft X yet? Get the free version now!
Get articy:draft X FREE
*No Payment information required
Follow us on Twitter, Facebook and LinkedIn to keep yourself up to date and informed. To exchange ideas and interact with other articy:draft users, join our communities on reddit and discord.