Hello and welcome to Lesson 11 of the articy:draft First Steps tutorial series.
Review:
In our previous Lesson we used the query search to find dialogue fragments without a template and assigned a template to all these elements at once. Then we used the property inspector to monitor the properties of dialogue fragments in a second view pane for a much faster editing process.
This Lesson:
Today we will have another look at entities, this time in the form of items. We will see an example of how items can be represented within articy. We will create an item template from scratch, and add a new variable set to monitor Mina’s inventory.
Working with Items
There are countless ways of how items can be implemented in a game. So there is not the one right way to represent items in articy, it depends on your project.
In our little demo project items are supposed to occasionally modify some character values, and determine if certain actions are possible at a given moment. This is why we are going to work with a combination of item entities and variables.
– With the entity we transport all information we need in the game – like name, image, flavor text, combat modifiers, etc;
– With the variables we set up a simple inventory system, we can also use to influence choice points in our dialogue flow.
We already saw that the template assigned to an entity is really the defining element for what kind of object this entity becomes, so we will start with creating a template for items.
How to create a template for items
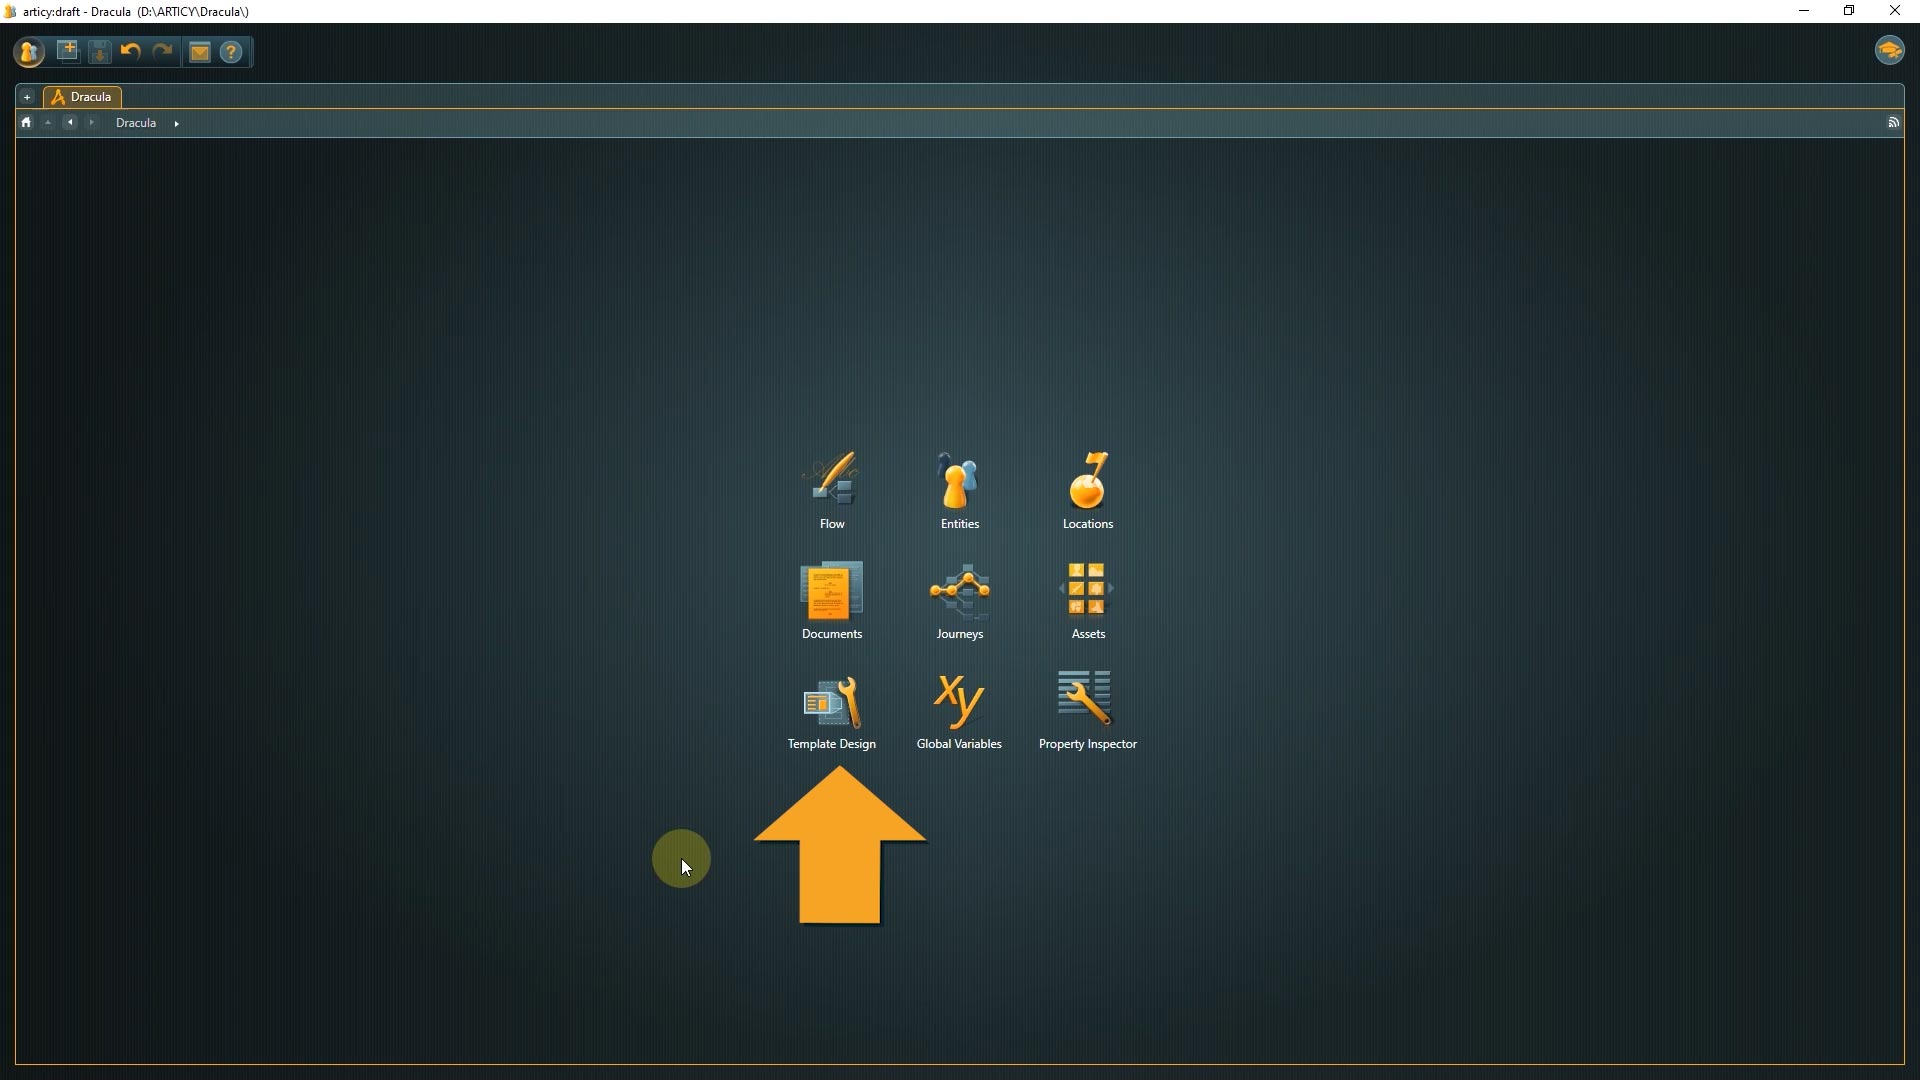
Select “Template Design” from the jumpstart page.
We need to construct a feature with the properties we want our items to have.
Create a first feature for item properties
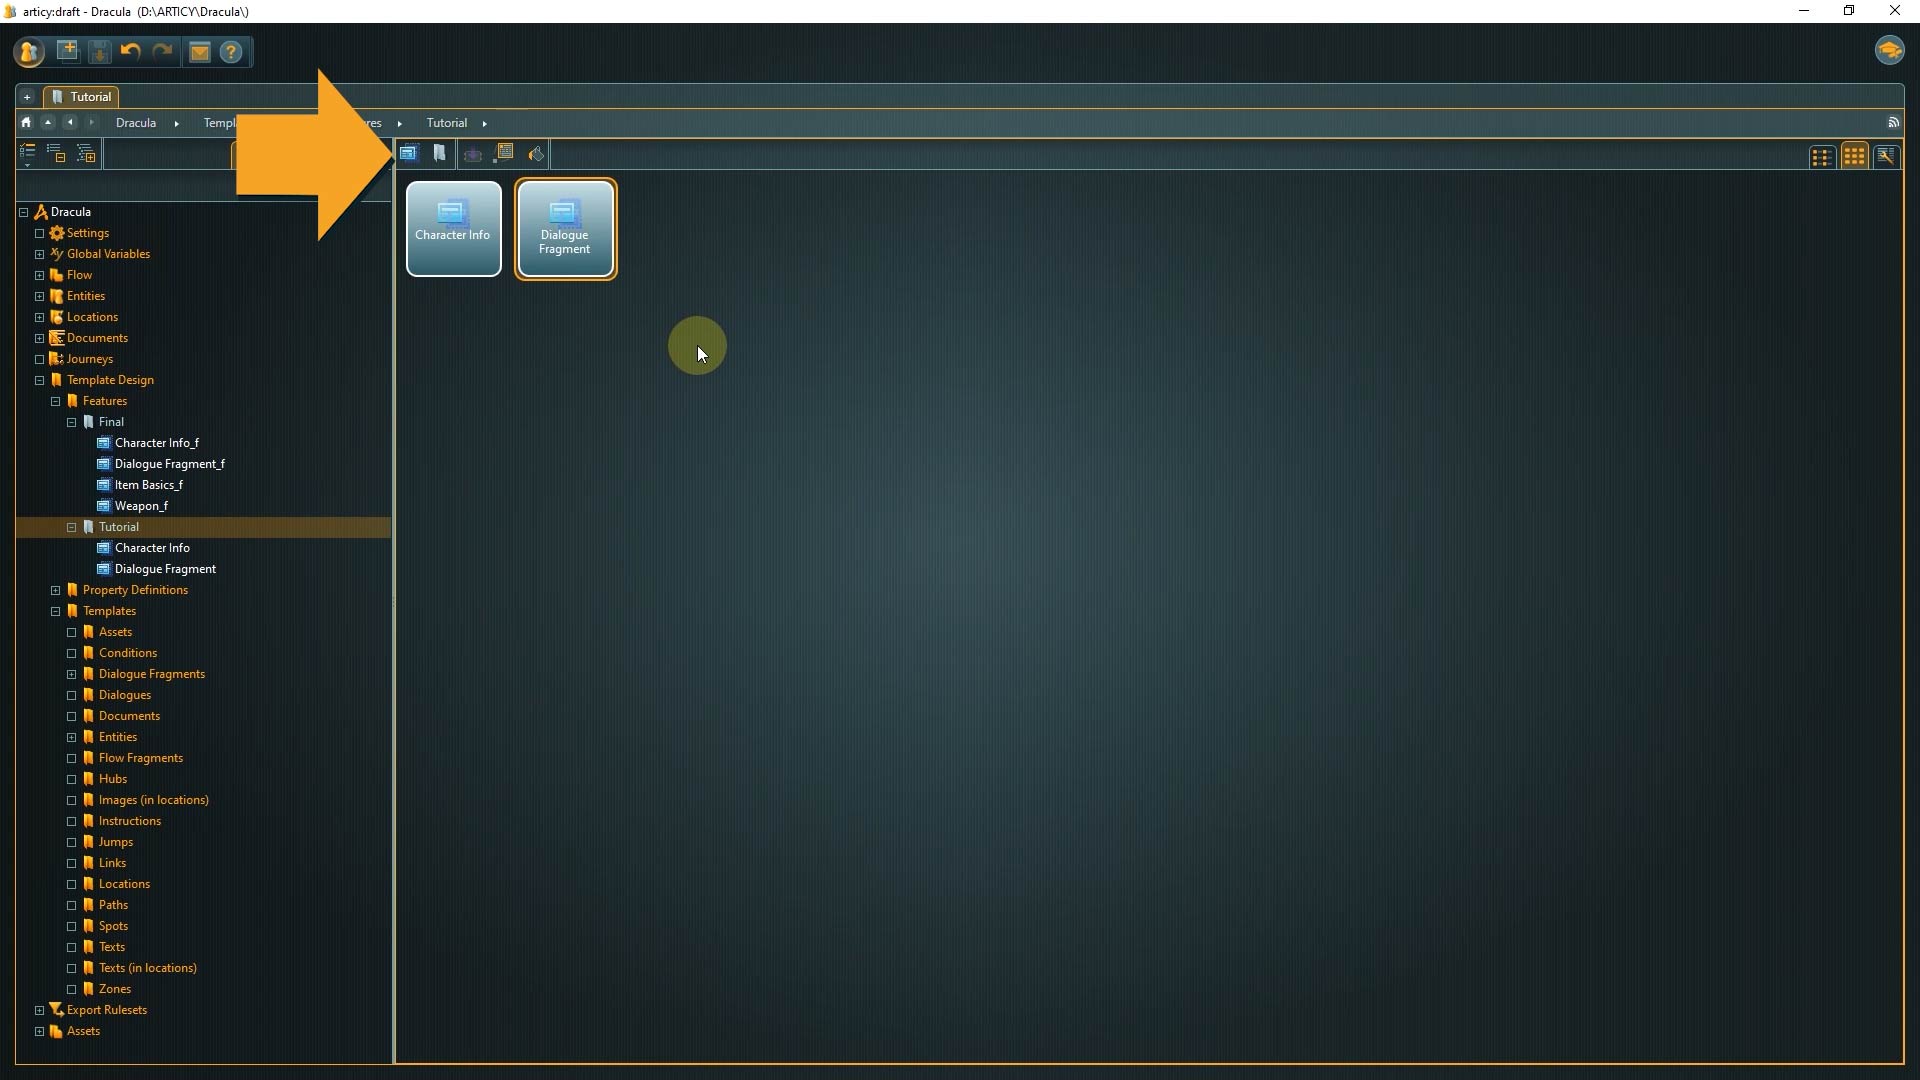
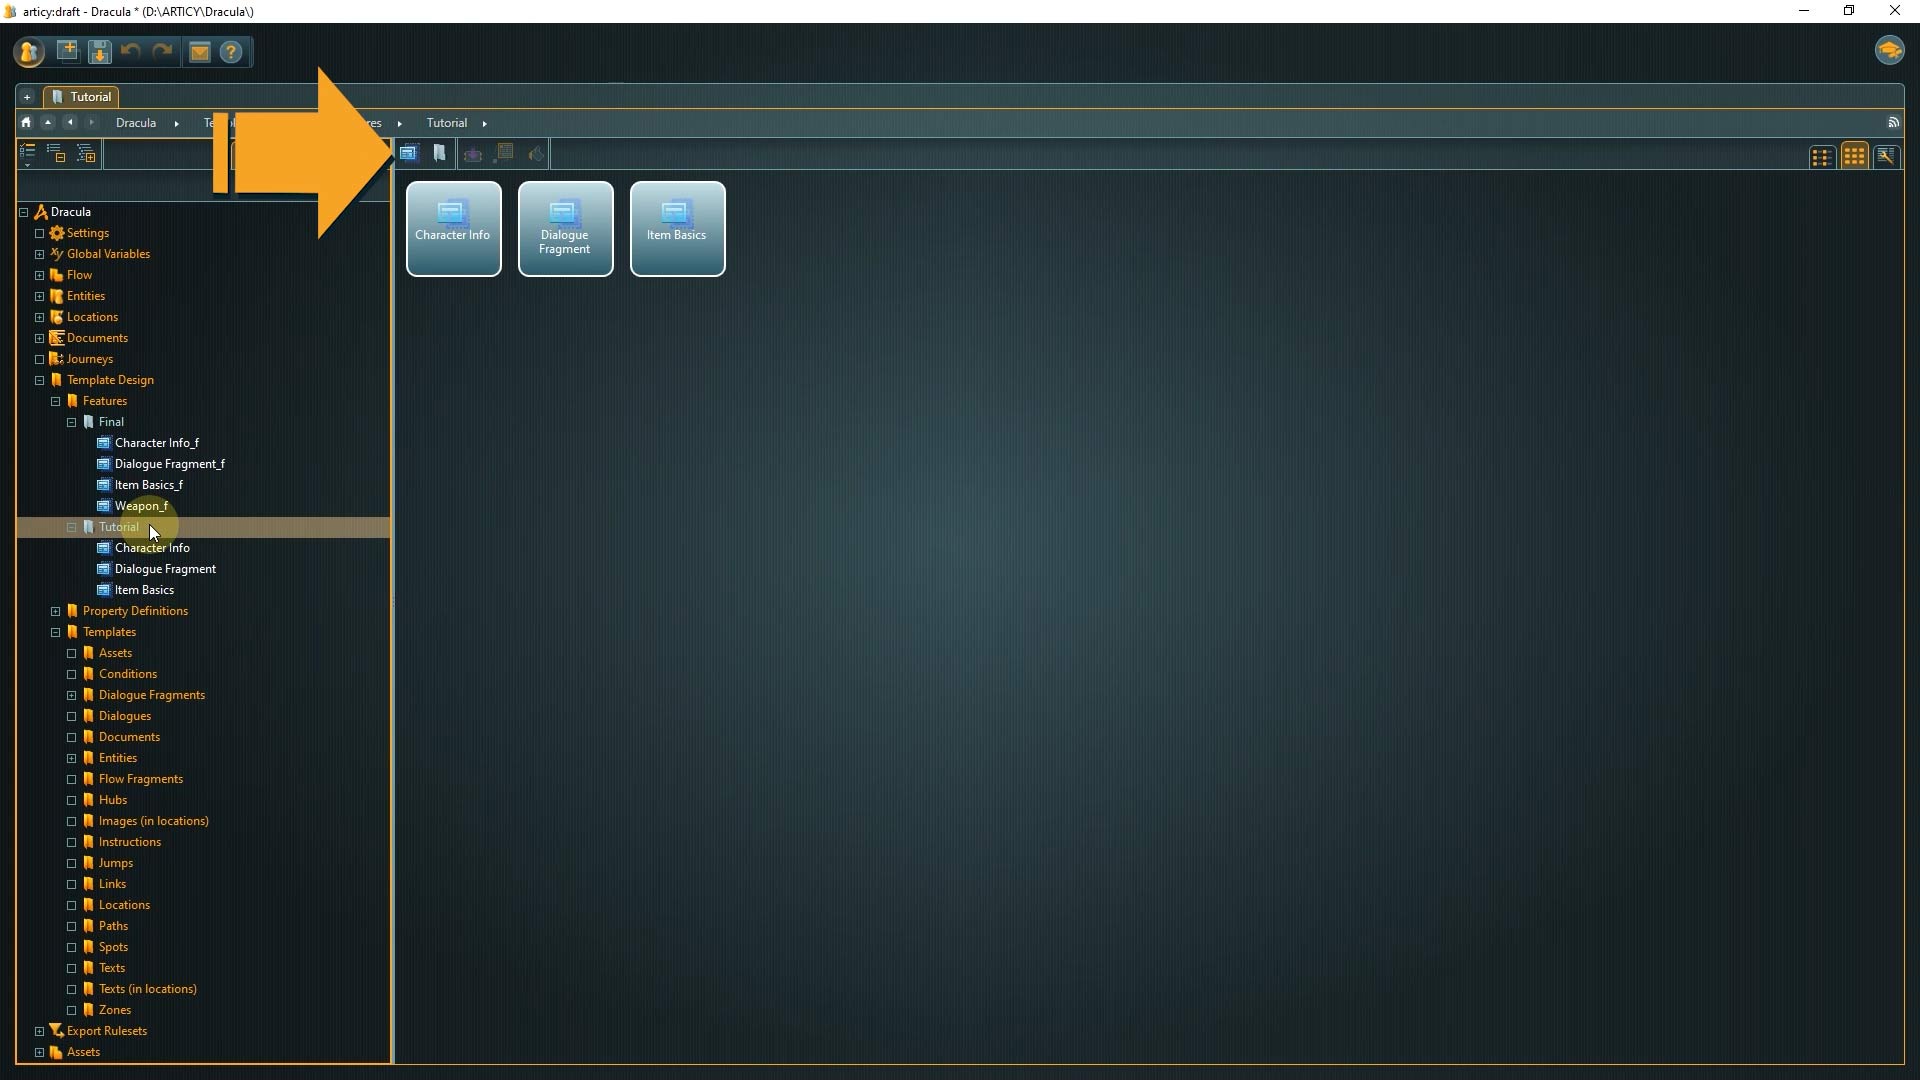
1. Go to Features

2. Then go to Tutorial
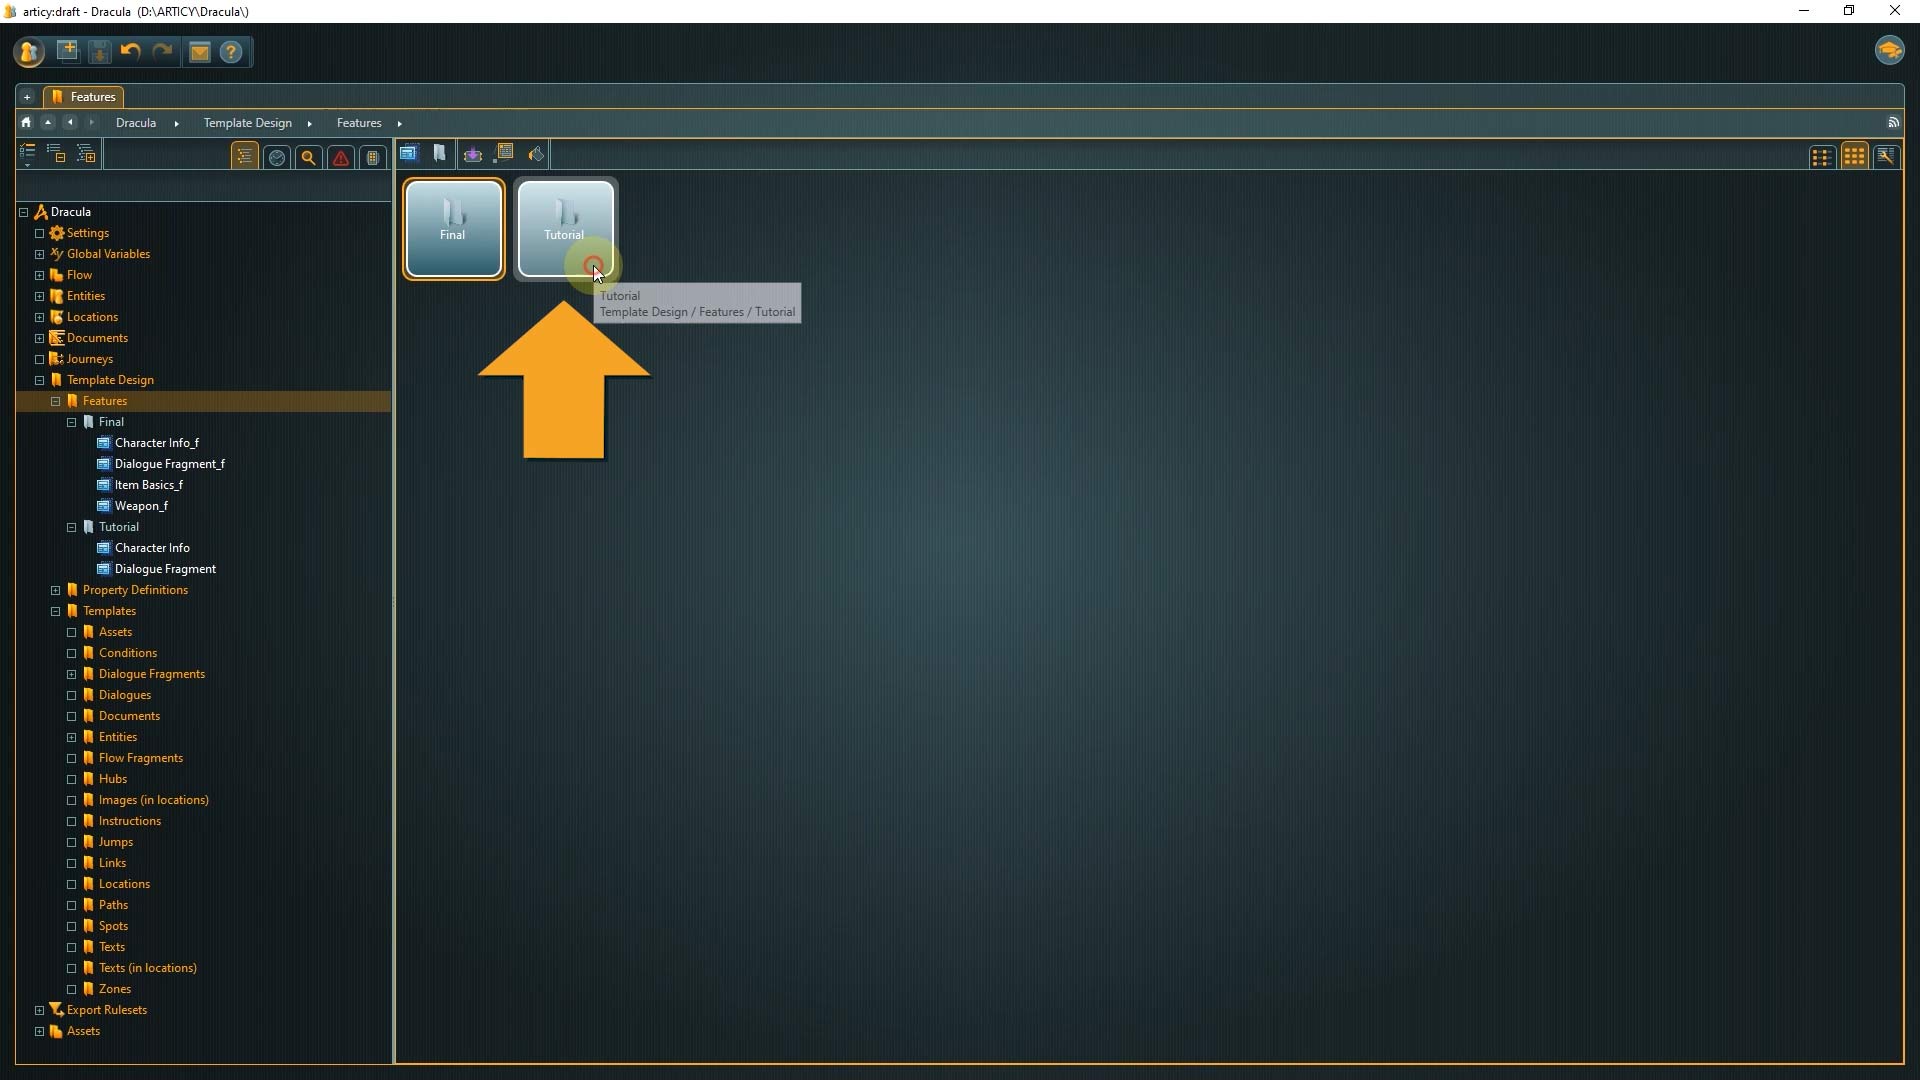
3. Select “Create new feature” from the toolbar.
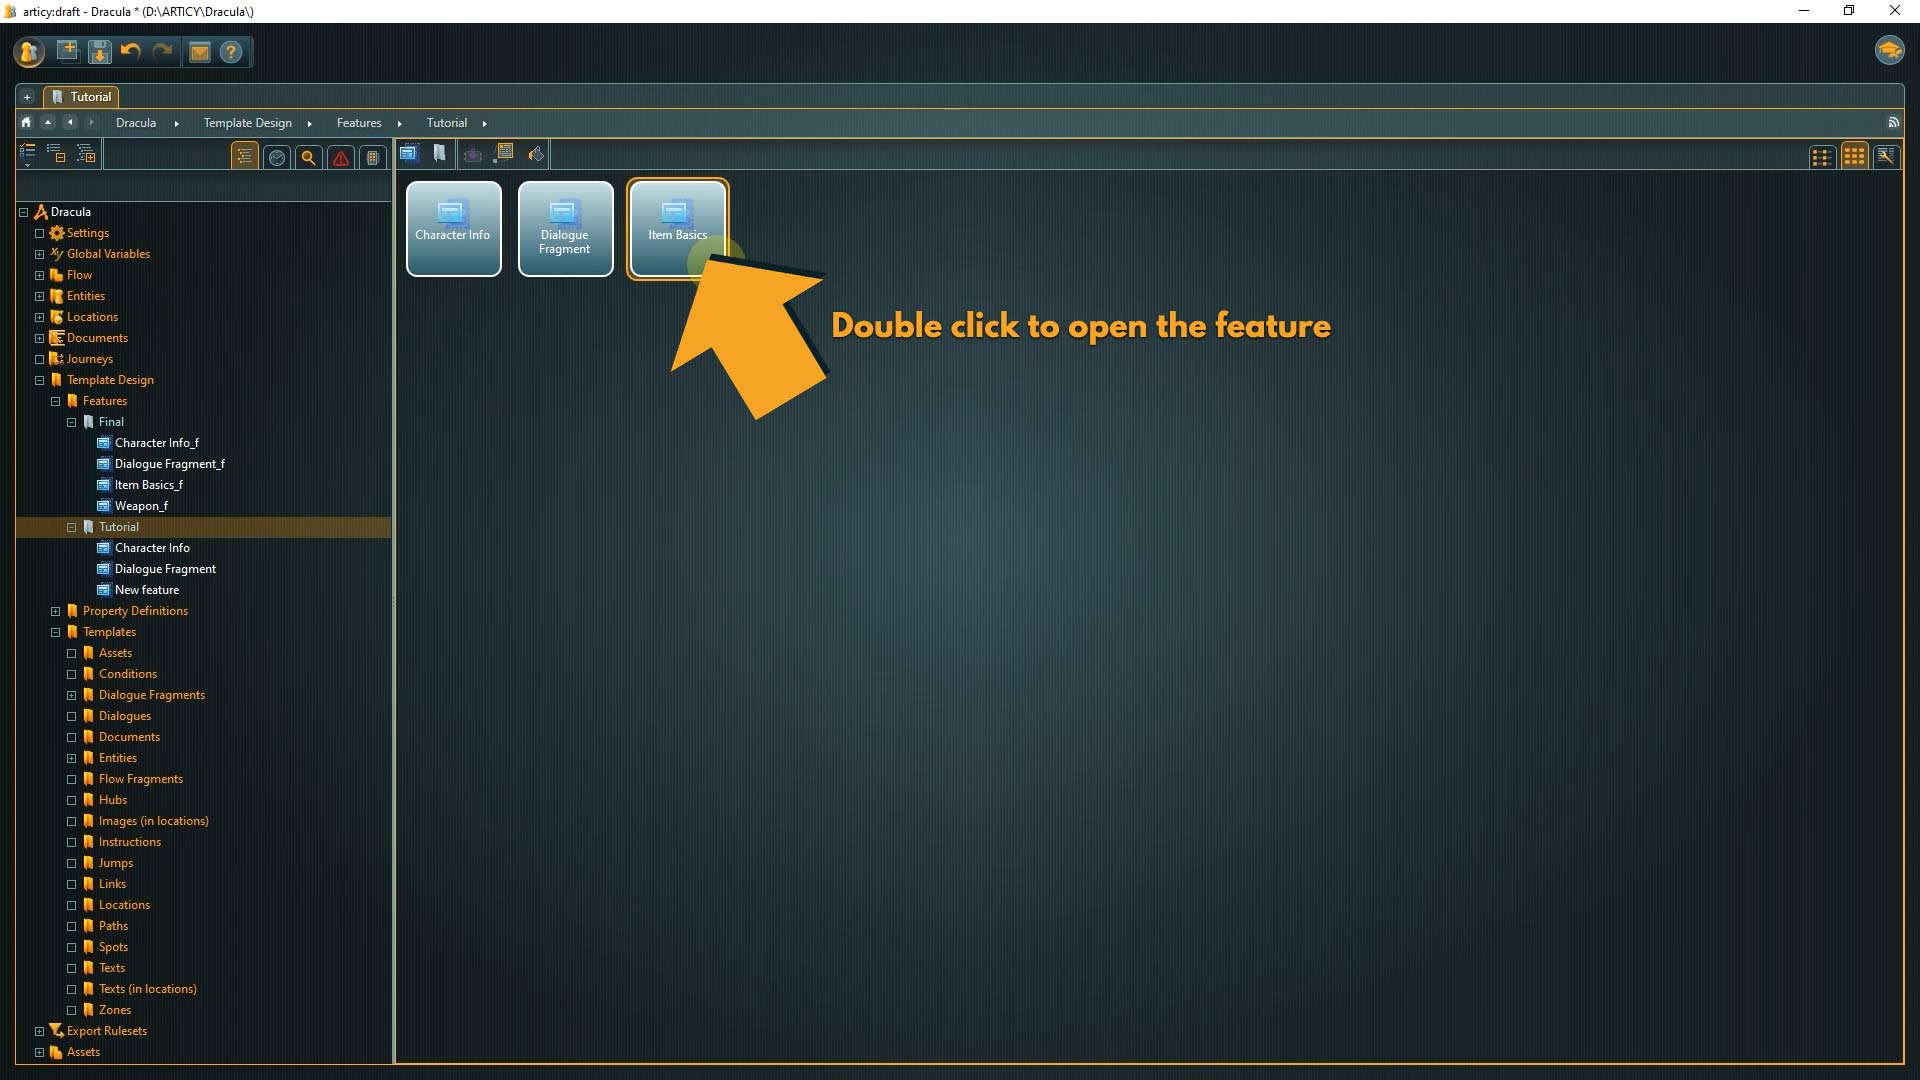
4. I’ll call this feature “Item Basics”. Open it by double clicking the tile.
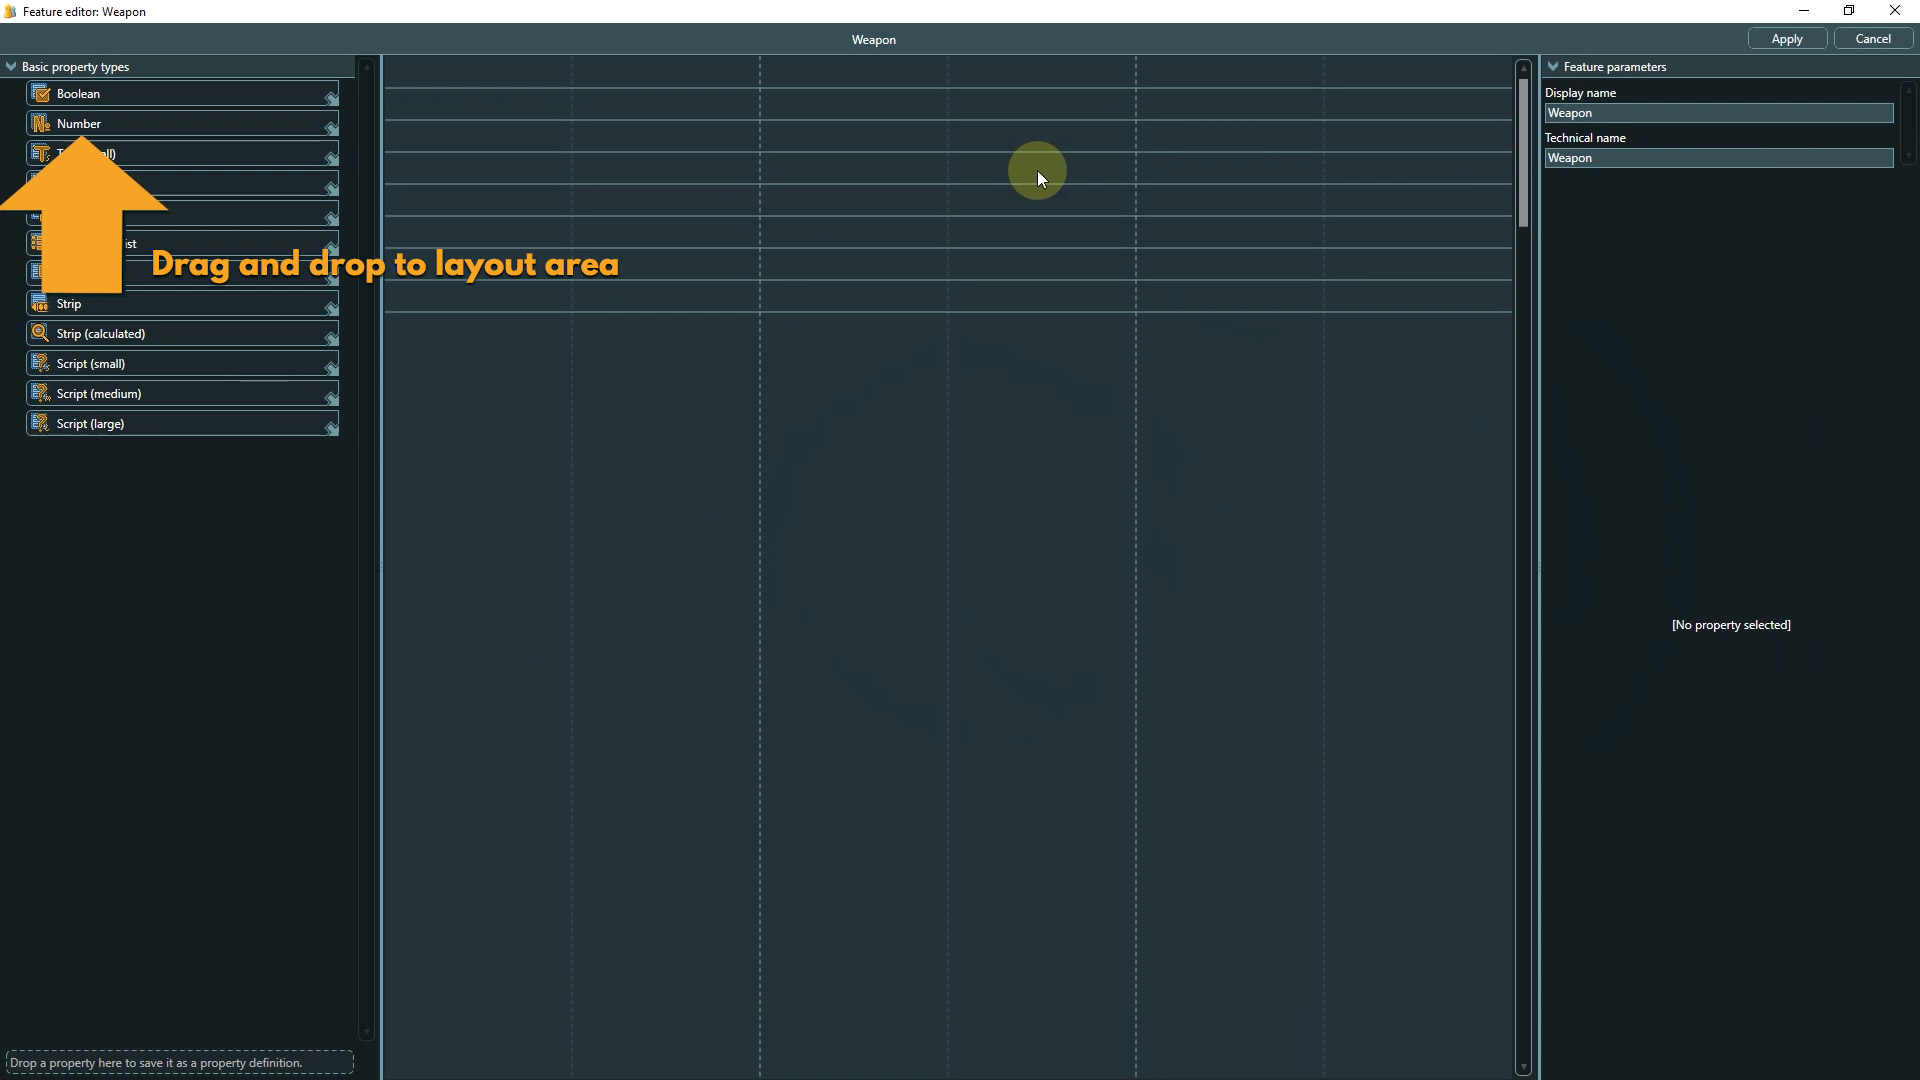
5. Go to the feature editor
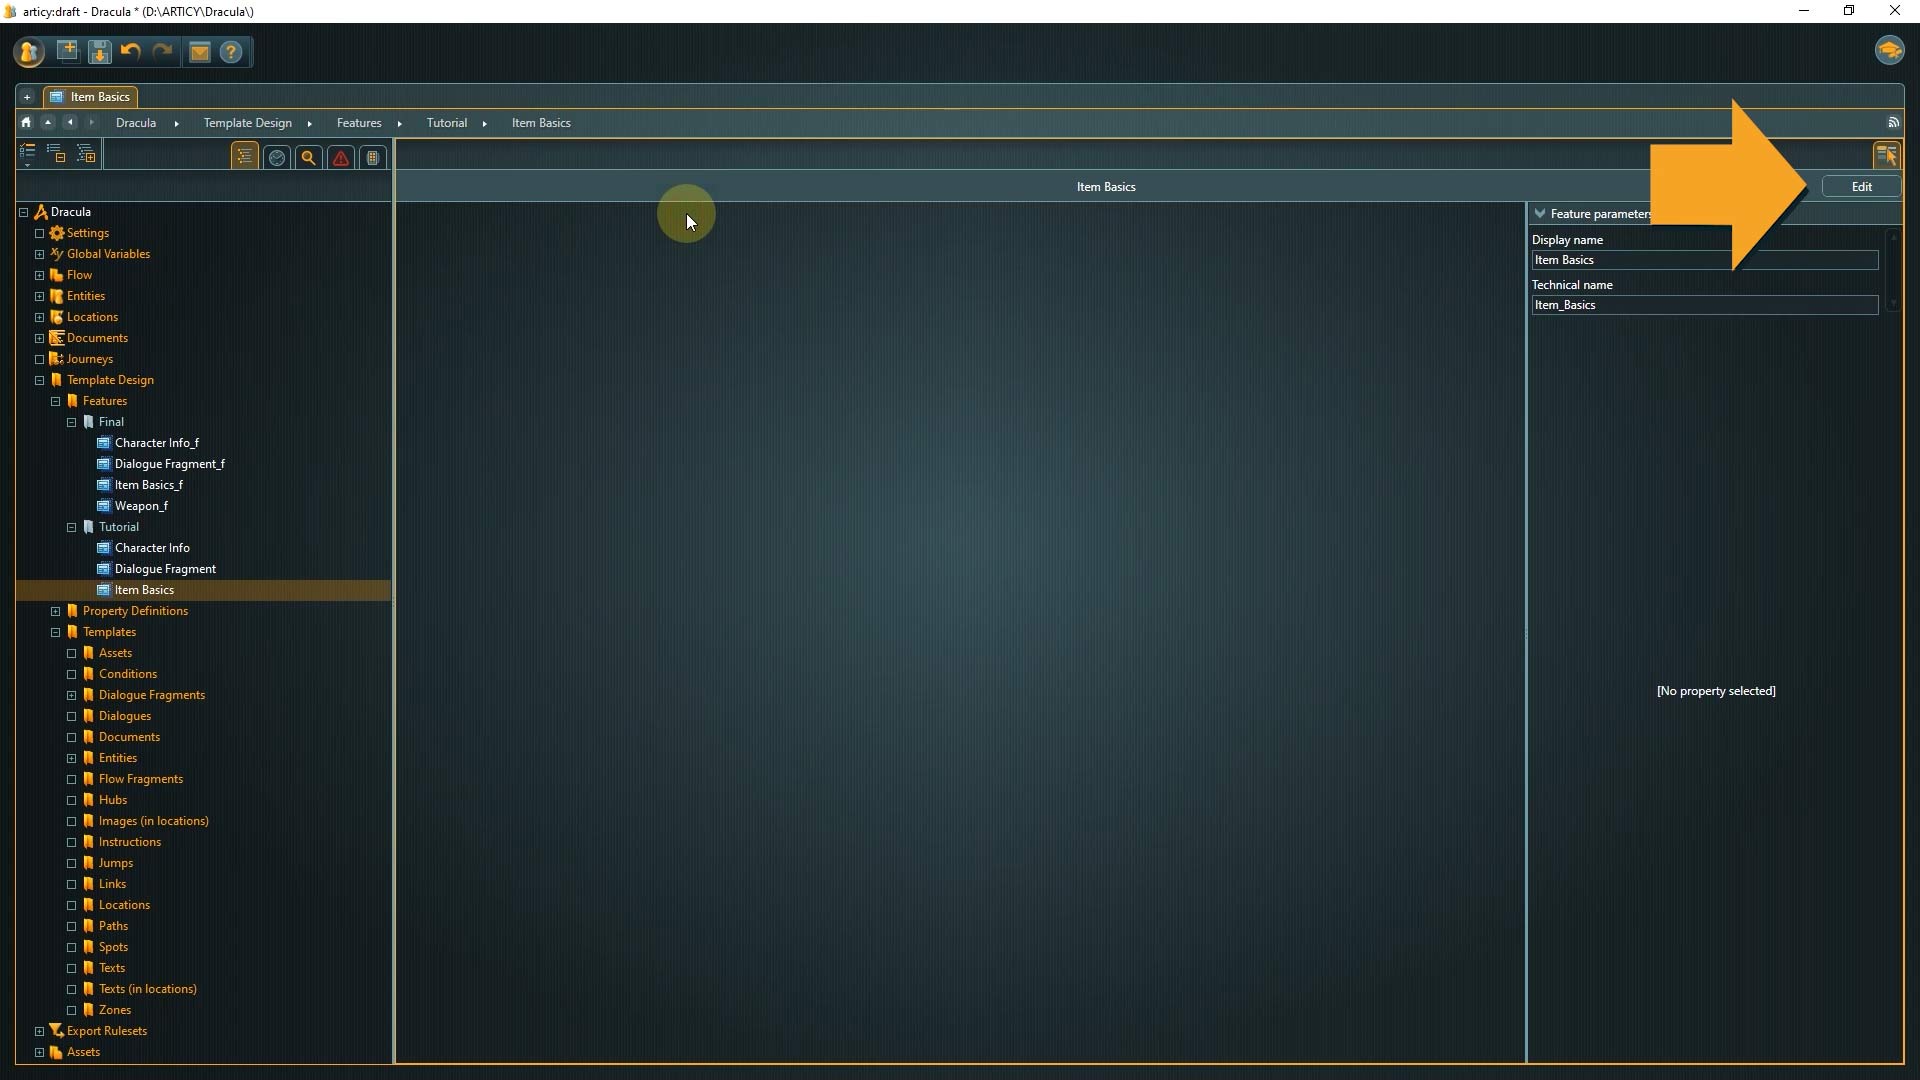
⭐ You might want to consider adjusting the “technical name” of the feature to fit with the ones we’ve created before. I prefer to have them all in a similar style as it makes it easier to work with them later in the engine.

Now for the feature itself: I want all properties in here that will be used for all items, regardless of the specific item type.
6. We’ll start by adding a simple boolean property.

With that we can mark an item as quest related.

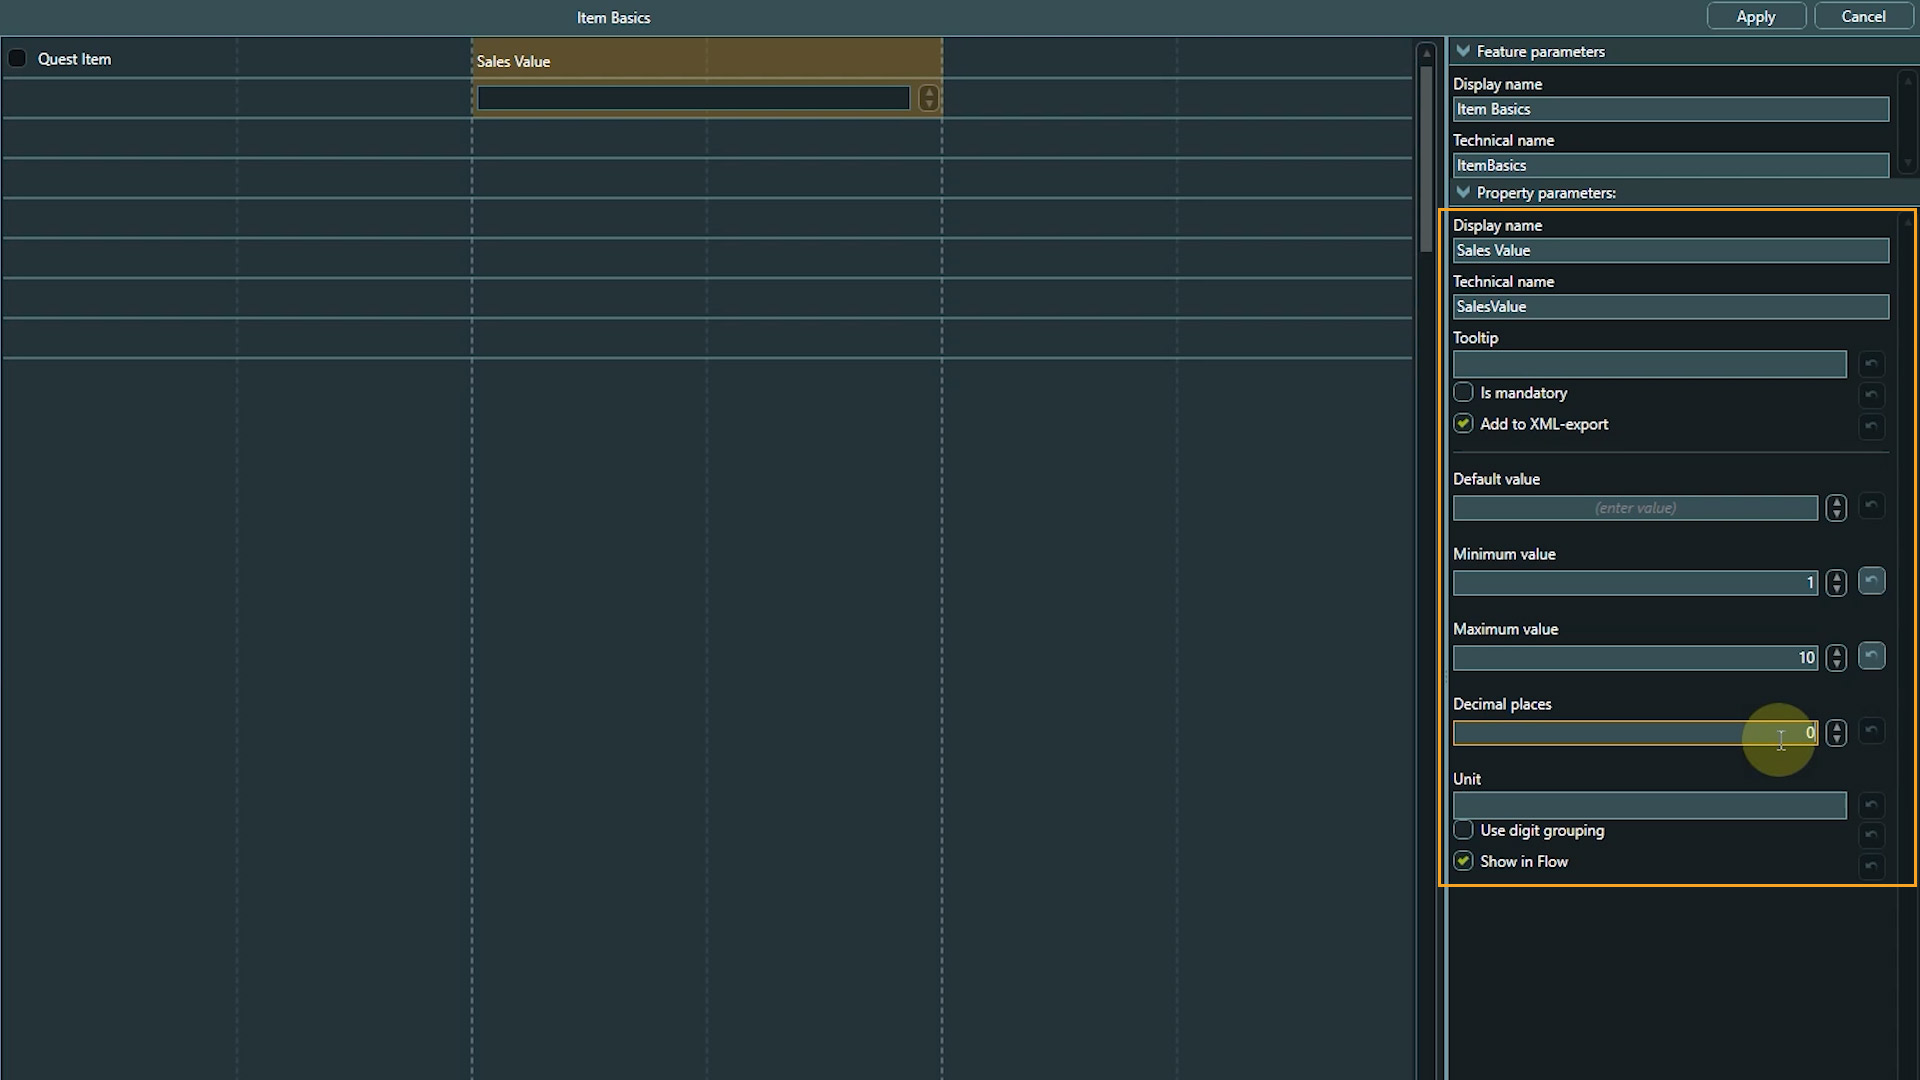
7. Next, we’ll add a number property for defining the sales value of an item.
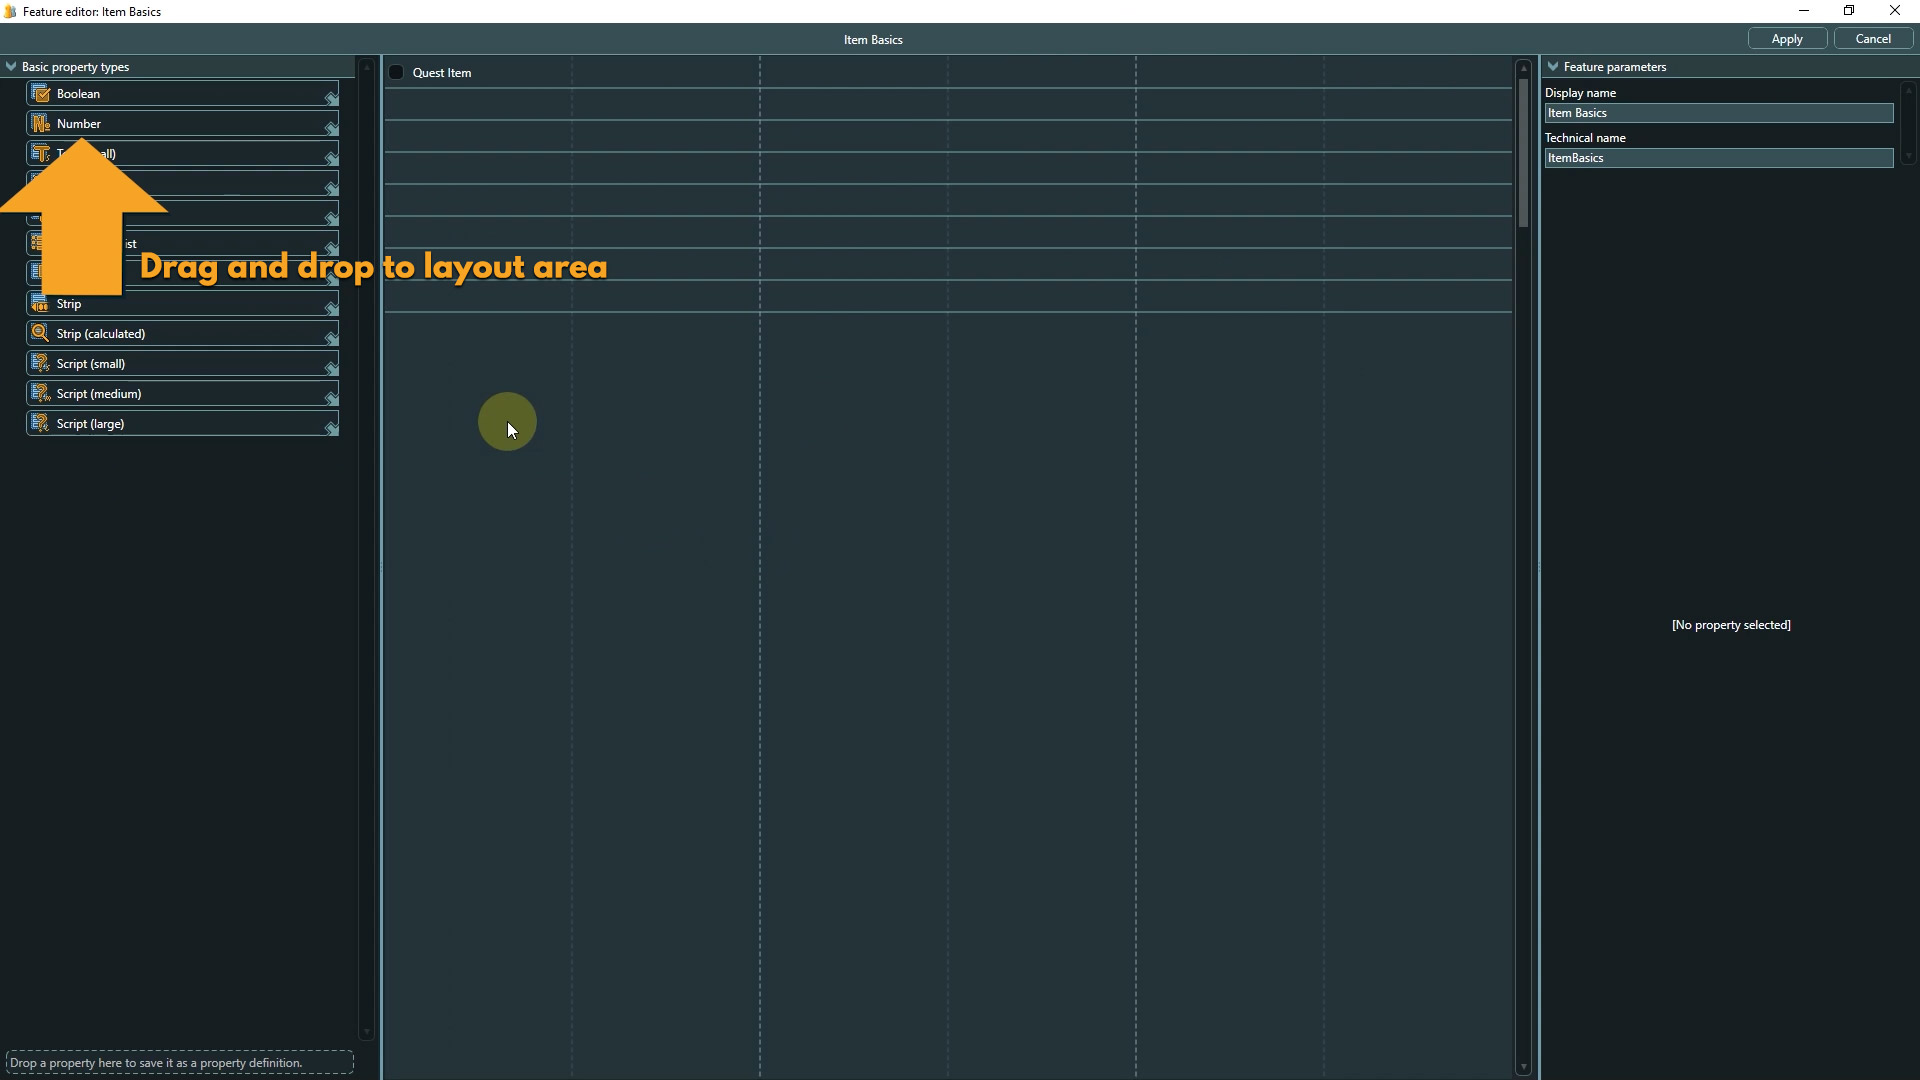
I set some constraints by entering min and max values, and set the decimal places to zero, because I like to work with clean integers here.
8. The last property we’ll drag to the layout area is a text property for the item’s flavor text.
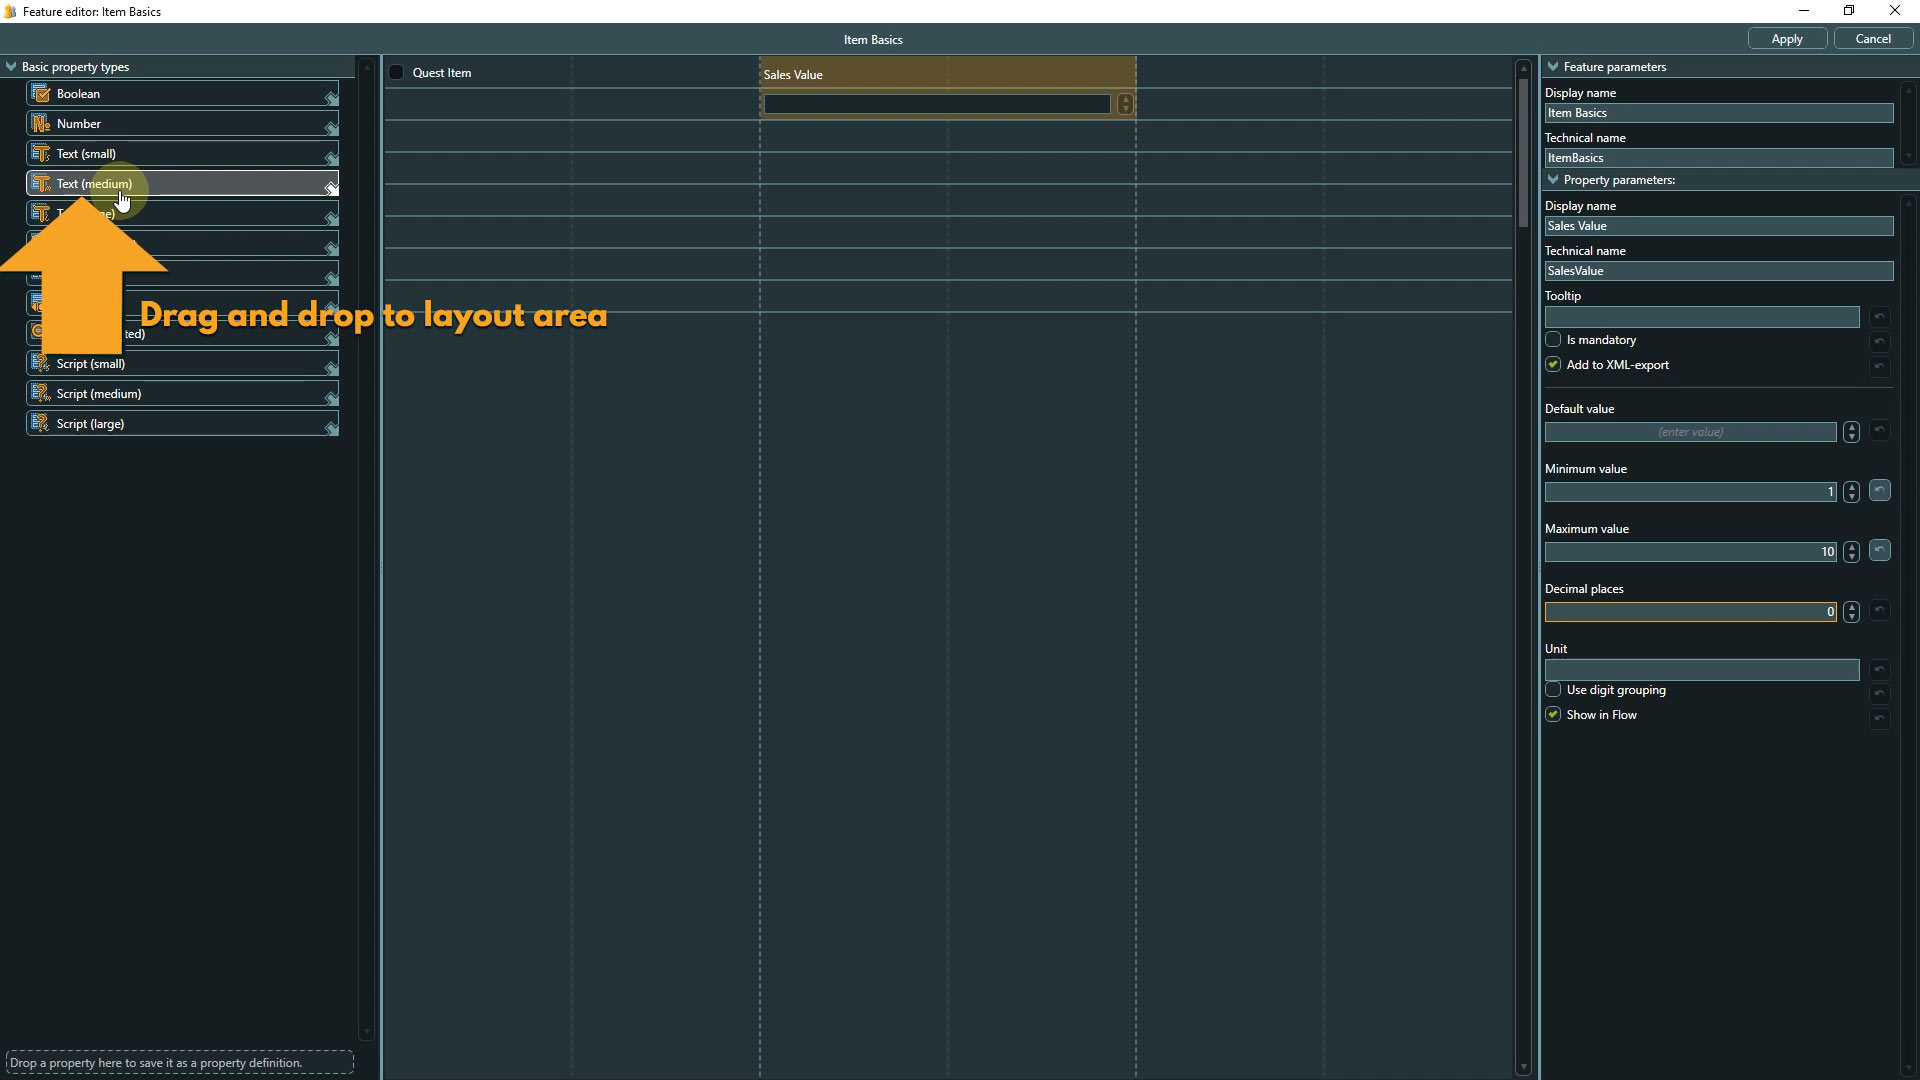
I am not using the entity’s general description field for that, as the property here gives me more options to set constraints. The flavor text is supposed to be displayed in the inventory UI, so I can already set a max text length here to prevent overflow later.

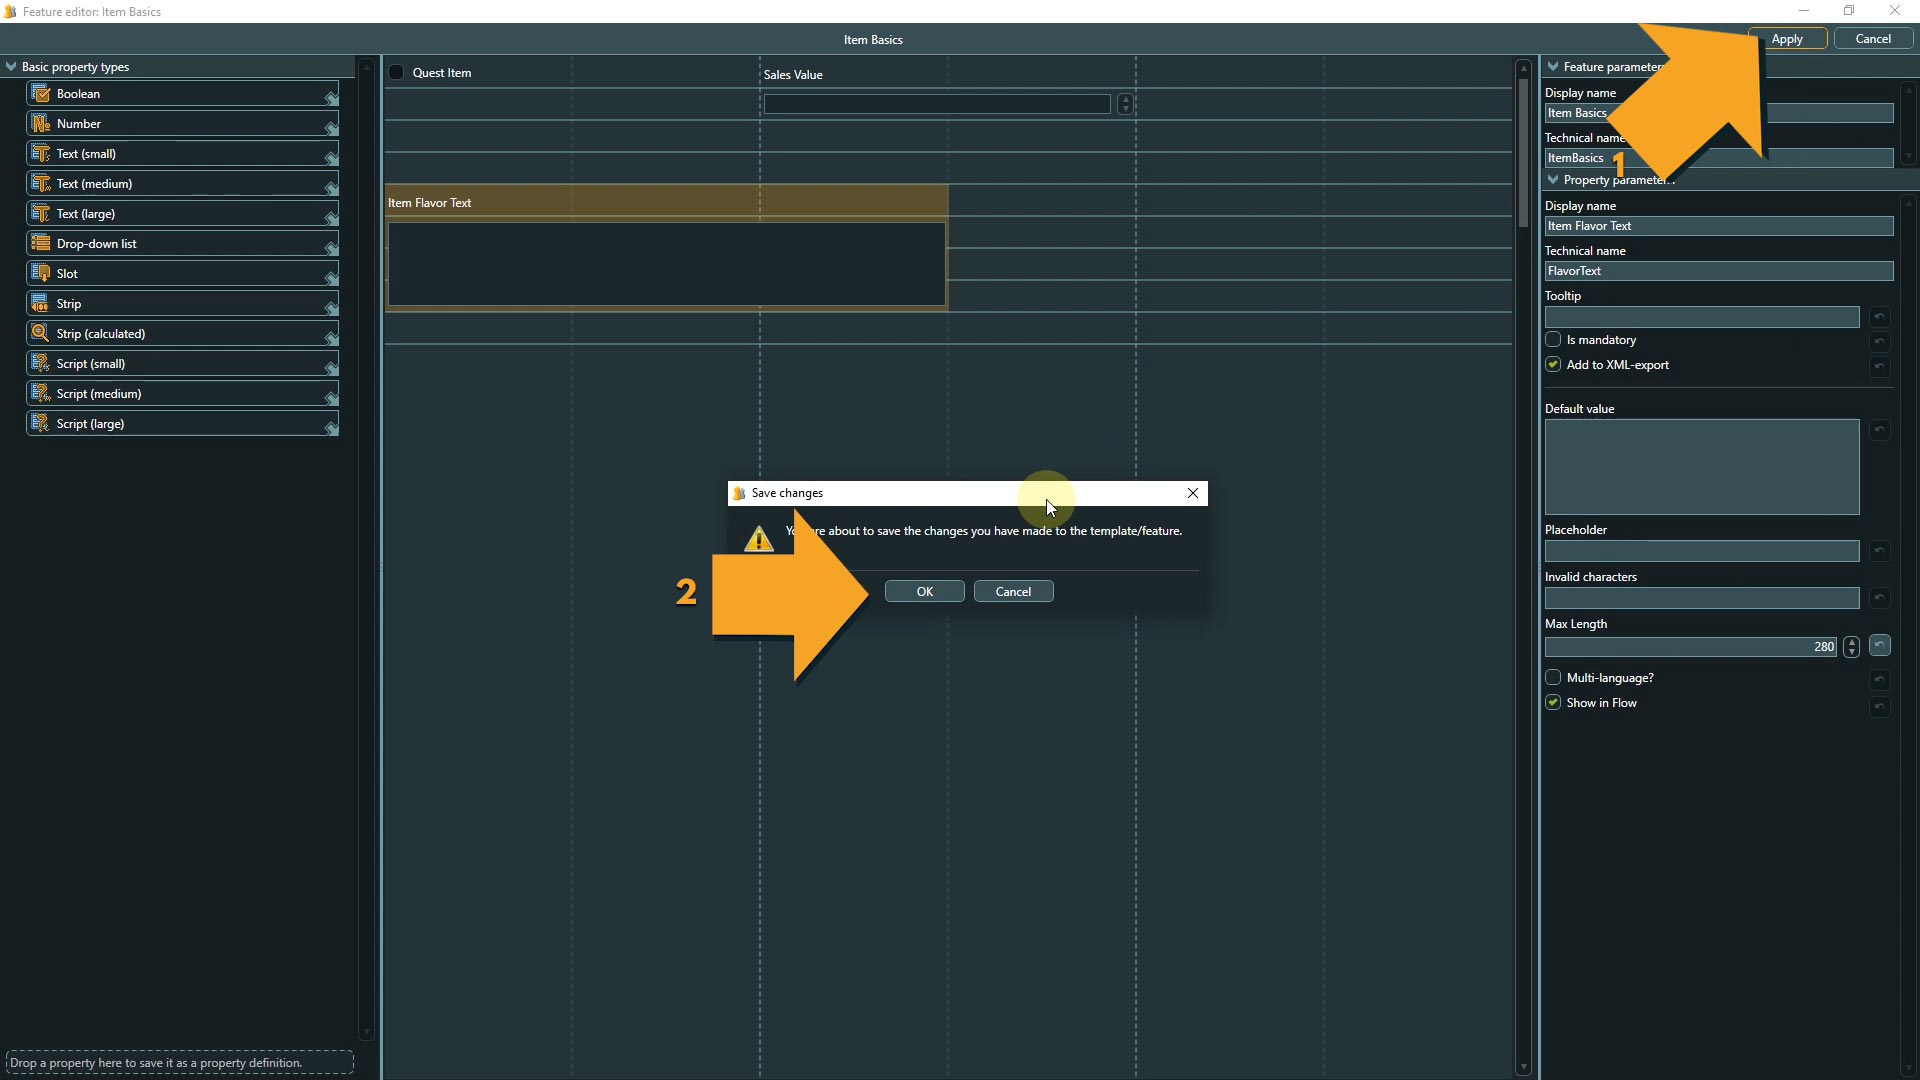
This will be all for the Basics feature.
9. Click apply and confirm to save the changes.
Now we will create a second feature for a specific item type – for our example it will be a weapon.
Create a second feature for specific item types
1. Click create new feature
2. Select it and open the feature editor.
3. Drag a number property from the list to the layout area.
This will be the “combat modifier”, defining how much help this weapon will be in combat. Again, I set values for min and max in the parameters to have constraints, and also set the number of decimal spaces to zero.

I’d like to have a second number property to control the number of times an item can be used. It will look very similar to the combat modifier property so I will just copy and paste it.
4. Use the right click context menu or press Control and C to copy and Control and V to paste.
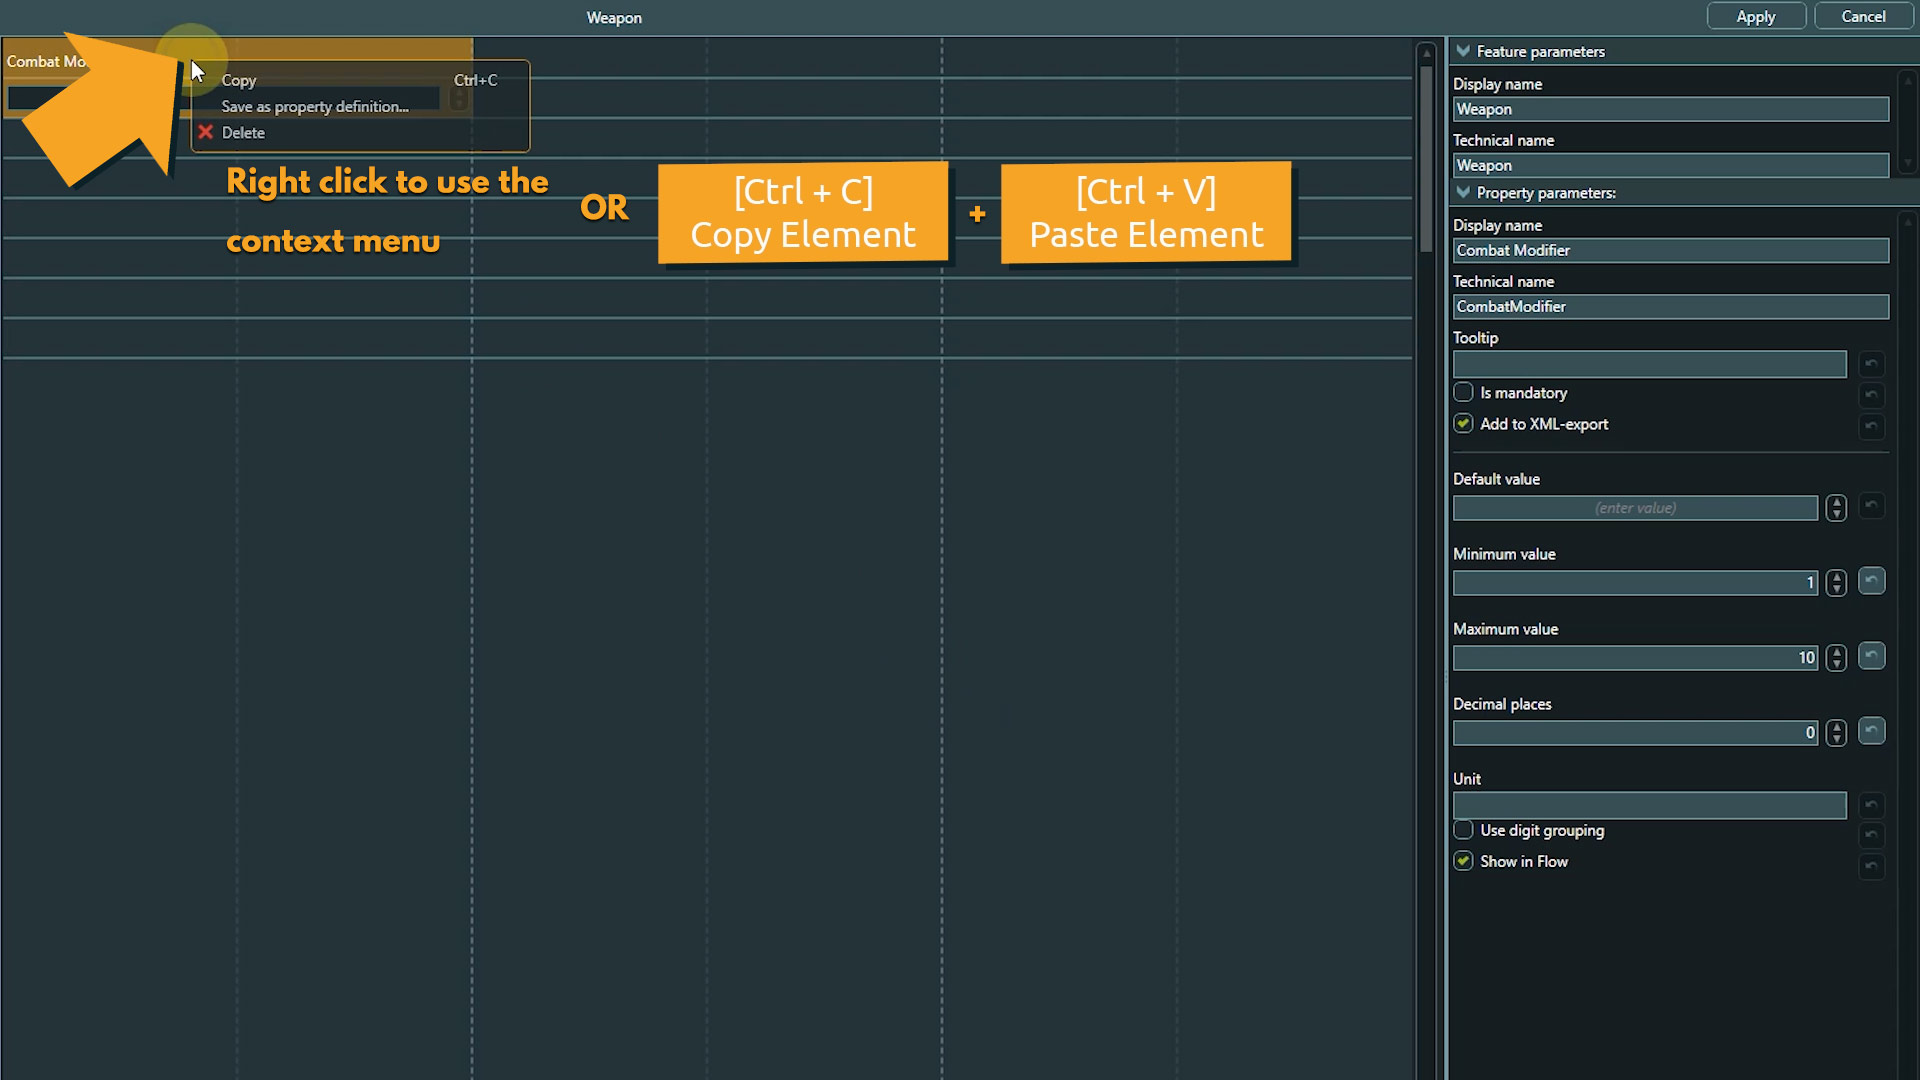
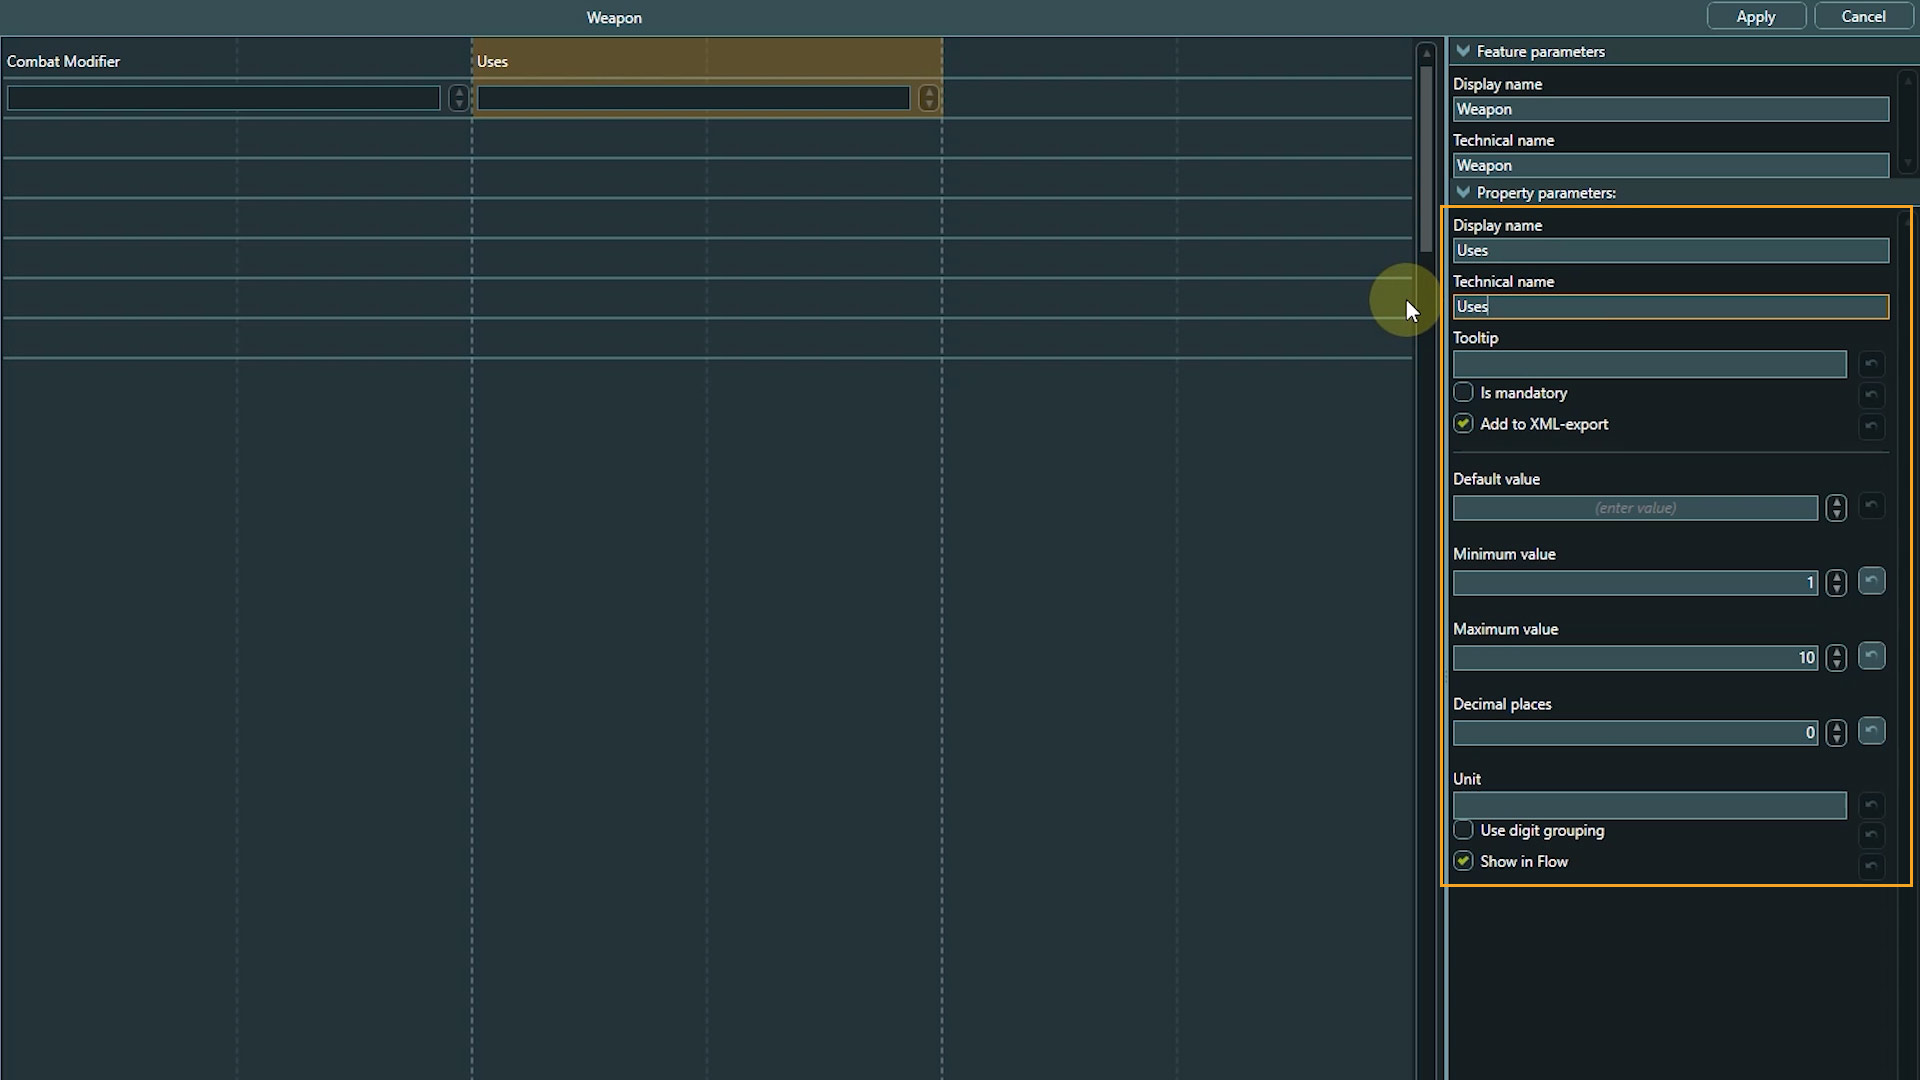
Now all we have to do is to change display and technical names and adjust the parameters if we want to.
5. Save the changes to the feature by clicking apply and confirm.

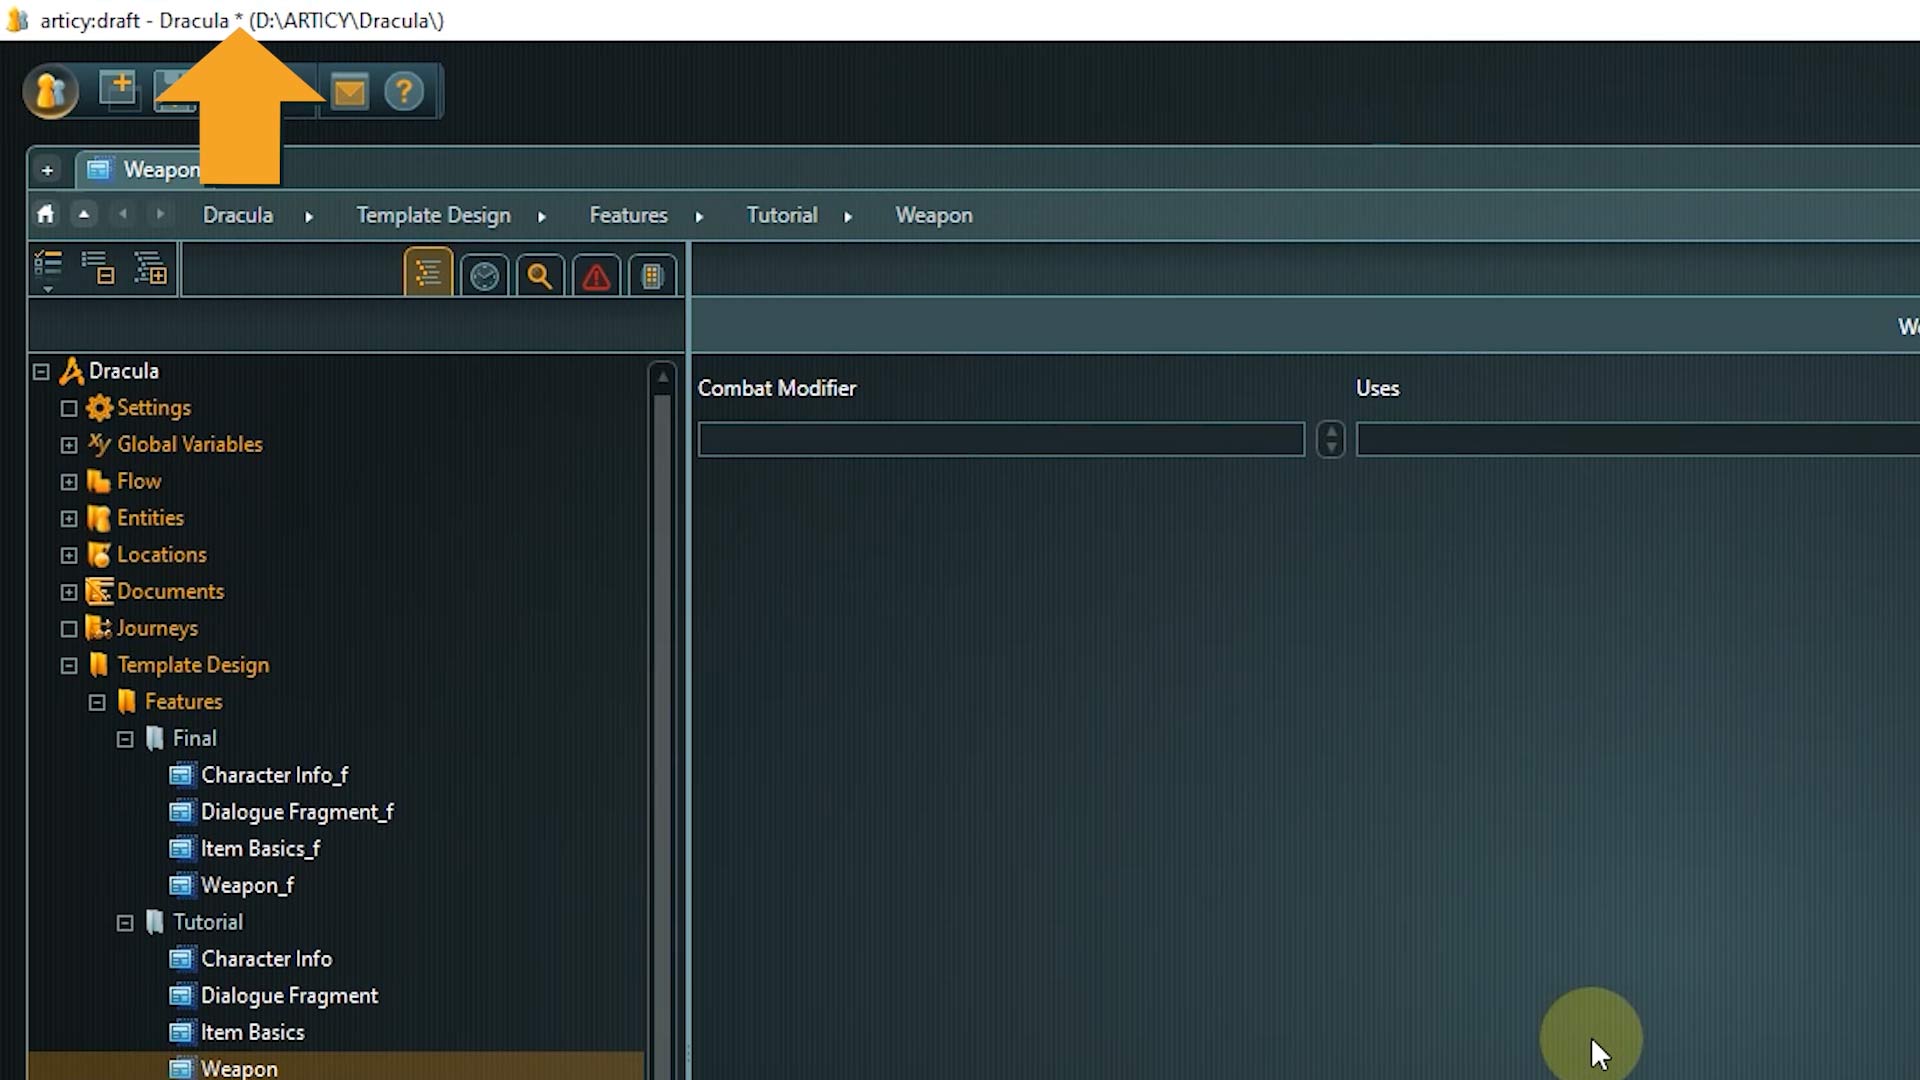
⭐ Remember to save your project too from time to time. If there is an asterisk in the title bar, it means there are unsaved changes.
Now that our features are done, we can continue with creating the template itself.
Create the template
1. Click the Templates entry in the navigator.
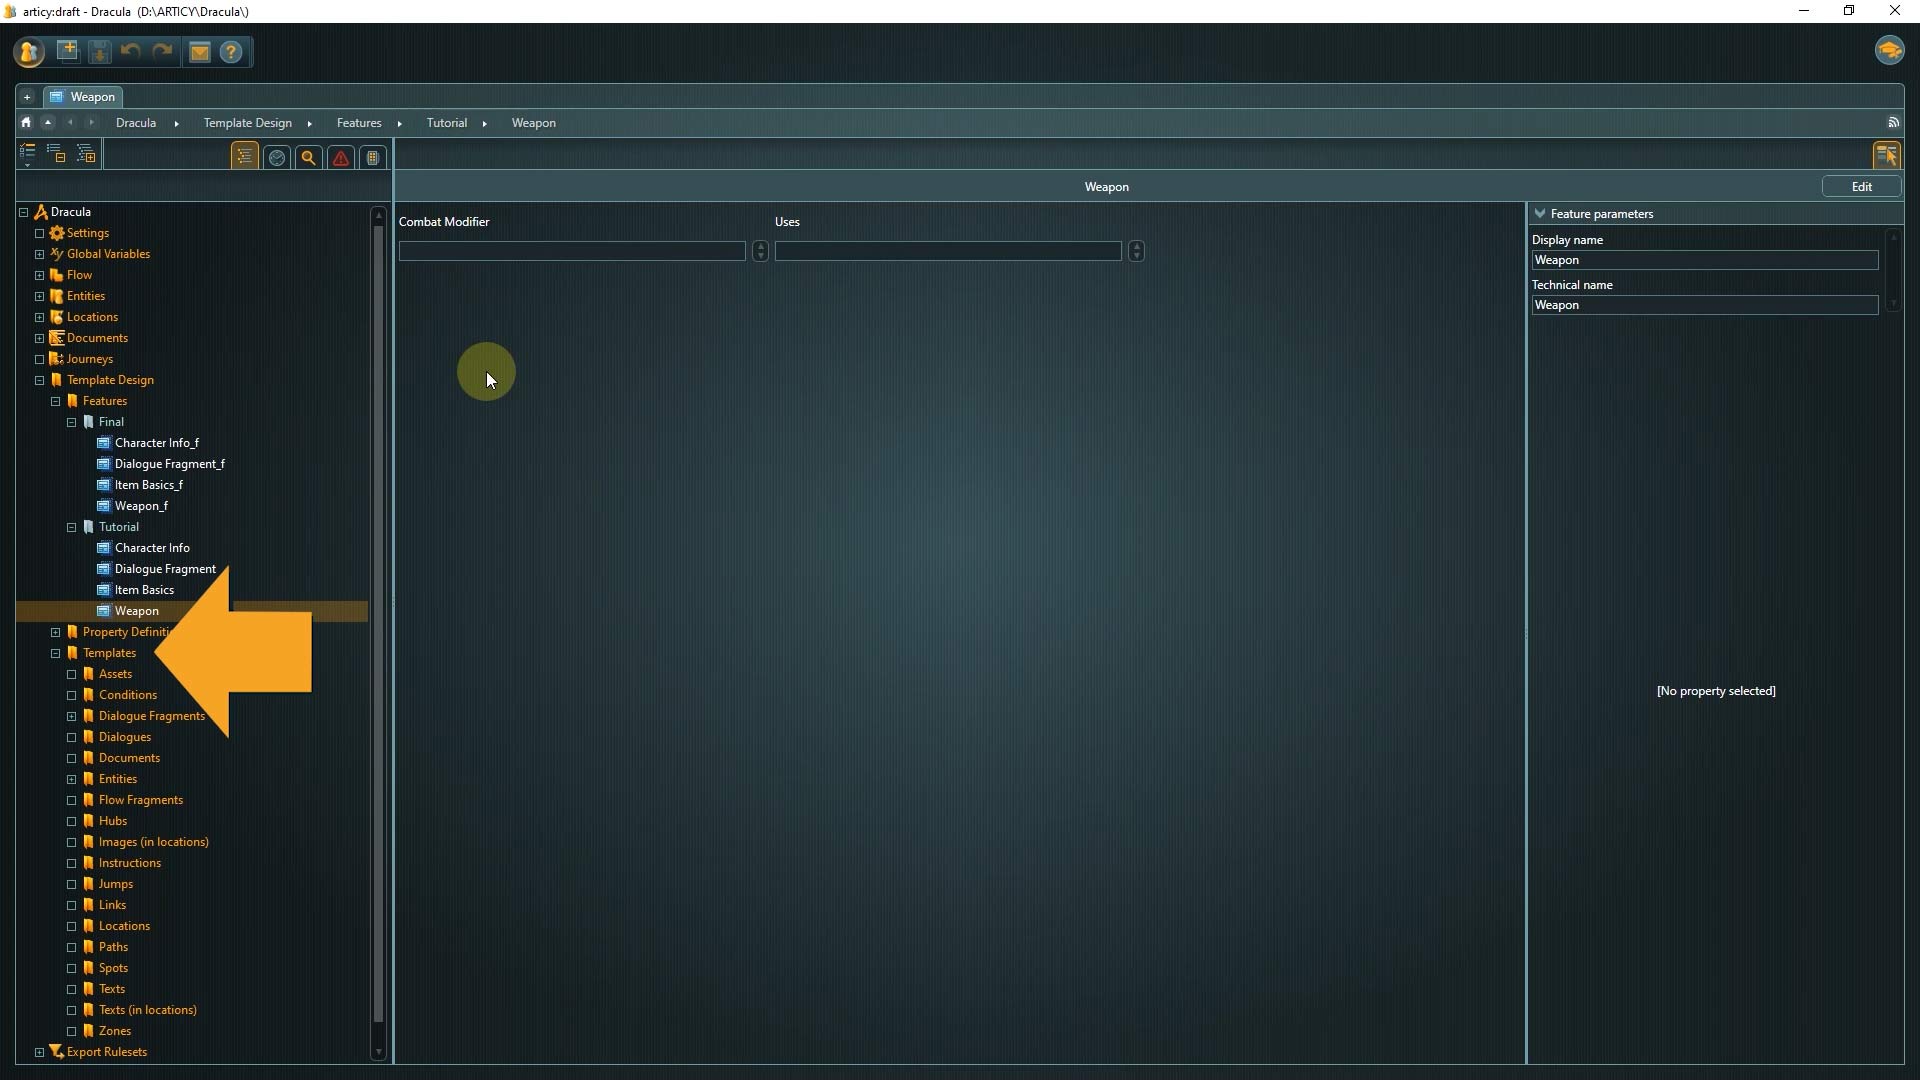
👉 Whereas features are generic, templates are created for specific object types.
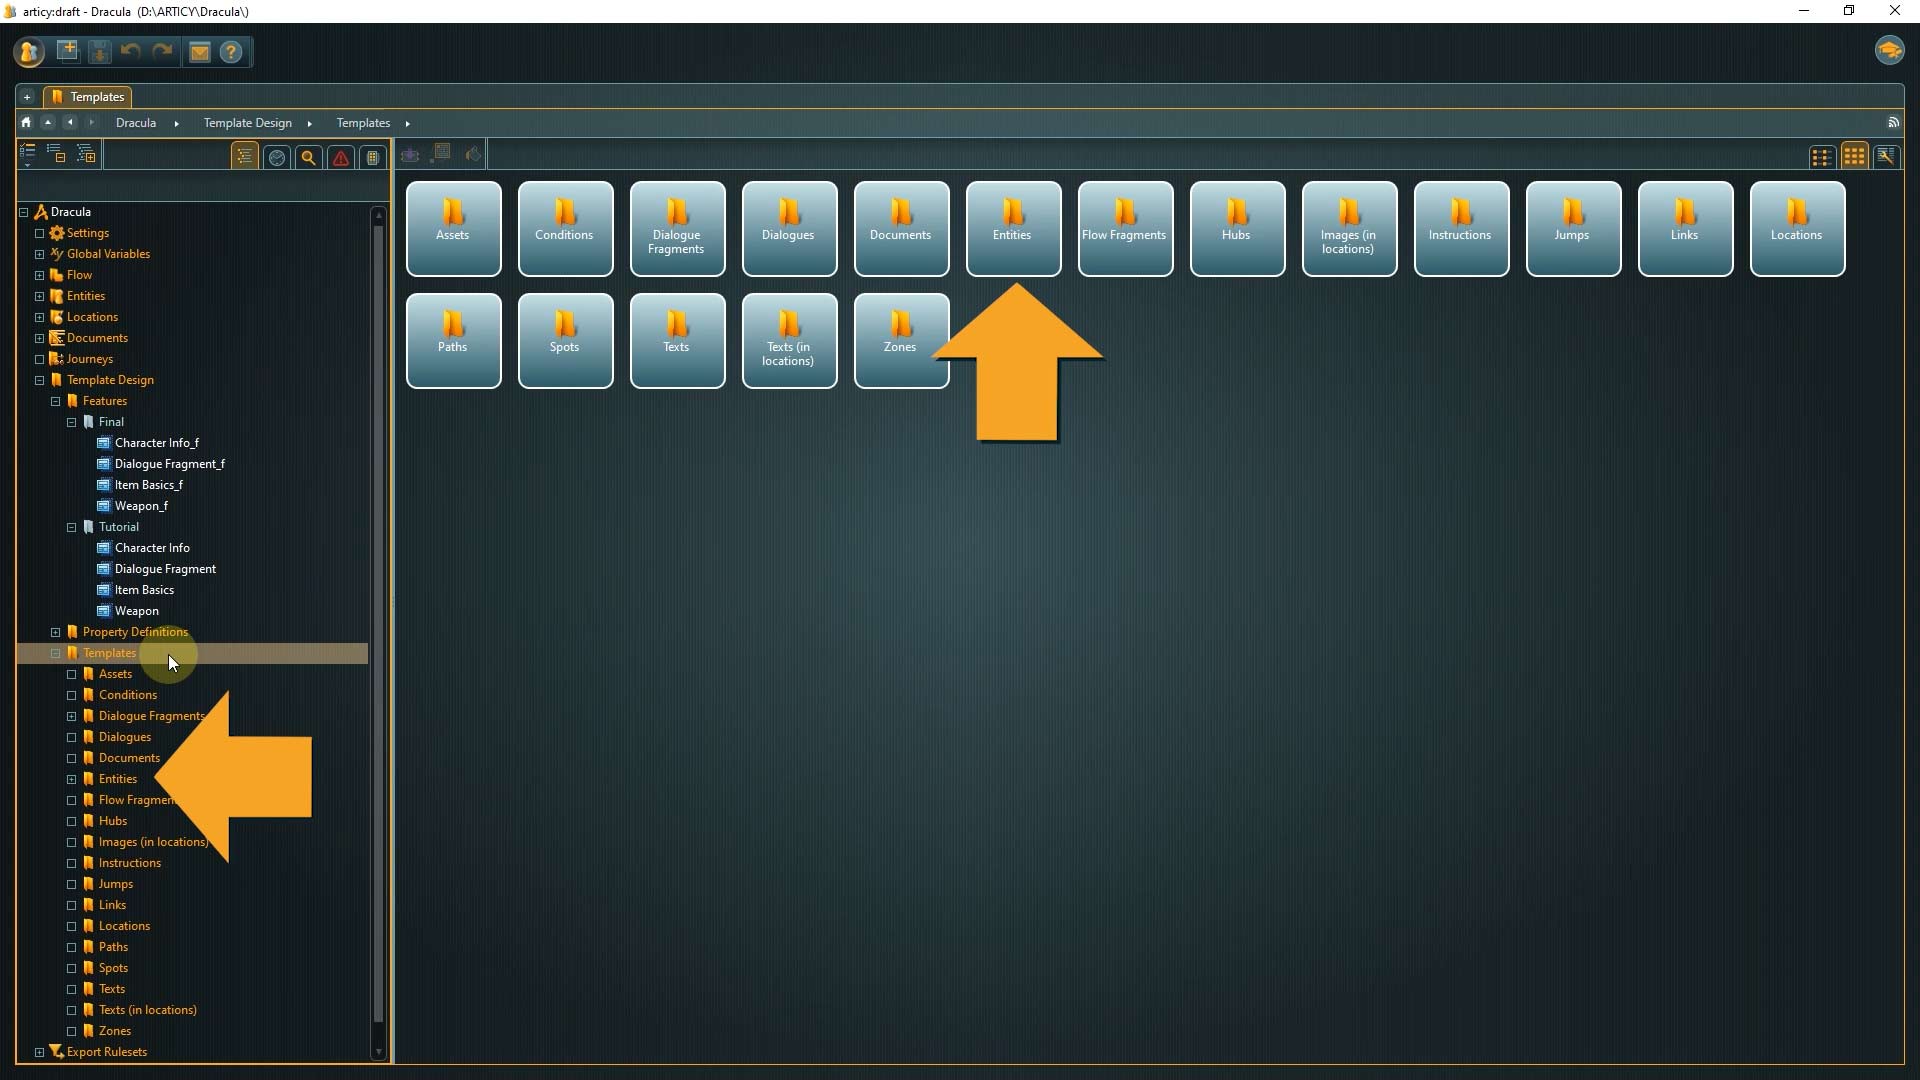
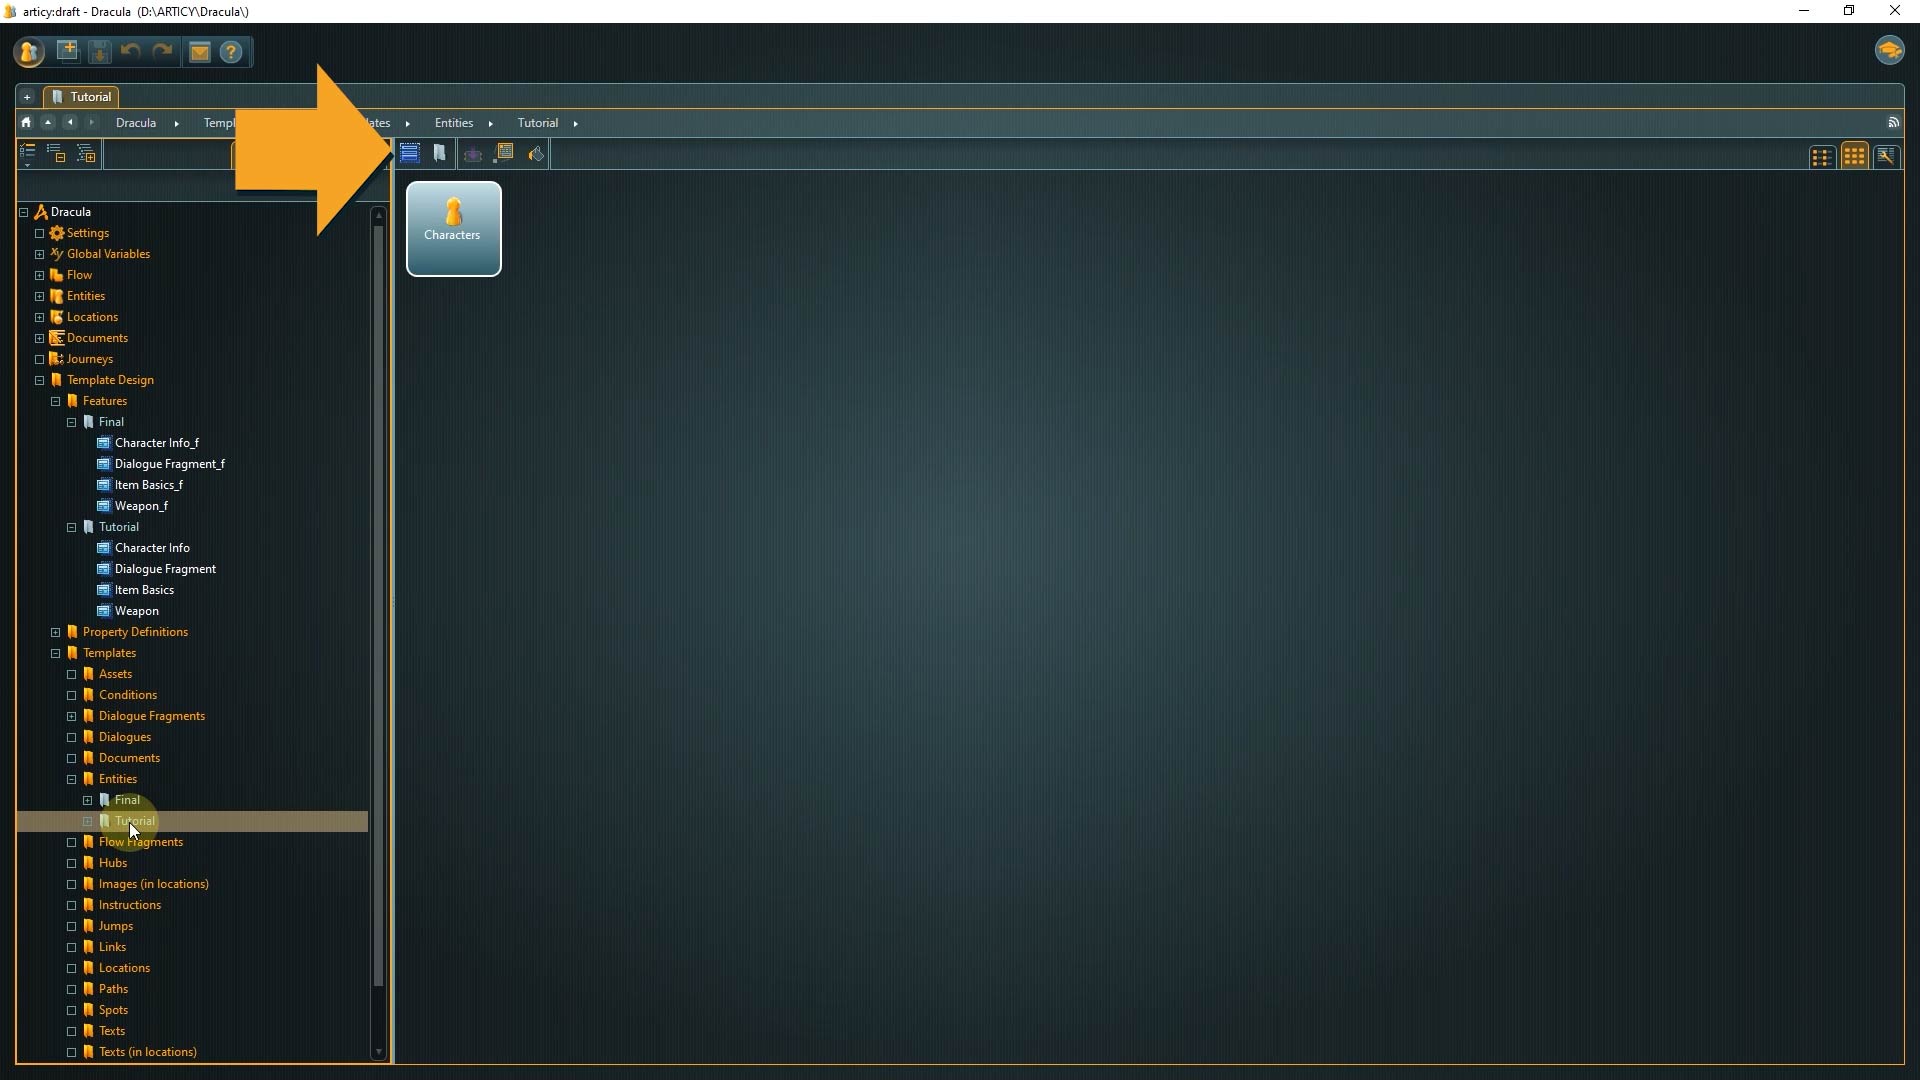
2. We are going for an entity template, so either double click the entity tile or select the entity entry in the navigator.
3. Then go to Tutorials.
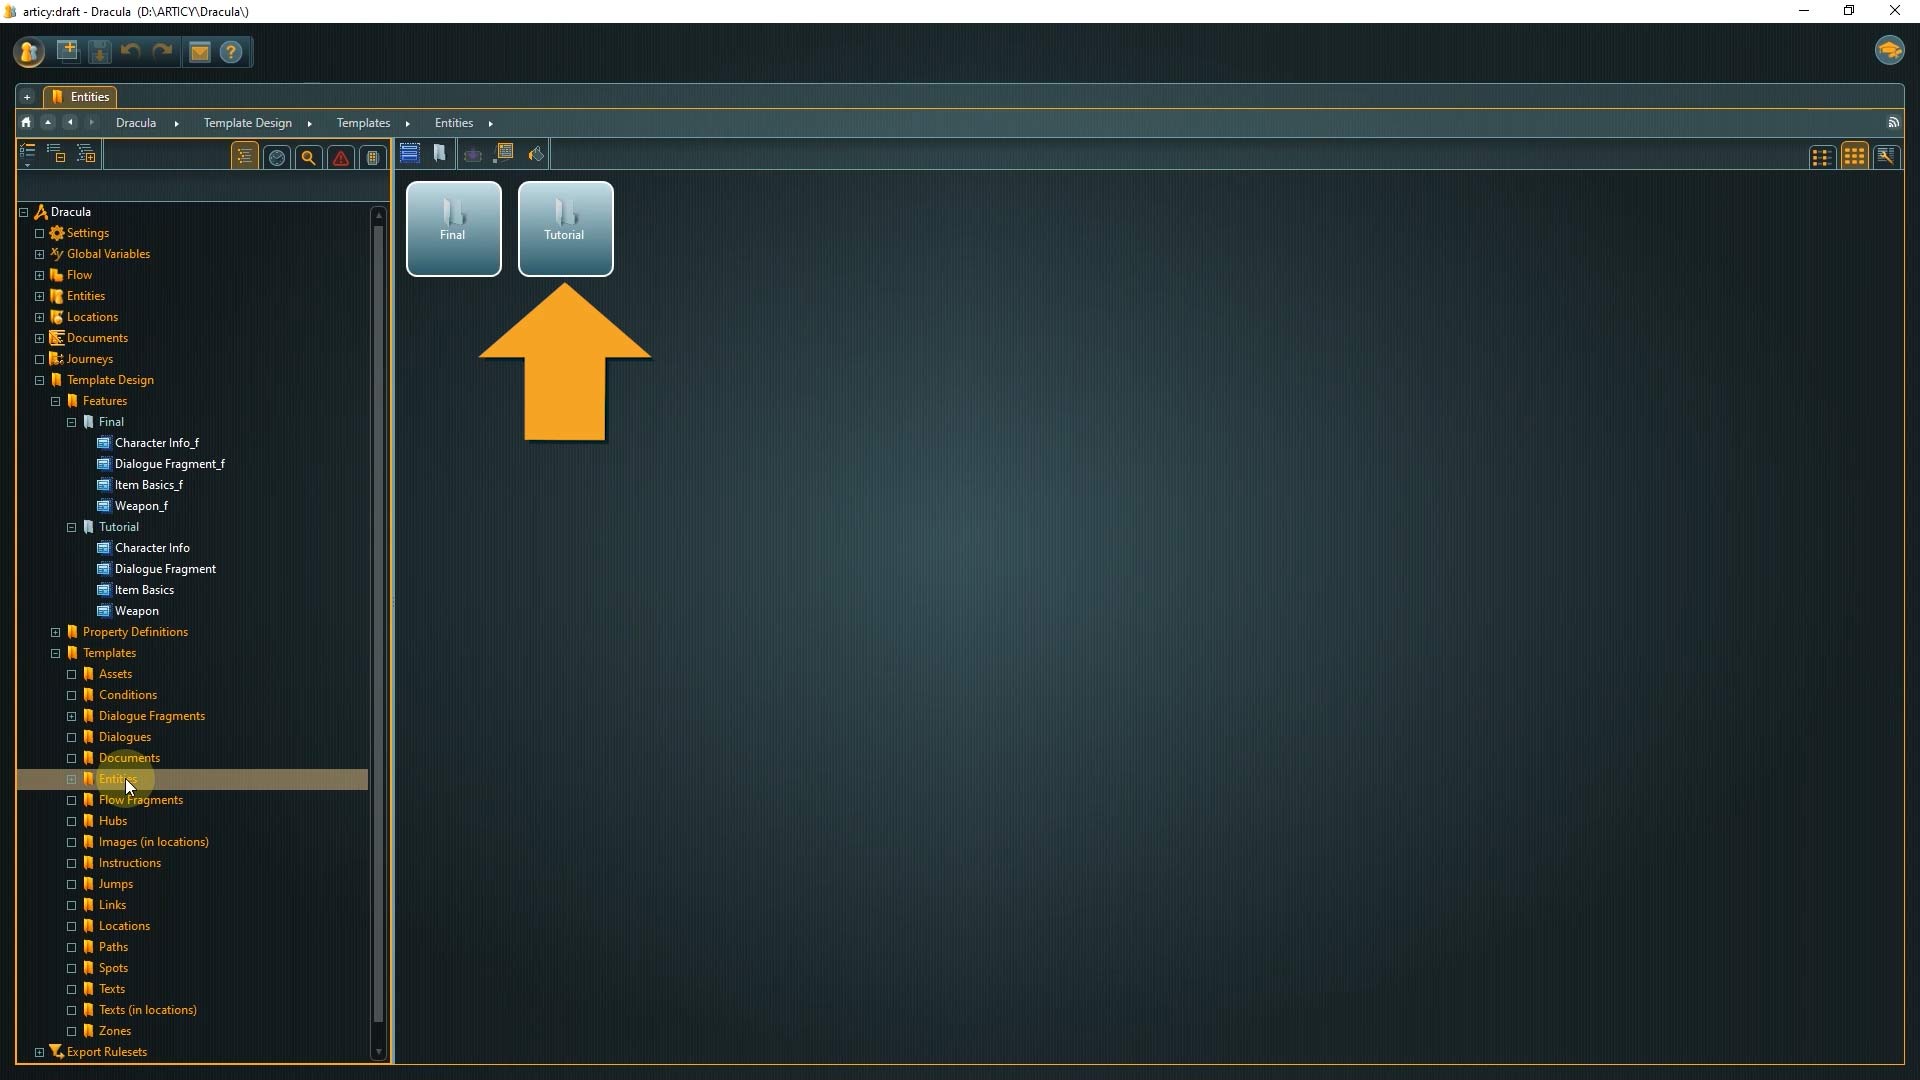
Our Character template is already in here, and now we will add a Weapons template.
4. Click Create new template and enter the name.
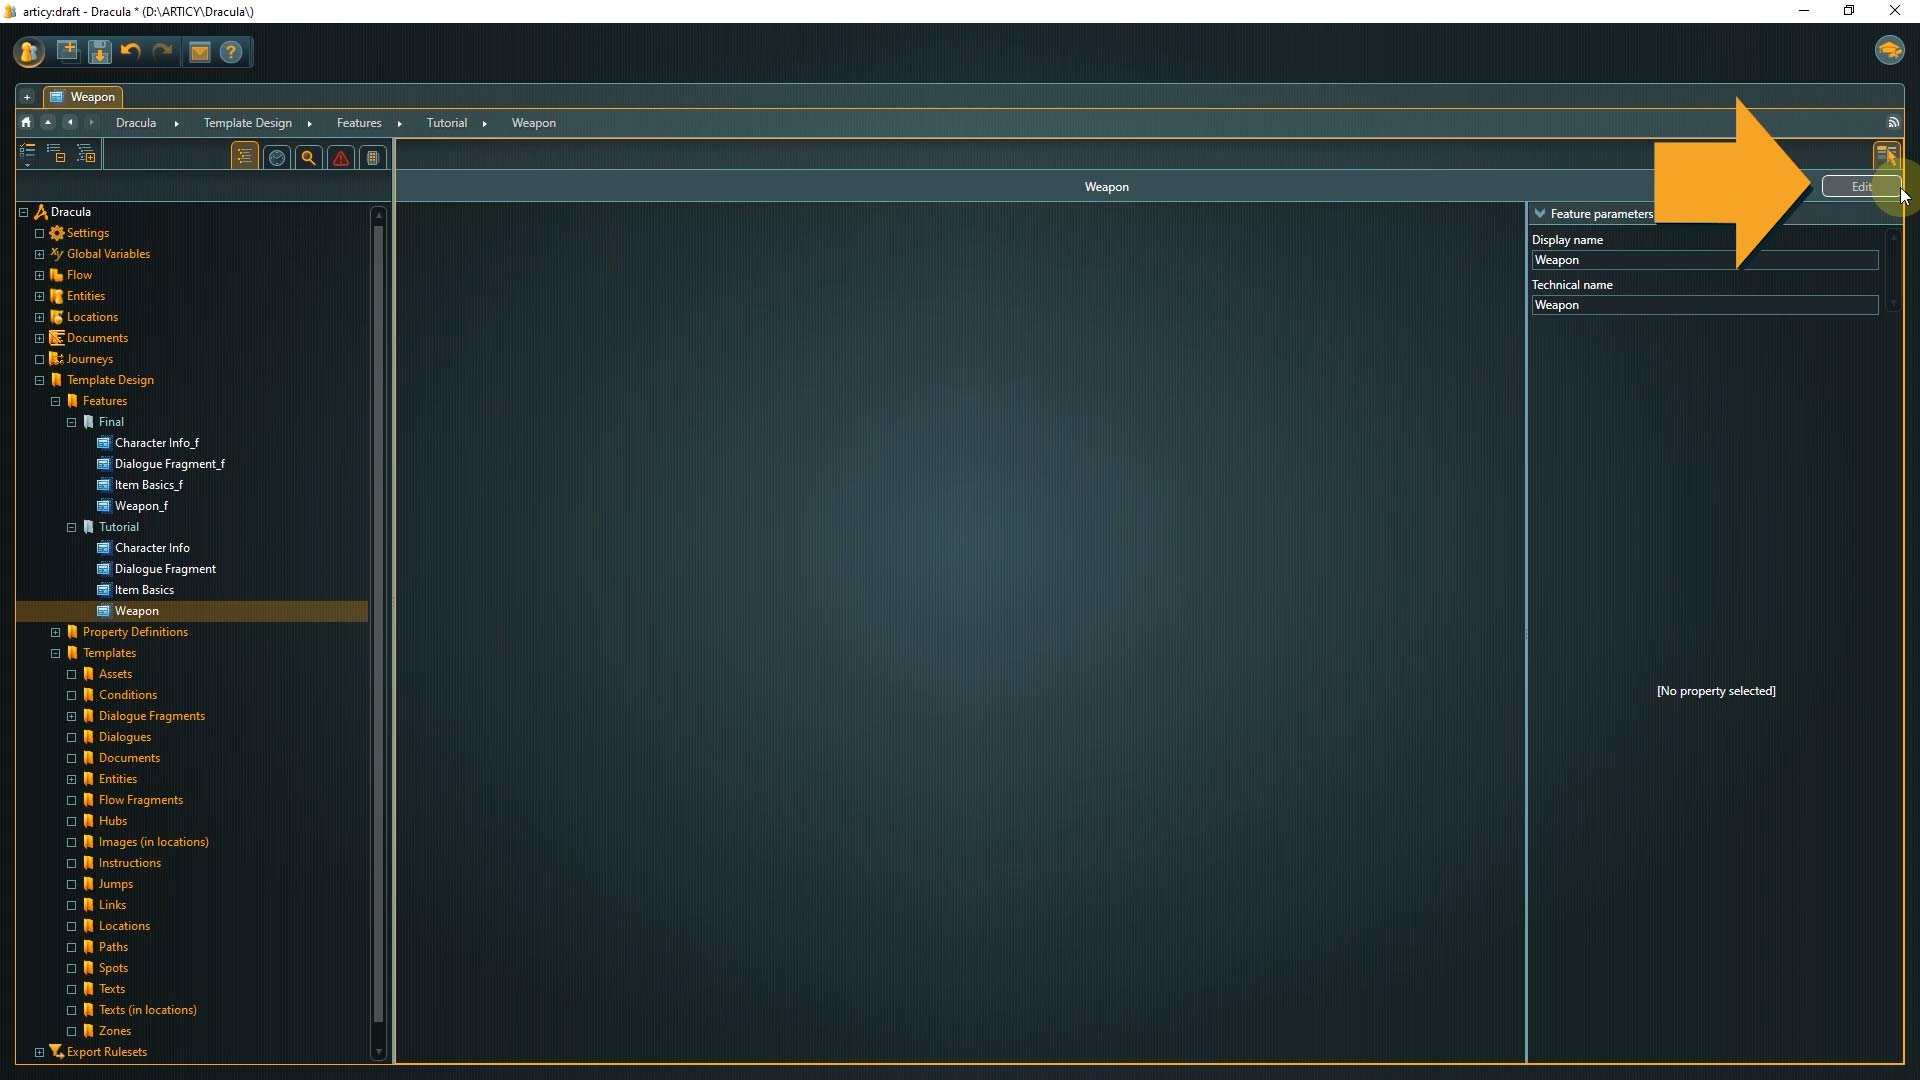
5. Then double click to open and select Edit to open the “template editor”.
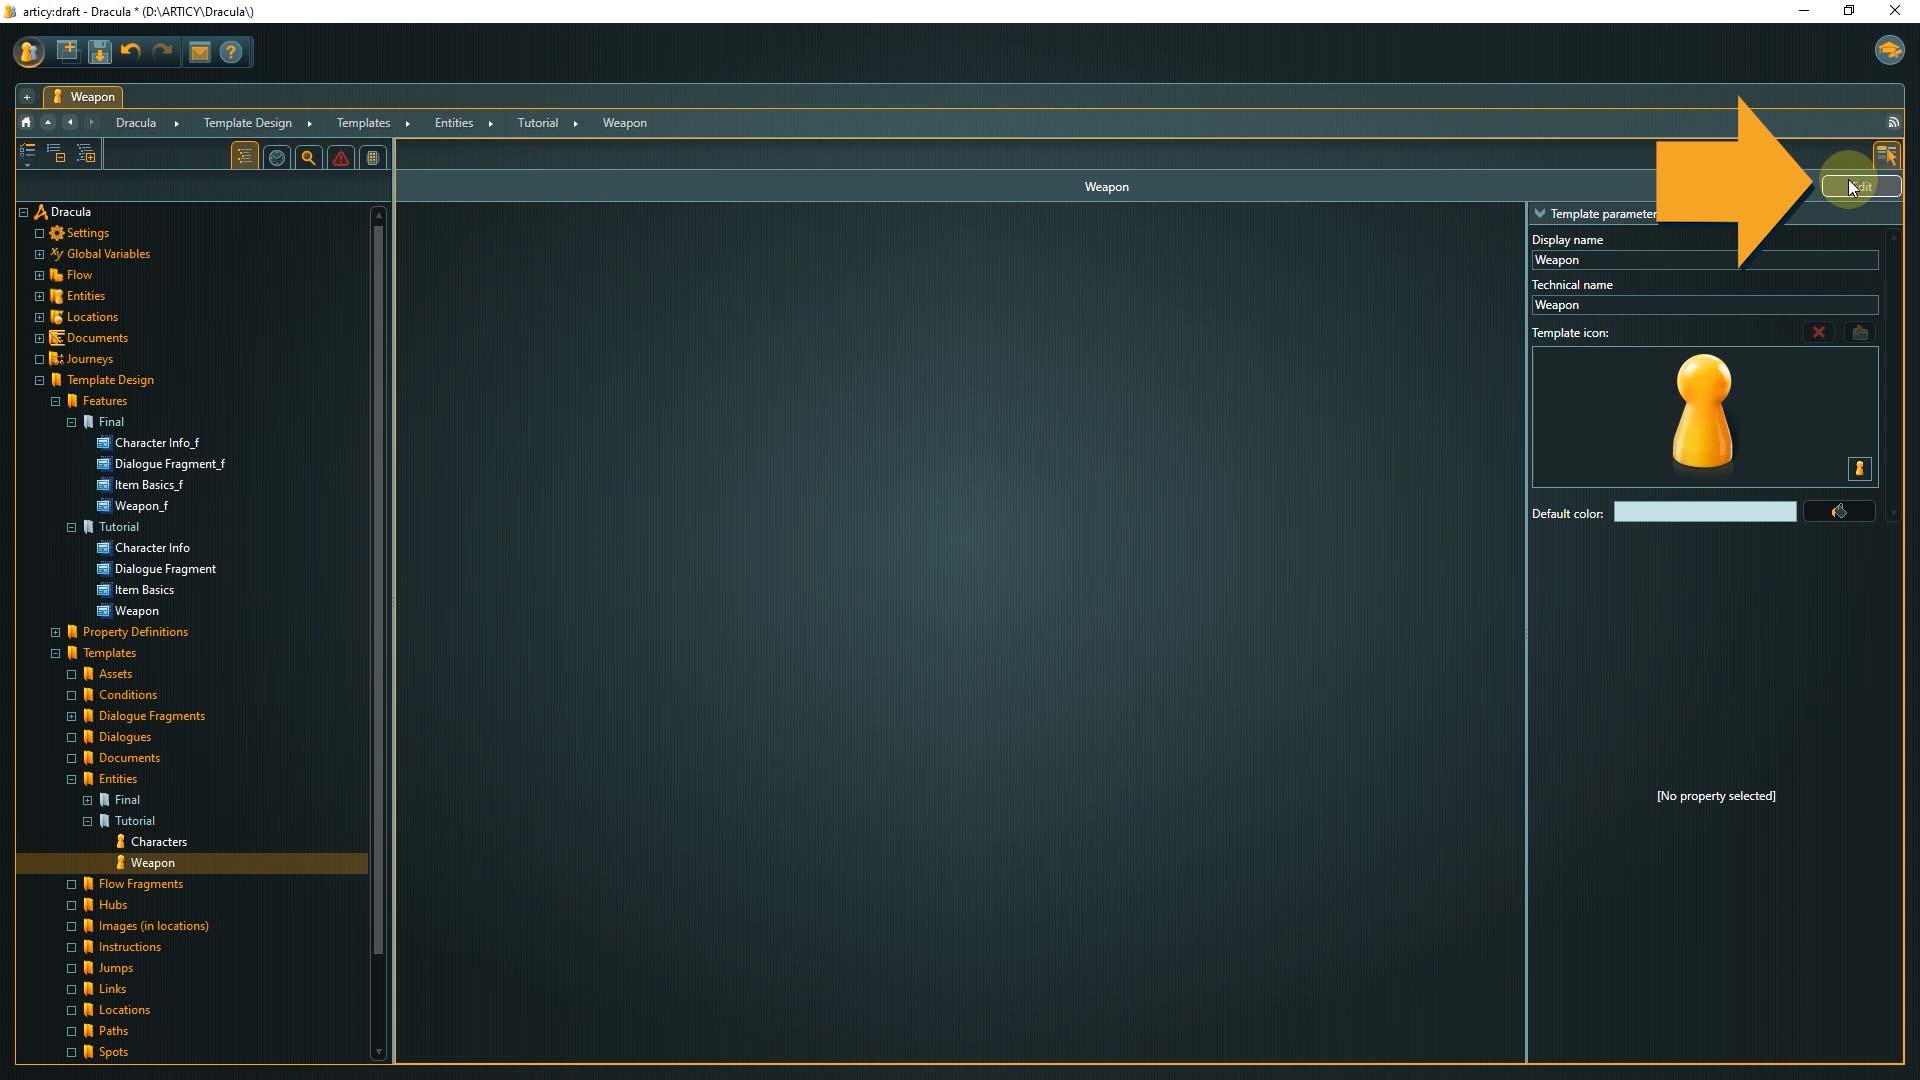
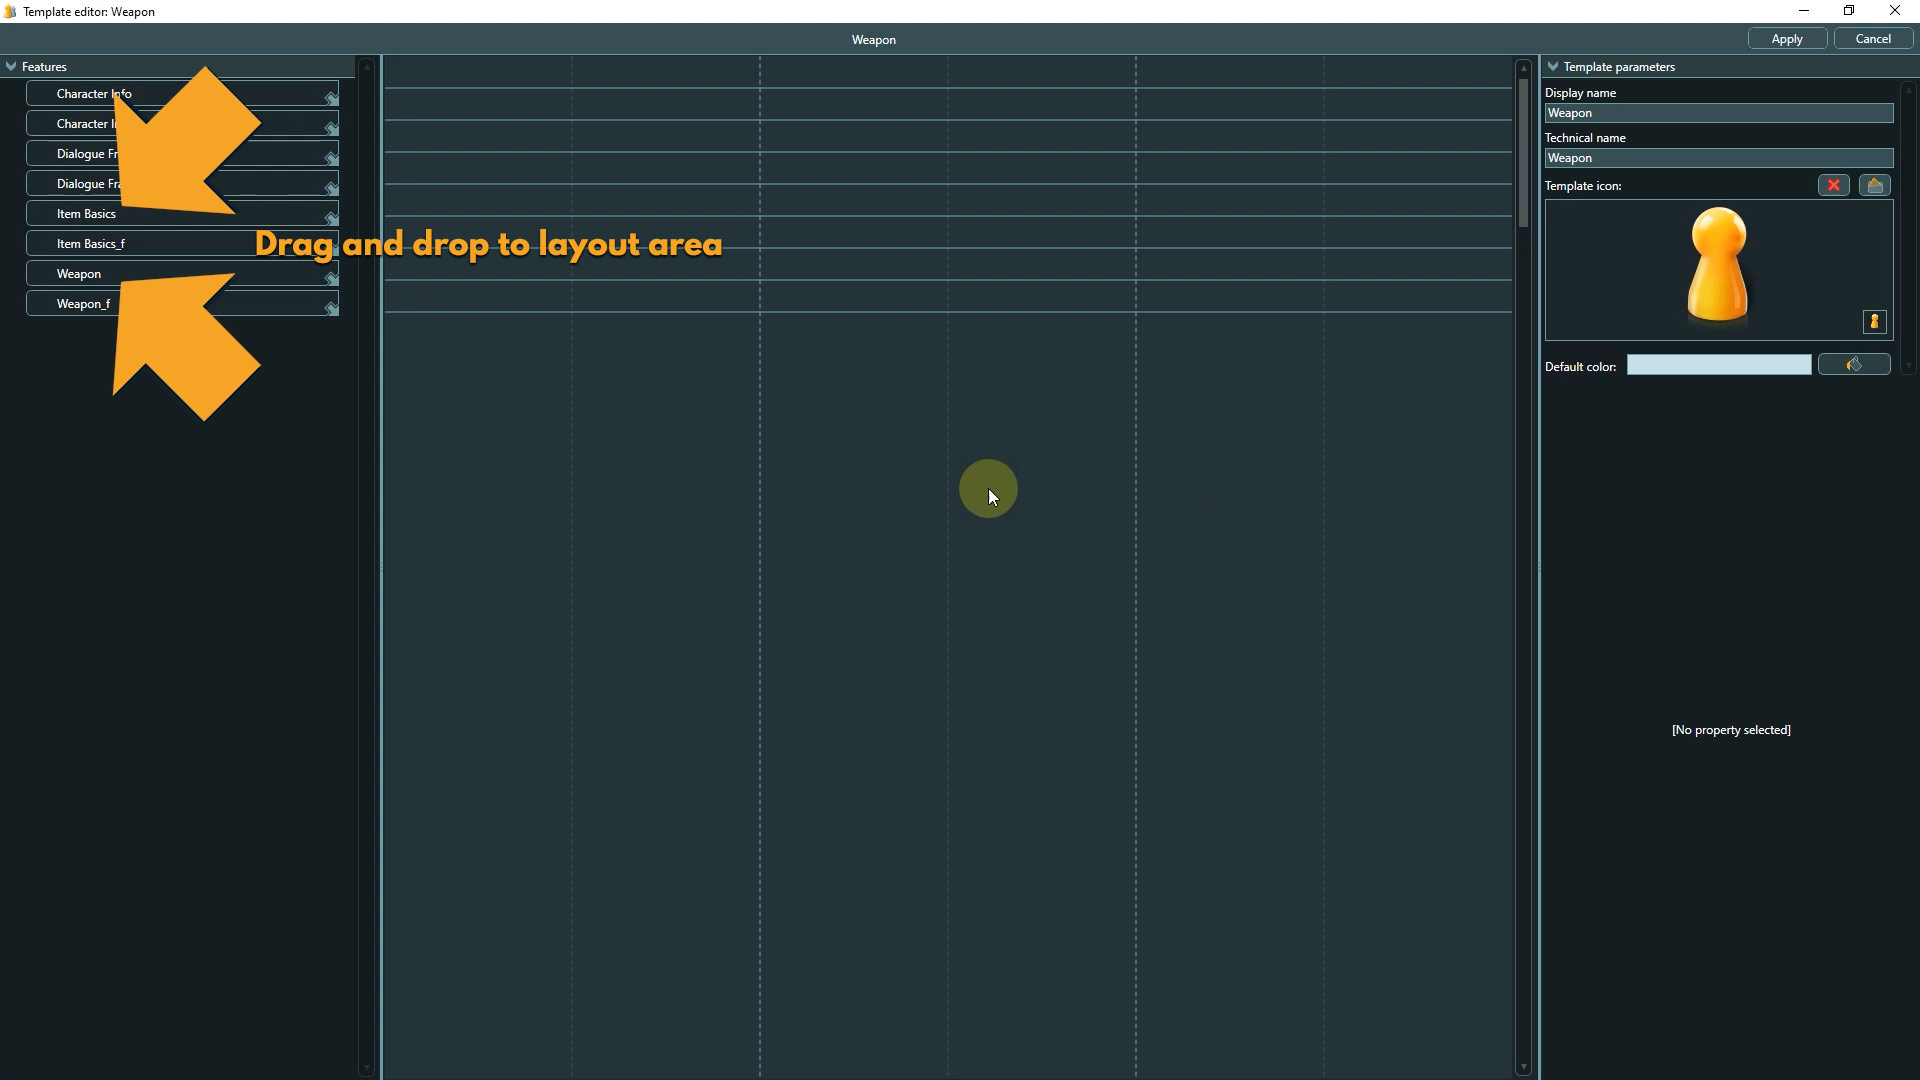
The Template editor looks quite similar to the feature editor, but instead of a property list there is a list of all existing features on the left side.

6. Drag the “item basics” and “weapon” features to the layout area. With that the template is basically finished.
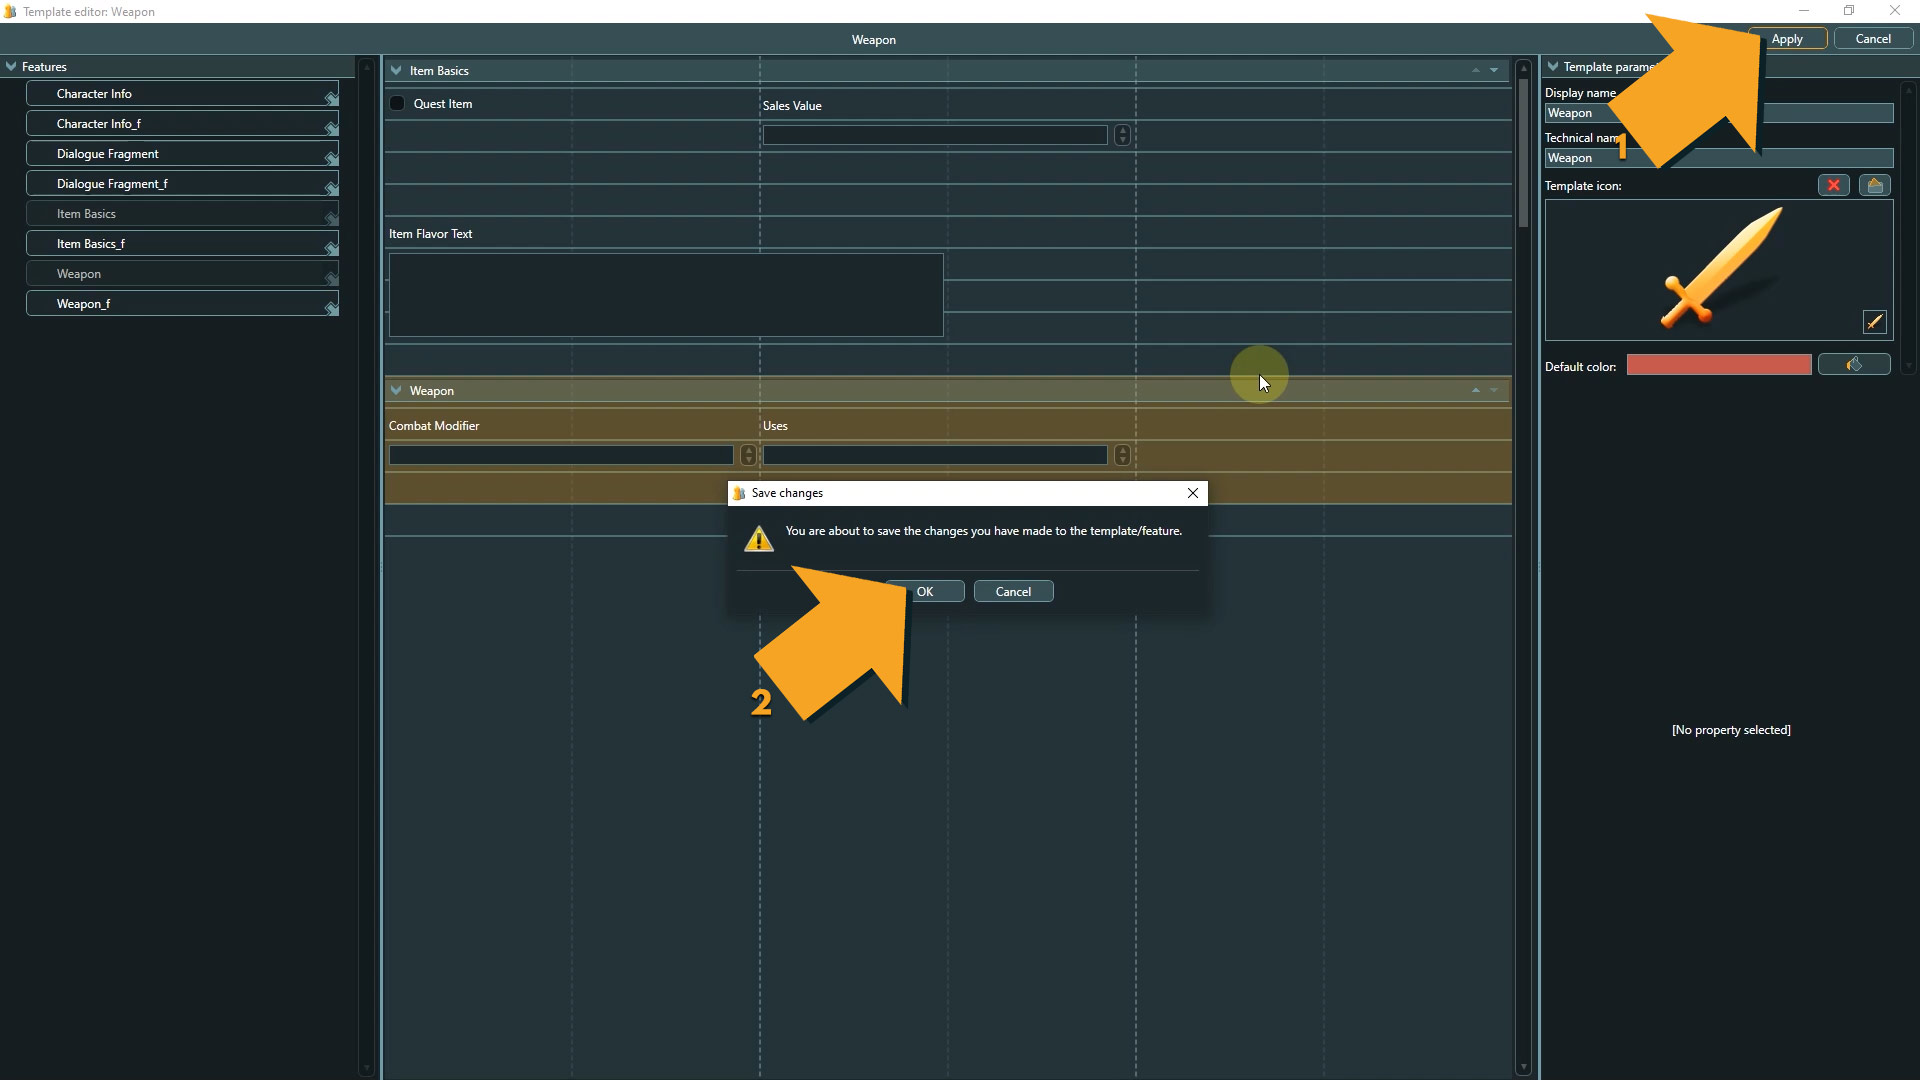
⭐ What we can do to more easily distinguish weapons from other item types is to choose a different icon and color for this template.
7. Click the file icon and select the image you want to use.
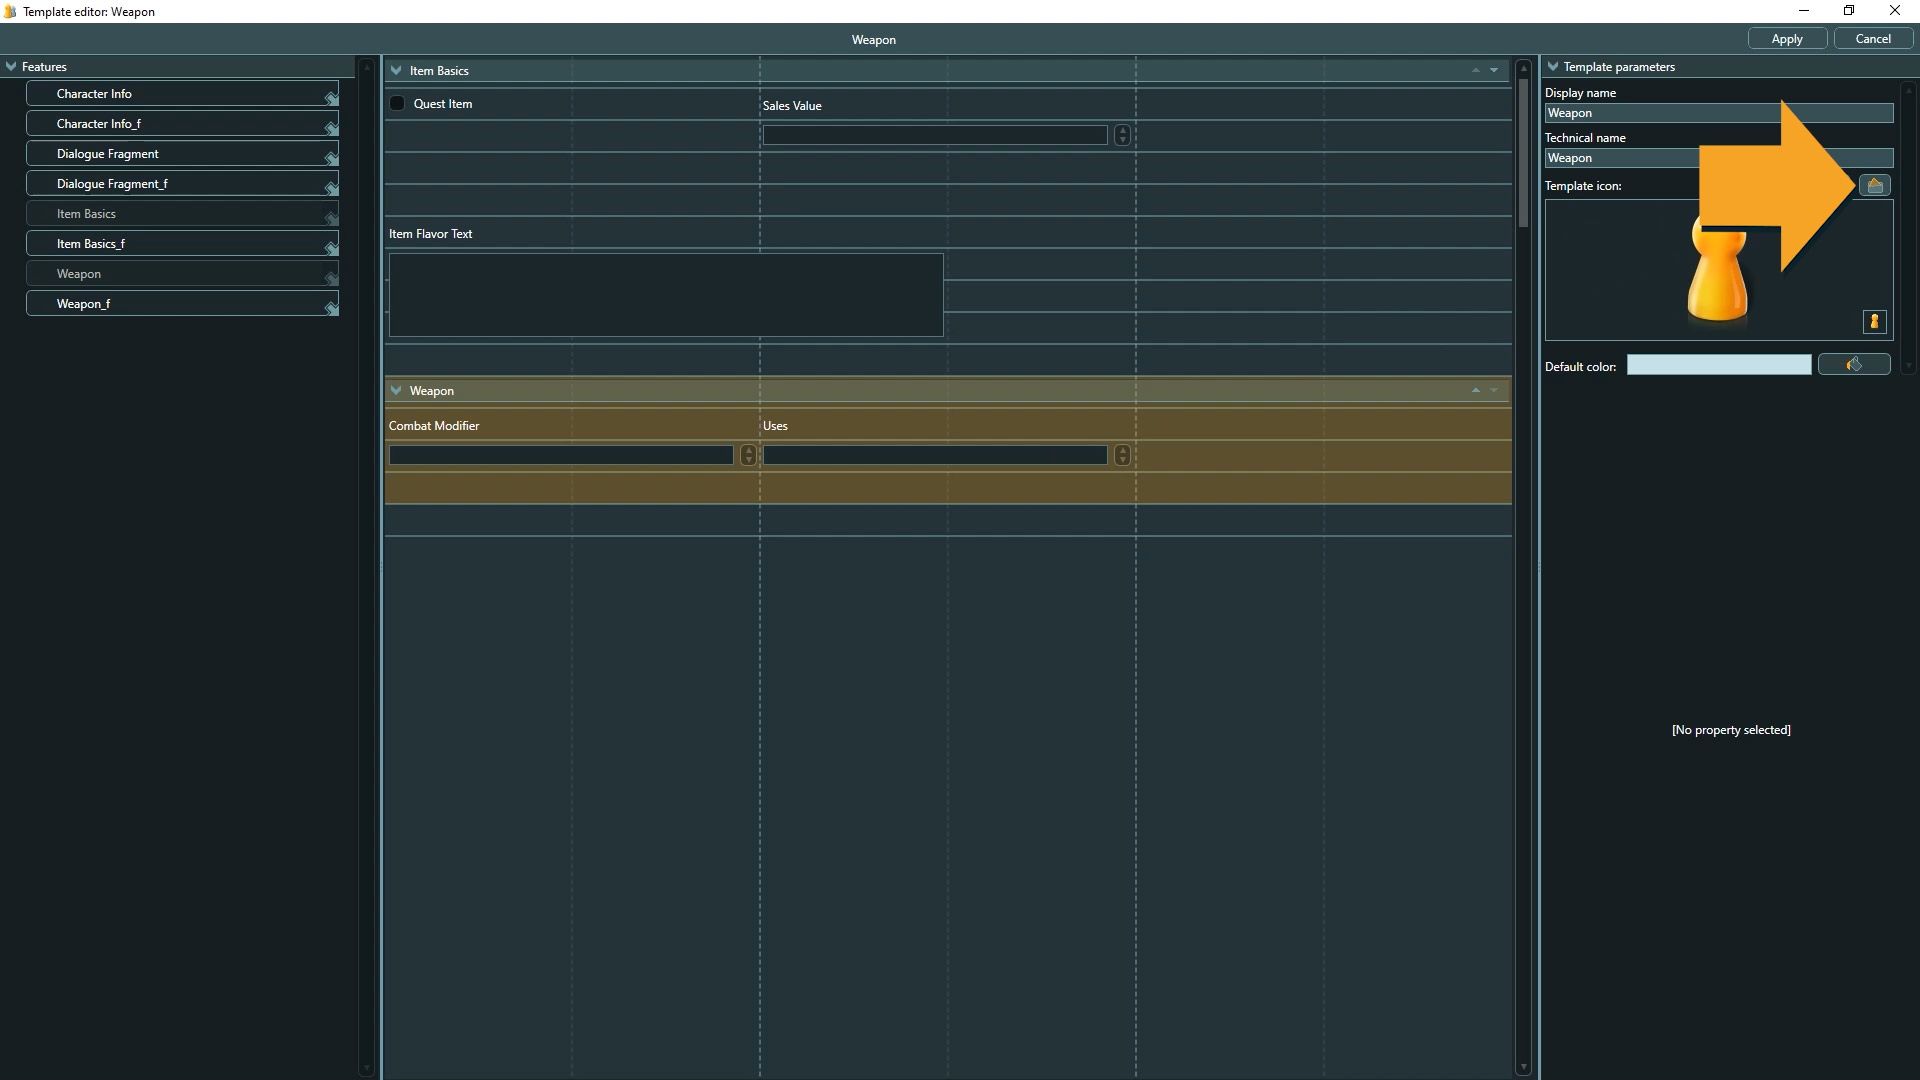
8. With a click on the bucket we can choose a new color.

9. If you are happy with everything click apply and confirm to save the changes.
Now it is time to create the entity itself.
Create the entity
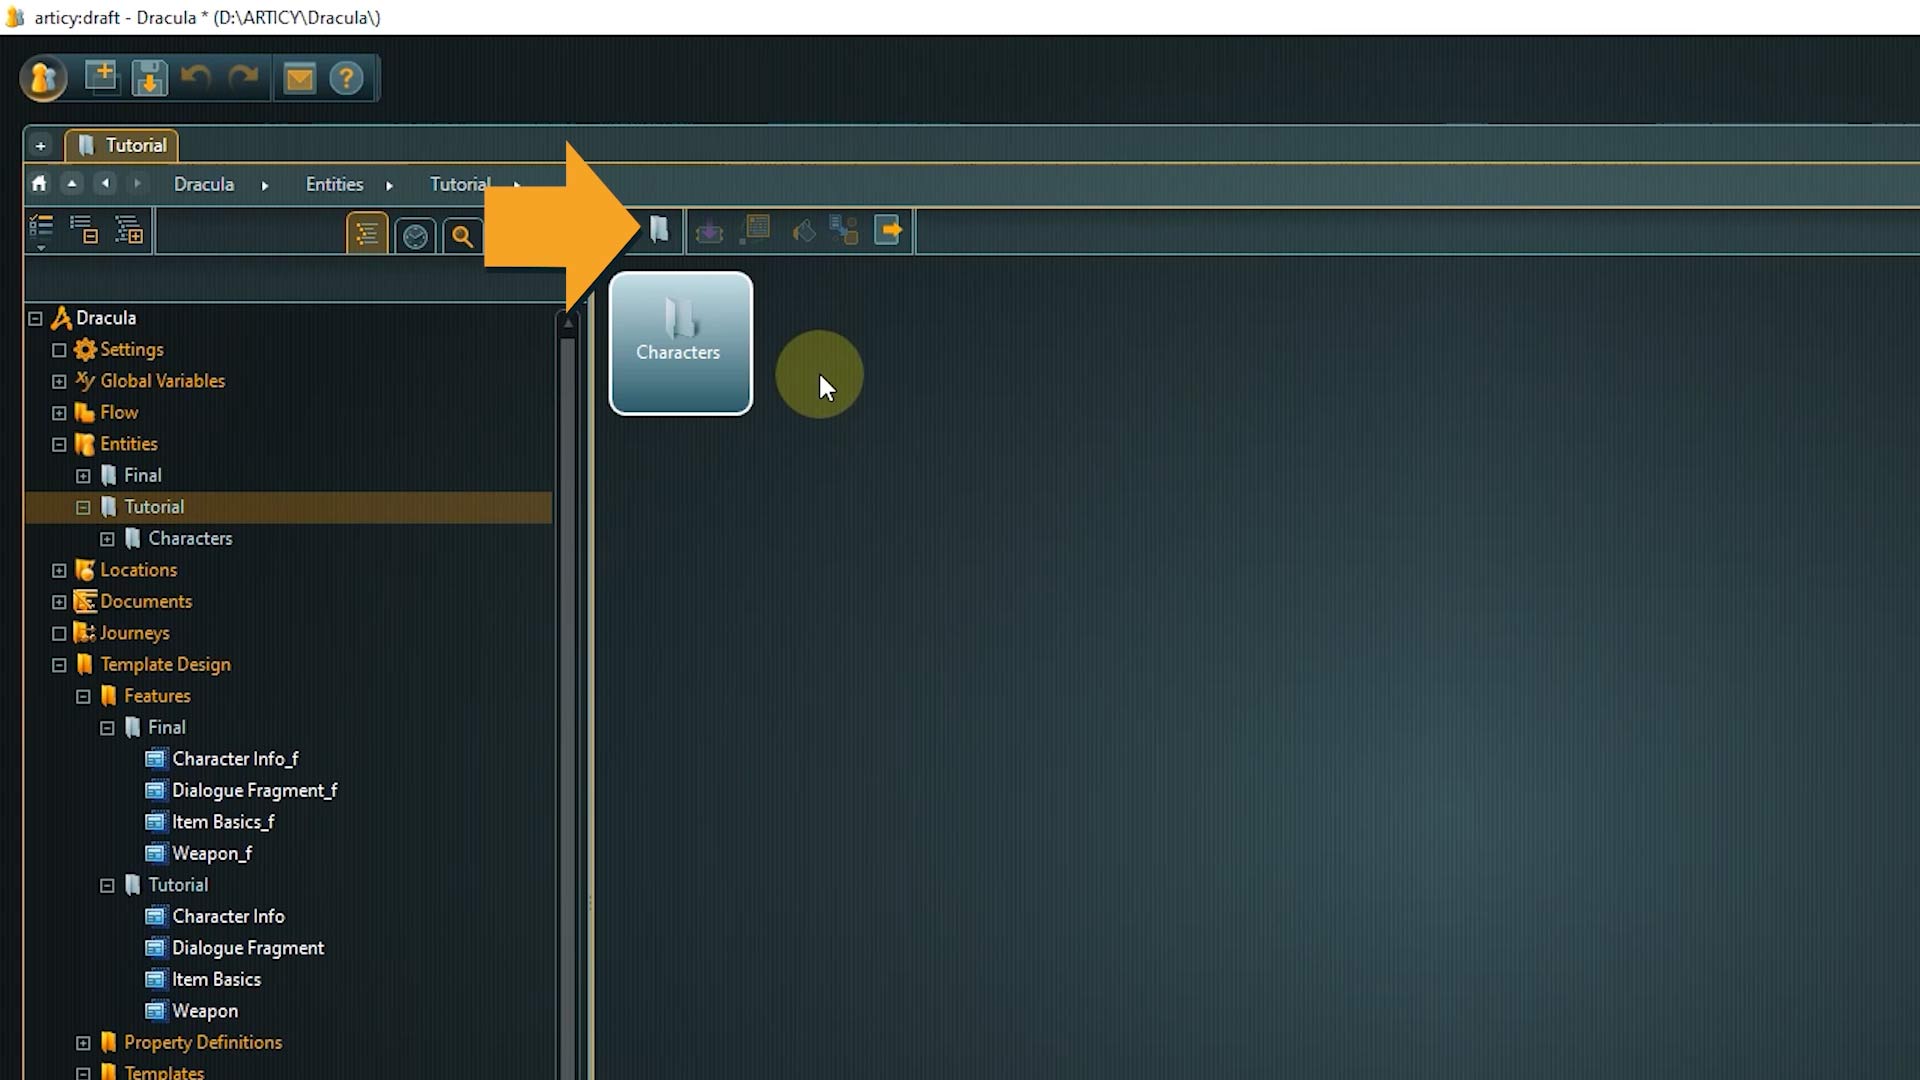
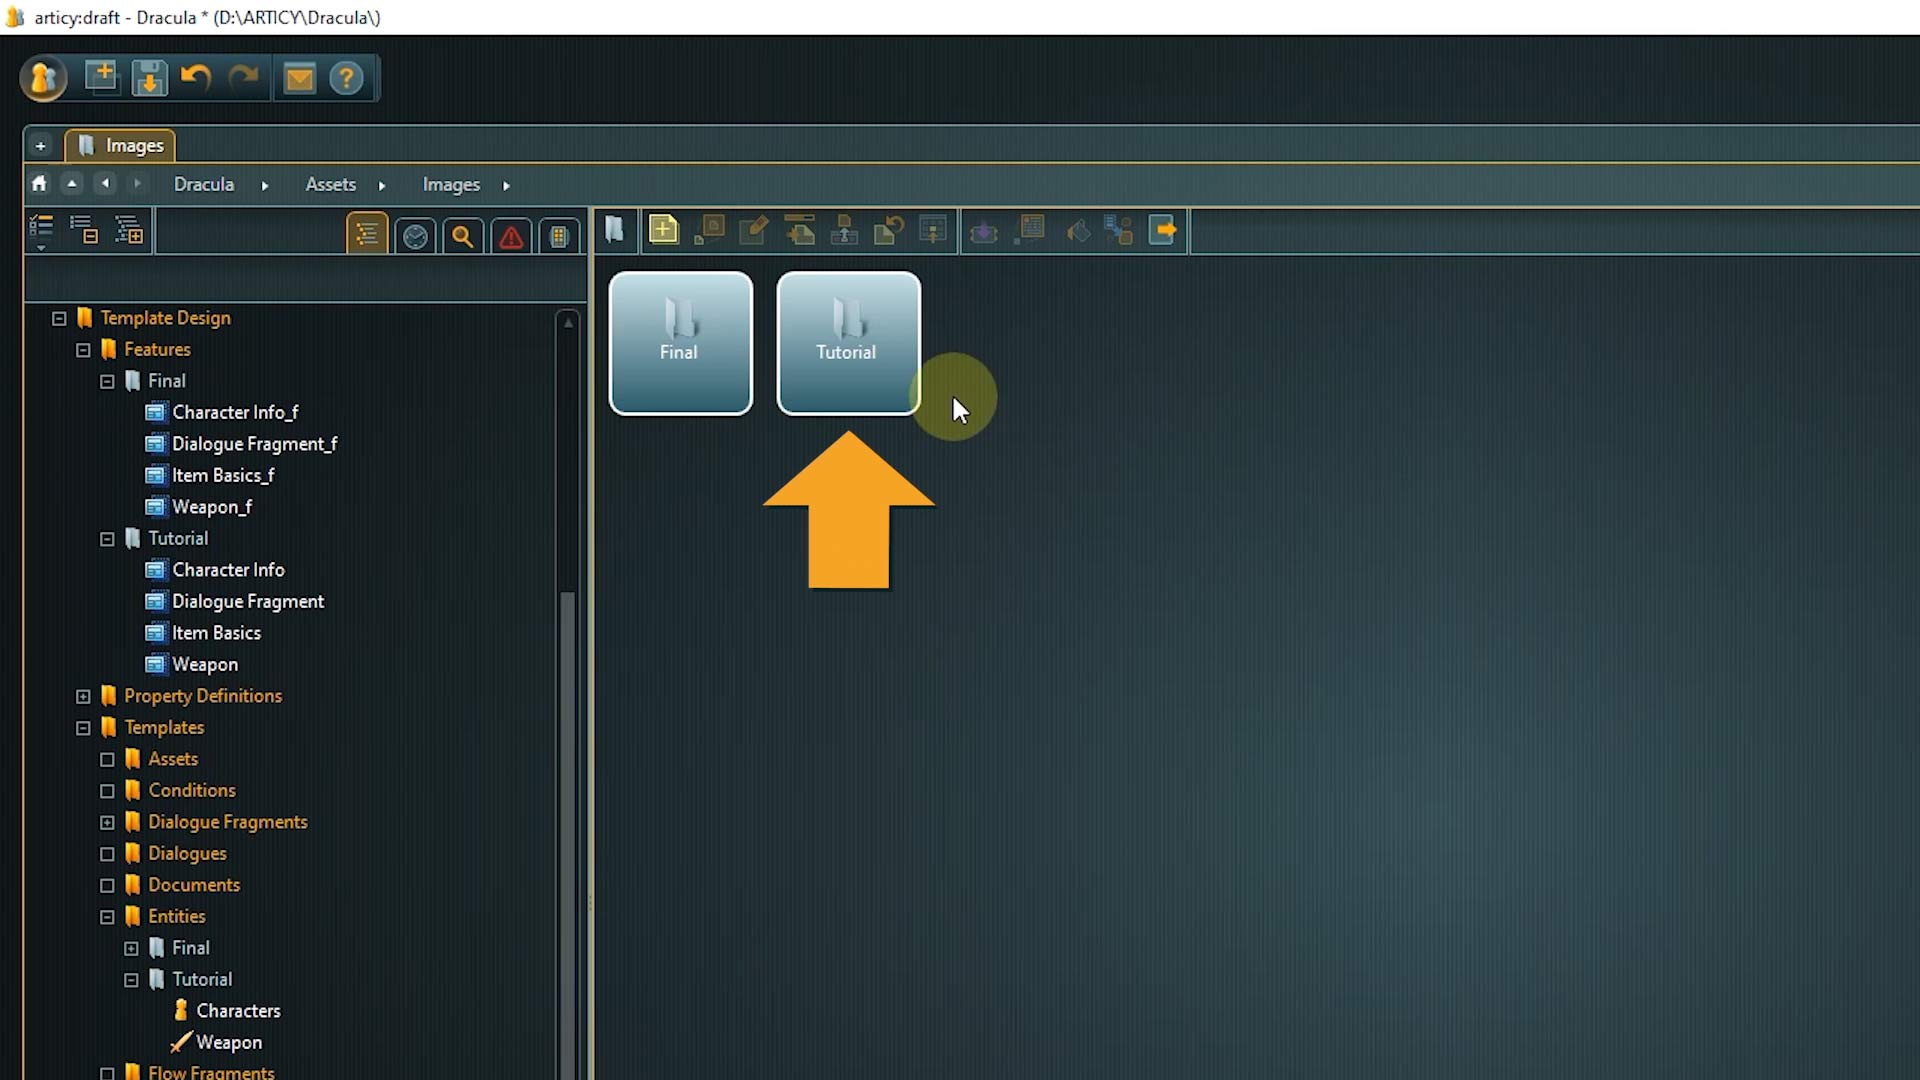
1. Select Entities in the navigator or go via the jumpstart page.

2. Then go to the Tutorial folder.

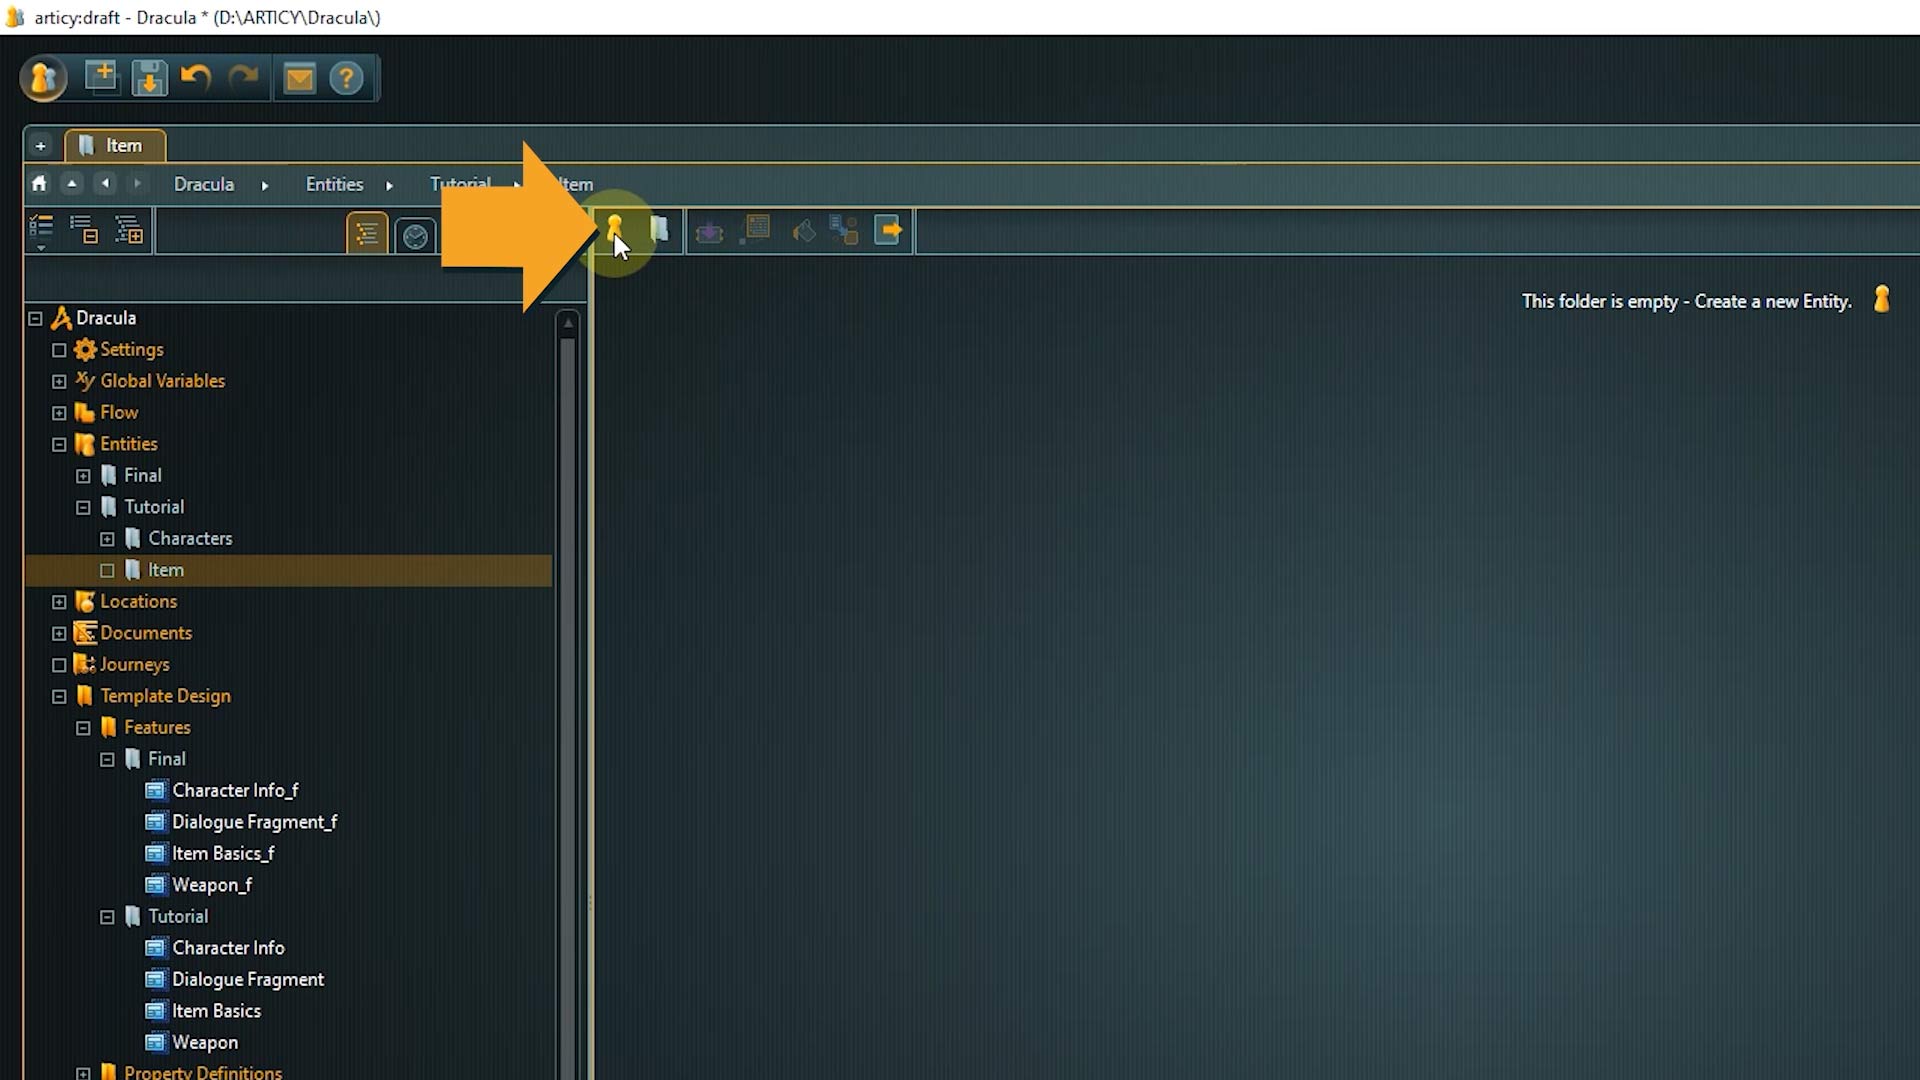
3. To keep everything tidy and organized first create an Item folder.
4. Inside this folder create a new entity.
It wouldn’t be a real vampire story without a stake, right?
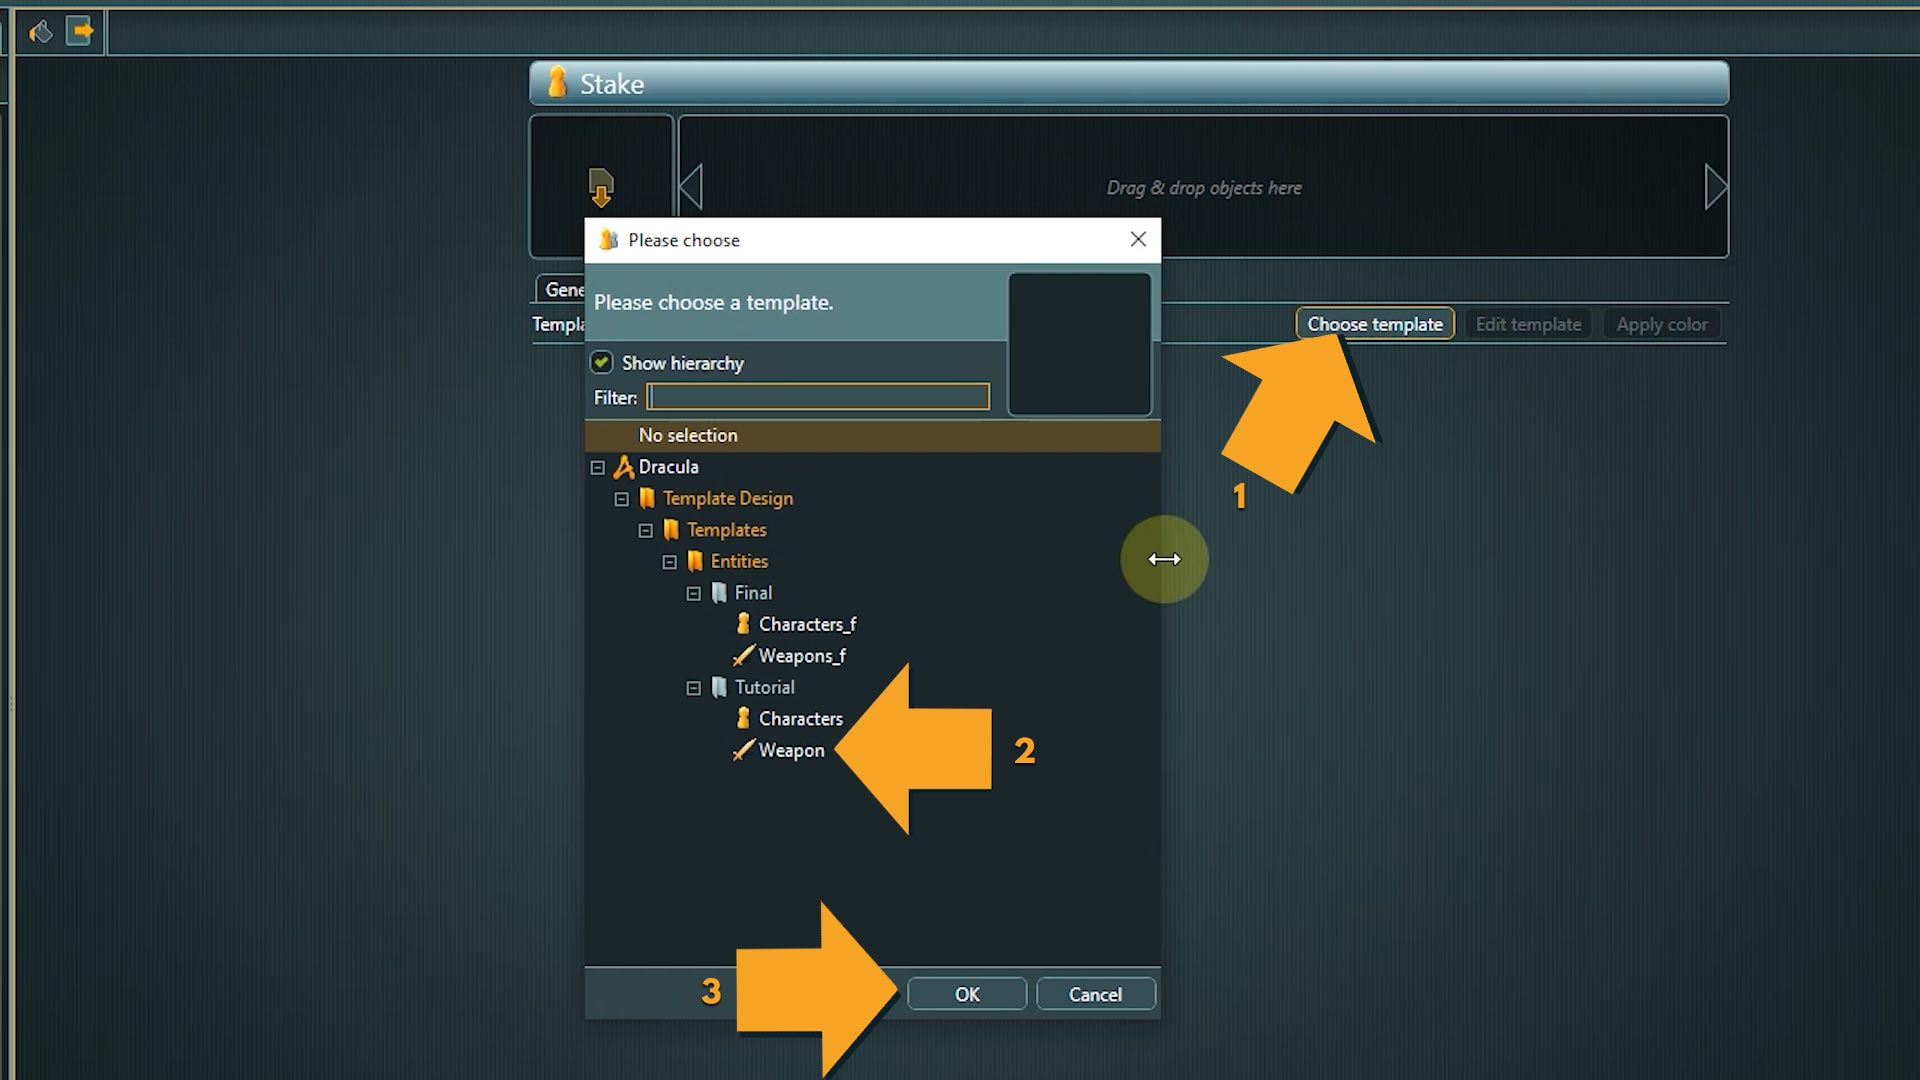
5. Double click the entity tile to open it and go to the Template tab.
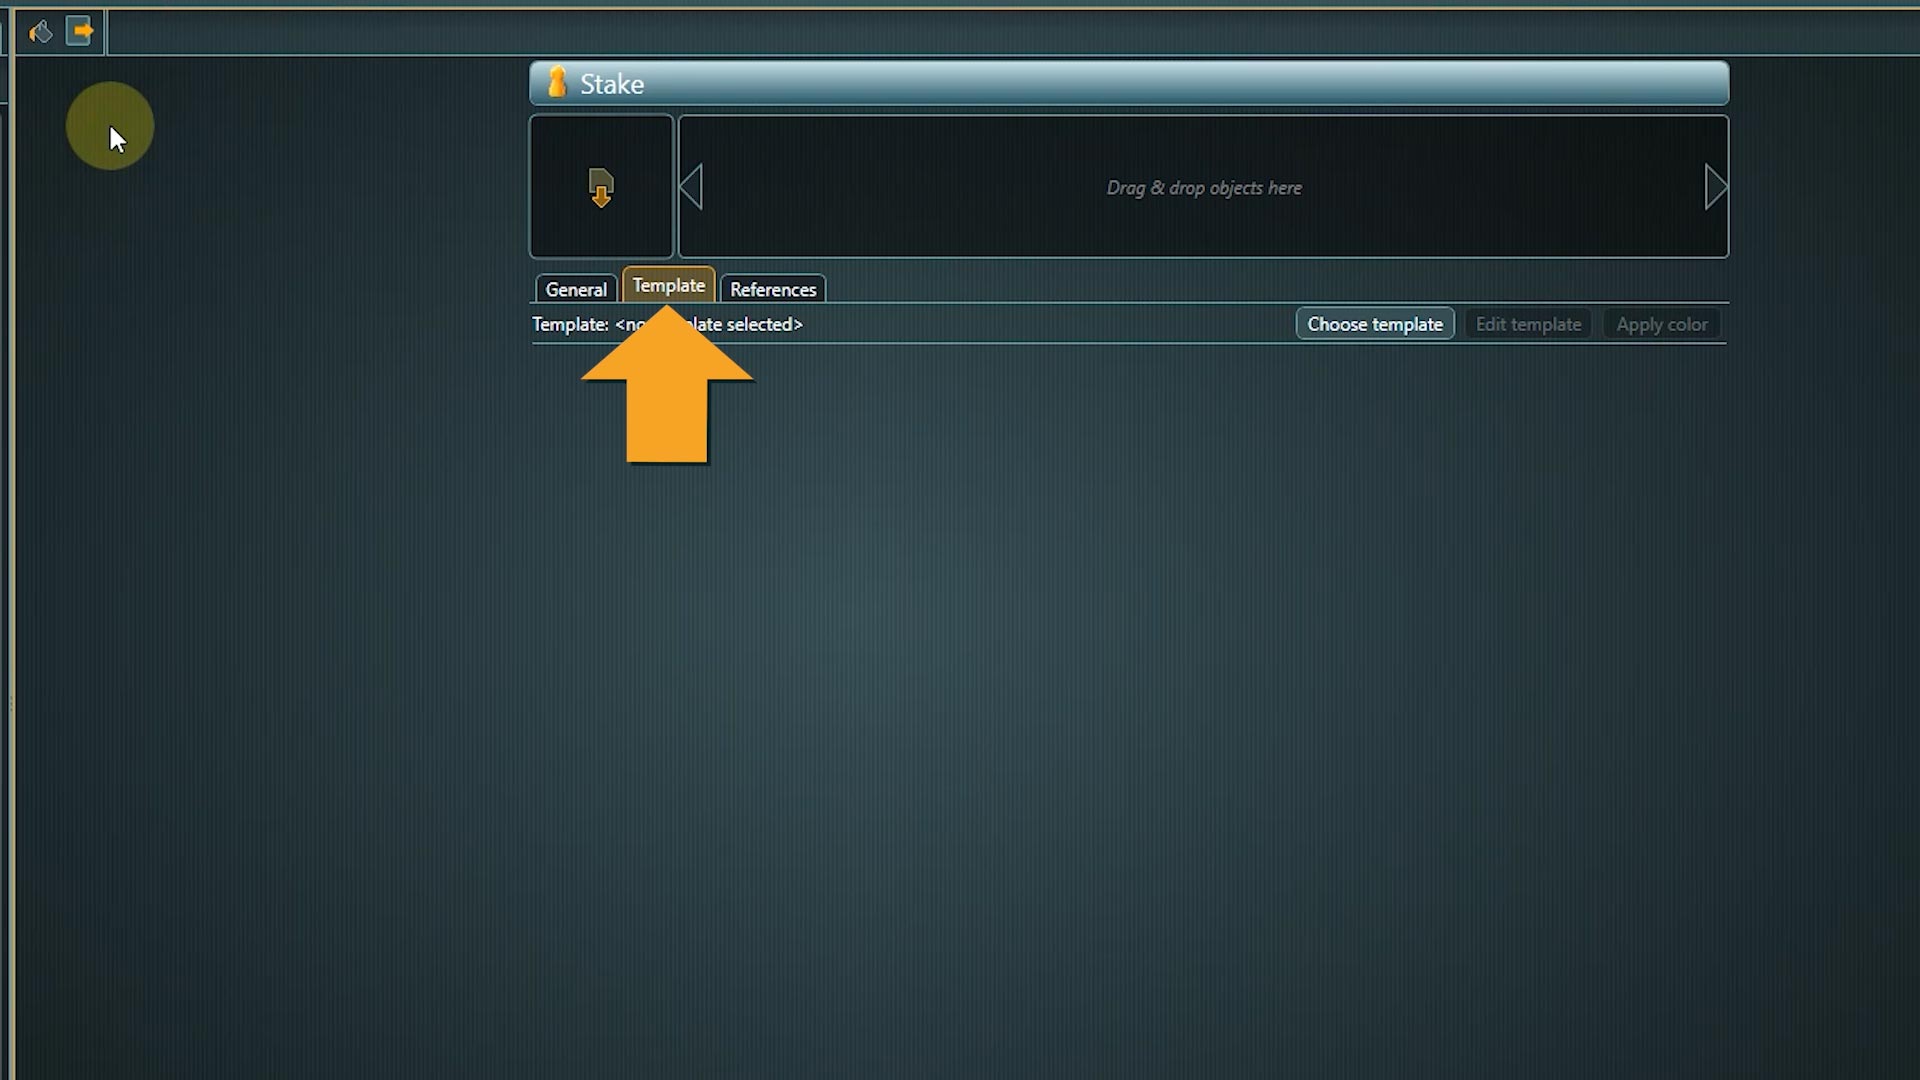
6. Choose the weapon template in the tutorial folder and confirm.
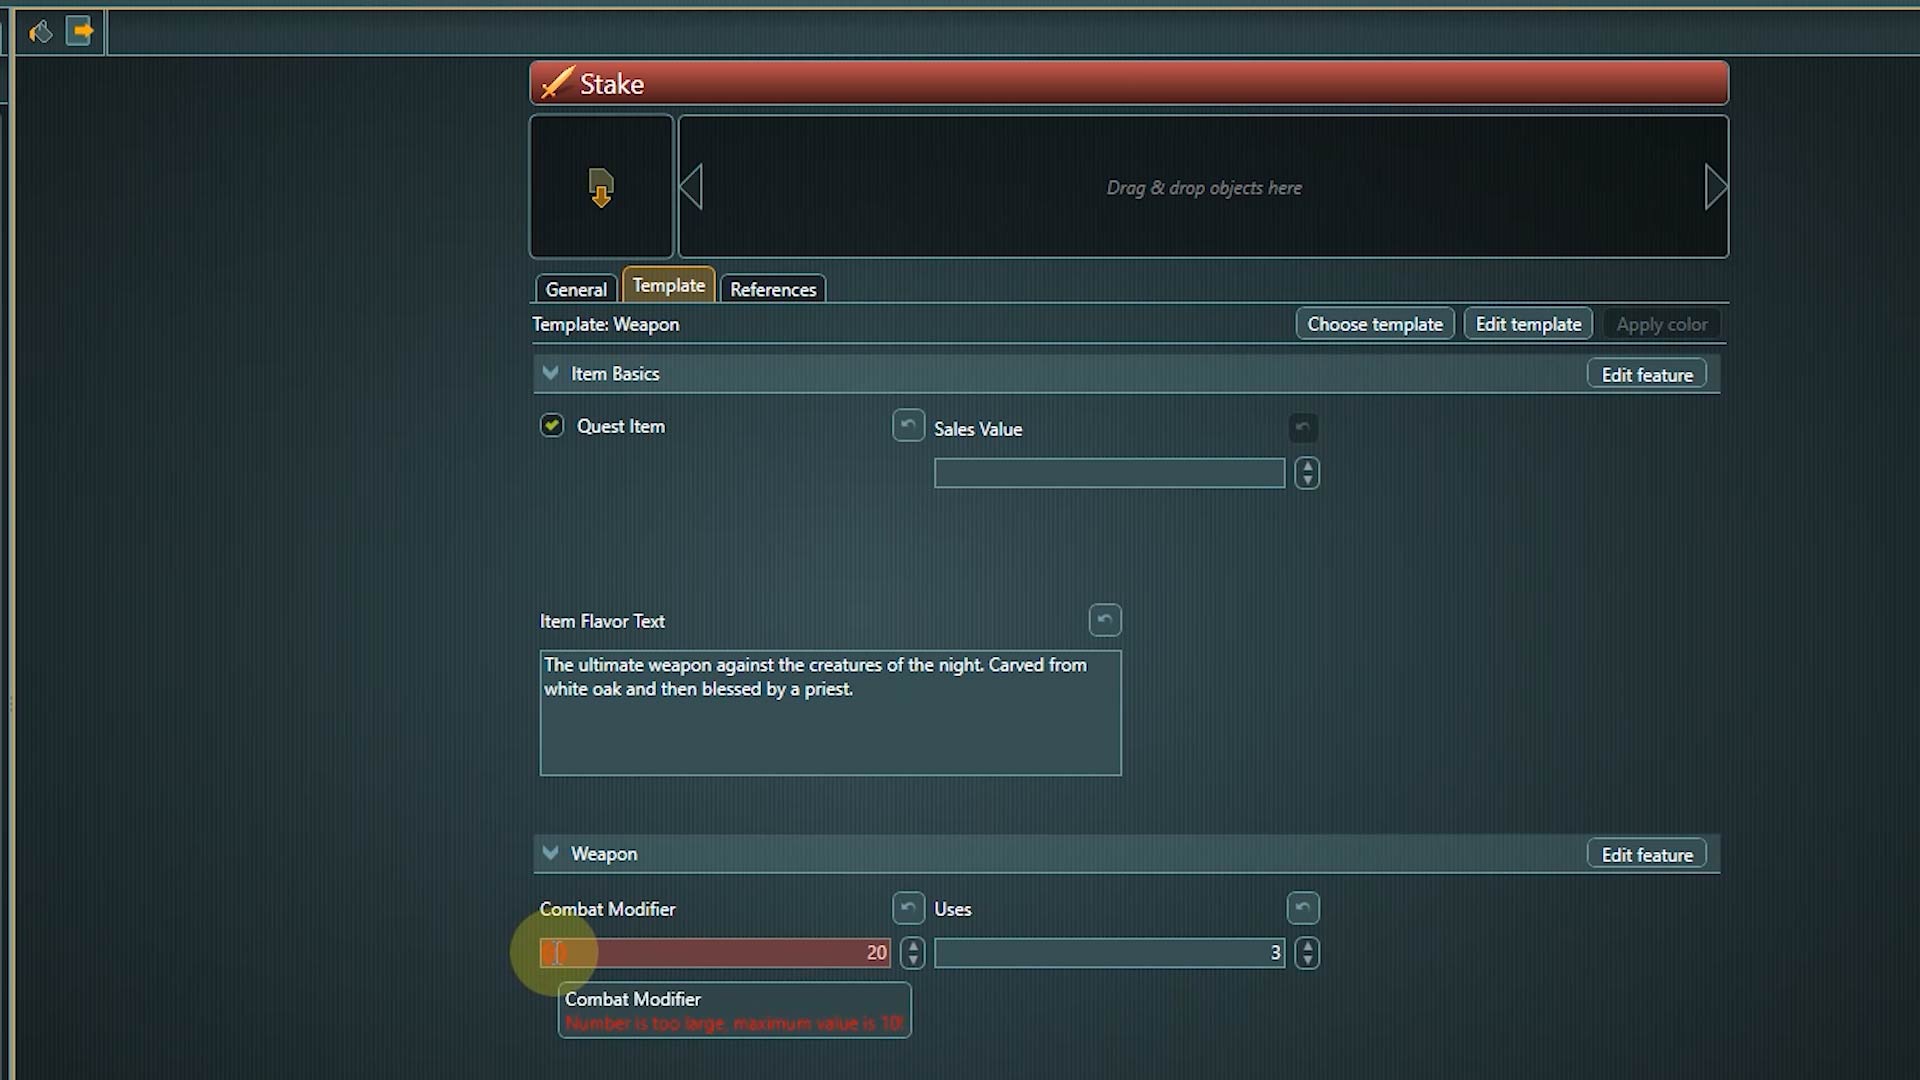
Now we can fill out the property values. How much the stake will help in combat, how often it can be used, some nice flavor text.
👉 If you make a mistake when entering a value that has set constraints, it will show in red. This is how constraints are visualized in the property view.
In our case I made a mistake when entering the combat modifier. When hovering the mouse over the exclamation mark symbol, I can see what the problem is – I exceeded the maximum value we set in the template.
7. There is one little thing we cannot do yet – adding a fitting preview image. To do that, go to the jumpstart page.
8. Select Assets.

We’ve briefly touched on assets before, when we selected an existing asset as the preview image for our Mina entity.
👉 To use any new file as an asset it needs to be imported to articy first.
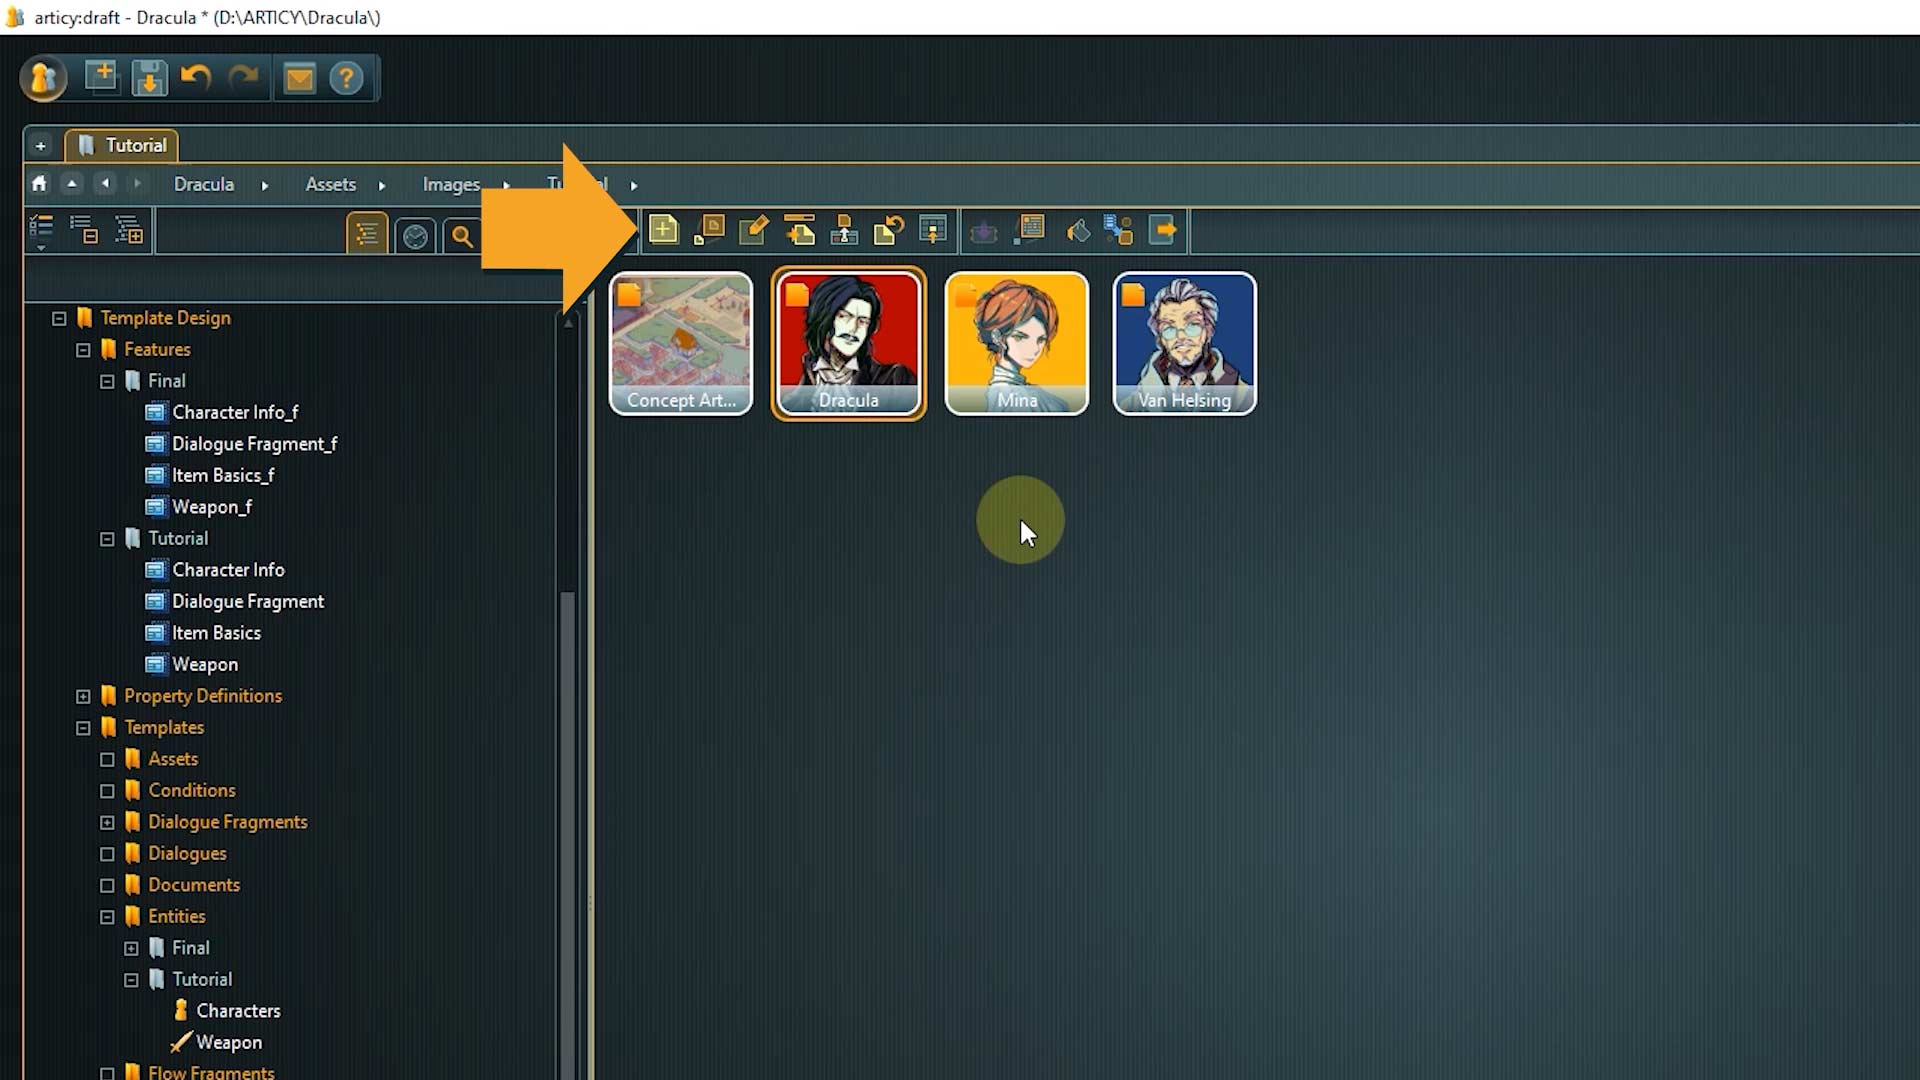
9. To add a new file as an asset, go to Images
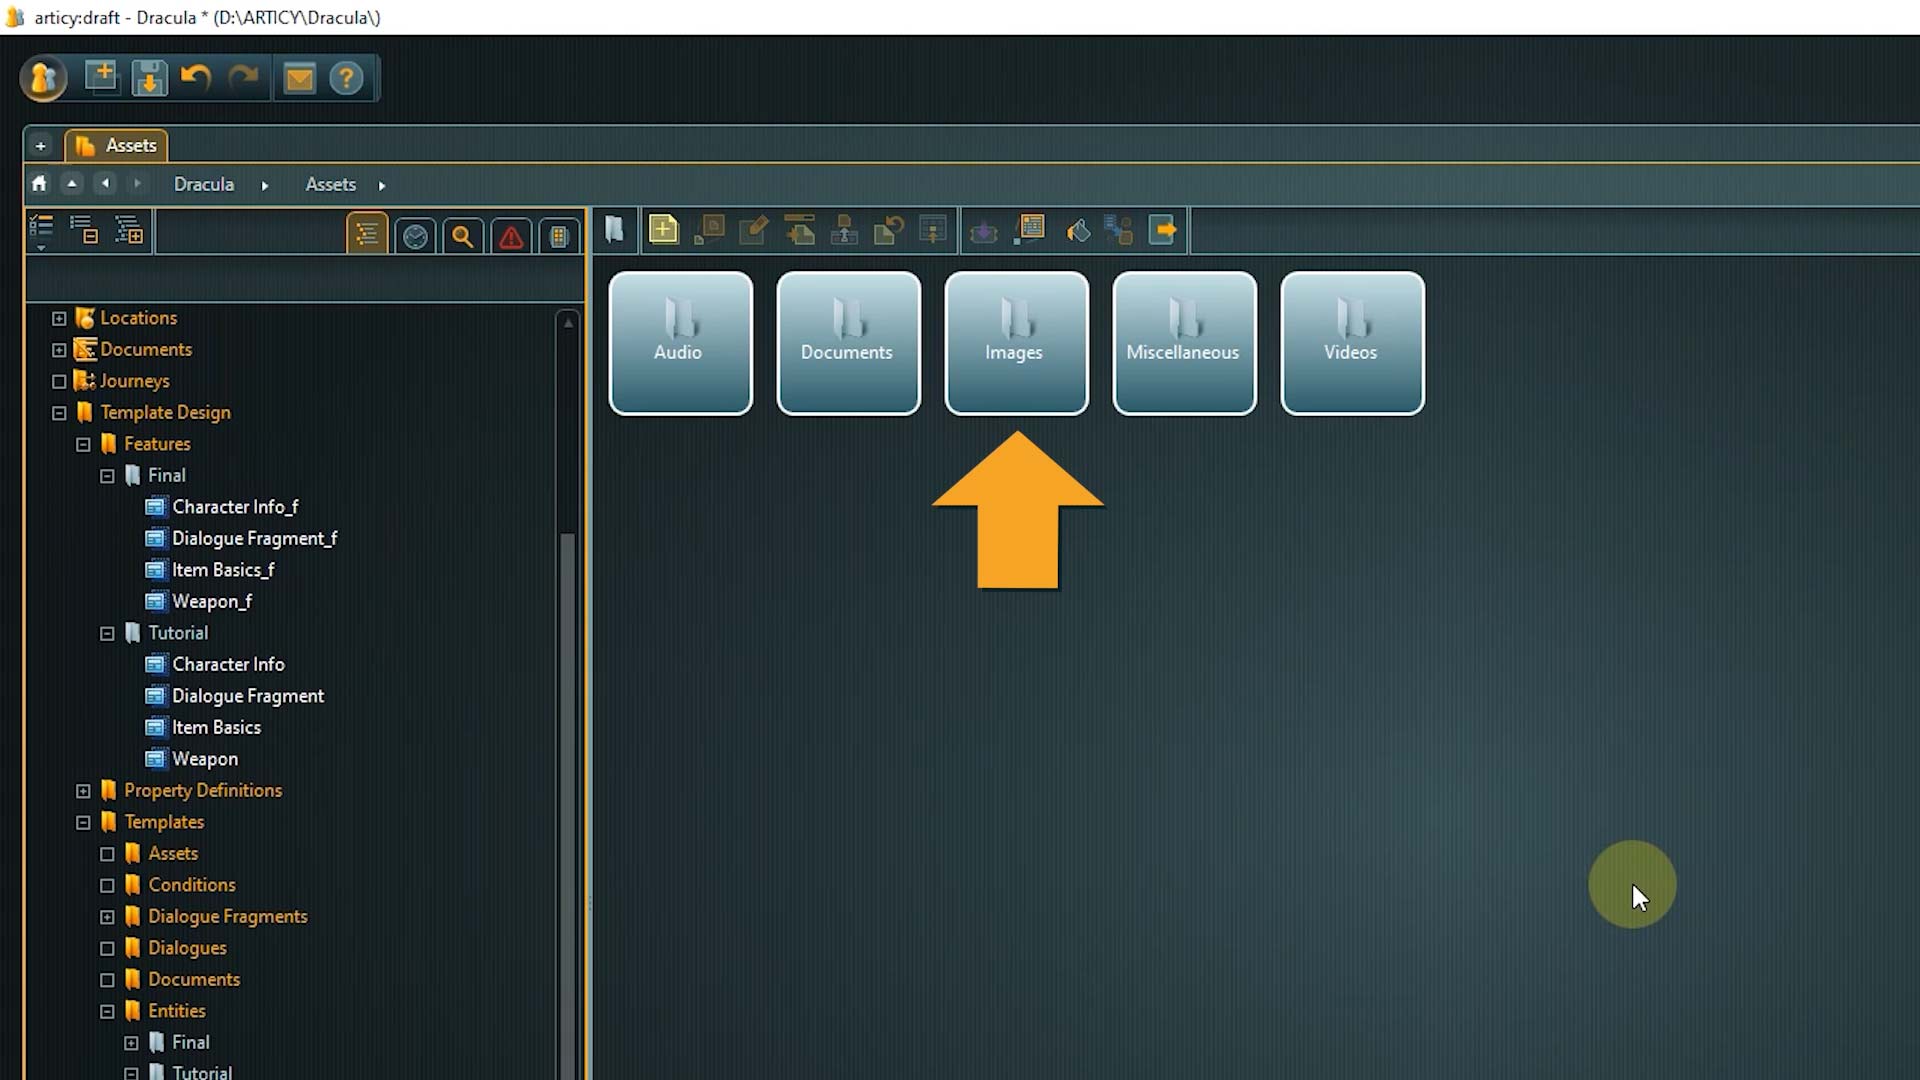
10. Then select the Tutorial folder.
Here we see the image assets we have so far – our characters and a map.
11. Click “Import Asset”.
12. Select the desired image. You can find the “stake” image in a folder called “material” at the Dracula project location.
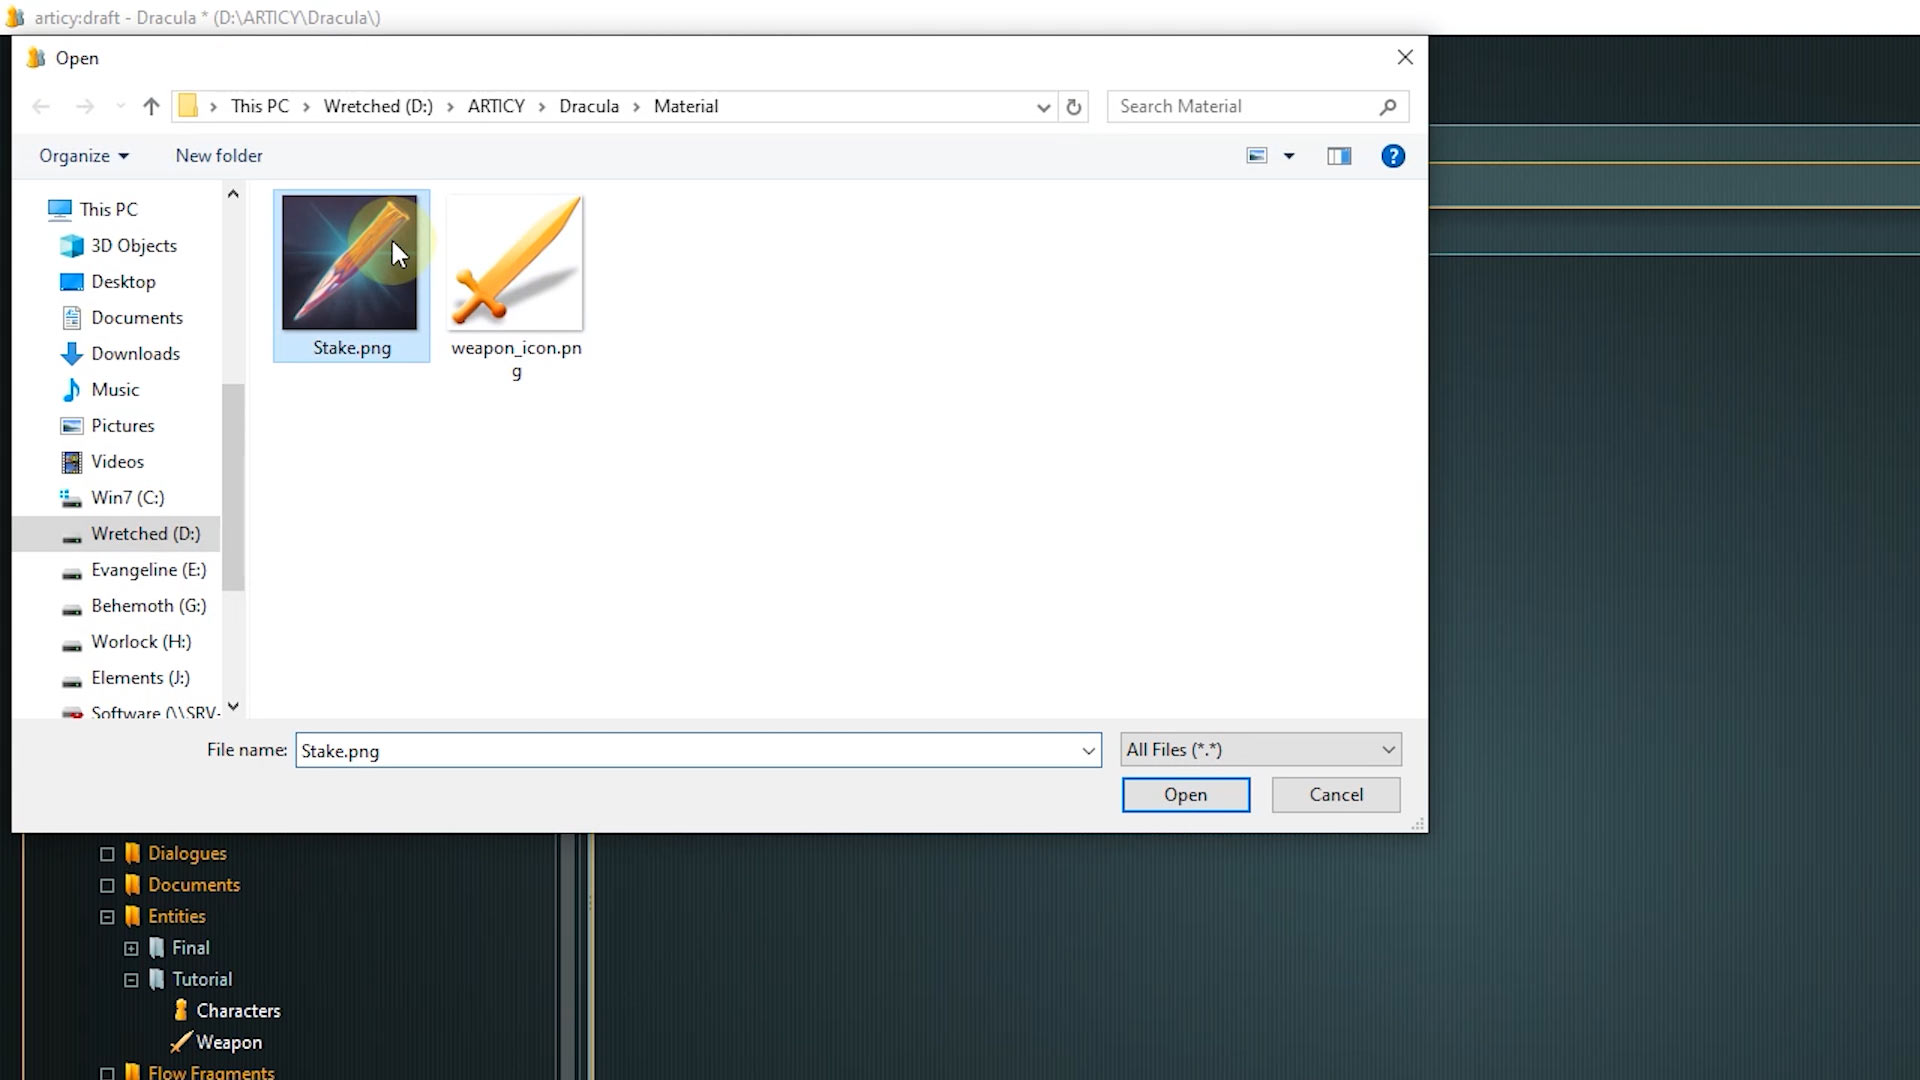
Of course you can also use any other image.
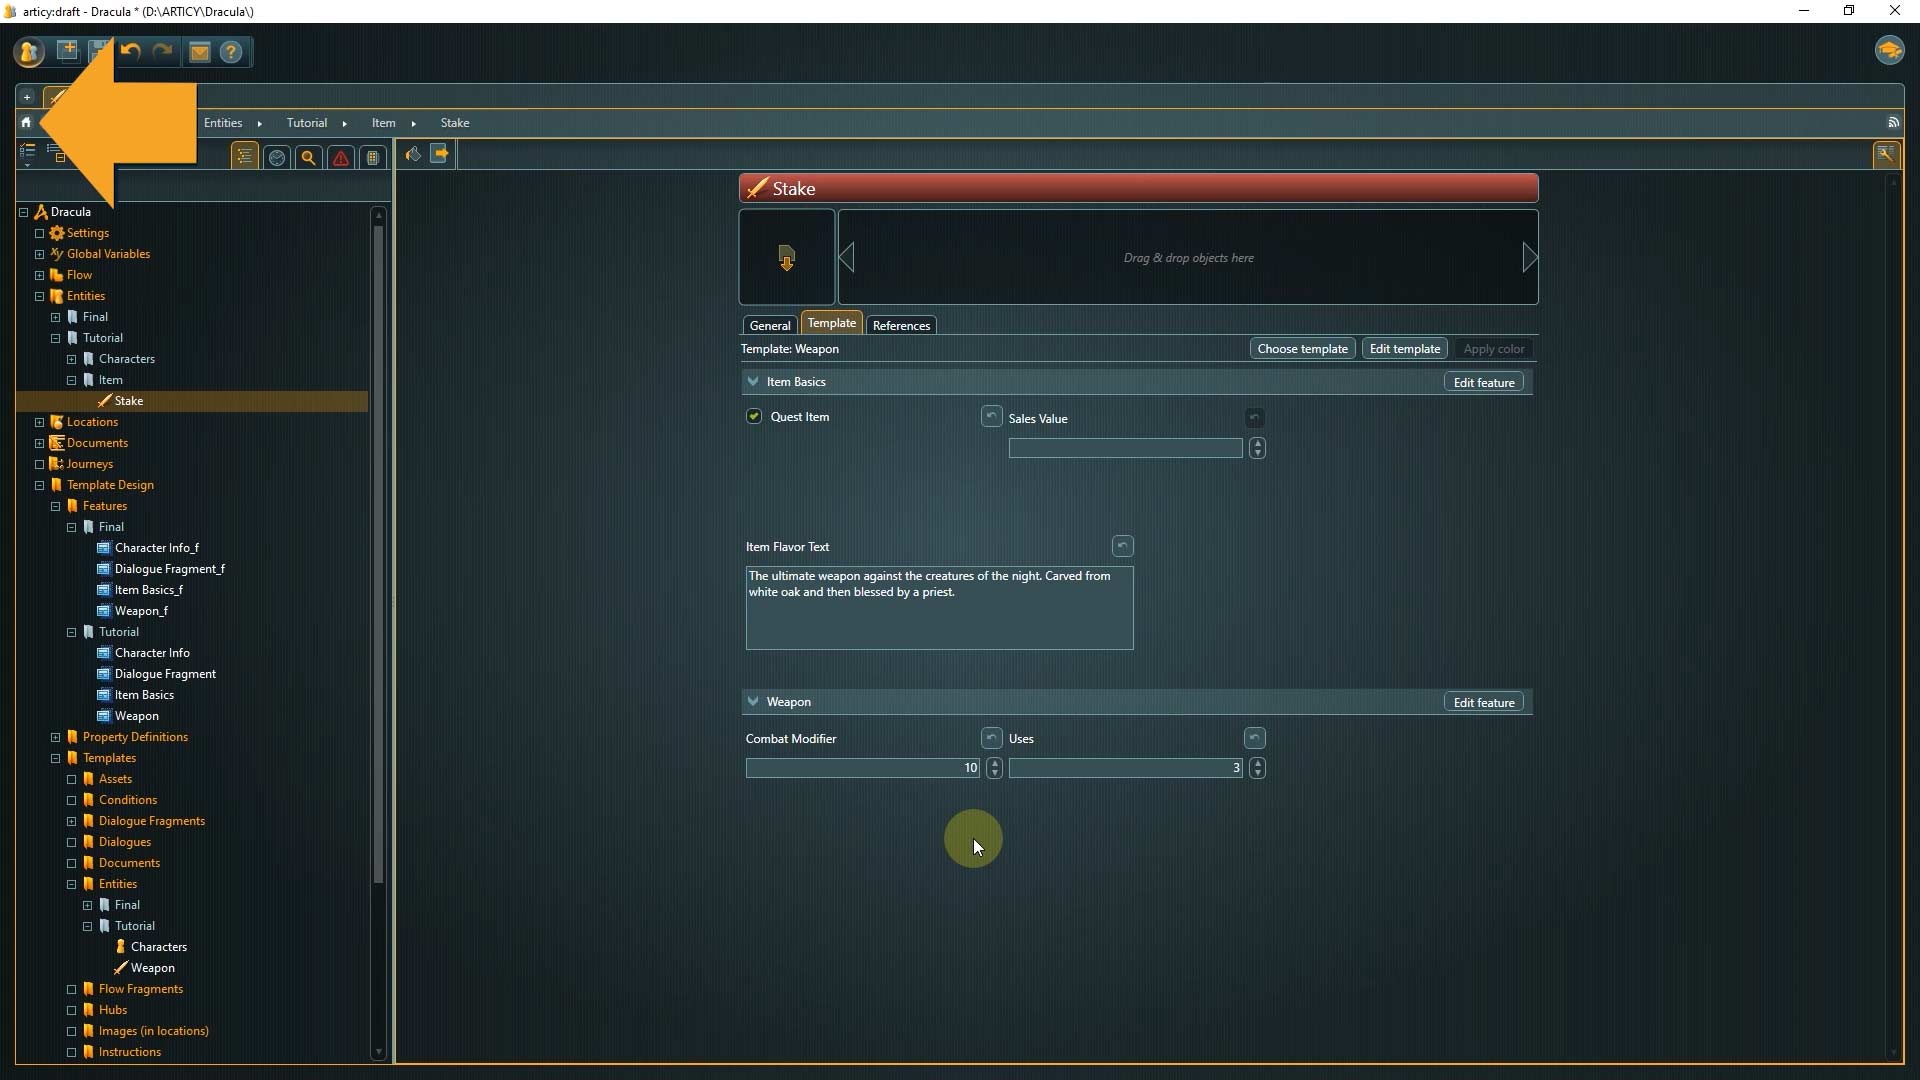
13. Now we can go back to Entities to finish our item.
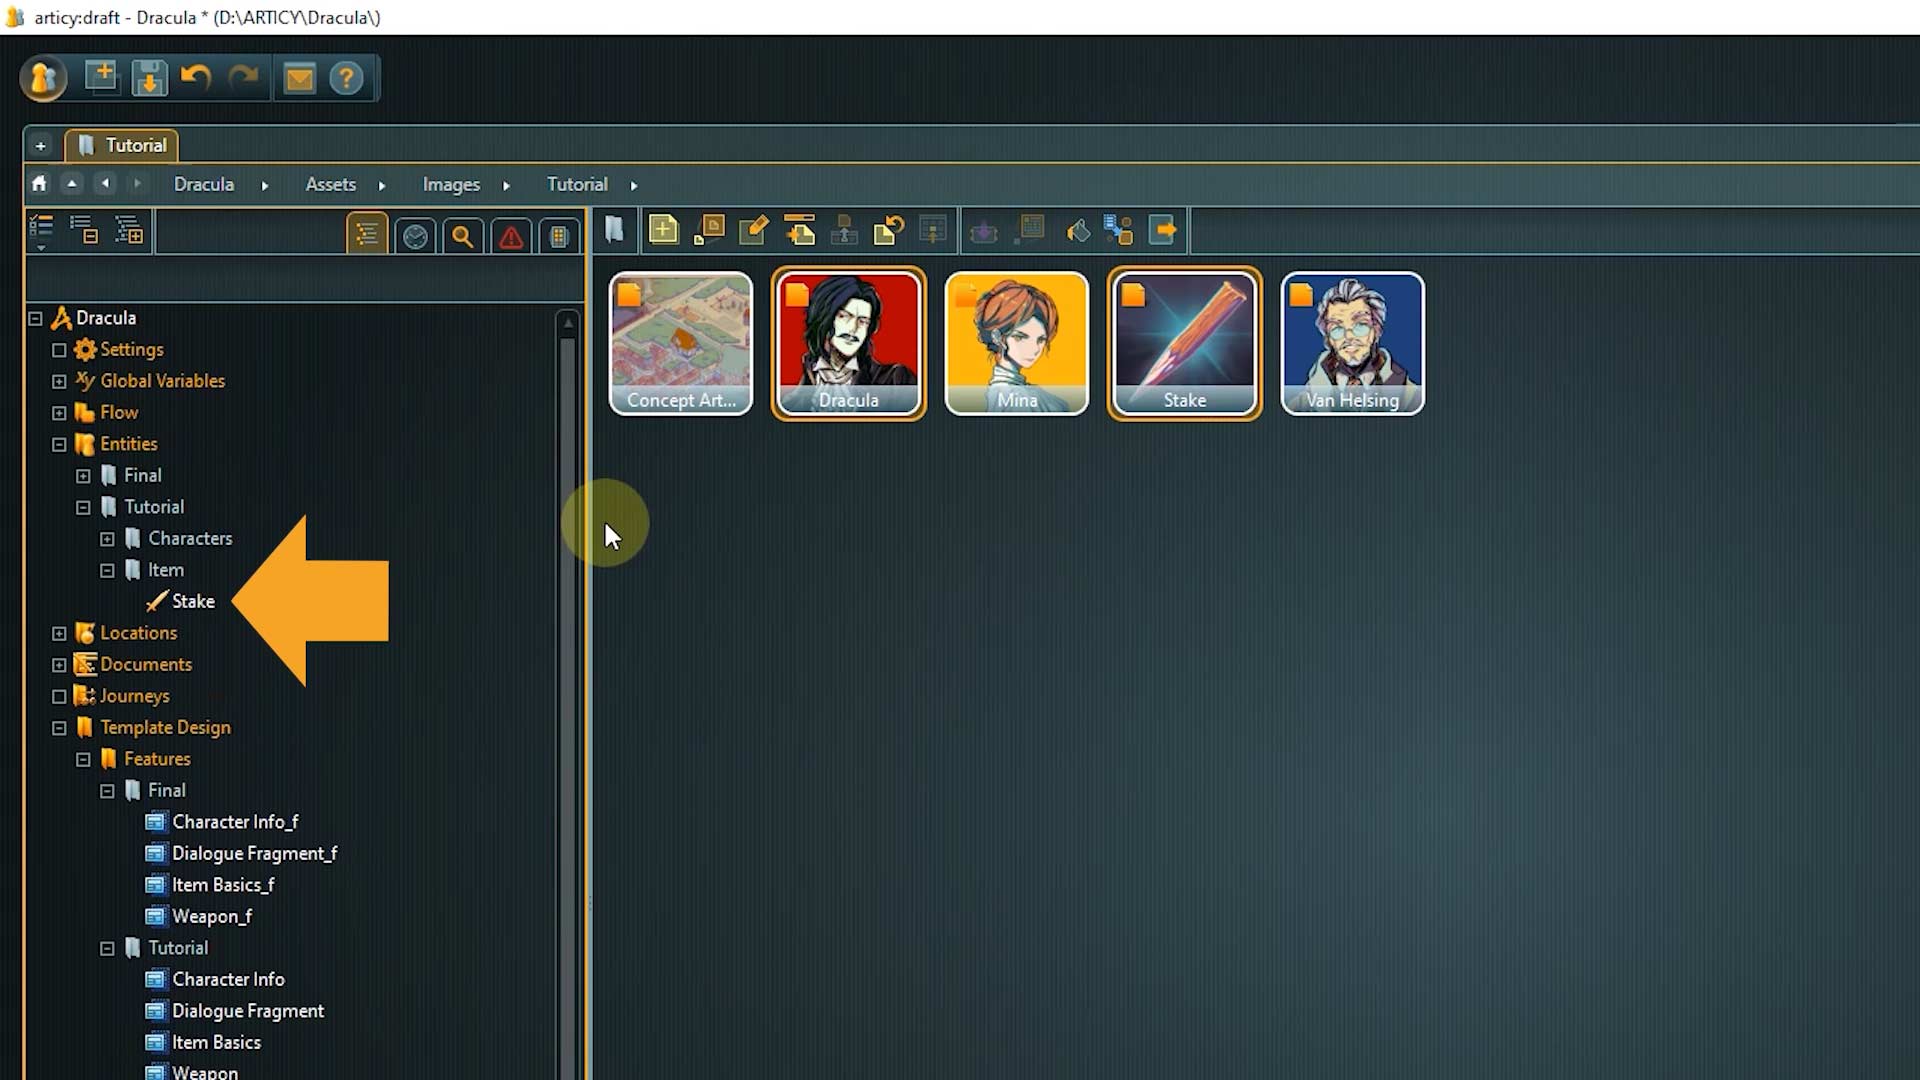
14. Double click the file symbol and select the asset we just imported.
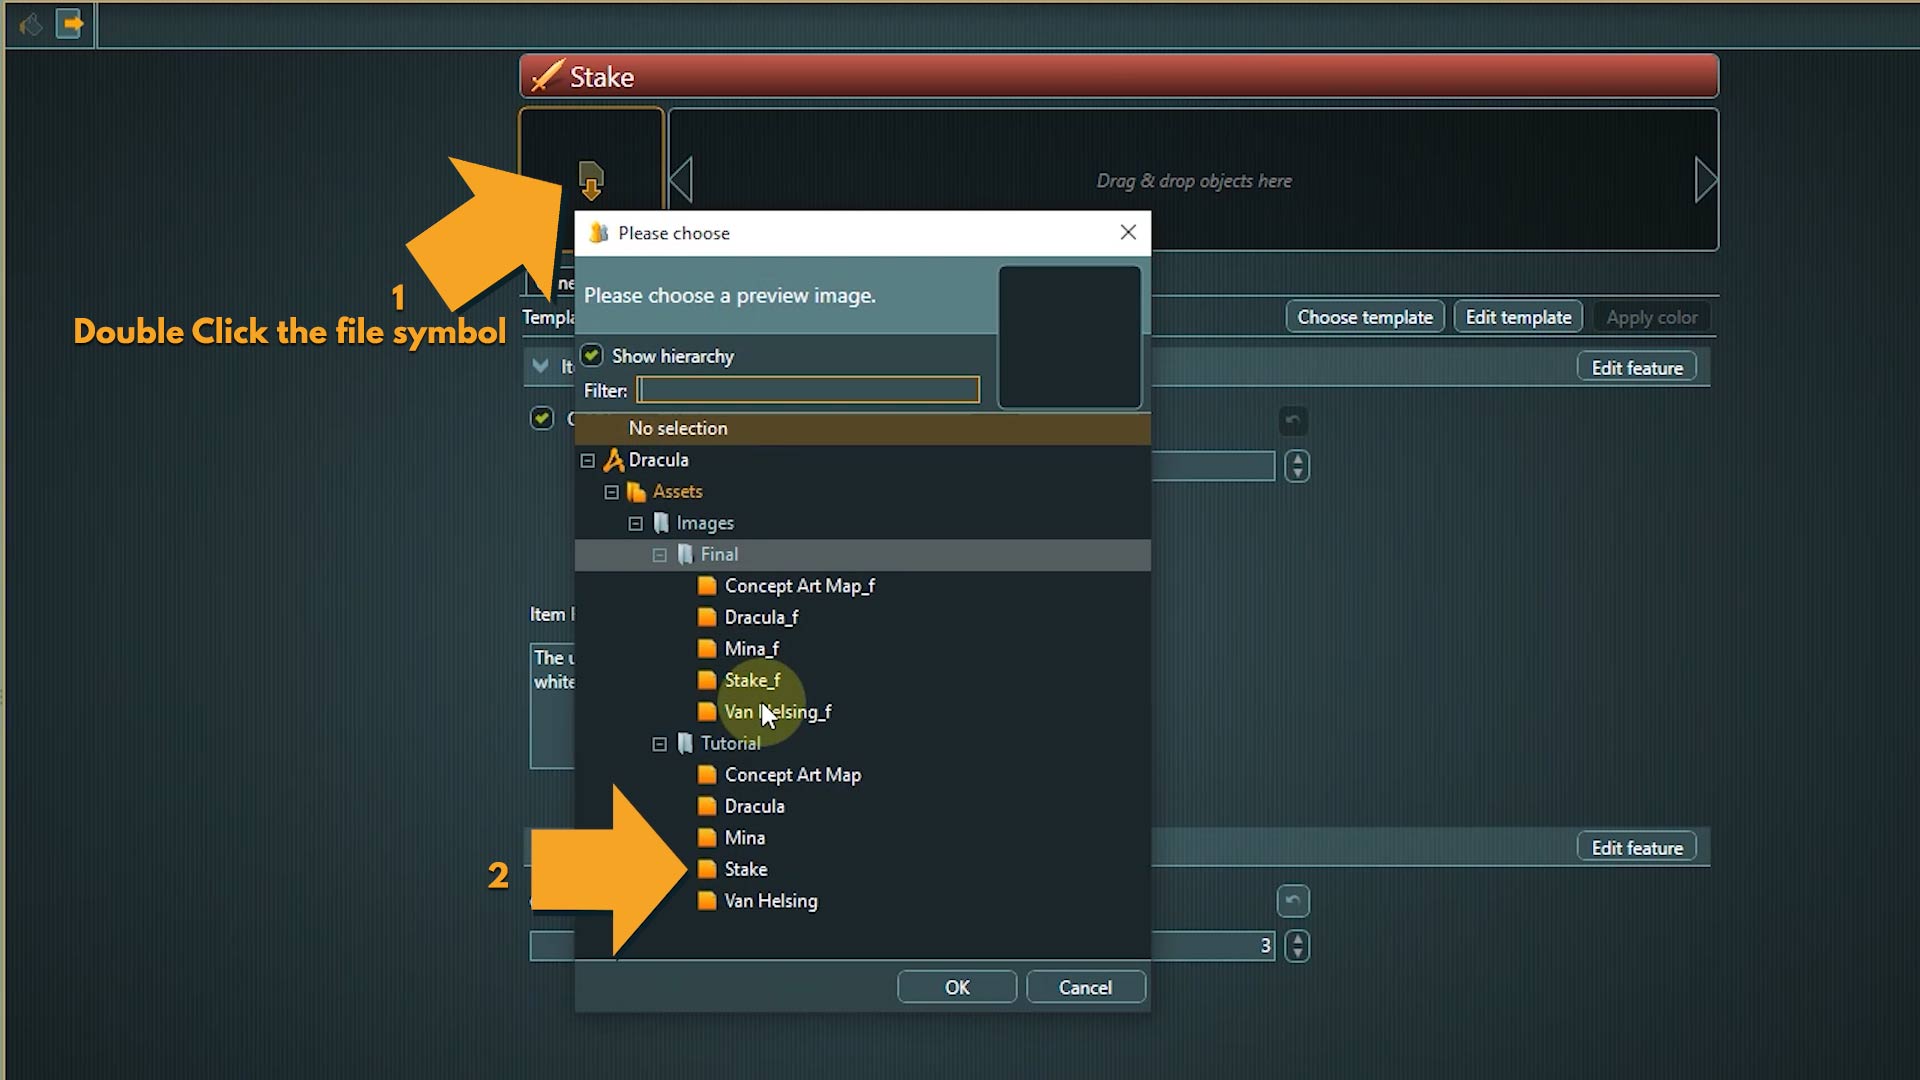
Looking good!
Only one thing left to do for today’s lesson and that is creating the item variable, so we can use a condition to check for it in the flow later.
Create item variable
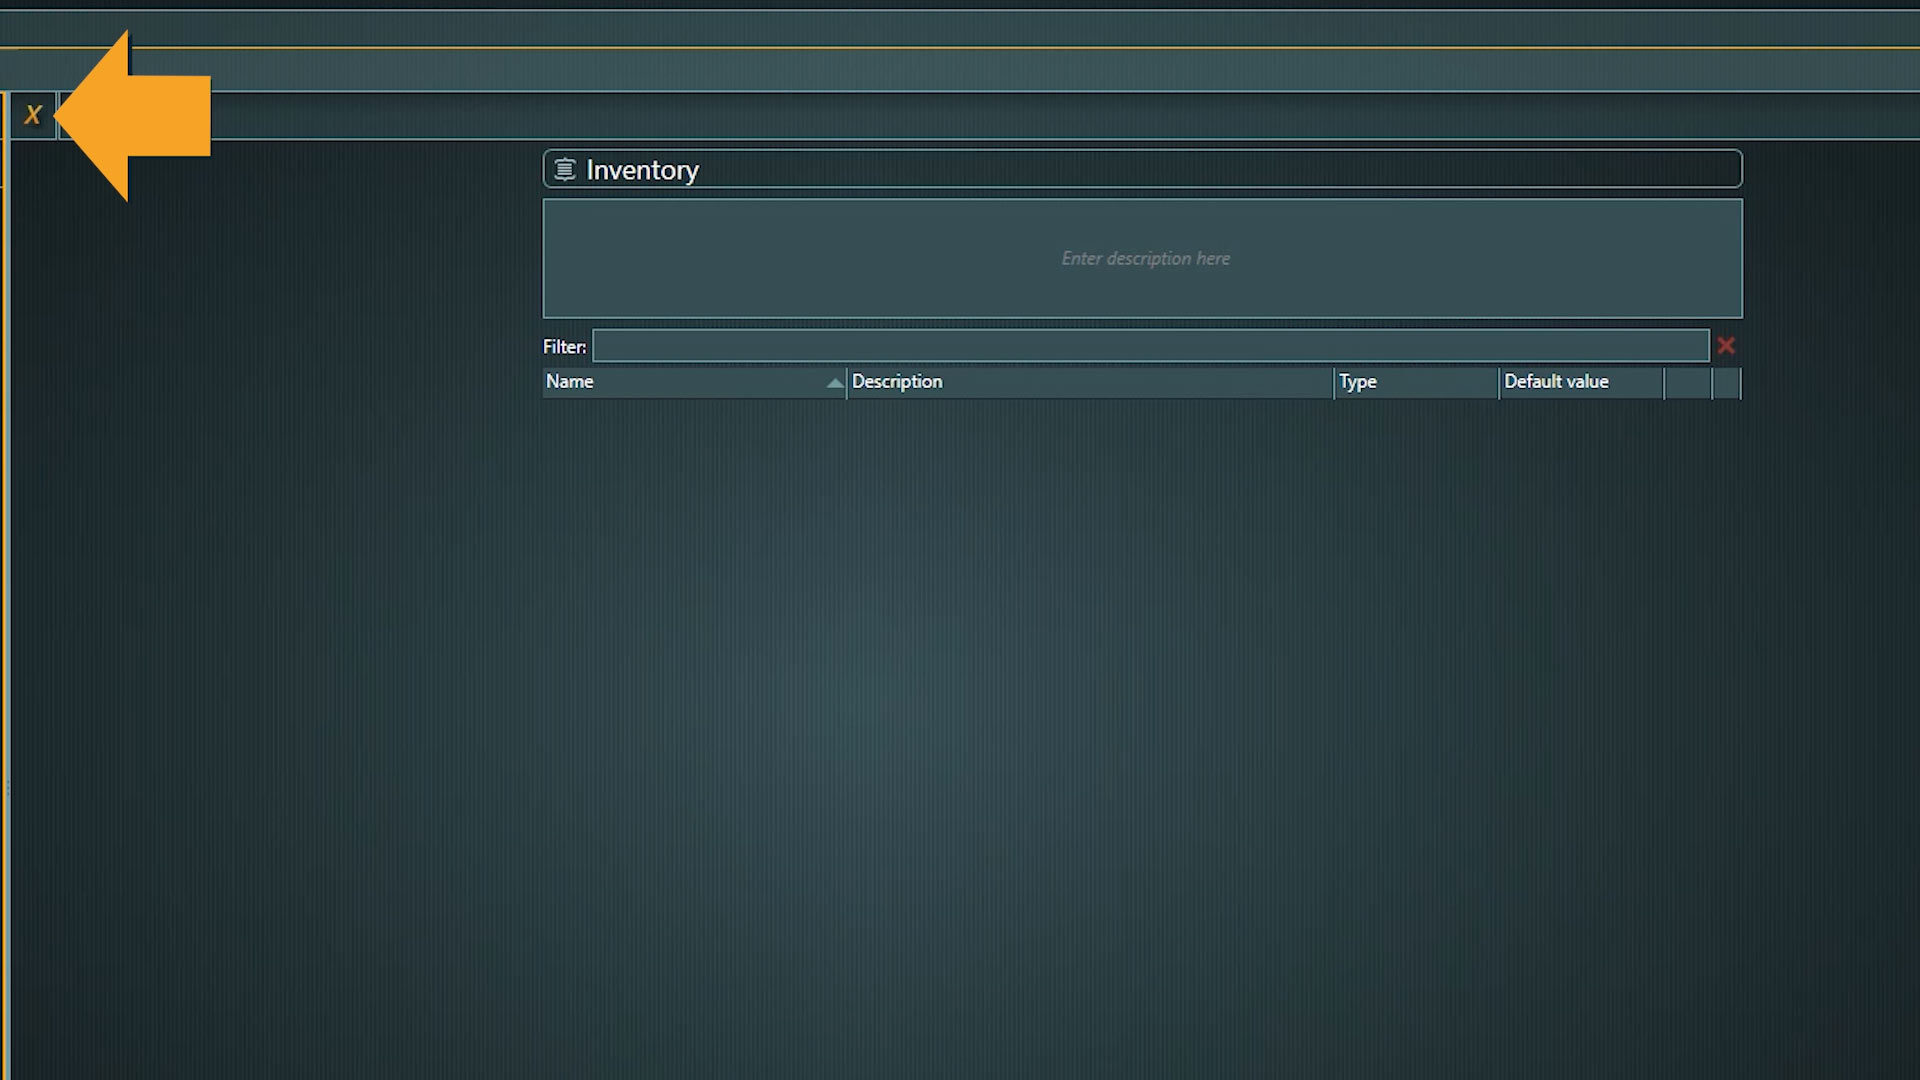
1. Go to the “global variables” system folder.

2. Create a new “variable set” called Inventory.

For every item we create as an entity, we will also create a corresponding variable in this set.
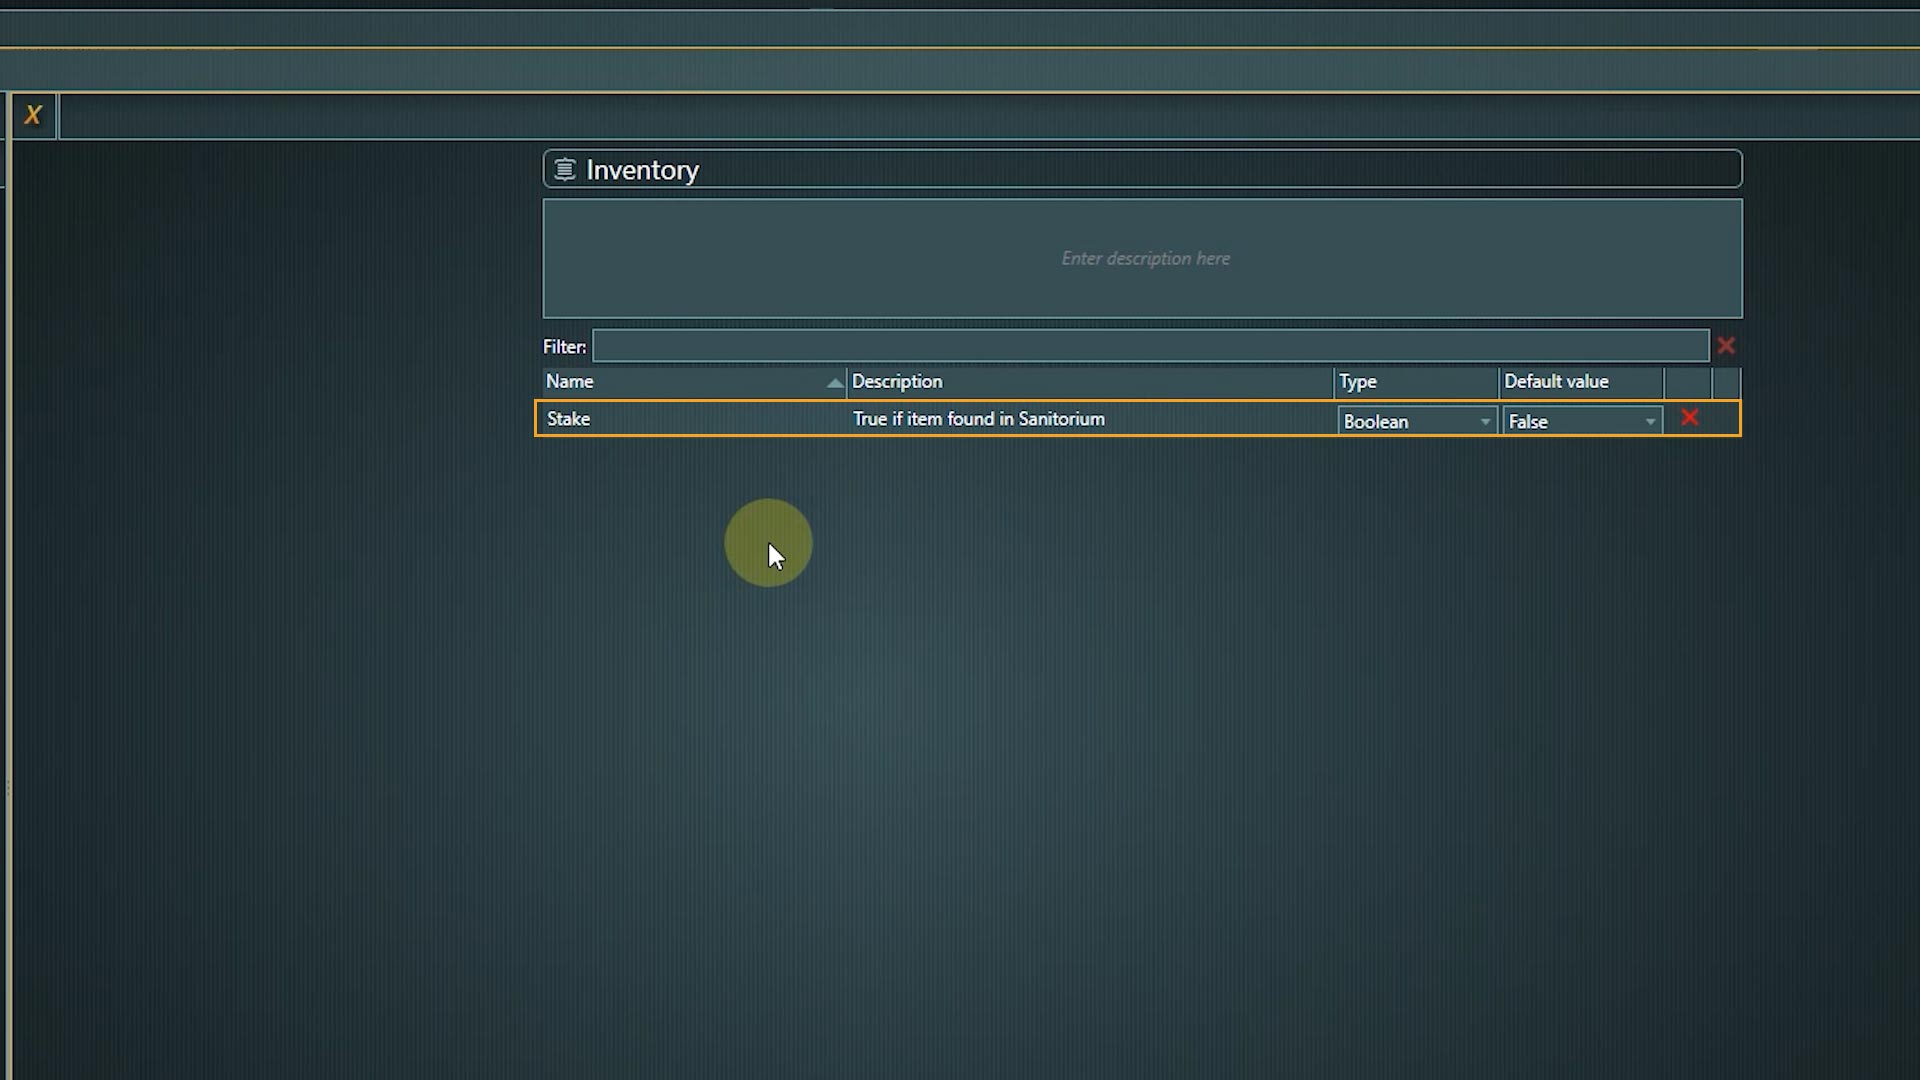
3. Create a variable now, by clicking the button in the toolbar.
I will use the same name for the variable as for the item, so it will be “Stake” and it is going to be a Boolean with a default value of false. I will use the description field to note where this item is supposed to be obtained.
That’s it! Great job!
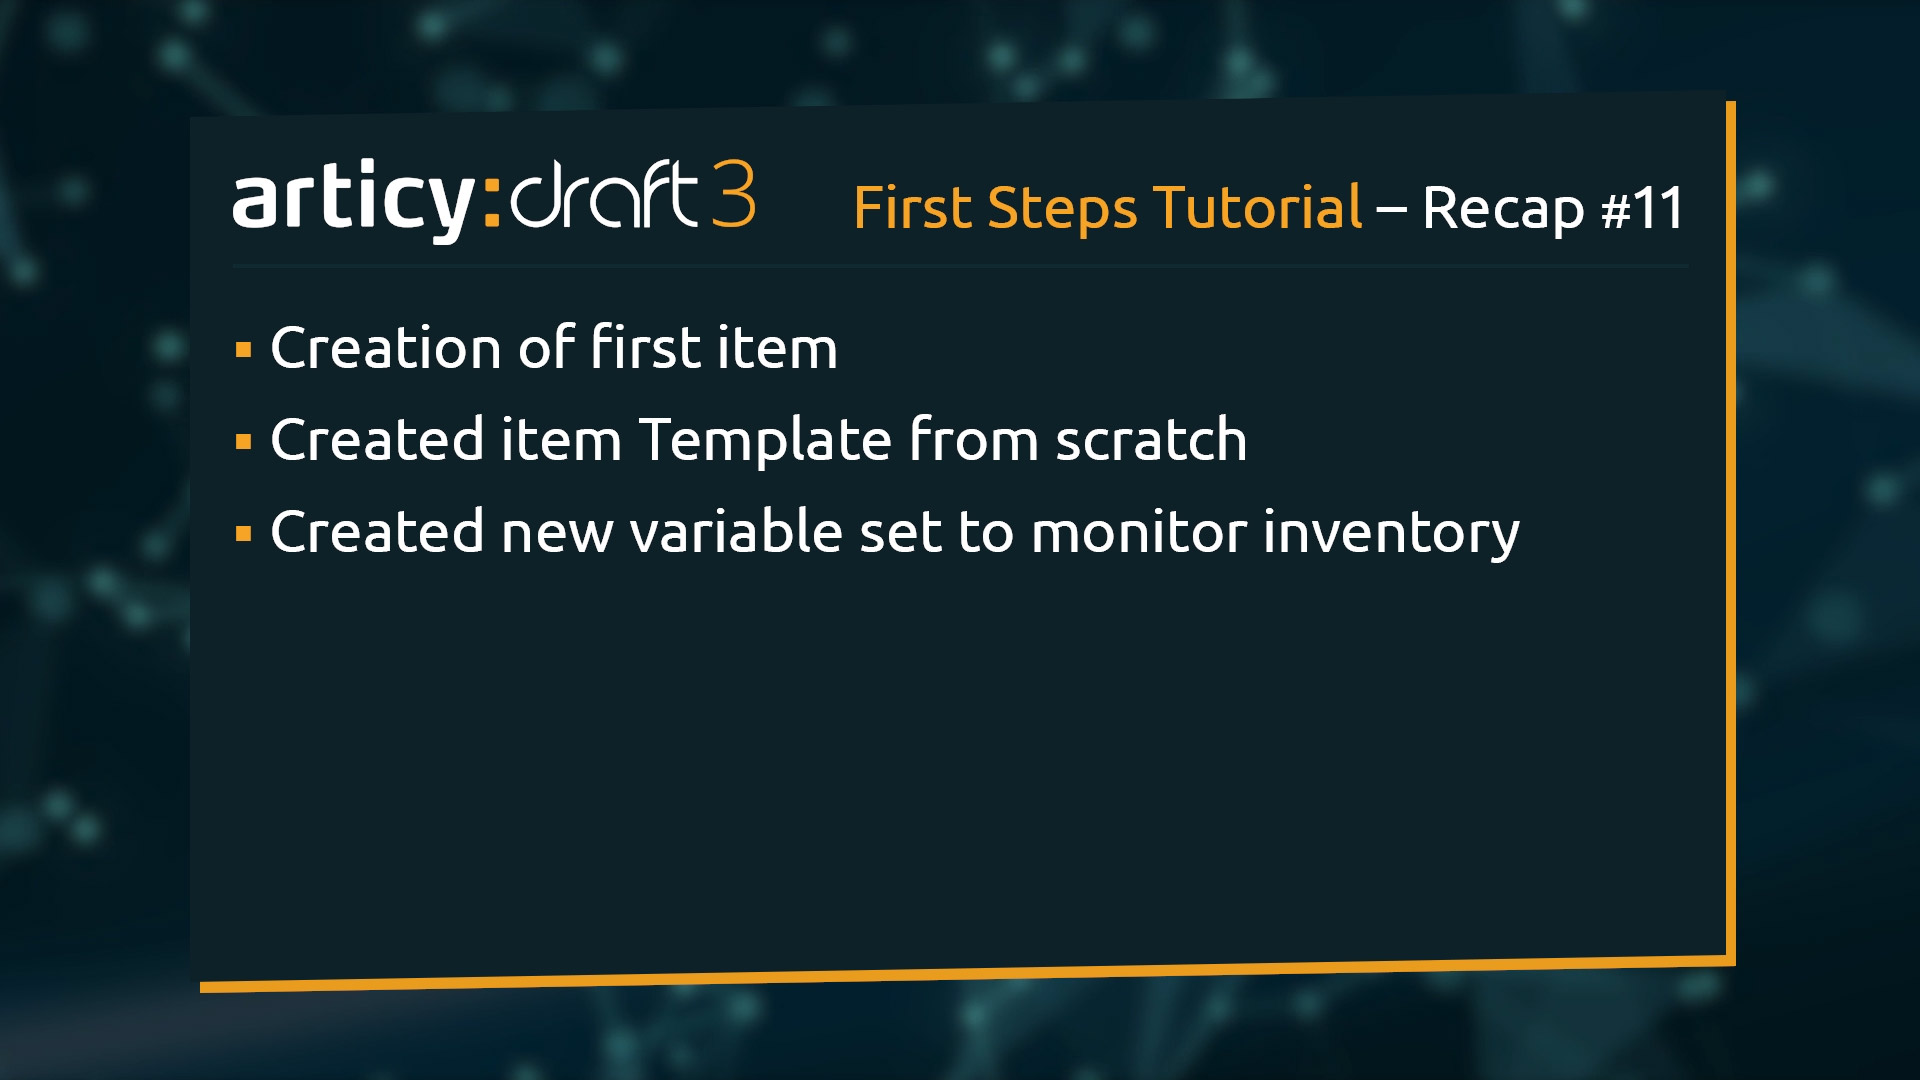
Recap:
In this lesson we created our first item. For this we created an entity template from scratch and set up a new variable set to monitor Mina’s inventory.
Up next:
In the next Lesson we will take a look at articy’s export options and learn how we can export our Flow directly to Word.
Thank you for joining us, and join us again in our next tutorial.
Don’t have articy:draft X yet? Get the free version now!
Get articy:draft X FREE
*No Payment information required
Follow us on Twitter, Facebook and LinkedIn to keep yourself up to date and informed. To exchange ideas and interact with other articy:draft users, join our communities on reddit and discord.