Hello and welcome to the articy:draft Importer for Unreal tutorial series.
This series contains 5 lessons that you can either view as videos or read as blog posts with texts and helpful screenshots. Simply click play on the video or scroll down to dive in.
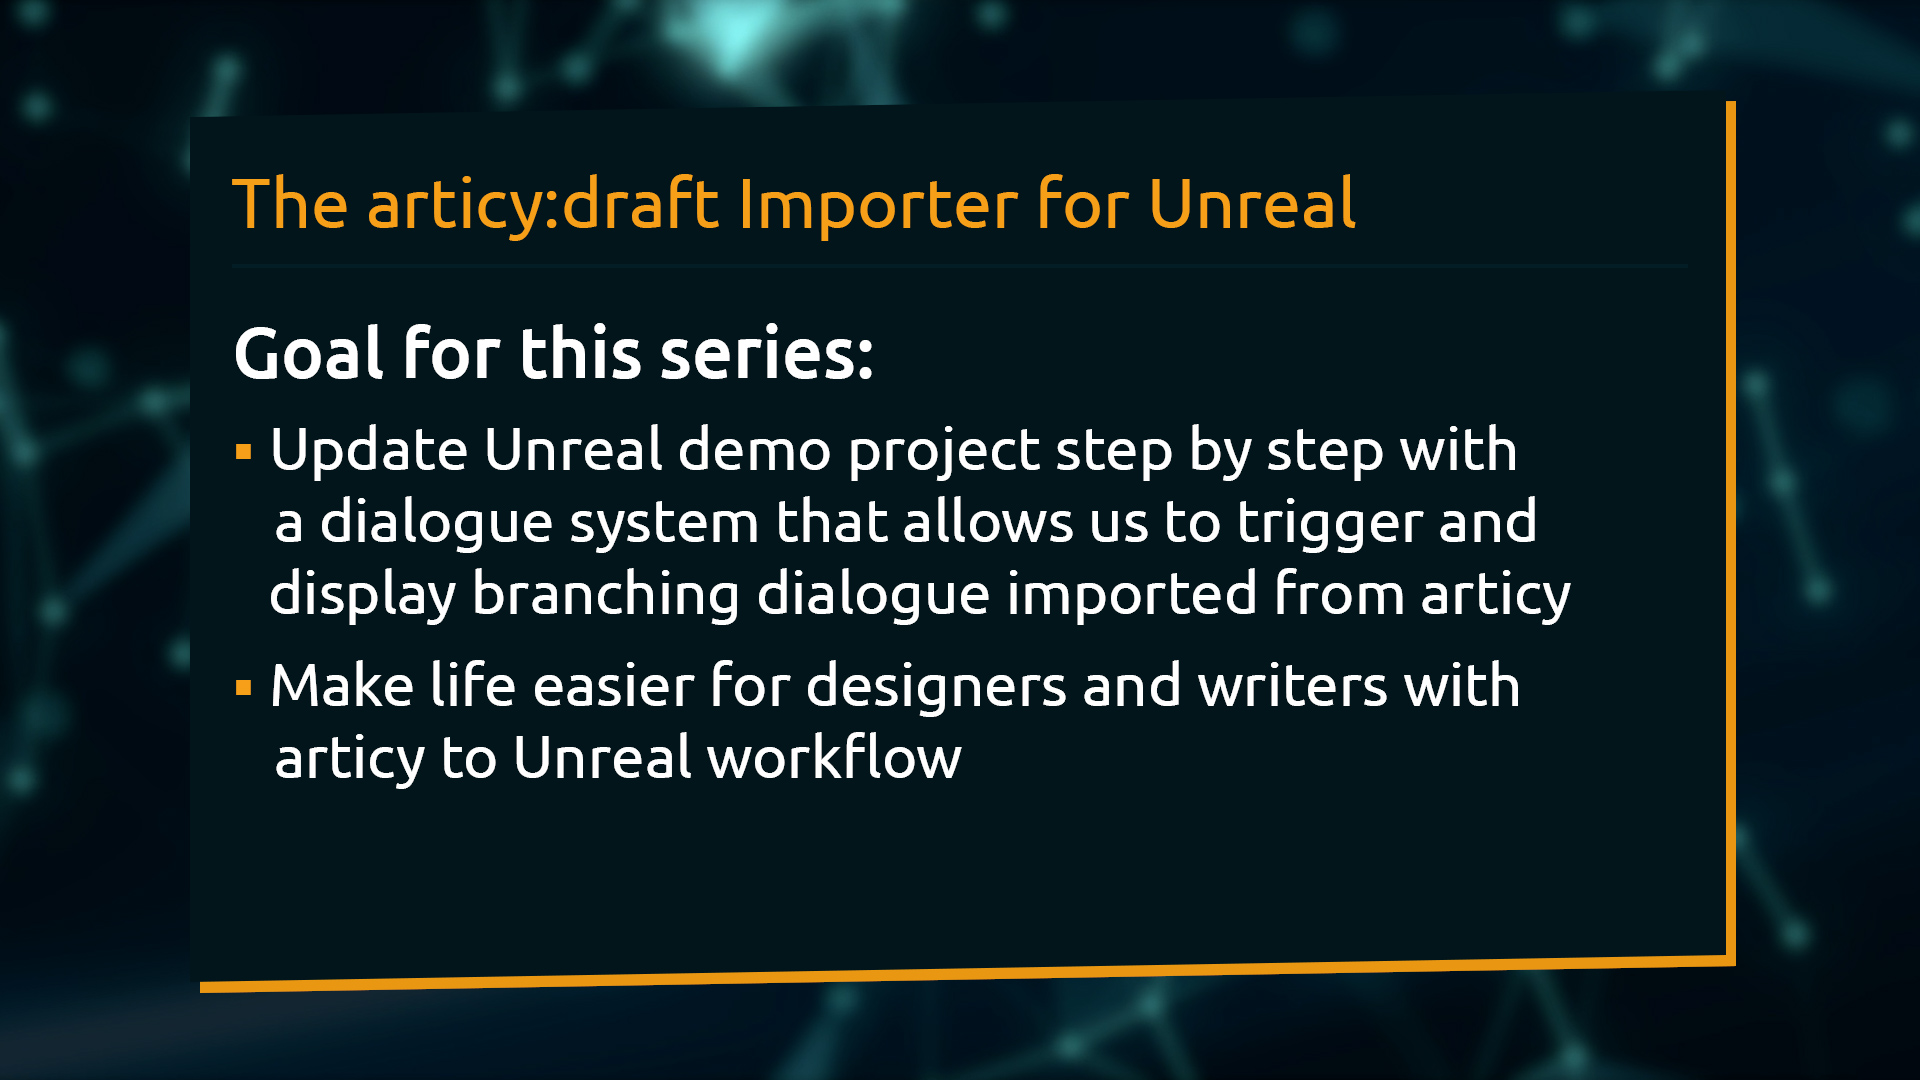
Goal of this series
During this series we will take a look at how to access imported articy data within Unreal Engine 5 with the goal of setting up a simple dialogue system to display branching dialogue in a custom dialogue UI.
The articy:draft Importer for Unreal takes care of getting all the data you want from articy into the game engine. In Unreal we will use the articy Flow Player component which does a lot of work in the background and takes care of the flow traversal, among other things. However, which data to access and how to display that data in our project is totally on us, that means we will spend some time inside Unreal’s blueprint editor. Good news though: For the scope of this tutorial there is no C++ coding required!
We will start out with a small Unreal project and step by step update it to a point where we can trigger and display the branching dialogue we imported from articy. Depending on your personal project you then can go with the same approach or at least use it as a basis you can further modify to your needs. The articy to Unreal workflow we are going to set up will make life easier for writers and designers, as they can add or edit content in articy, and easily monitor and test this content in the Unreal project.
This lesson
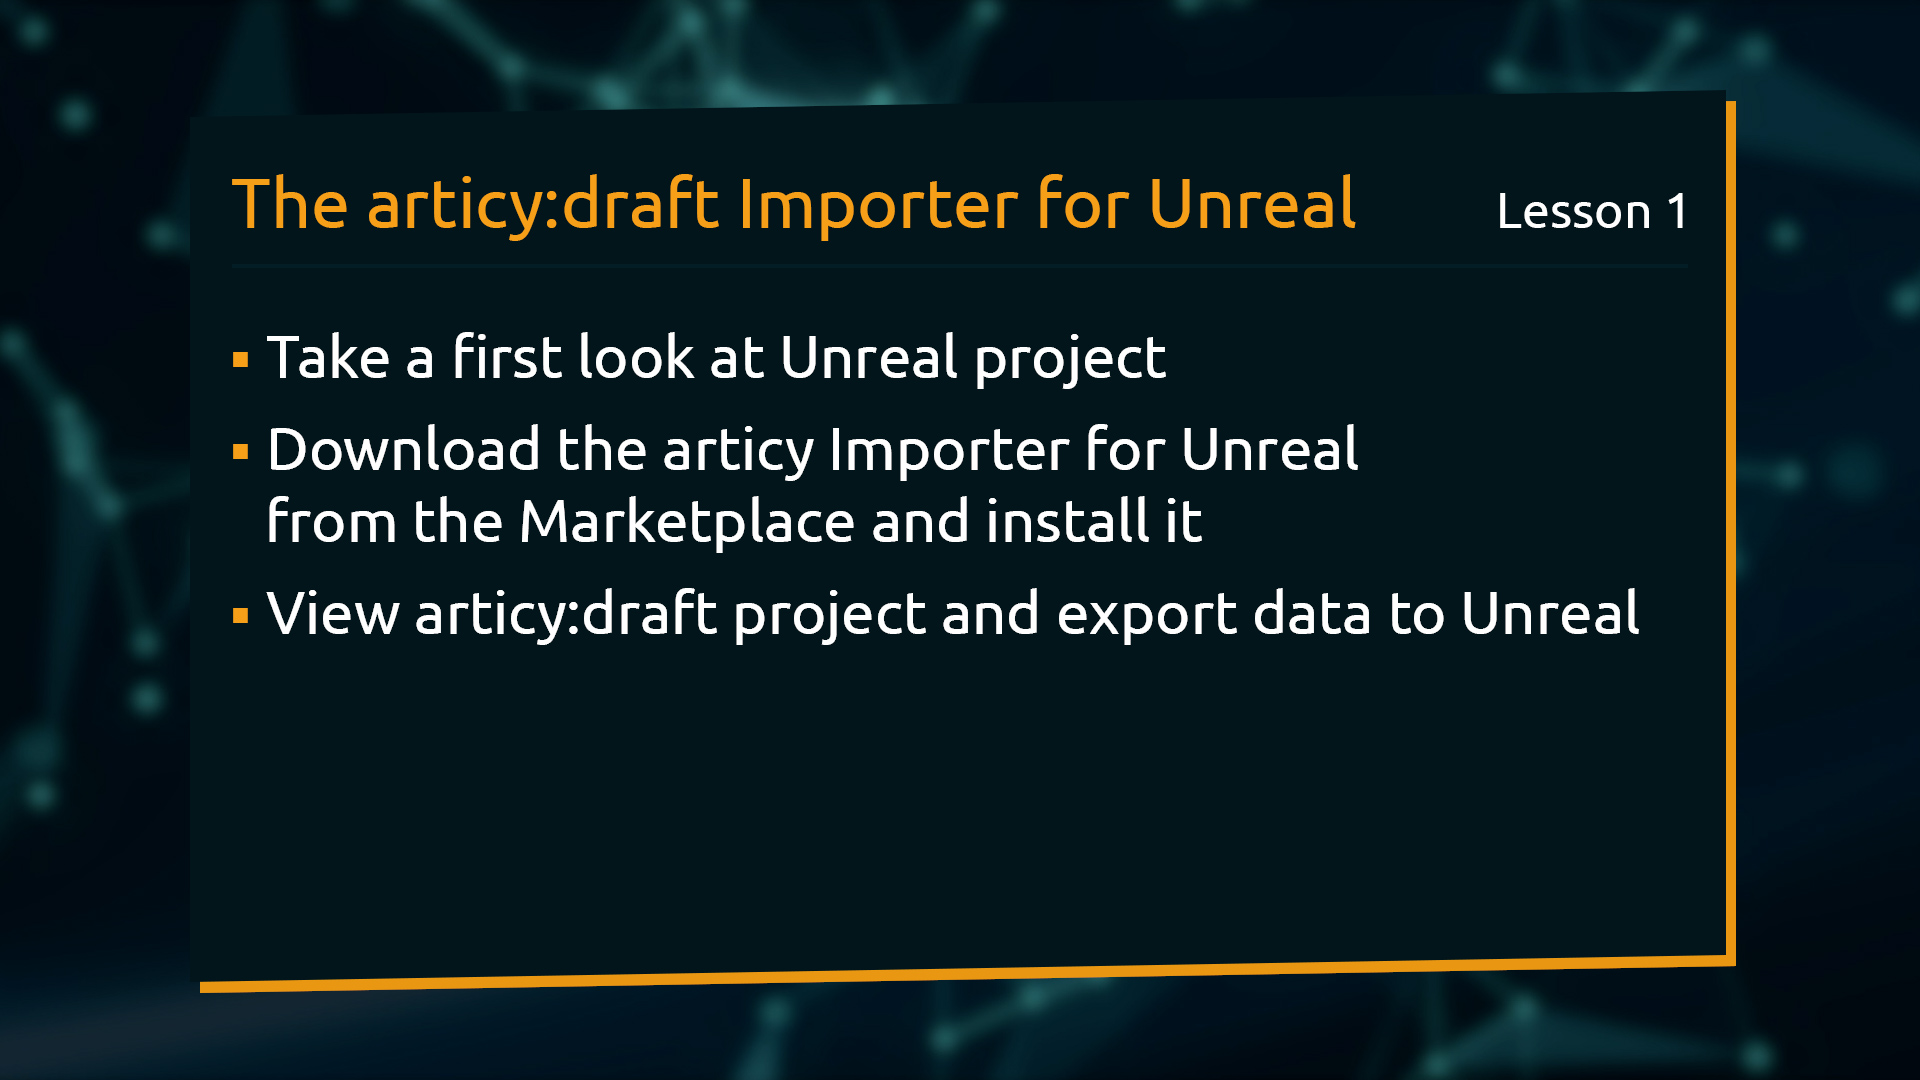
In this first lesson we will take a look at the Unreal project we are going to use as the basis for this series. Then we will install the Importer from the marketplace. Last but not least we will take a look at the project in articy:draft and do an export to Unreal.
Get articy:draft 3 FREE
In case you do not have an articy:draft license yet and just want to see what is possible, you can use articy:draft 3 FREE to check out the articy project and make exports to Unreal. Register, download, and off you go. You can get it here.
Course material – Unreal projects
You can download the course material if you want to follow along, or if you want to be able to take your time to check out something in detail.
Unreal 5 package Unreal 4.27 package
The package includes the Unreal project in two variants – a base project, which we will take a look at in a minute, and the complete project, as it will look like at the end of the series, as well as the corresponding articy:draft project. Important side note: If you want to take a look at the complete project, make sure you have installed the articy Importer for Unreal prior to opening the project. How to do that we will see a bit later in this lesson.
To use the course demo projects there are two prerequisites: First, and it kind of goes without saying, you need the Unreal Engine installed. At the time of recording I am working with Unreal 5.0.3. Any newer version that came out in the meantime shouldn’t be an issue. For Unreal 4 users, 4.27 is the minimal required version and please make sure to download the Unreal 4 project version. And secondly, you need Visual Studio installed as well. Here is a link to how to install Visual Studio correctly for Unreal in case you have not done so already.
After downloading the project package unzip the archive to a location of your choosing. As I have multiple engine versions installed I quickly check with a right-click on the uproject file and Switch Unreal Engine version if the correct version is selected as default to start. If you only have a single version installed, matching the project version, you can skip this step. Then launch with a double click.
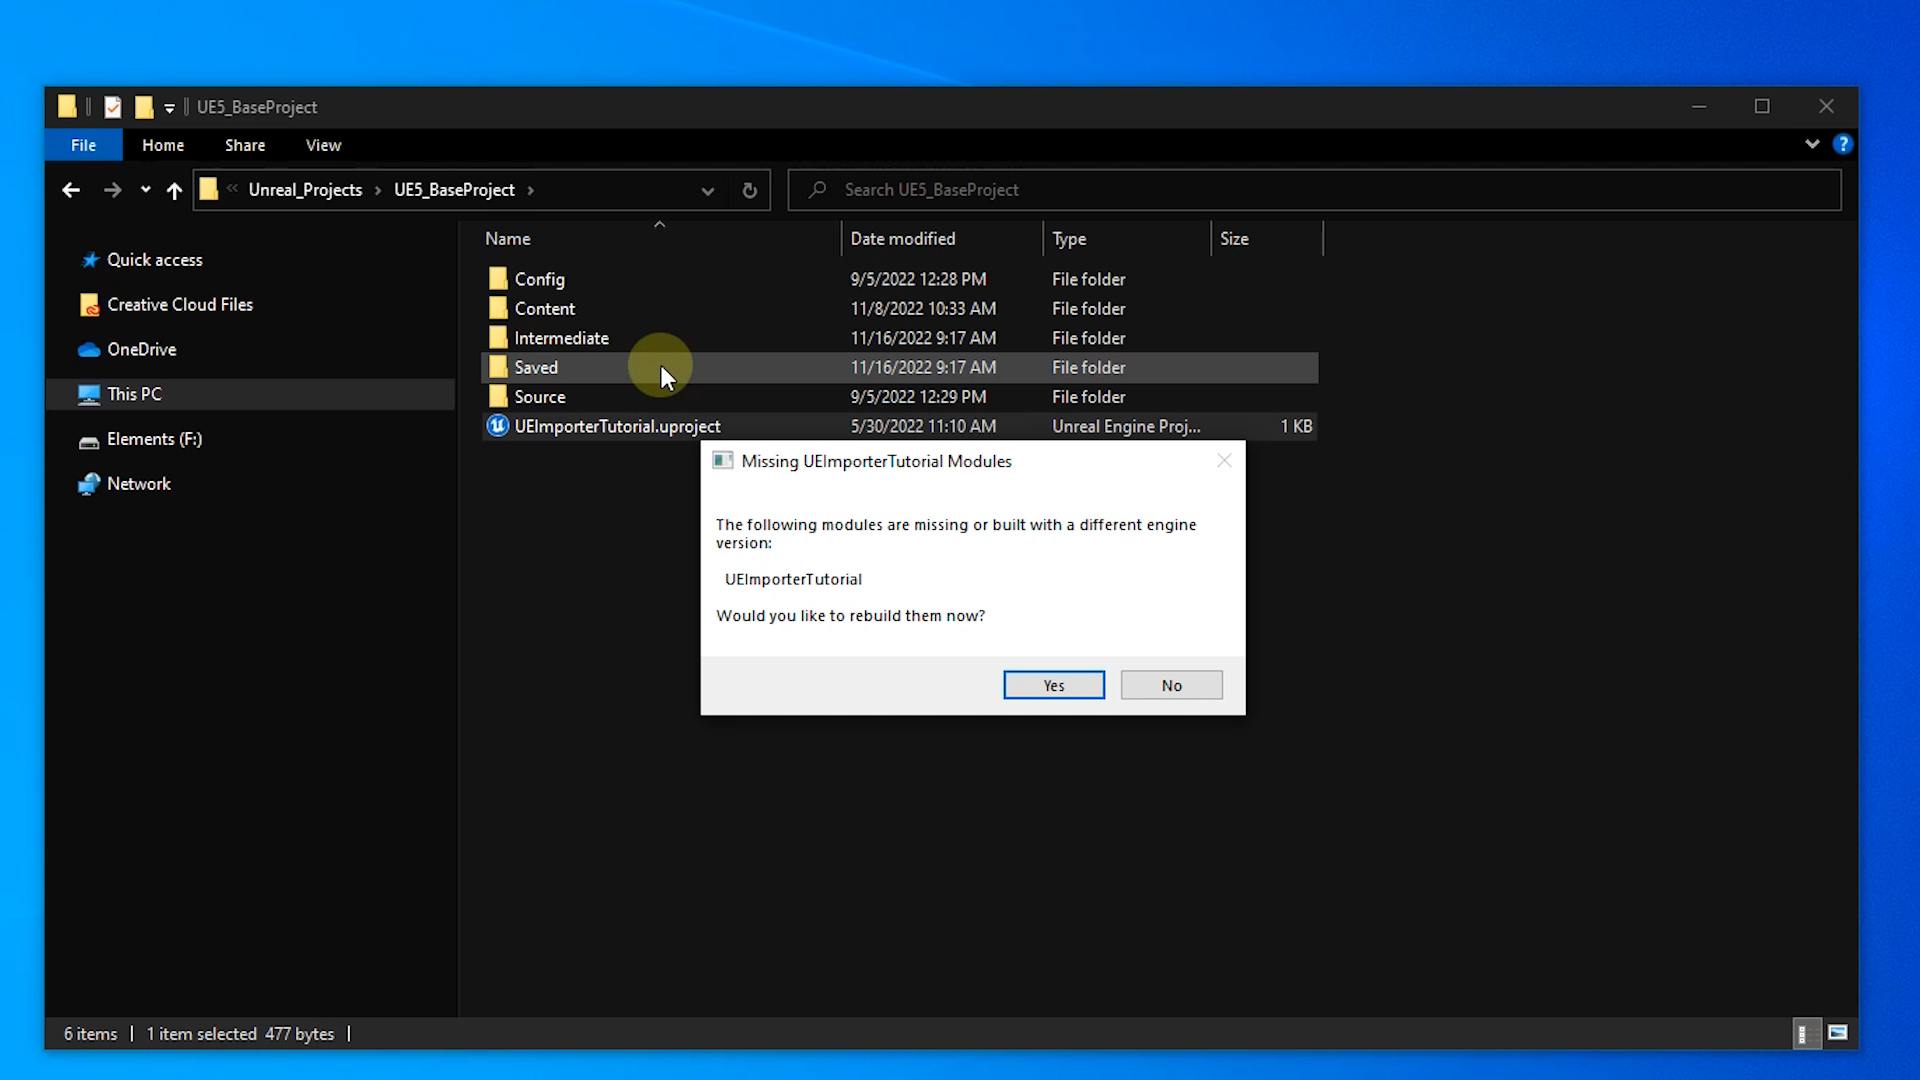
A dialog box opens up asking to rebuild modules. To keep the file size as small as possible, when preparing the course material we removed all binaries from the archive. As the Articy Importer requires a C++ project, Unreal needs to compile and build the project before we are able to use it. Confirm with Yes.
Now we have to wait patiently for a bit. Unreal is doing its thing in the background without giving us any visual confirmation. At least that’s the case with Unreal 5, Unreal 4 displays a progress bar. After some time the editor starts loading, which depending on your machine might take another couple of minutes. When the editor opens the project is ready to use.
The Unreal base project
And that means we can finally dive in with the Unreal base project. We keep the project as simple as possible to not distract from its main focus – to show how the implementation of the articy Importer works. Basically we used Unreal’s 3rd Person Template as the foundation for our project.
As mentioned earlier, please note that even if we are only going to work with blueprints, to be able to use the articy importer the project needs to be a C++ project. But don’t worry if you have an existing blueprint-only project you’d like to use with articy, it can be easily converted to work with C++ as well, you can find documentation of how to do that here.
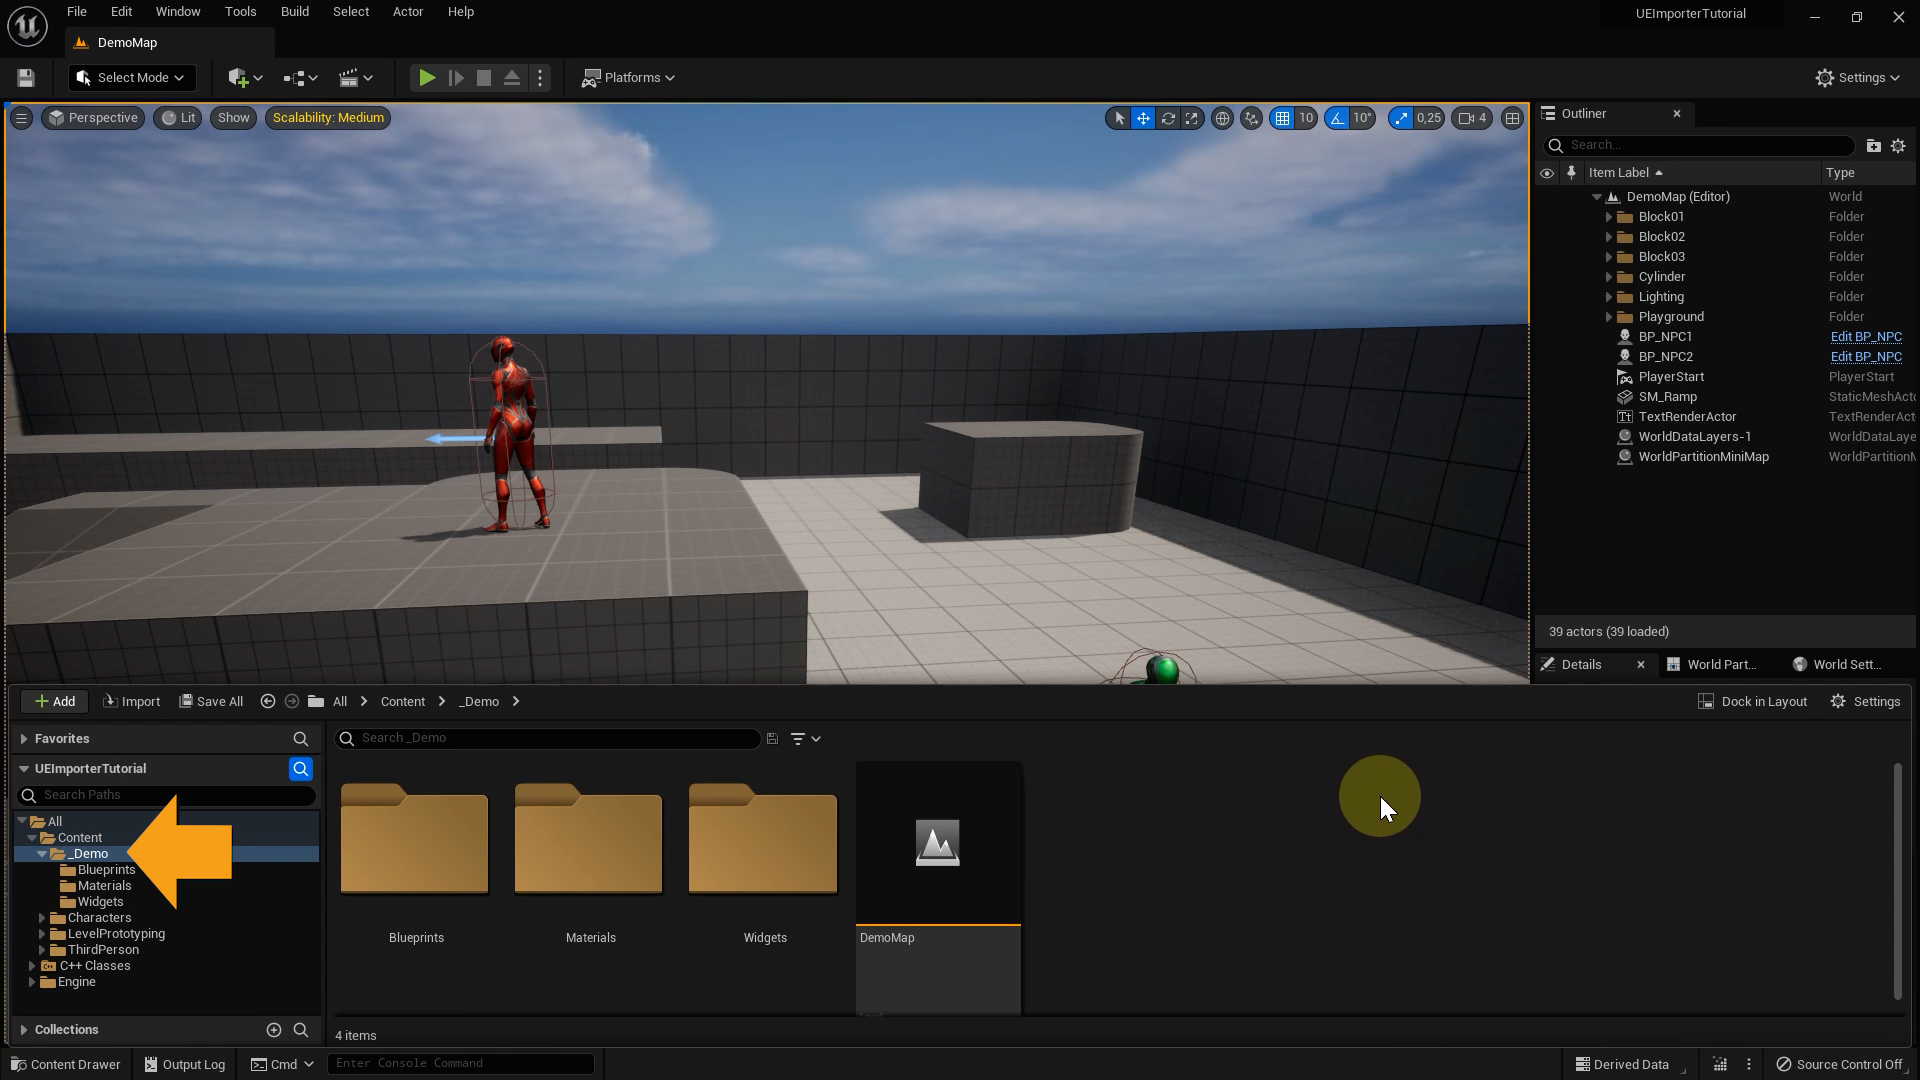
Everything that is important to this series and where we are going to make edits and updates is placed in the _Demo folder. The other folders we can see in the content browser are part of the default Unreal template and are not relevant for the scope of this series.
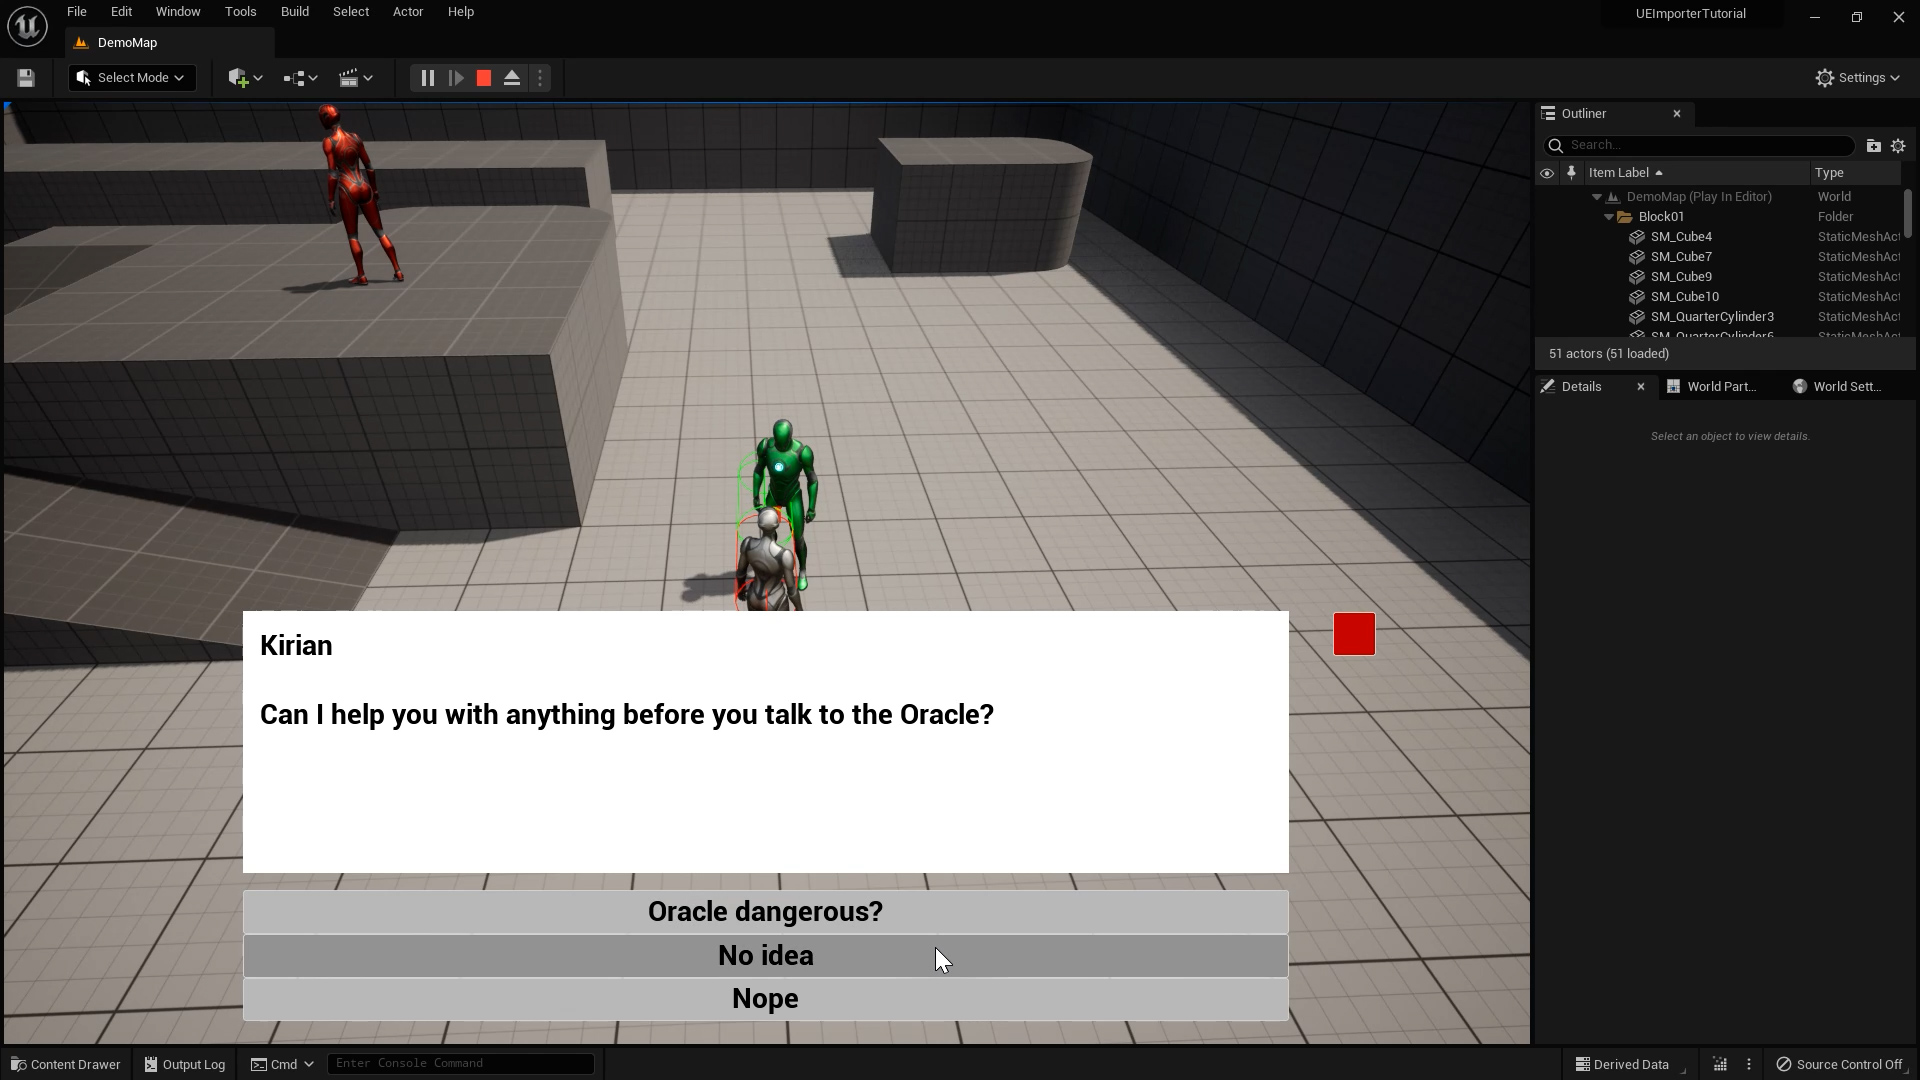
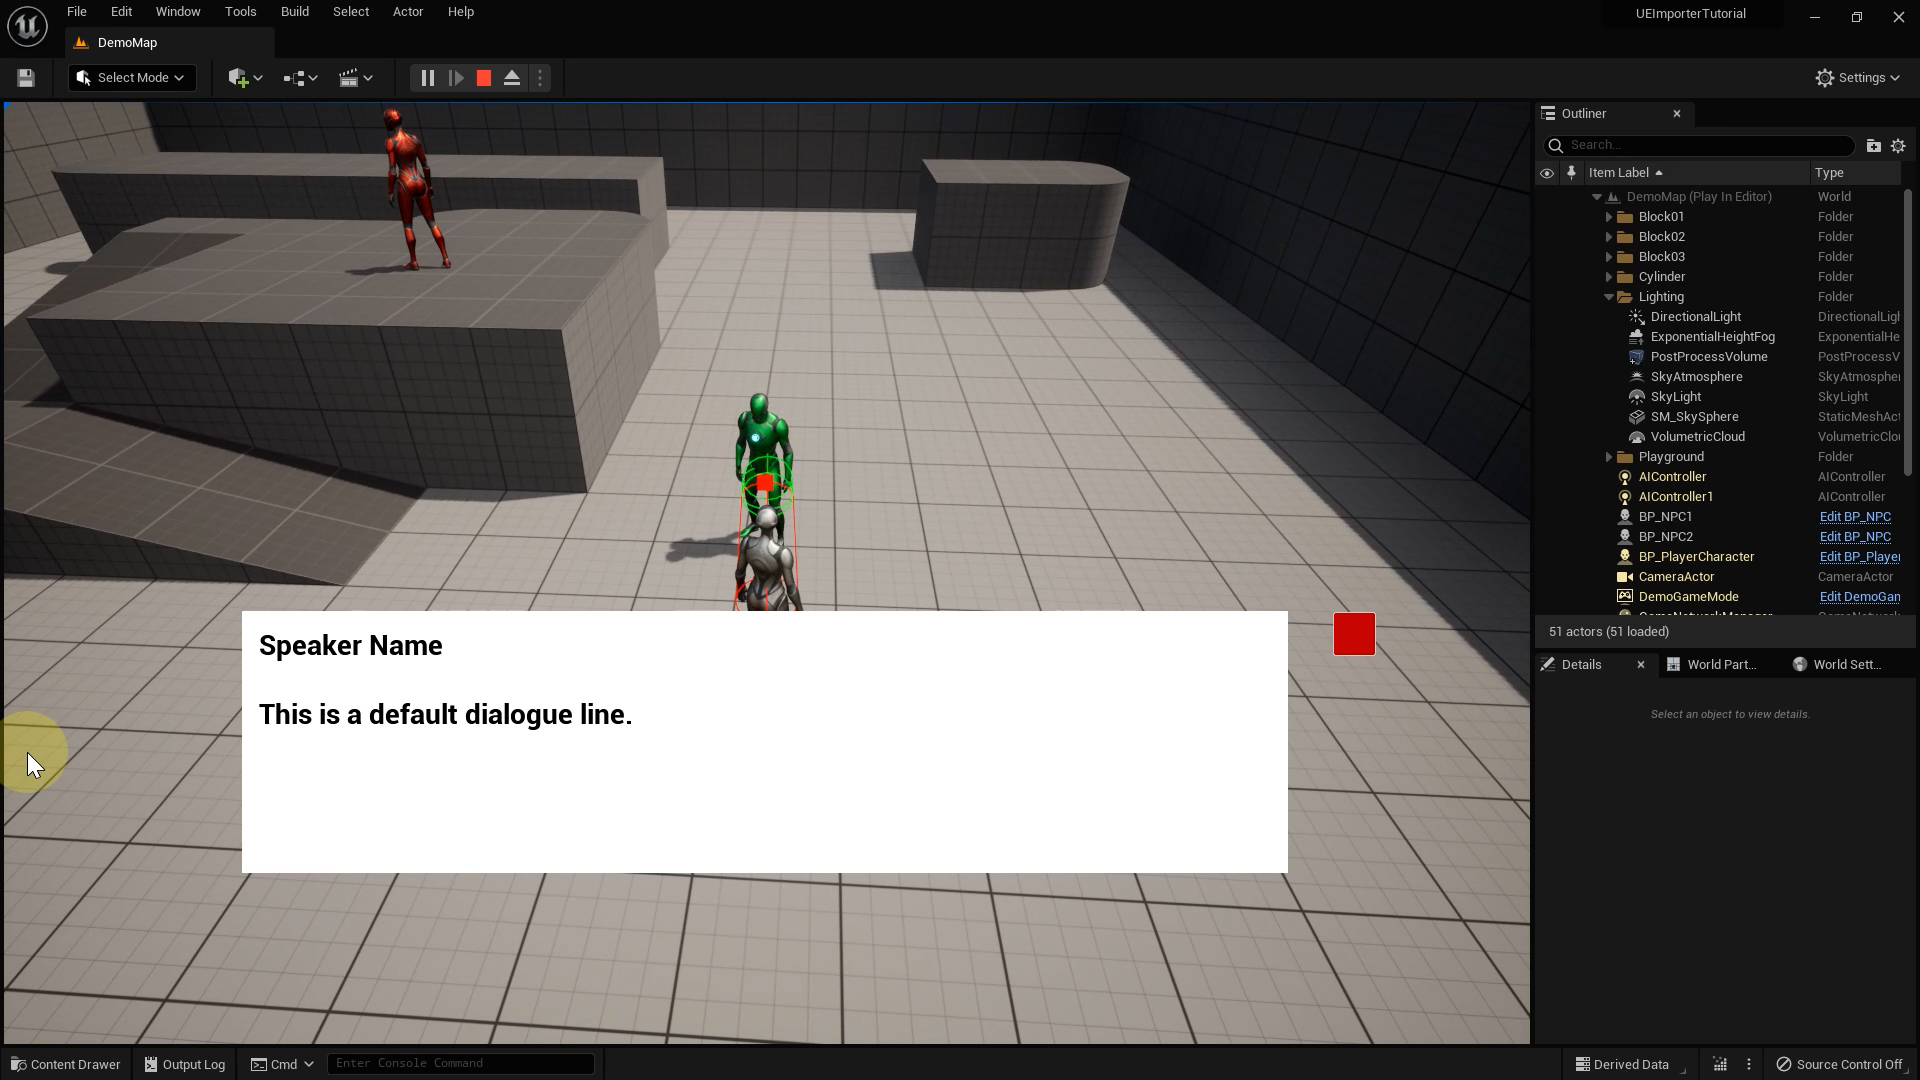
When we play the level, we can move the player character and interact with the NPCs. Interacting opens up the dialogue UI.
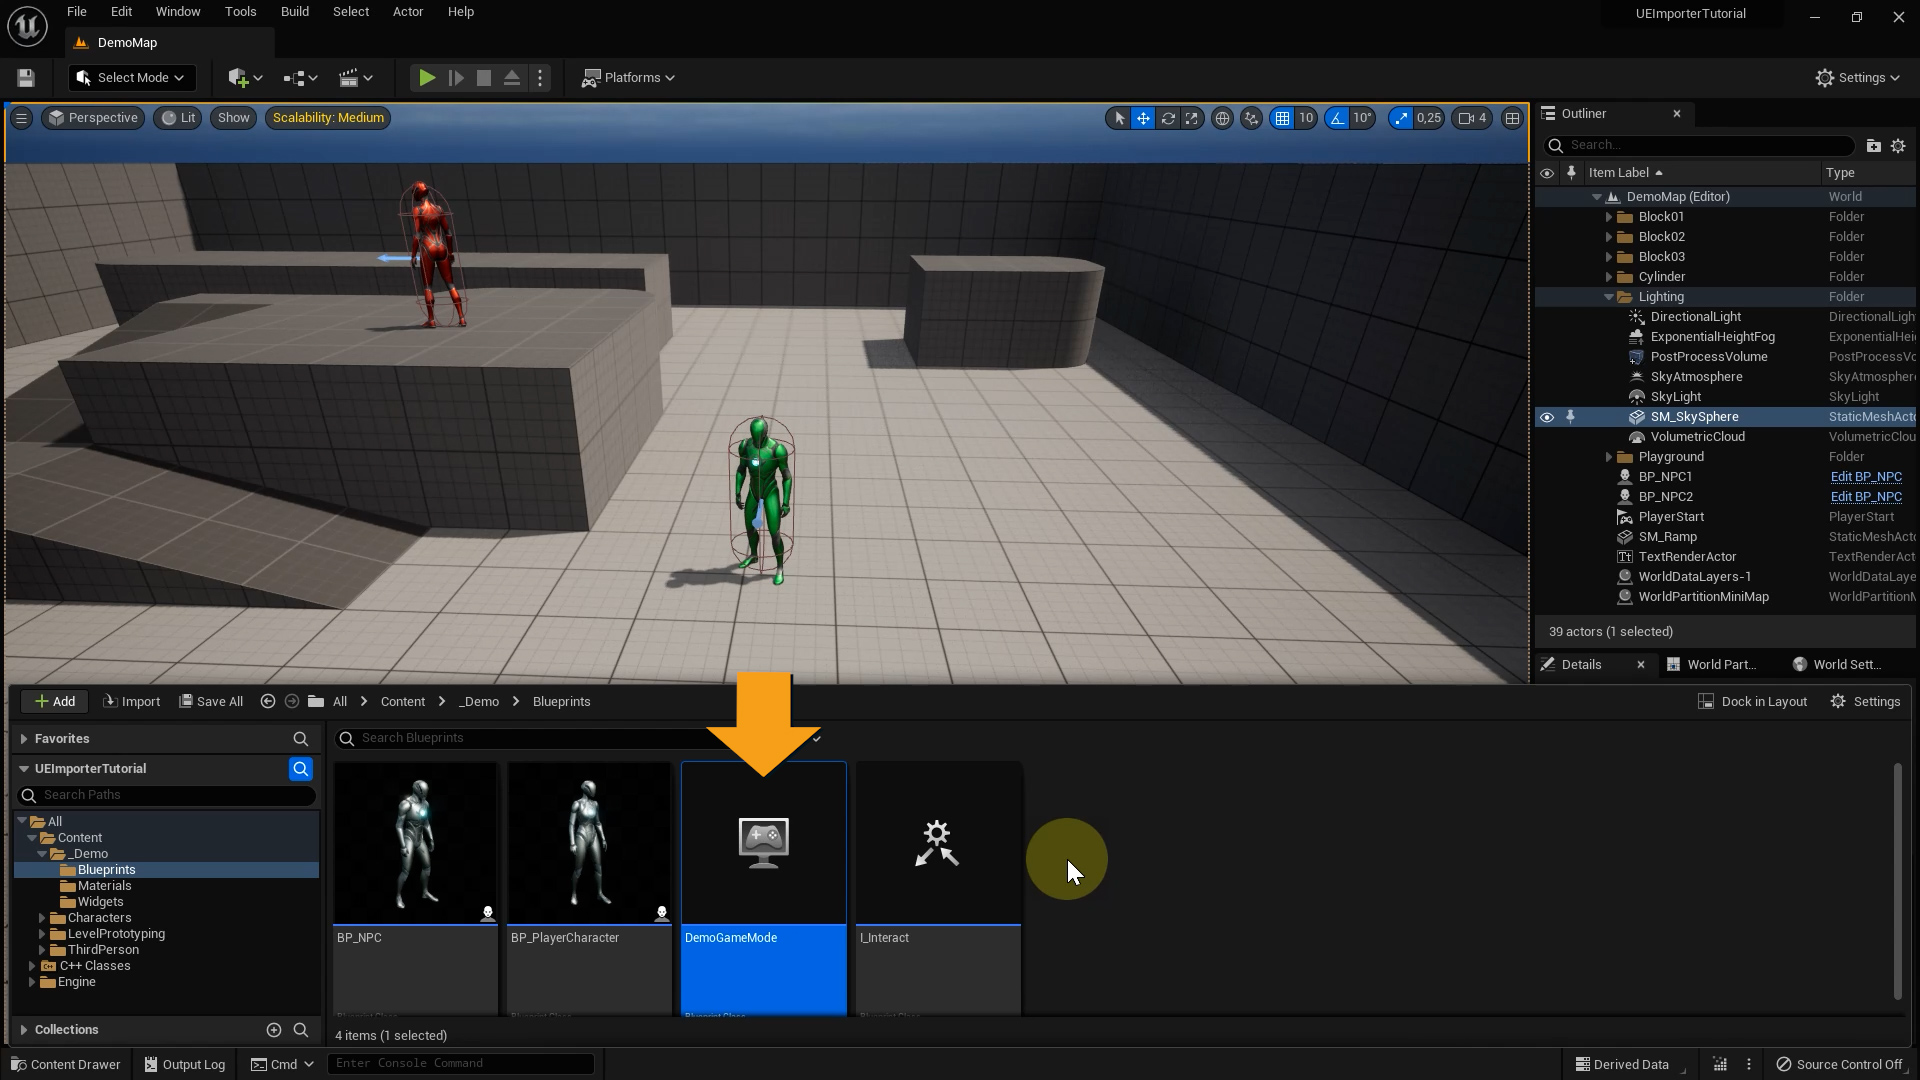
Let’s take a look at the objects used in our little demo scene, starting with the Demo Game Mode, which is located in the blueprints folder. The Game Mode class traditionally manages all the relevant information about the default classes of the game (player, Game Stat, HUD, etc..) and it is easy to get access to it from everywhere in the game. In addition, the Game Mode is in charge to spawn all actors in the game, so it’s created at runtime before the player and all other actors.
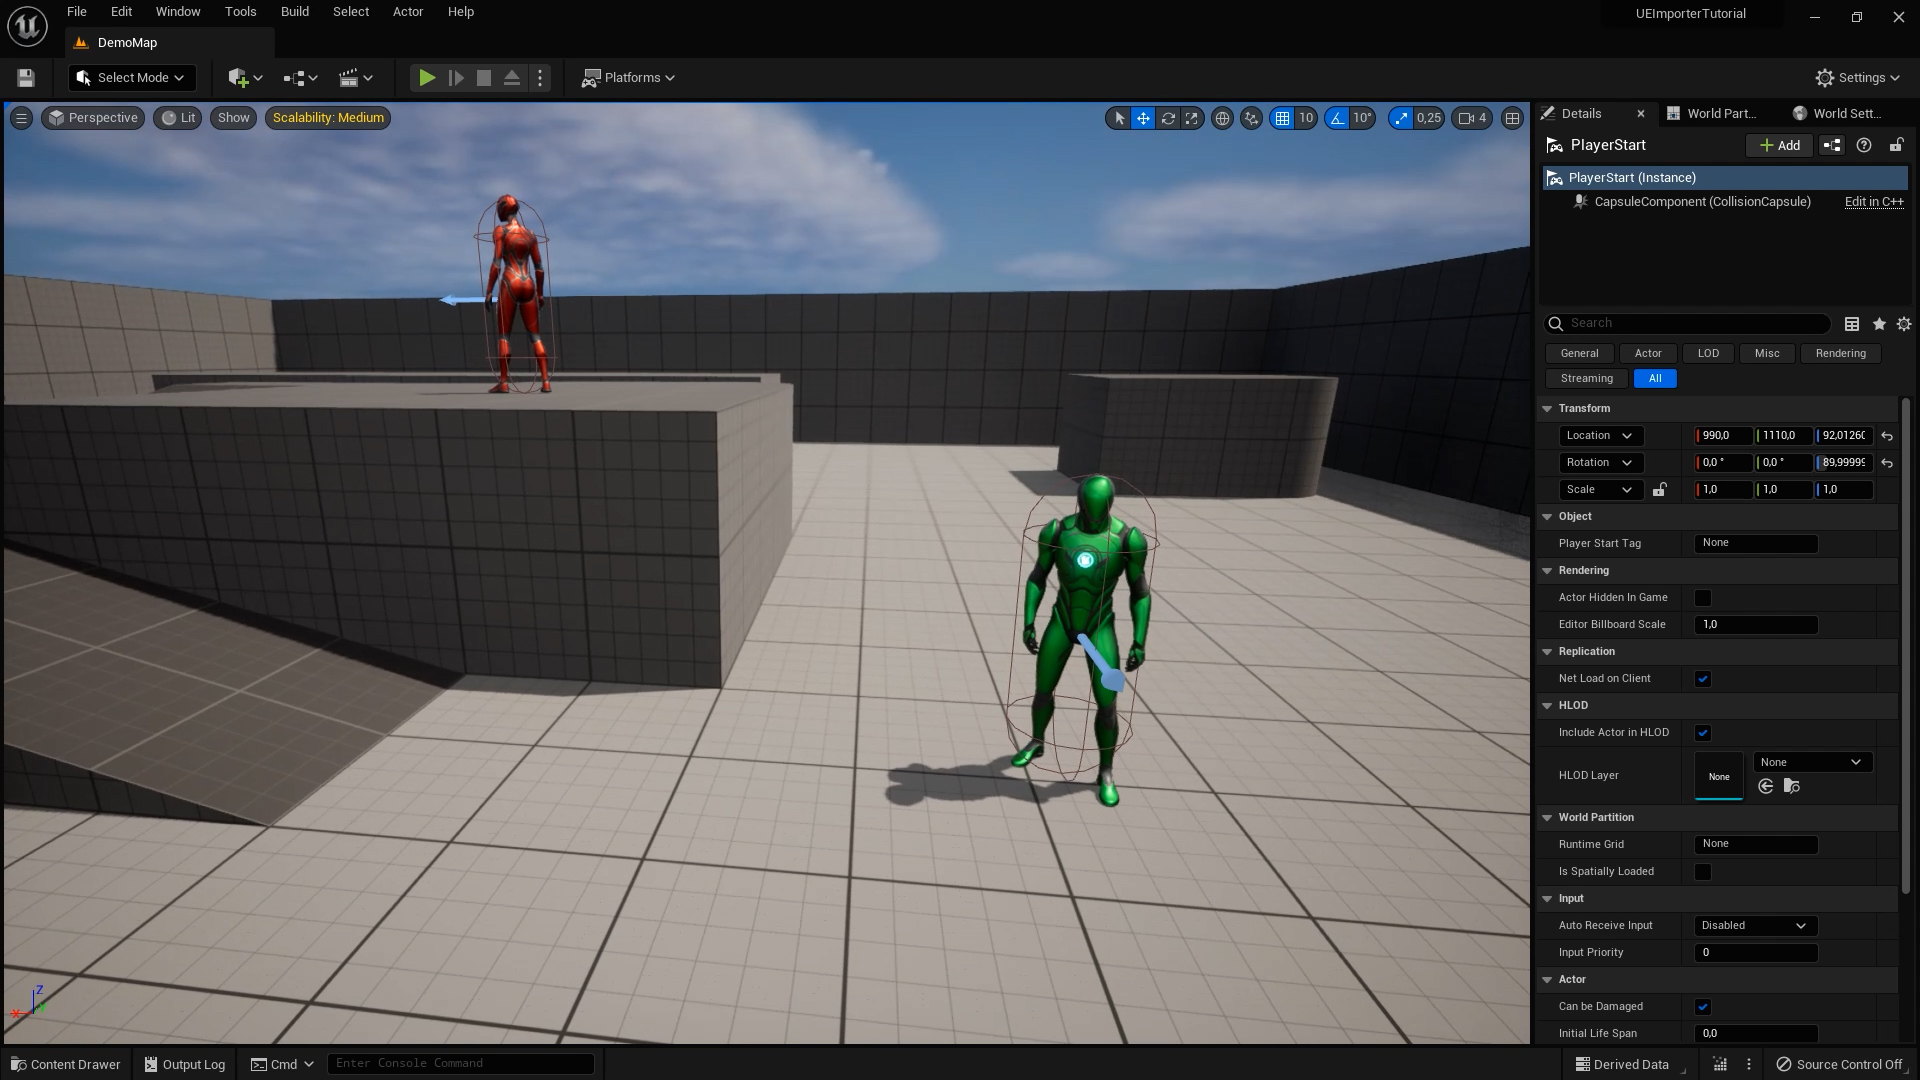
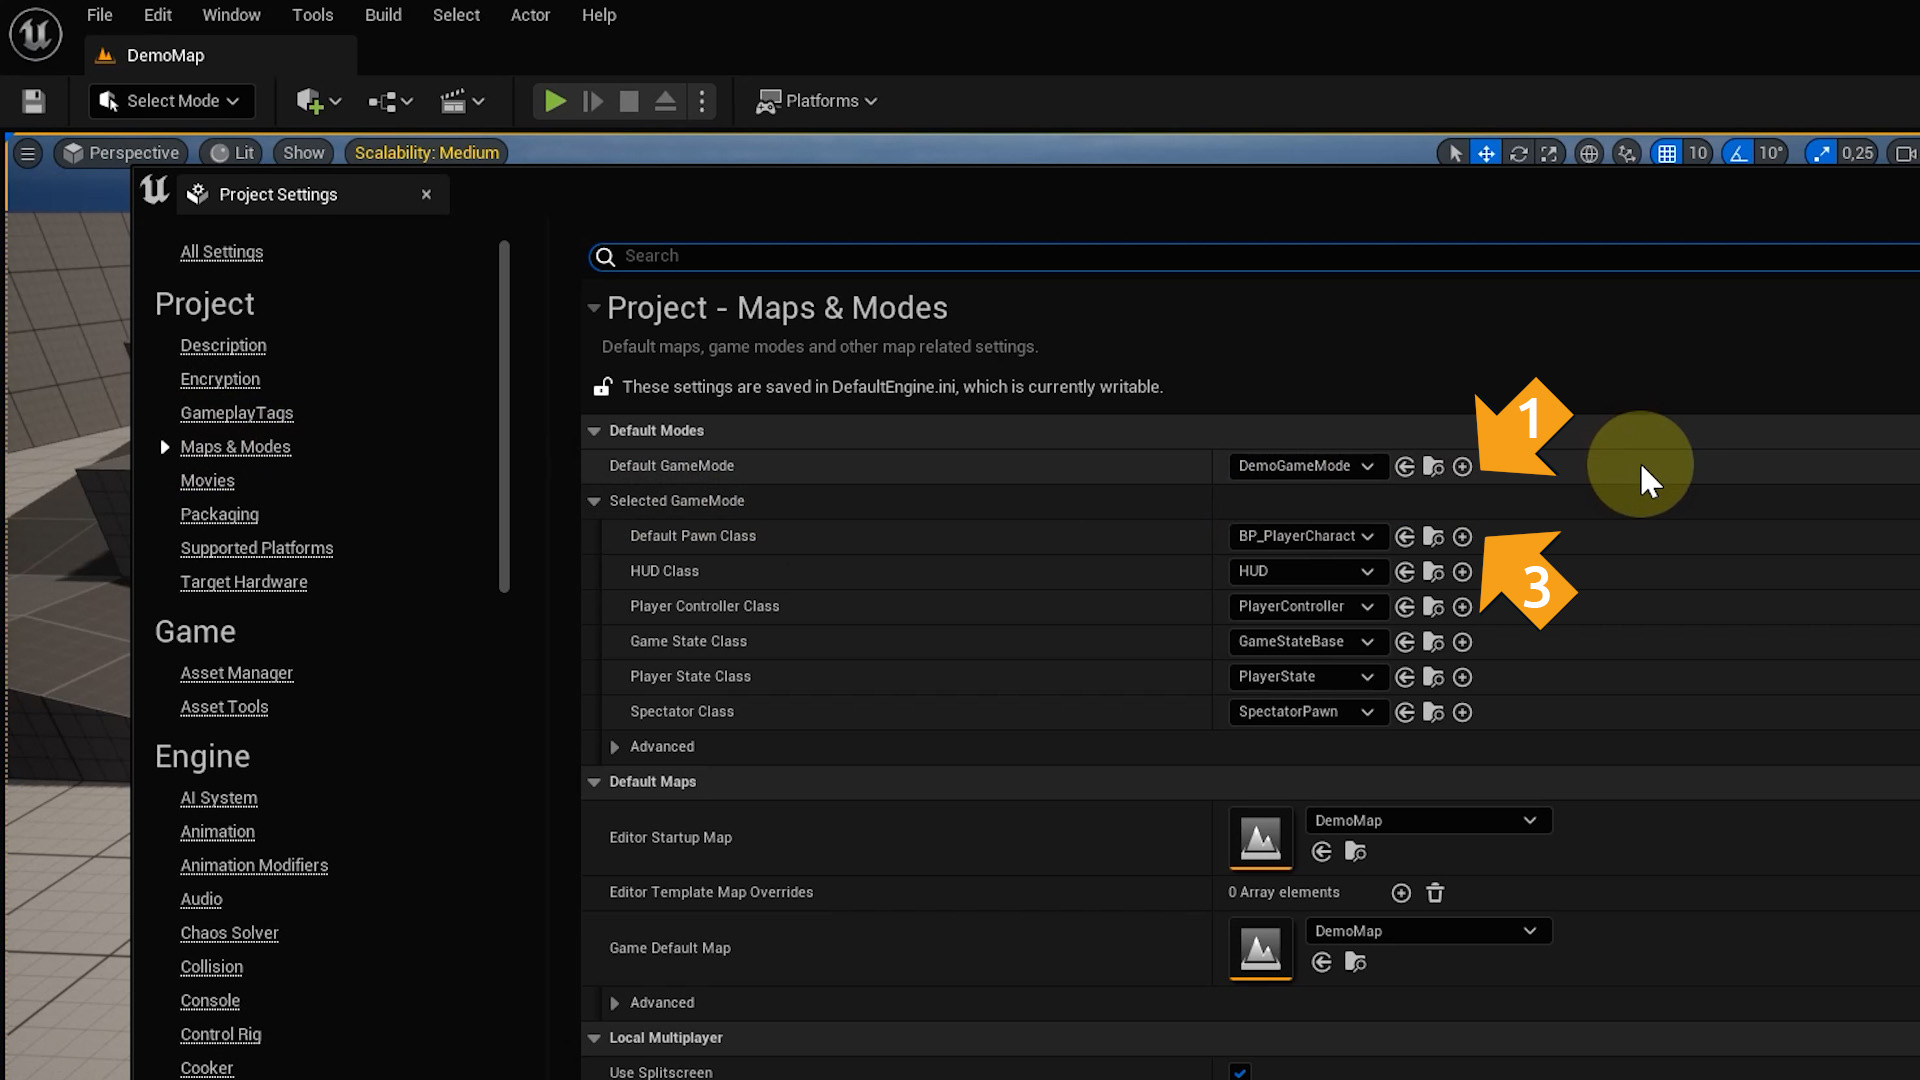
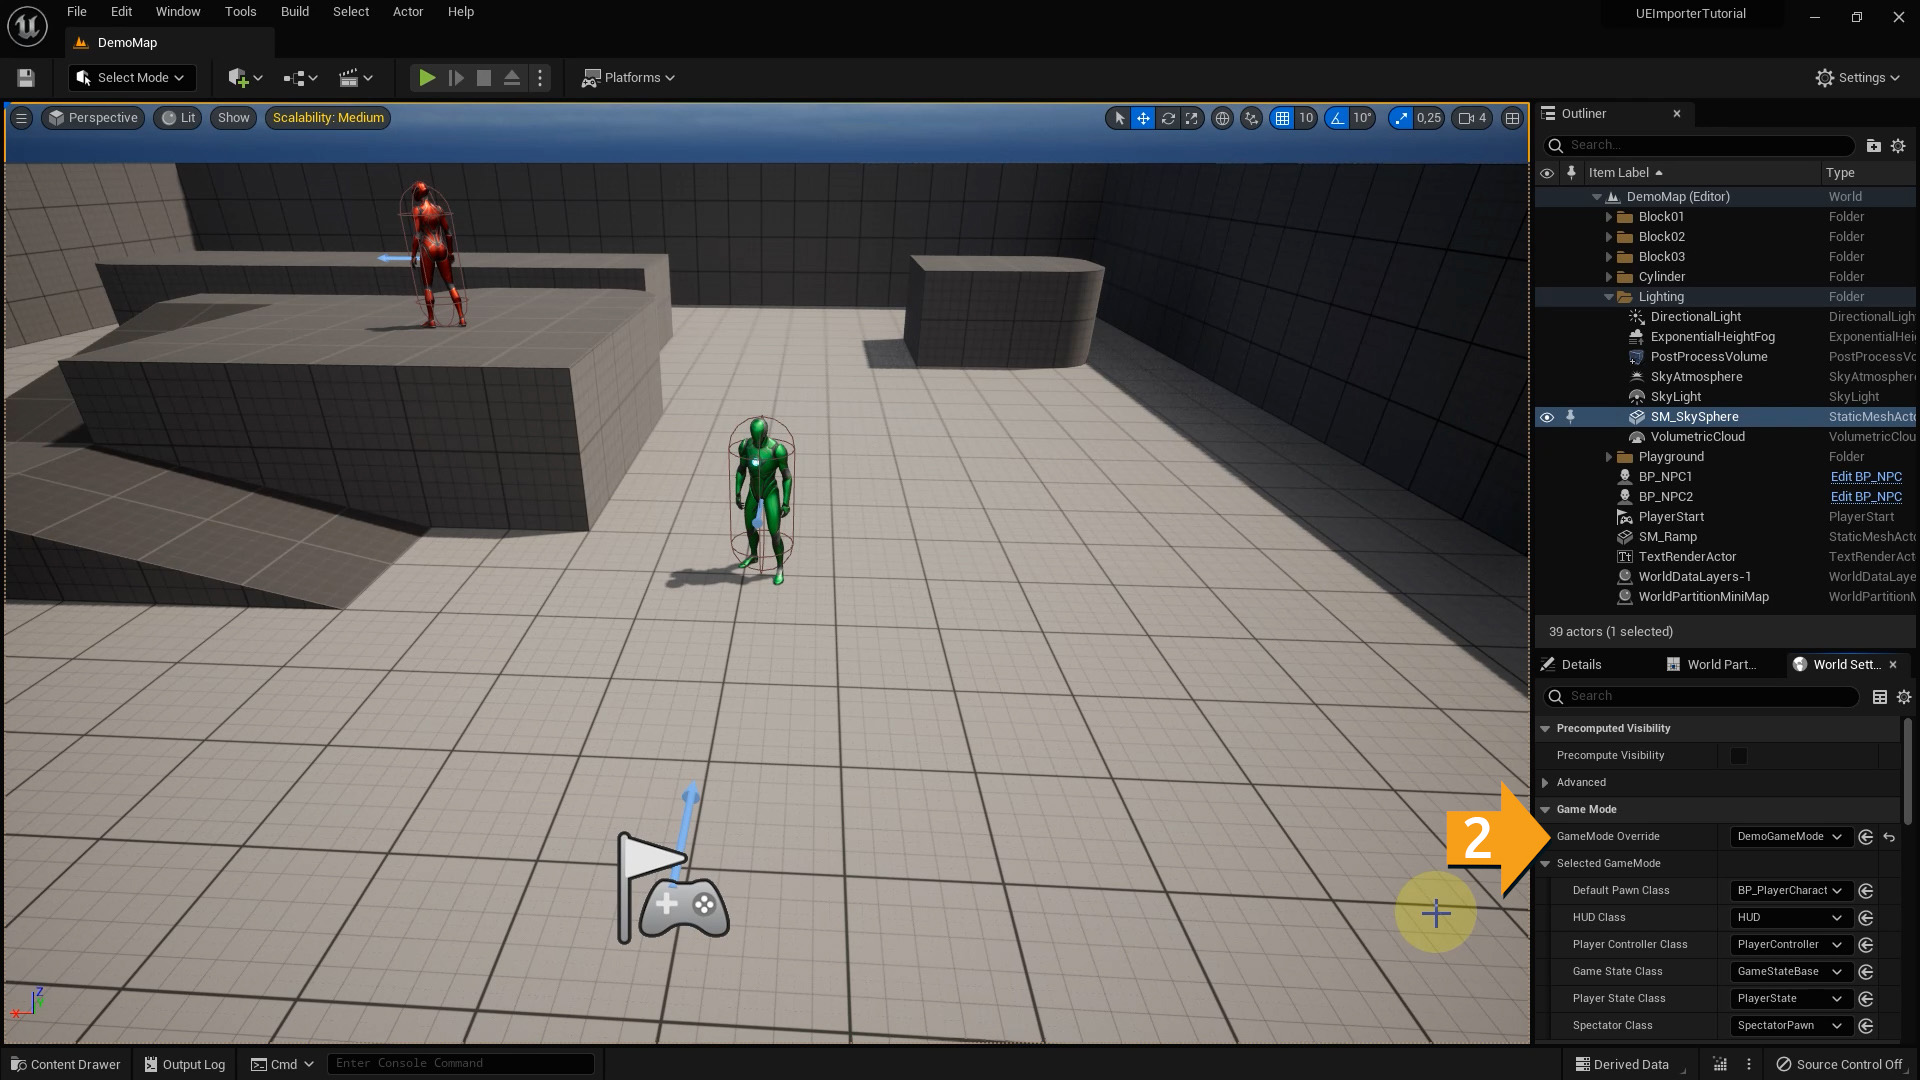
As we created a C++ project, we are not able to use the default Game Mode with blueprint nodes. We used a Game Mode Blueprint, directly derived from Game Mode Base, and configured the project properties accordingly. If you create a new Game Mode in your project it is important to set it as the default game mode in the projects settings, in the maps & modes tab (1); and as game mode override in the world settings (2). If you are in the maps & modes setting, make sure to also set the correct default pawn class for this new game mode (3).
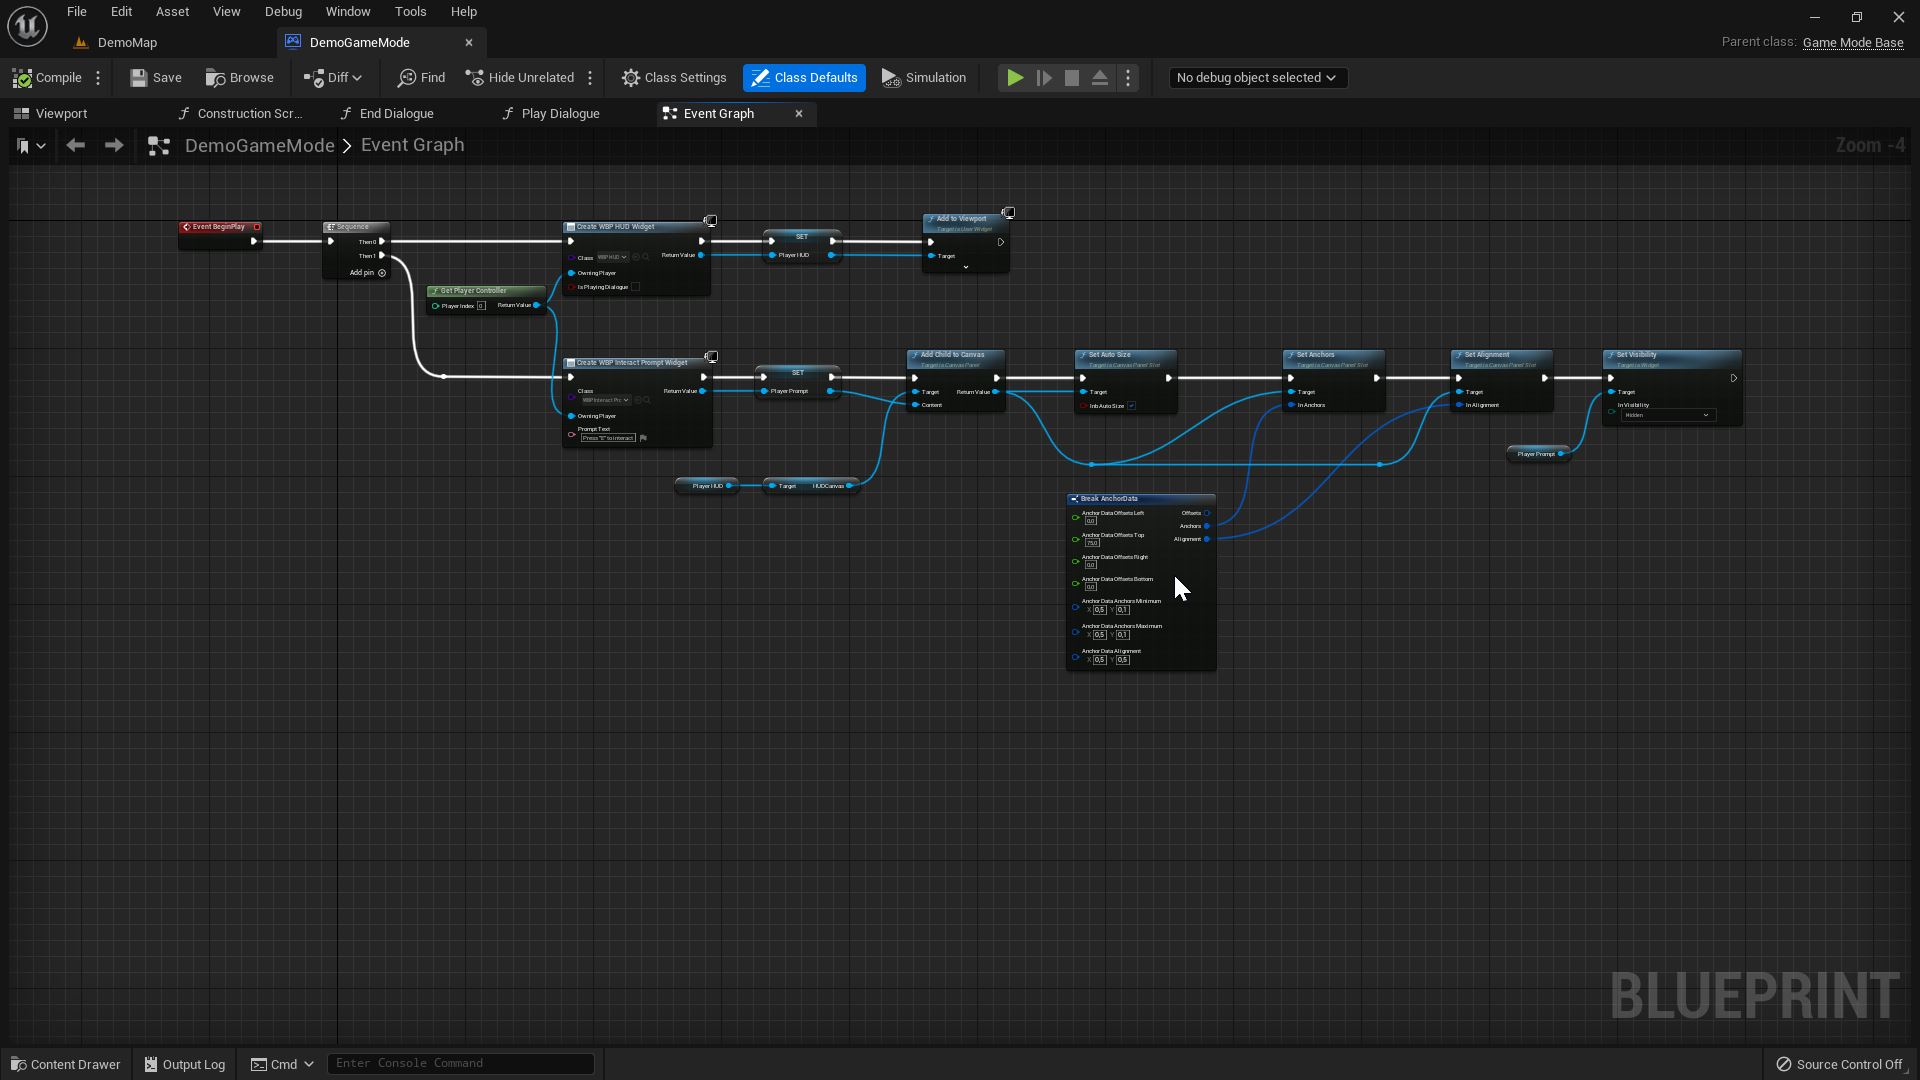
The Demo Game Mode is responsible to create the HUD when the game starts. Also it contains the functions to start and end a dialogue. And as soon as the articy importer comes into play the game mode will get even more responsibility.
The Player Character blueprint is a child class of the default Third Person Character. The entire movement comes from the parent class. What we added is mainly an interaction check based on a trace. If the trace encounters an overlapping object it checks if it implements the interact interface. If this is the case an interaction prompt is displayed and the player can use the interaction key.

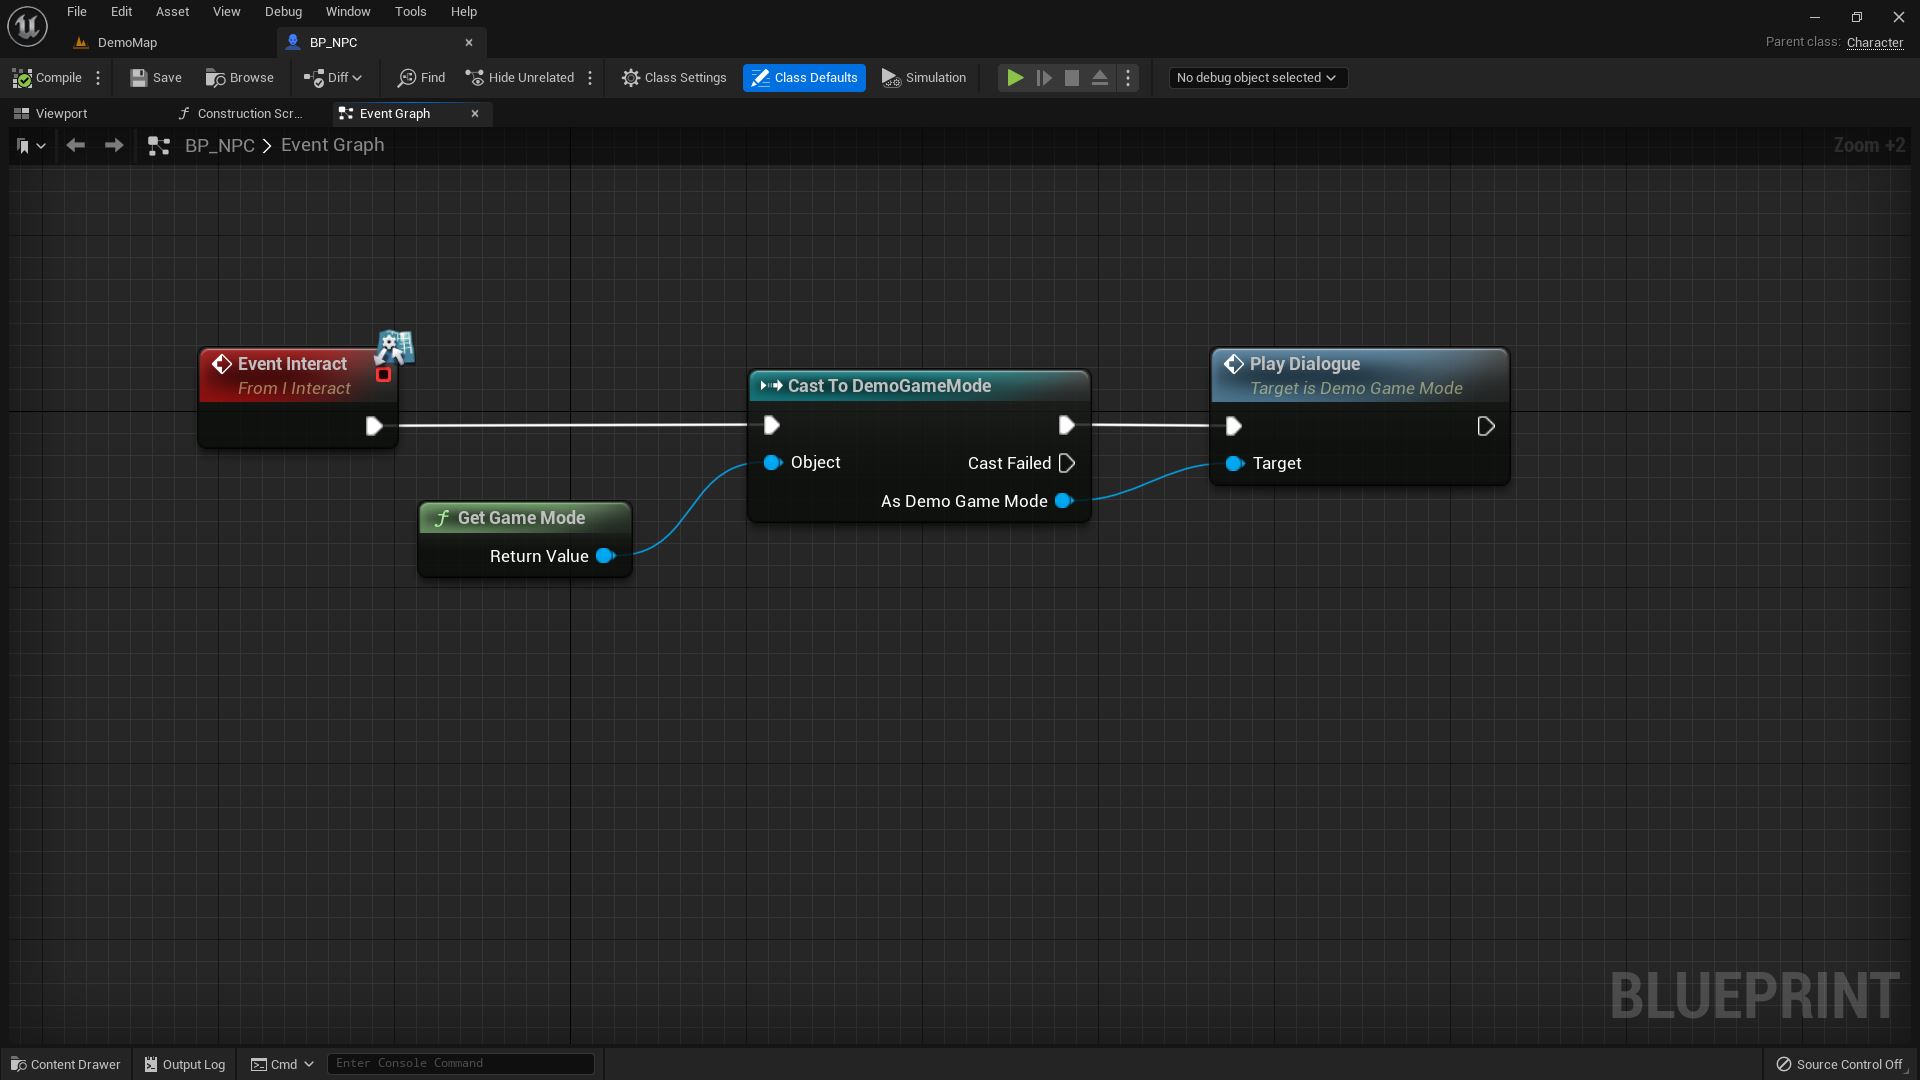
The Interact interface is implemented on the BP_NPC blueprint. Here we call the Play Dialogue function if an interaction took place.
As mentioned earlier Play Dialogue and End Dialogue are implemented inside the Demo Game Mode class. Play Dialogue removes the control from the player and makes the Dialogue widget visible.
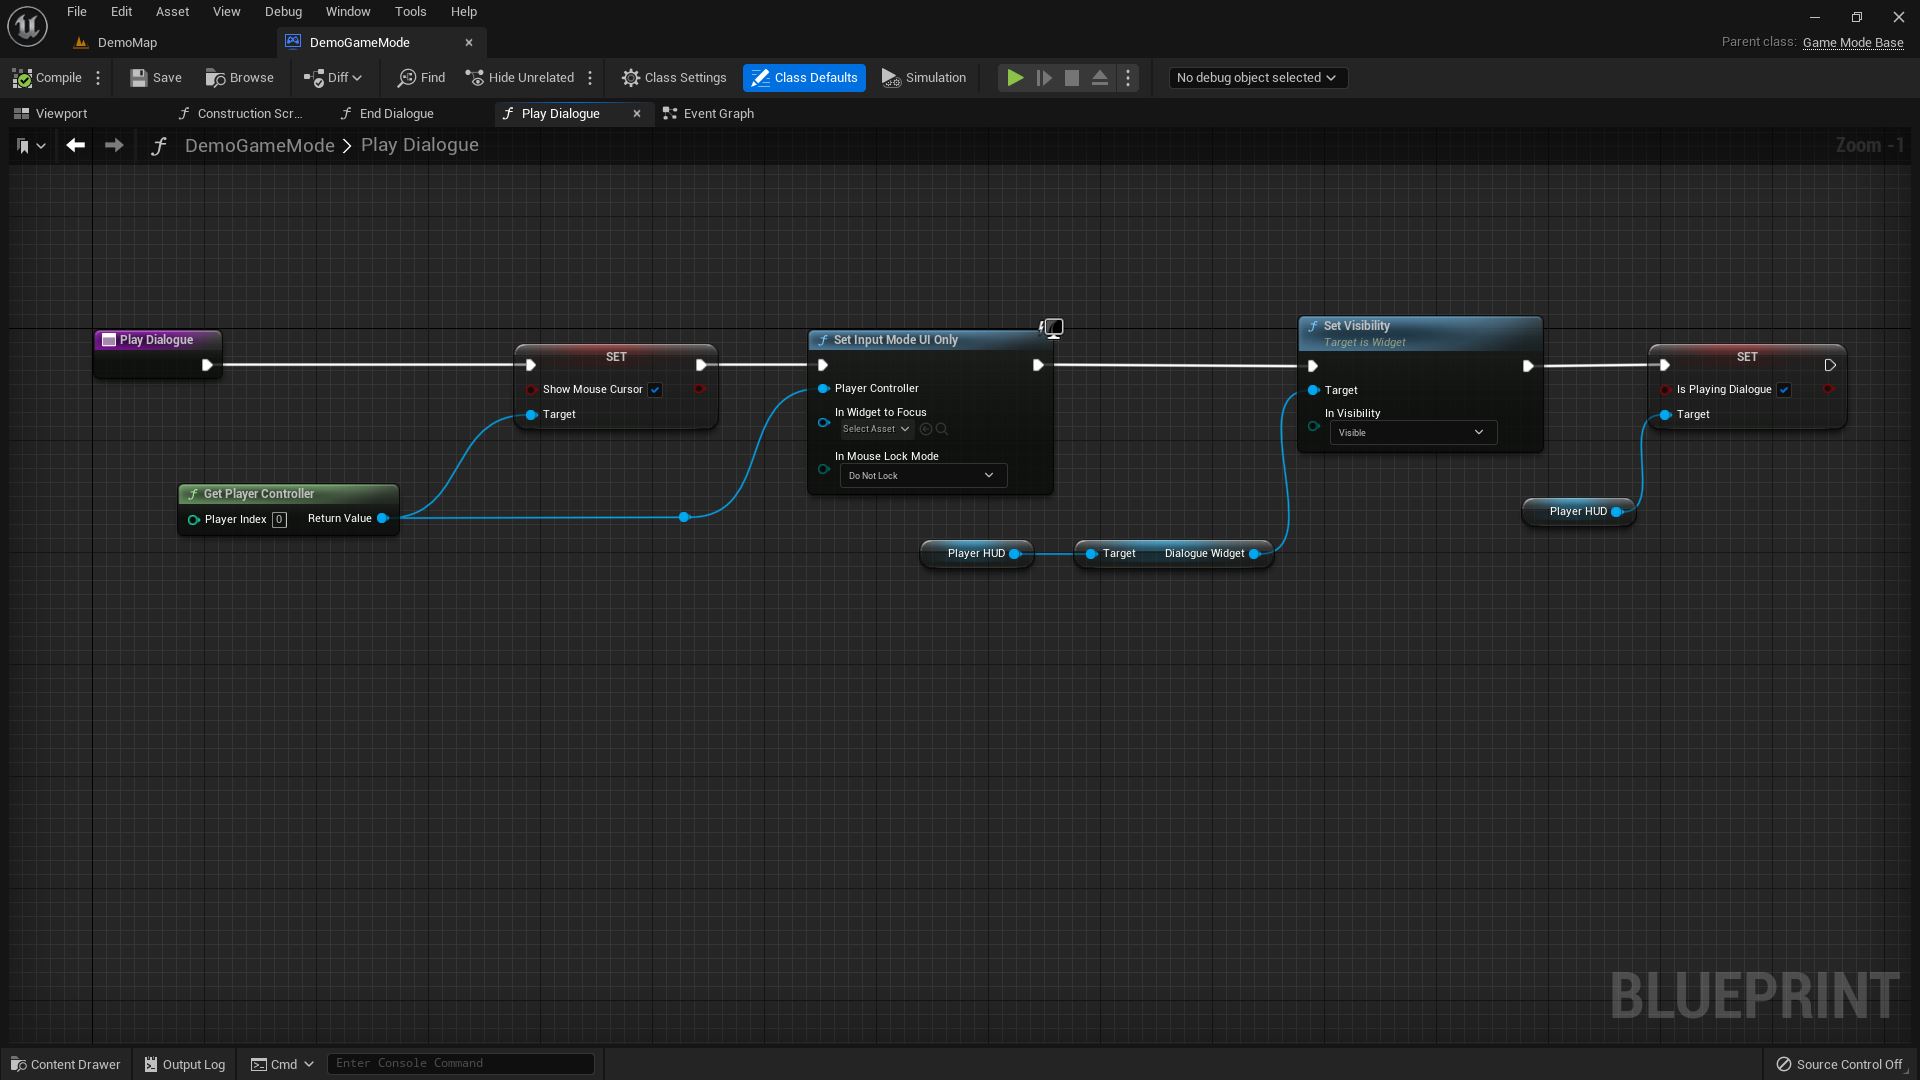
End Dialogue sets the widget to hidden and returns control to the player. Currently End Dialogue only gets called when we click the red button in the dialogue UI, later we will have it at the end of a conversation.

This was a quick rundown of the blueprints in the current project state. If you want to check them or the functions out in more detail, download the project material and open the Unreal base project.
Installing the articy:draft Importer for Unreal
Now we will install the Importer for Unreal in preparation for the next tutorial steps. There are two ways to get the Importer. A project based plugin version from github and an engine based version from the marketplace. They are identical in functionality. We will install the Importer from the marketplace, the github version we really only recommend if you want to contribute or plan to tweak the plugin code itself for your own needs or pipeline.
I switch to the marketplace tab in the launcher. Here I search for articy and get the Importer as a result. If you haven’t used the Importer before you will see these options – Free and Add to cart – which lets you acquire the plugin and add it to your vault.
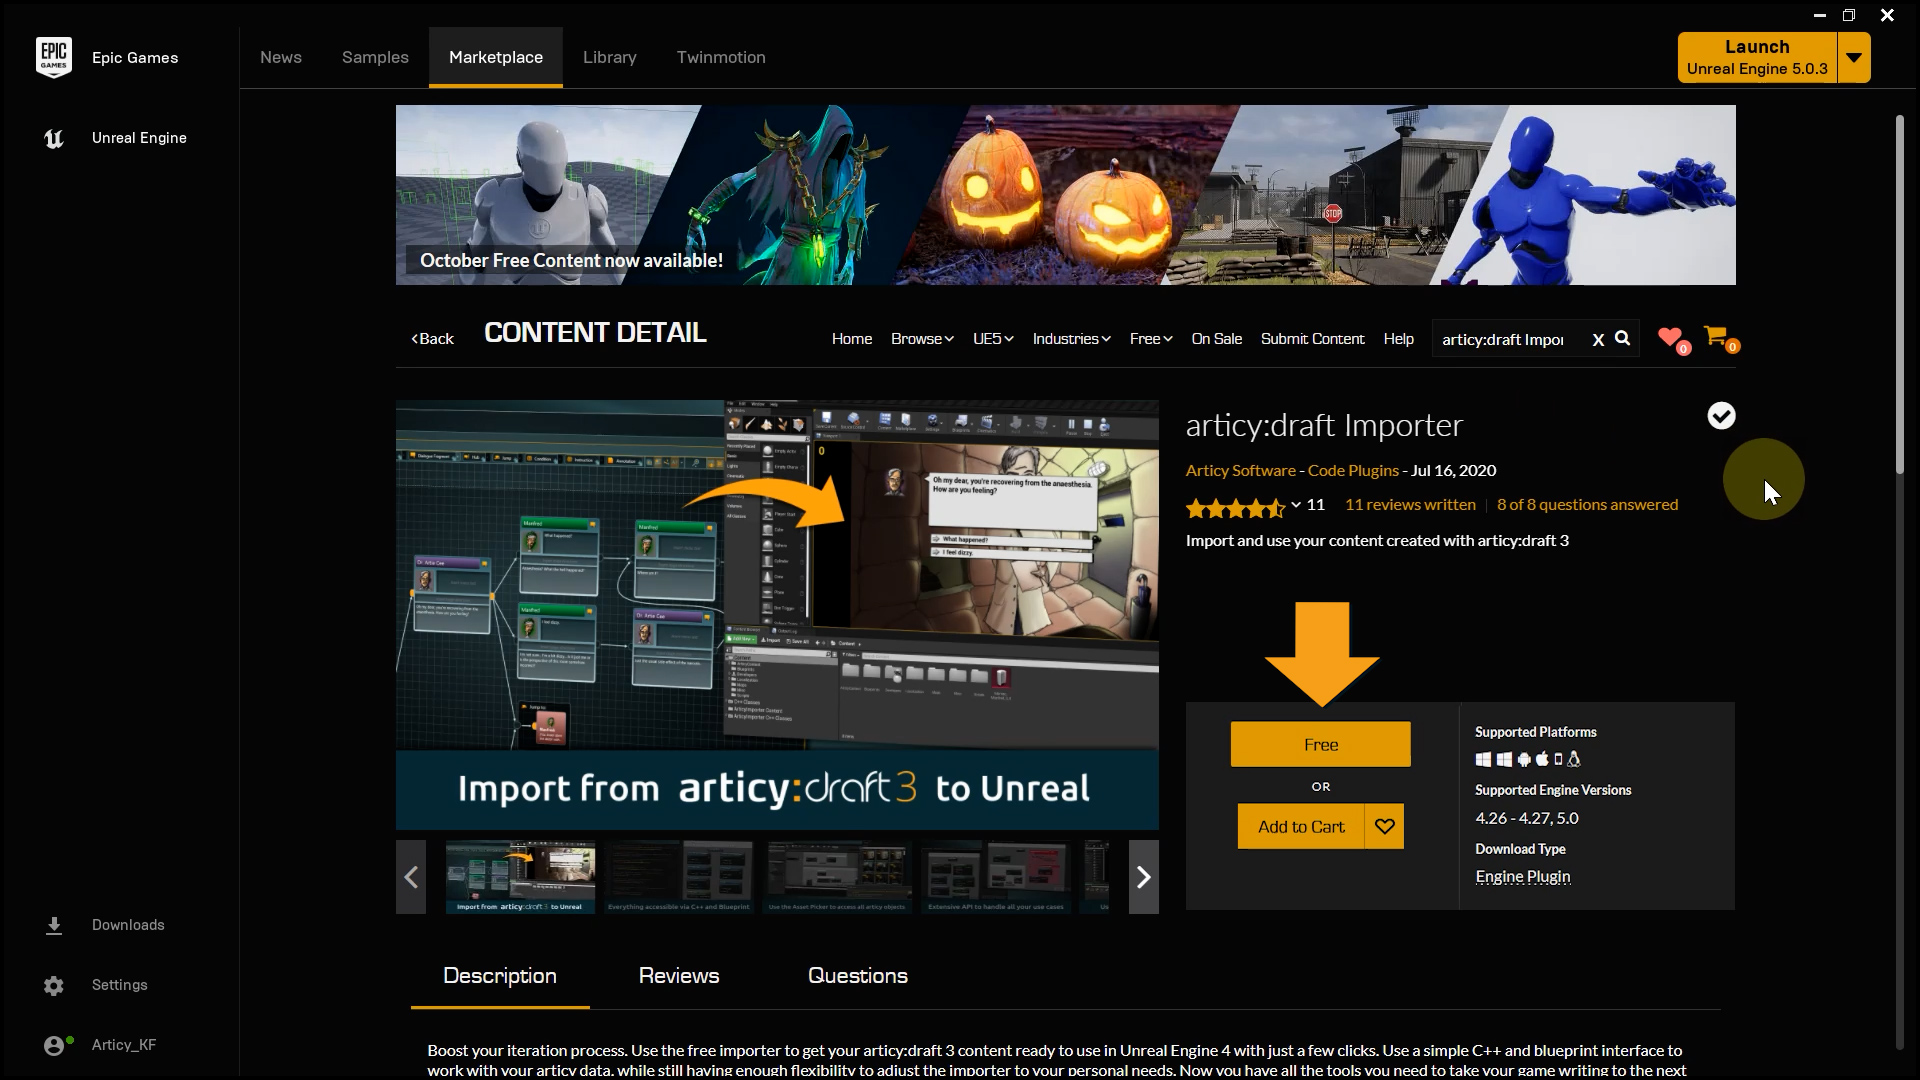
After a moment the button will change and you can now install the Importer to the engine. In case you already got the plugin earlier, you can also find it in the vault inside the library tab and install it from here. To confirm the installation we can click “Installed plugins” below the engine version and can see that the articy Importer is now listed here.
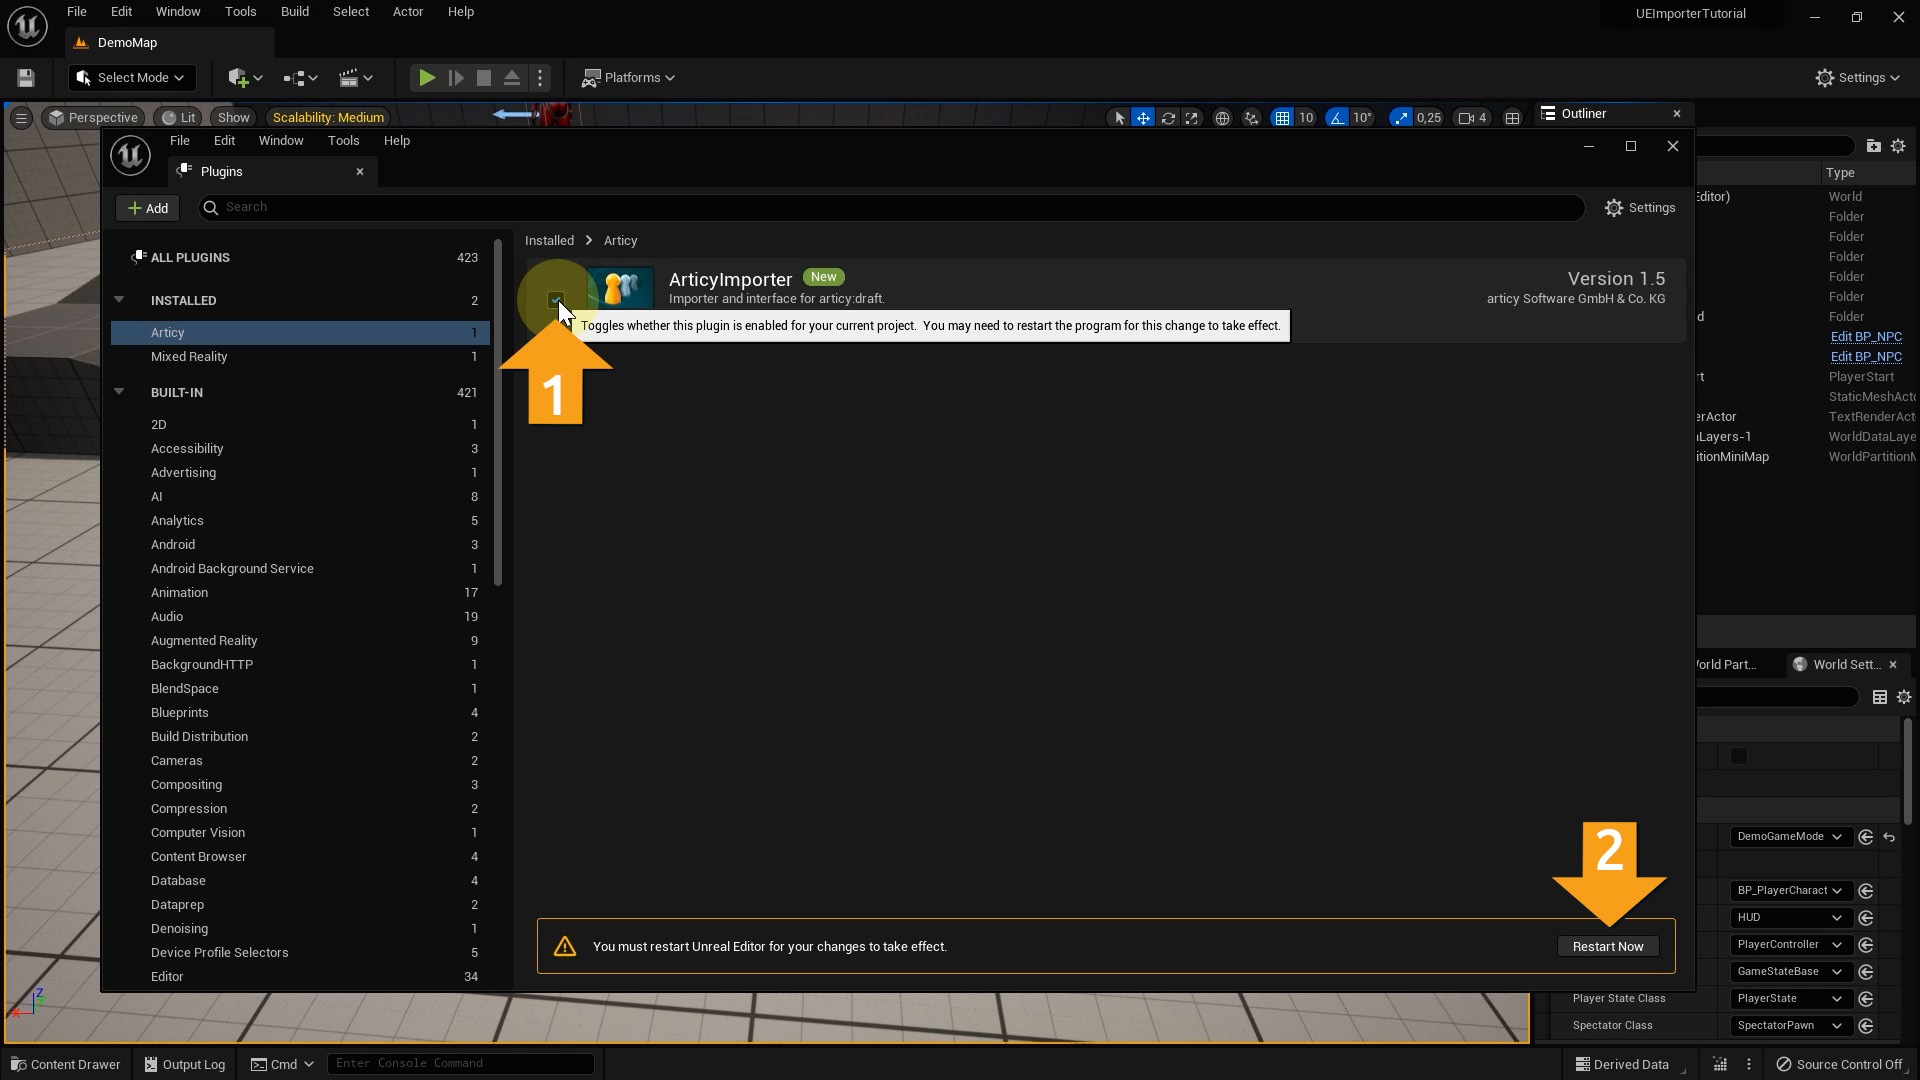
Great. We can reopen the project now. Select Edit – Plugins. Inside Installed plugins I can easily spot the articy Importer and enable it (1). After enabling the importer the window will prompt you to restart the editor (2), please do so to activate the importer for your project. When the editor restarts it might prompt you to rebuild missing DLL files for the importer which you should confirm in this case. This can take a bit depending on the size of the project and the power of your computer but once finished the Unreal editor should be back up again.
Course material – articy:draft project
Now we switch over to our articy project. In case you have not yet prepared the project from the course material, extract the file to a location of your choosing. Then select Open from file from the articy welcome screen. Navigate to the project location, open the folder, select the ProjectInfo file, and click Open.

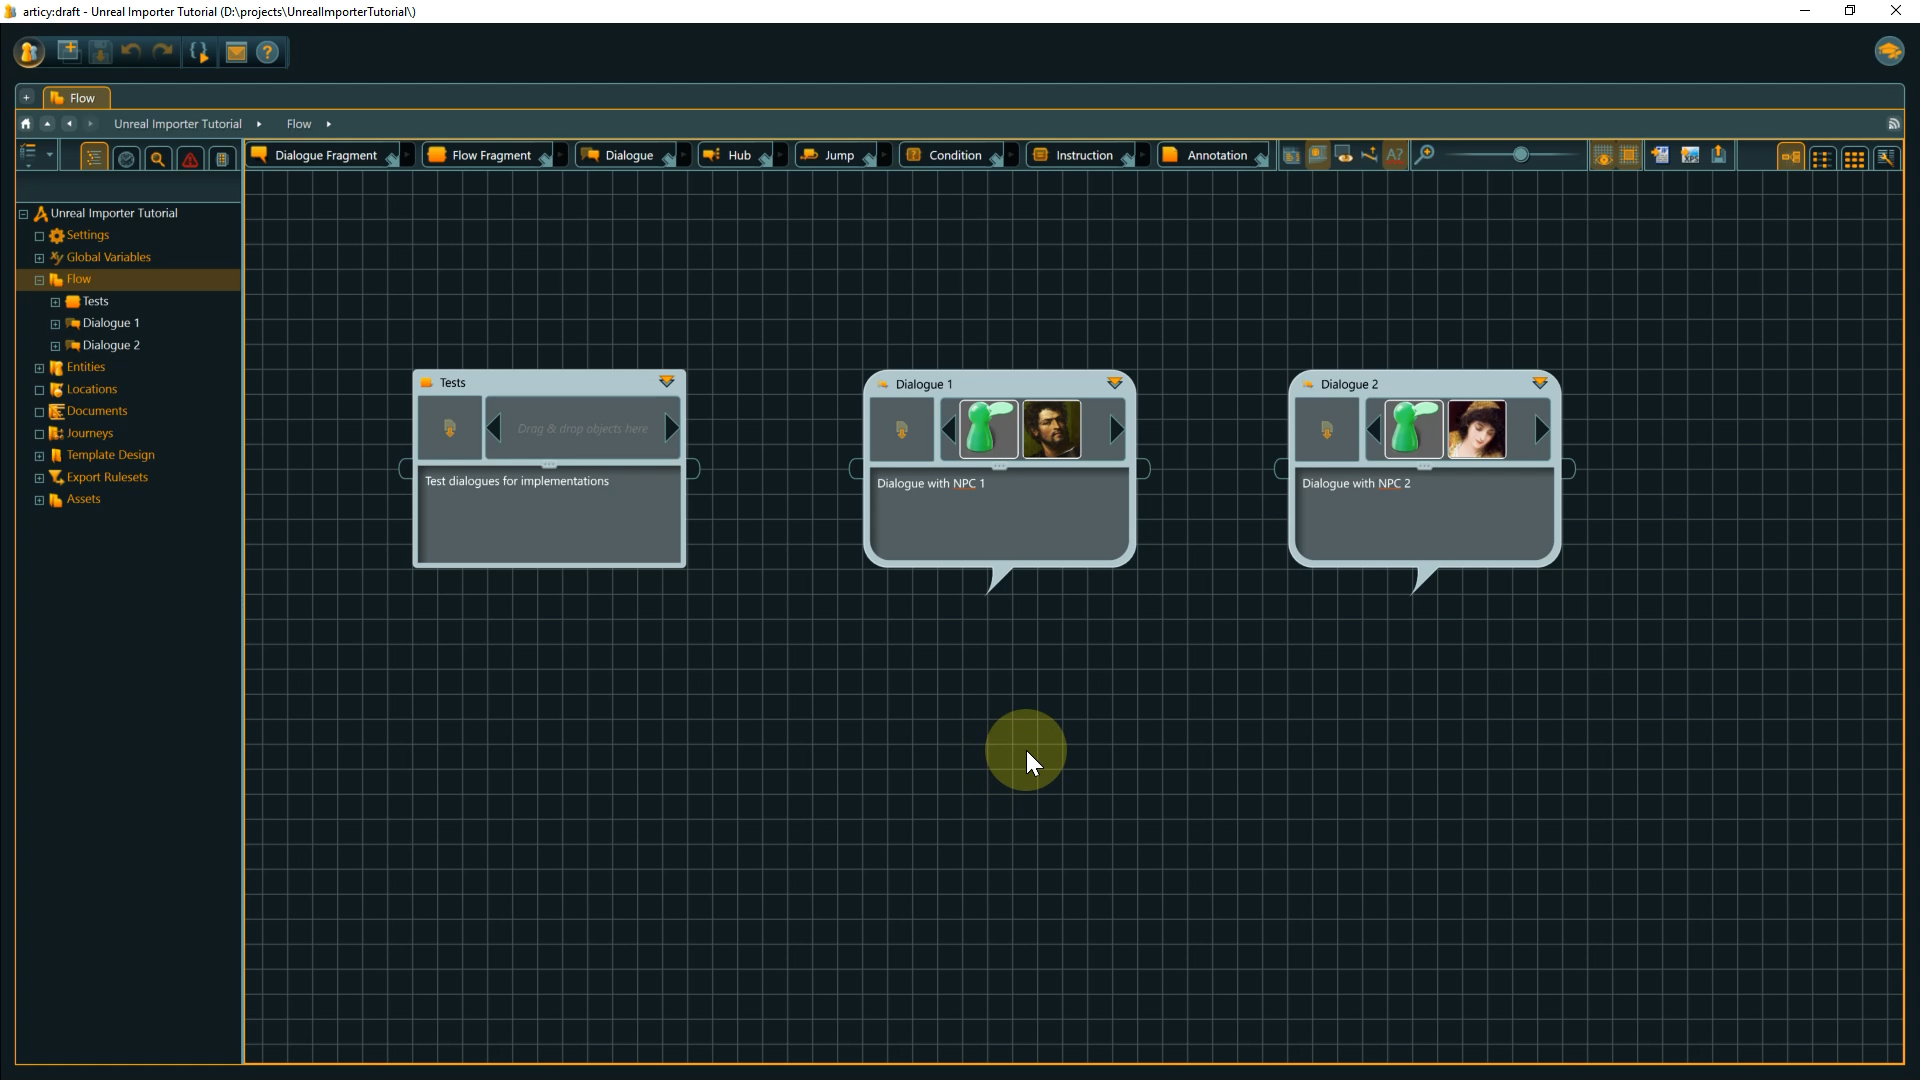
Now the project opens and will also be added to the project selection in the welcome screen. Within the project for this series we find two branching dialogues which we will properly display in the Unreal project at the end of this series, and two test dialogues which we will use for the implementations steps we are going to take.
But first we need to get the data from articy:draft to Unreal. That part is easy – click the main menu bubble (1) and select export. Choose Unreal from the list (2). If your project grows you might want to split the export into separate packages that can be loaded at runtime as needed, but for this small project we stick with exporting the entire project. You can find more information about rulesets here. Select the content folder of the Unreal project as the export folder (3) and click Okay (4). The Export runs through and we can switch back to Unreal.

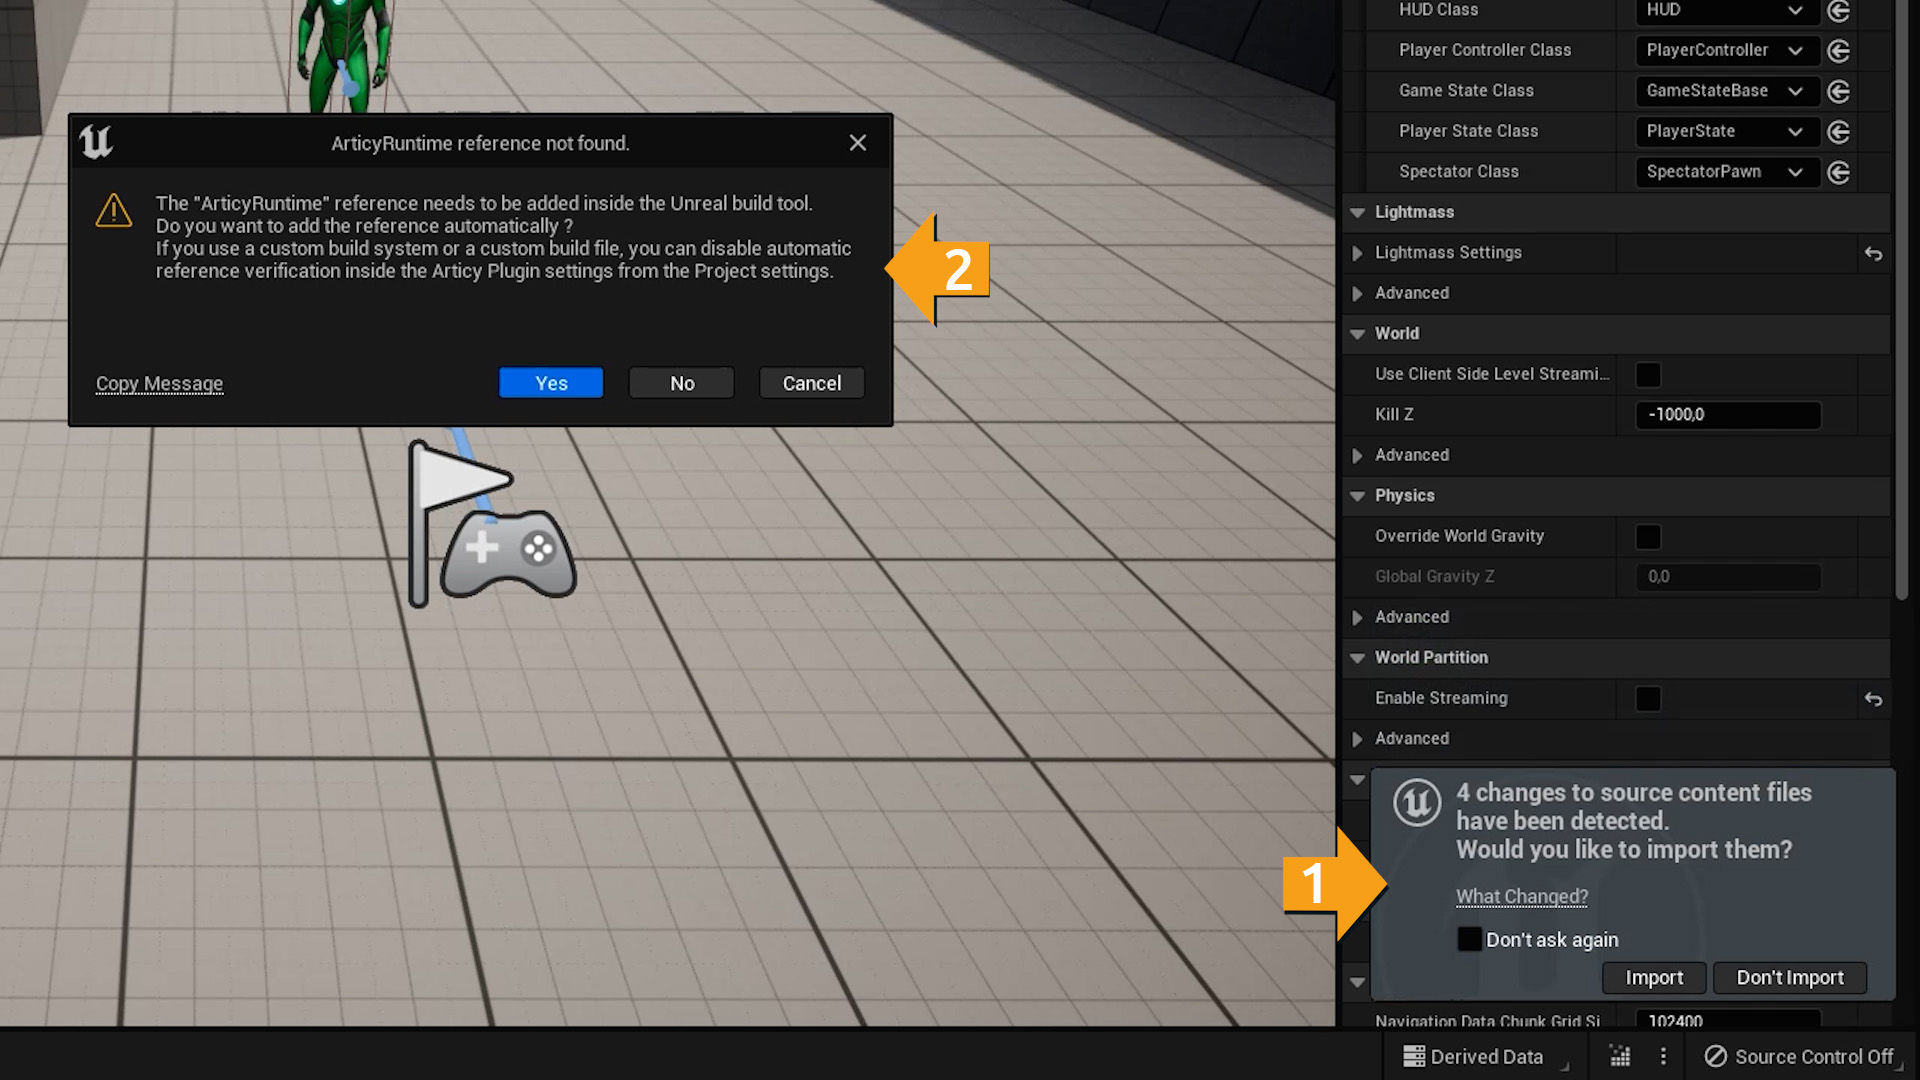
Here an info window popped up asking us to confirm changes to some source content files (1). Click Import. Another pop-ups appears informing us that the Articy Runtime reference was not found (2). No need to worry, as this is the first time we import any articy data, this is the absolute normal process. It is important that you select “Yes” here, to have the reference added automatically. If you select “No”, the process continues without touching the Unreal build tool files, meaning you would have to add the Articy Runtime reference manually for the Importer to work. Now some C++ code gets compiled, which depending on your machine might again take a couple of minutes.
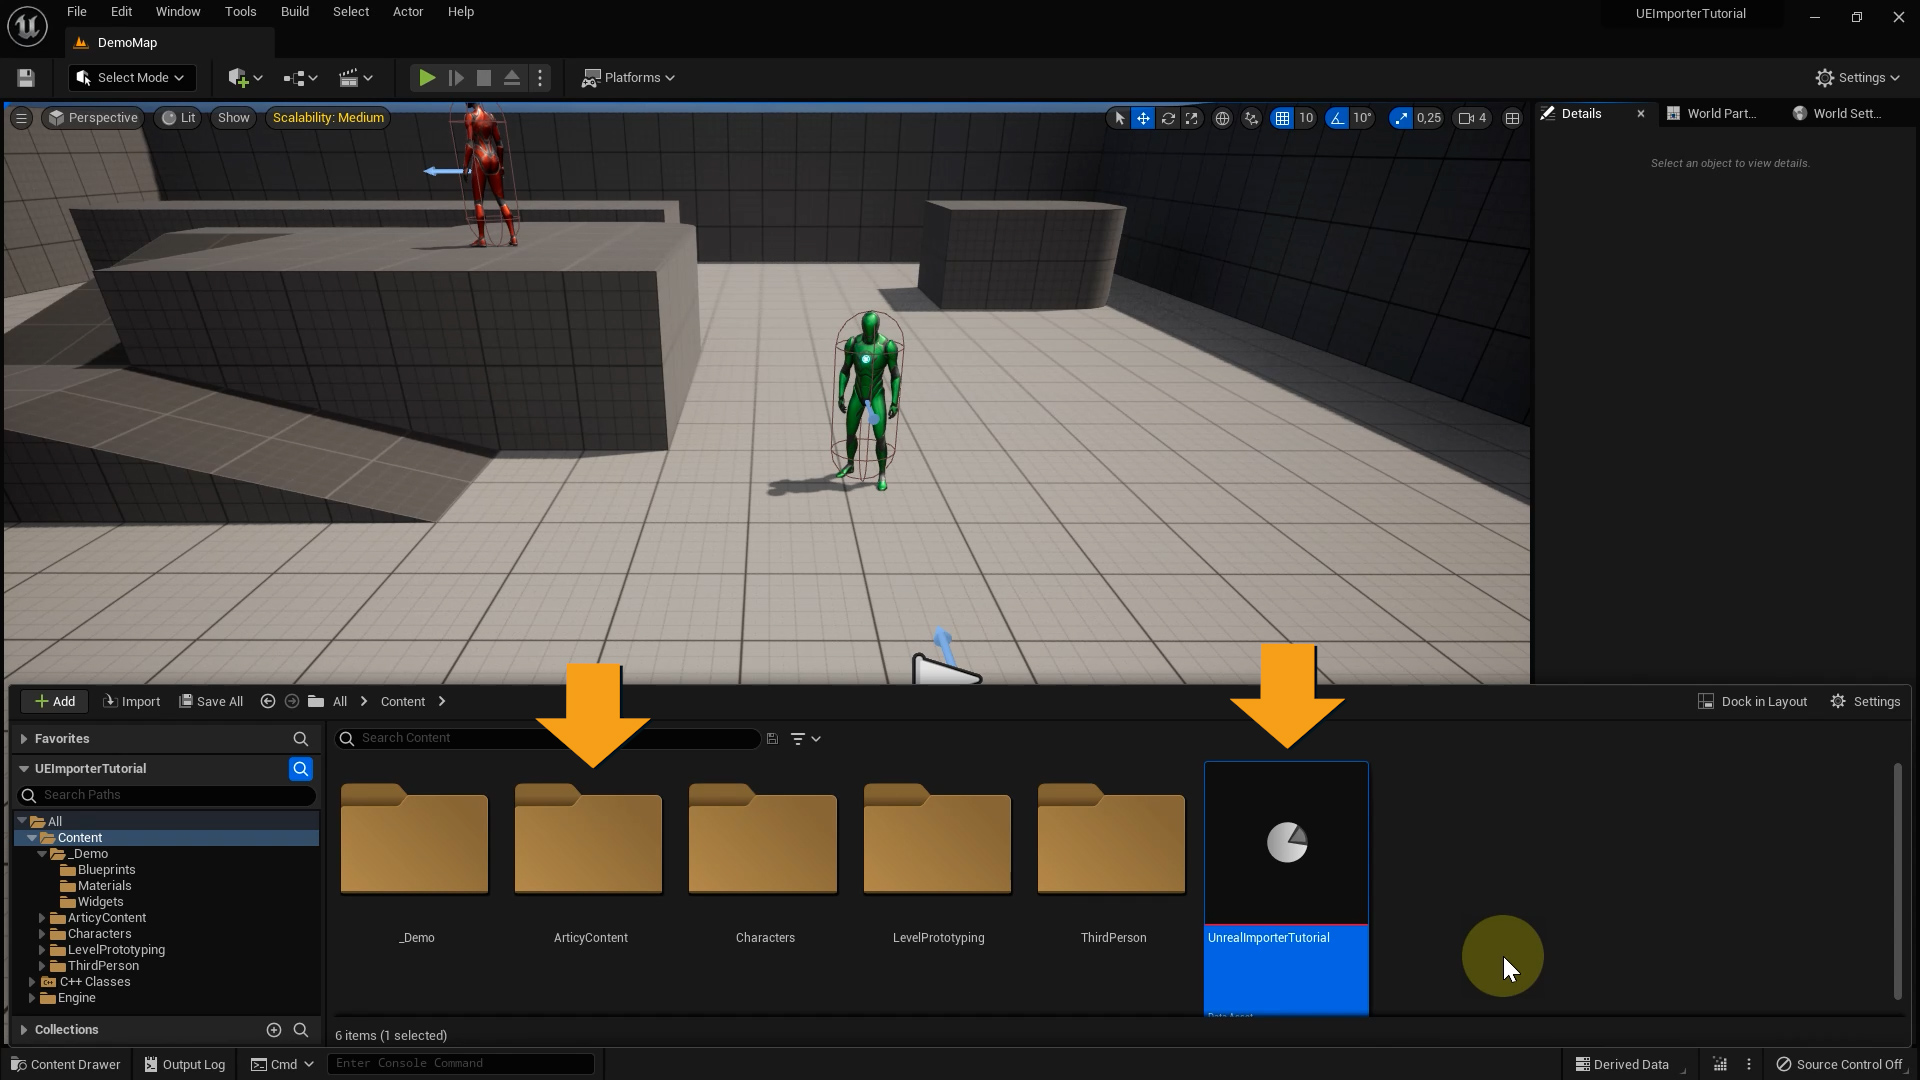
If we look at our Content browser now, we can see that an Articy Content folder was created, as well as the actual export file on the content level. In the Articy Content folder you can find all Unreal objects that were generated from the imported database, as well as all assets that you exported from the articy project.
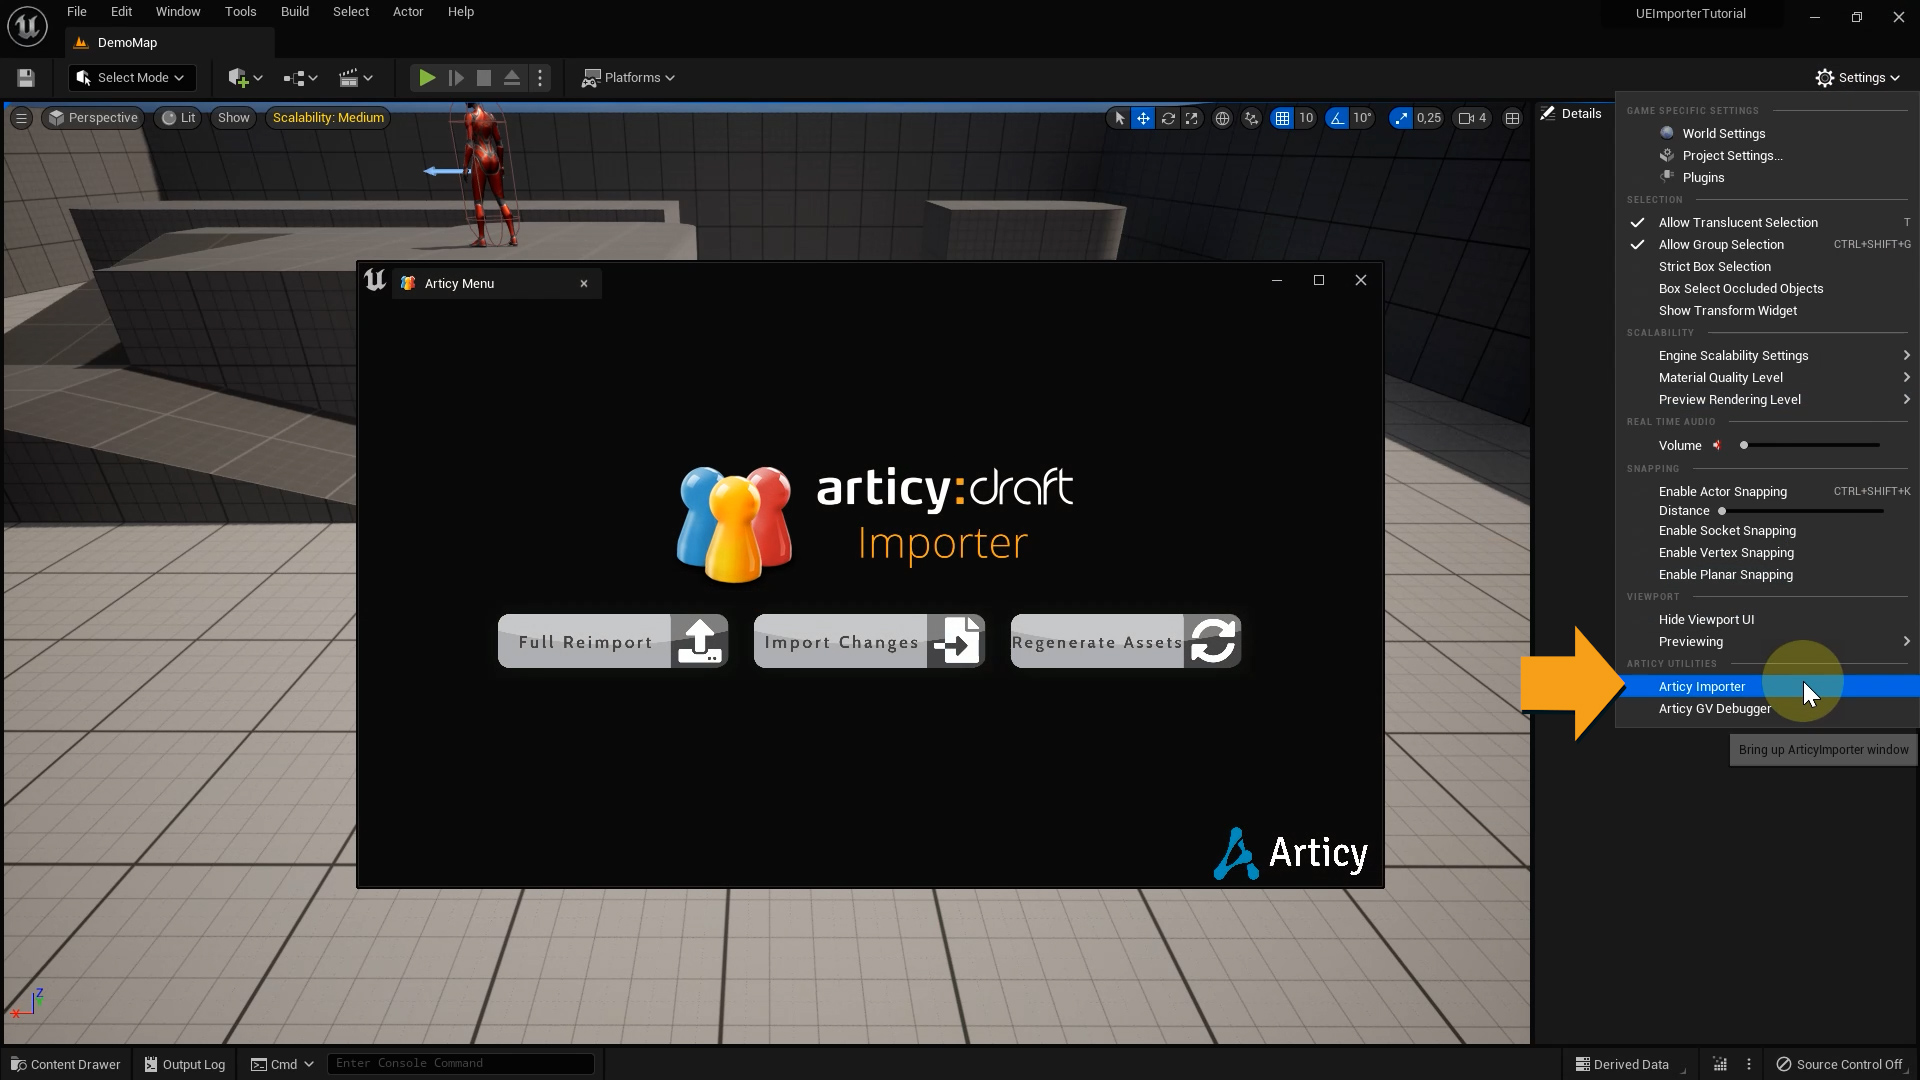
In case an automatic import should fail, you can always use the manual import options, which can be accessed via Settings – Articy Importer.
Recap lesson 1
We have arrived at the end of this first video. We have looked at the Unreal project we will use throughout this series, installed the articy Importer from the marketplace, and exported data from articy:draft and imported it to the Unreal project.
Up next in lesson 2
In the next lesson we will start using this data and begin working on a dialogue system to display a first dialogue line with speaker name in the custom dialogue UI.
See you there!
Don’t have articy:draft X yet? Get the free version now!
Get articy:draft X FREE
*No Payment information required
Follow us on Twitter, Facebook and LinkedIn to keep yourself up to date and informed. To exchange ideas and interact with other articy:draft users, join our communities on reddit and discord.