Hello and welcome to this short tutorial on improving your articy:draft project structure with nesting.
This tutorial was created with articy:draft 3, but all shown information is also valid for articy:draft X
If your project grows to a certain size it might get cumbersome to keep a good overview if everything happens on one flow layer. You have to pan around a lot and zoom in and out to find specific nodes. It might even be noticeable in the performance of the app.
articy:draft provides you with an easy to use but very effective feature to improve upon this situation: Nesting.
Nesting allows you to create additional flow layers, by submerging into Flow fragments or Dialogue nodes. You can do this via the toolbar or with the hotkey “Enter”.
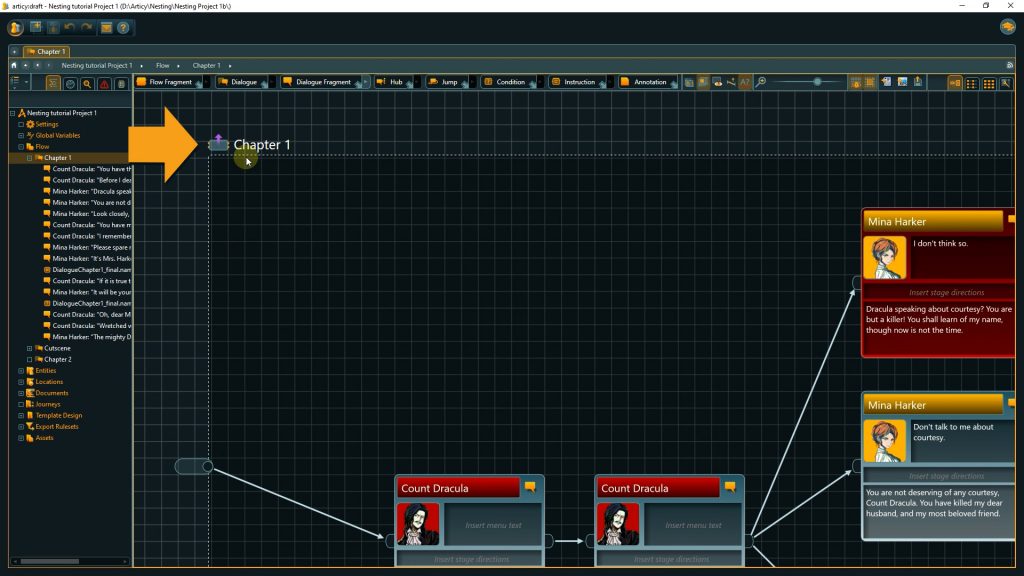
Now we are on an entirely new layer of the Flow inside the parent node. In the Navigator we can see that content on this level is indented below the node we submerged into. We can emerge out of this this level by clicking the icon in the top left corner of this flow layer which will take us to the layer above, or by clicking to where ever we want to go in the Navigator.
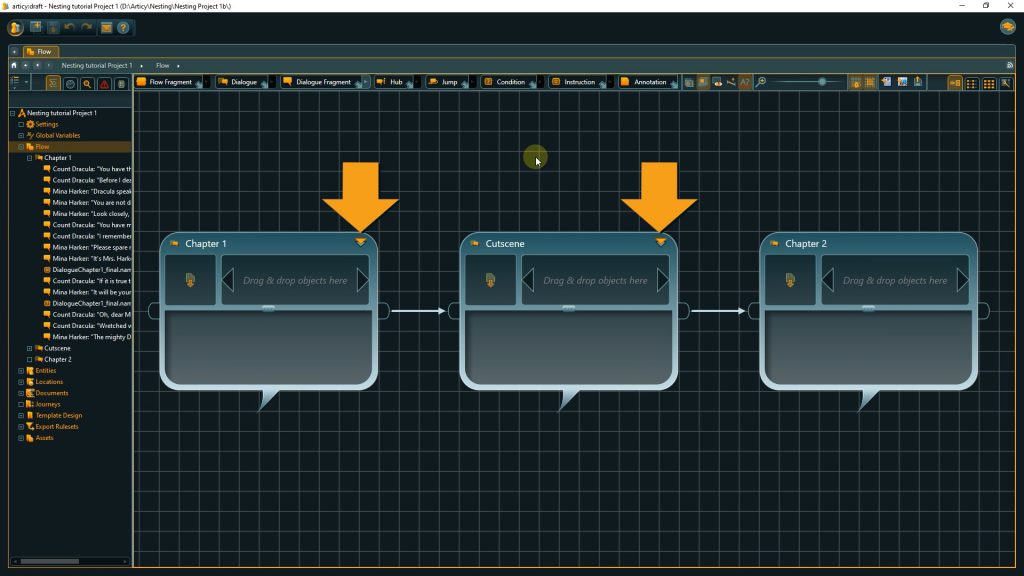
You can easily see if there are additional layers, or “inner content” within a node by the icon shown in the top right corner of a node. If this icon with the two triangles is visible it means there is content inside that node.
How can we use nesting now to improve our project structure? Nesting makes it easy to structure your project from macro to micro, from a broad top level division down to single lines of dialogue. You can use as little or as much nesting as makes sense for your project. There are no hard rules and no right or wrong, it depends on your preferences and project.
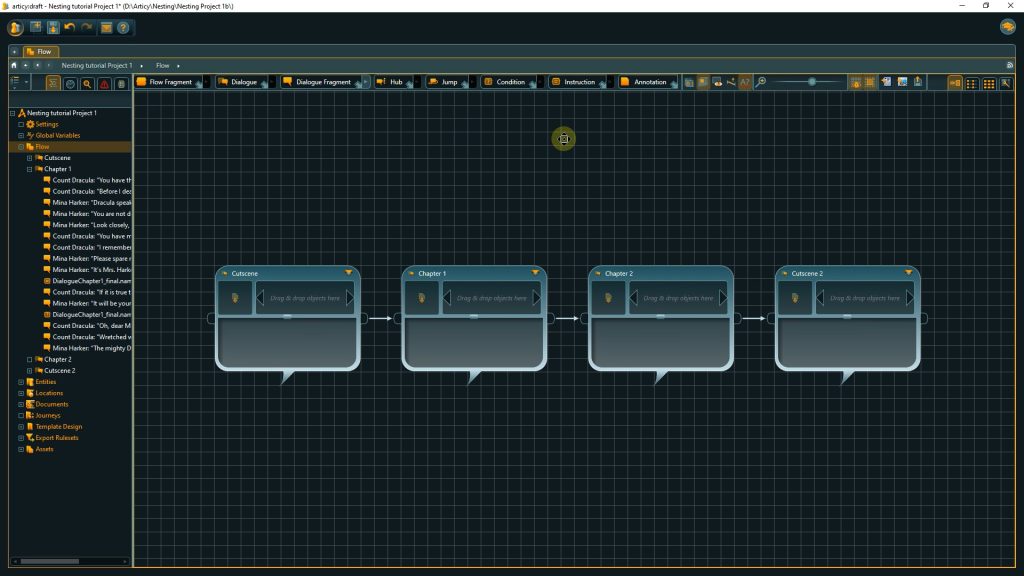
If your content is nested it is much easier to move content around in your project. Just grab one of the nodes and move it to another position. The inner content is automatically moved as well. If you have sections in your project that are supposed to have a similar structure, you can easily copy and paste these nodes including their inner content and re-use them.
Here are two examples of how such a nesting structure could look like:
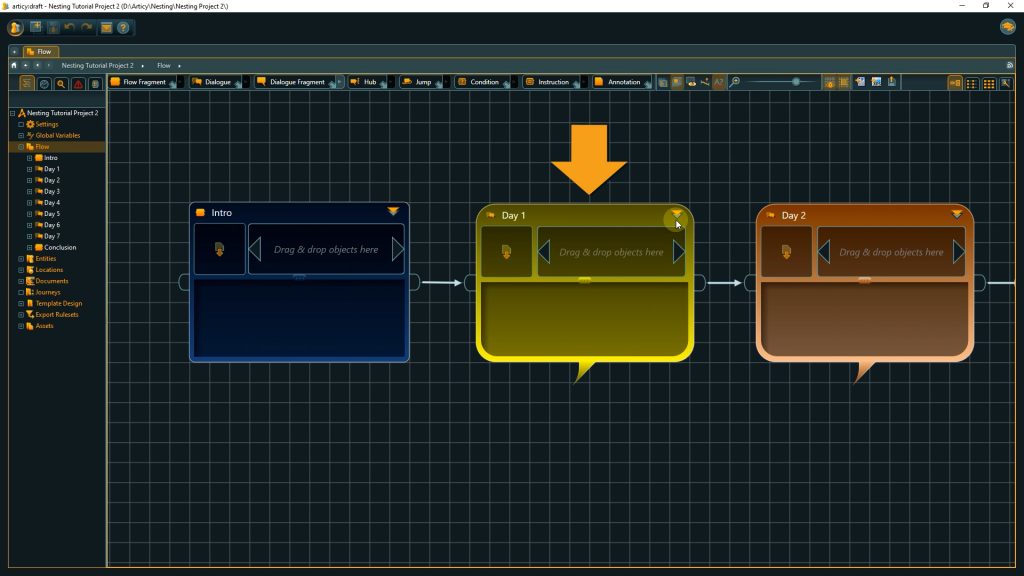
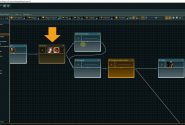
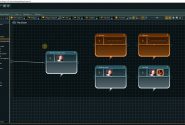
First we a have small game, showing one week in the life of the player character. Intro and End are cutscenes, and the single days are dialogues with various other characters. If we submerge into a Day node we get to the single lines of dialogue for the specific day.
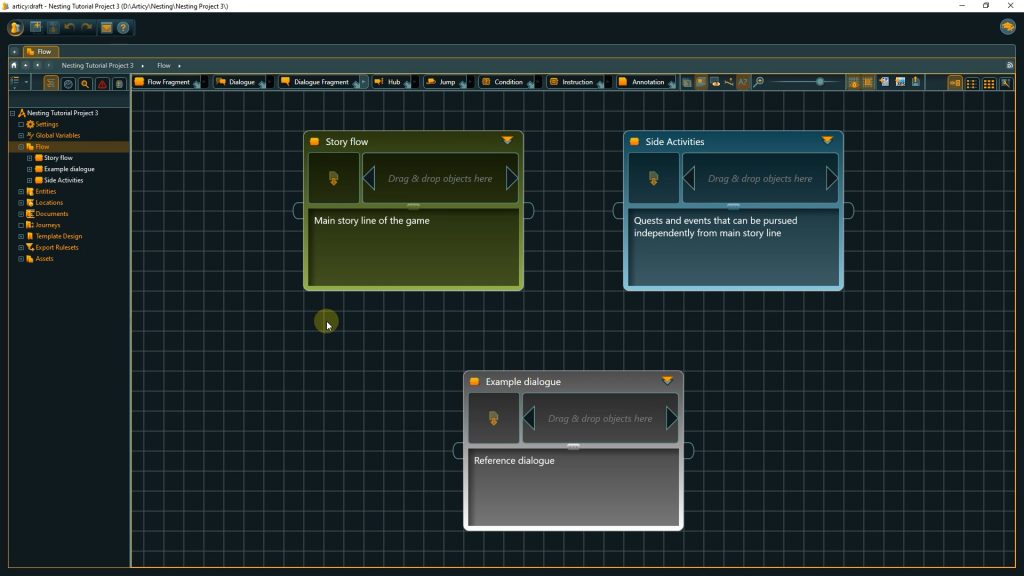
In a bigger project, we could divide up further. Like in this example, where on the top level we just find a broad distinction into the story flow, side activities, and an example dialogue as a reference for new writers. Inside the story flow node we see the visualization of the branching structure of the game story. Each node represents a scene, and we can submerge into those as well to get to the dialogue.
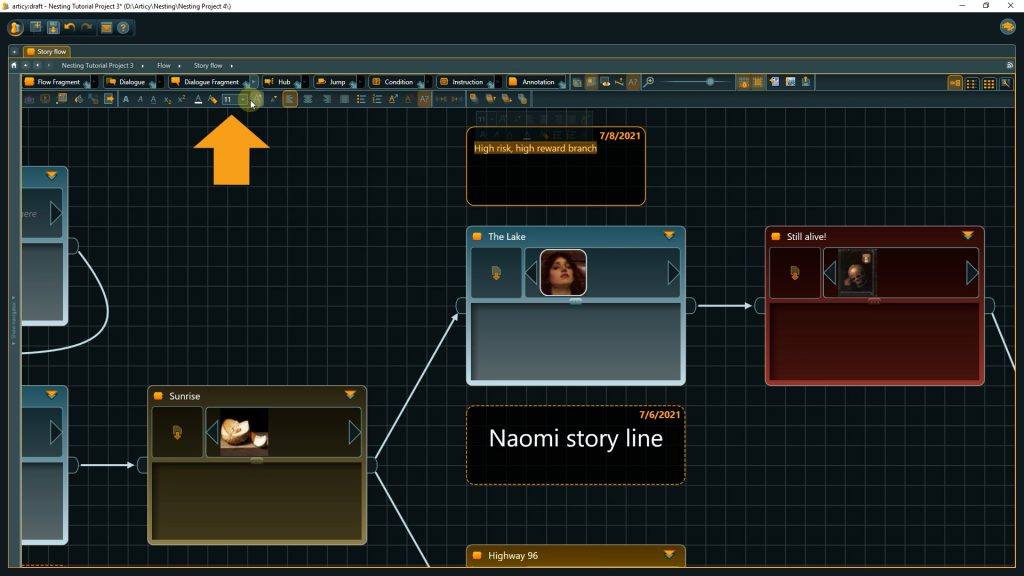
An additional way to structure your project can be achieved by using annotations. Useful to leave notes, either for yourself or especially in a multi-user environment. But you can also format them in a way to clearly mark specific spots in the flow or to highlight nodes or areas to be visible even at a higher zoom level, like I did here to really make the story structure stand out.
You can change an annotation’s font size and color in the toolbar, as well as the background color for the node itself. You can also send them to the background to not occlude the content node you are highlighting.
We hope these small tips will help you on your next articy project. Take care and bye-bye.
Don’t have articy:draft X yet? Get the free version now!
Get articy:draft X FREE
*No Payment information required
Follow us on Twitter, Facebook and LinkedIn to keep yourself up to date and informed. To exchange ideas and interact with other articy:draft users, join our communities on reddit and discord.


