Hello and welcome to Lesson 03 of the articy:draft First Steps tutorial series.
Review:
In our previous lesson we installed the Dracula demo project that serves as a basis for this tutorial series.

This lesson:
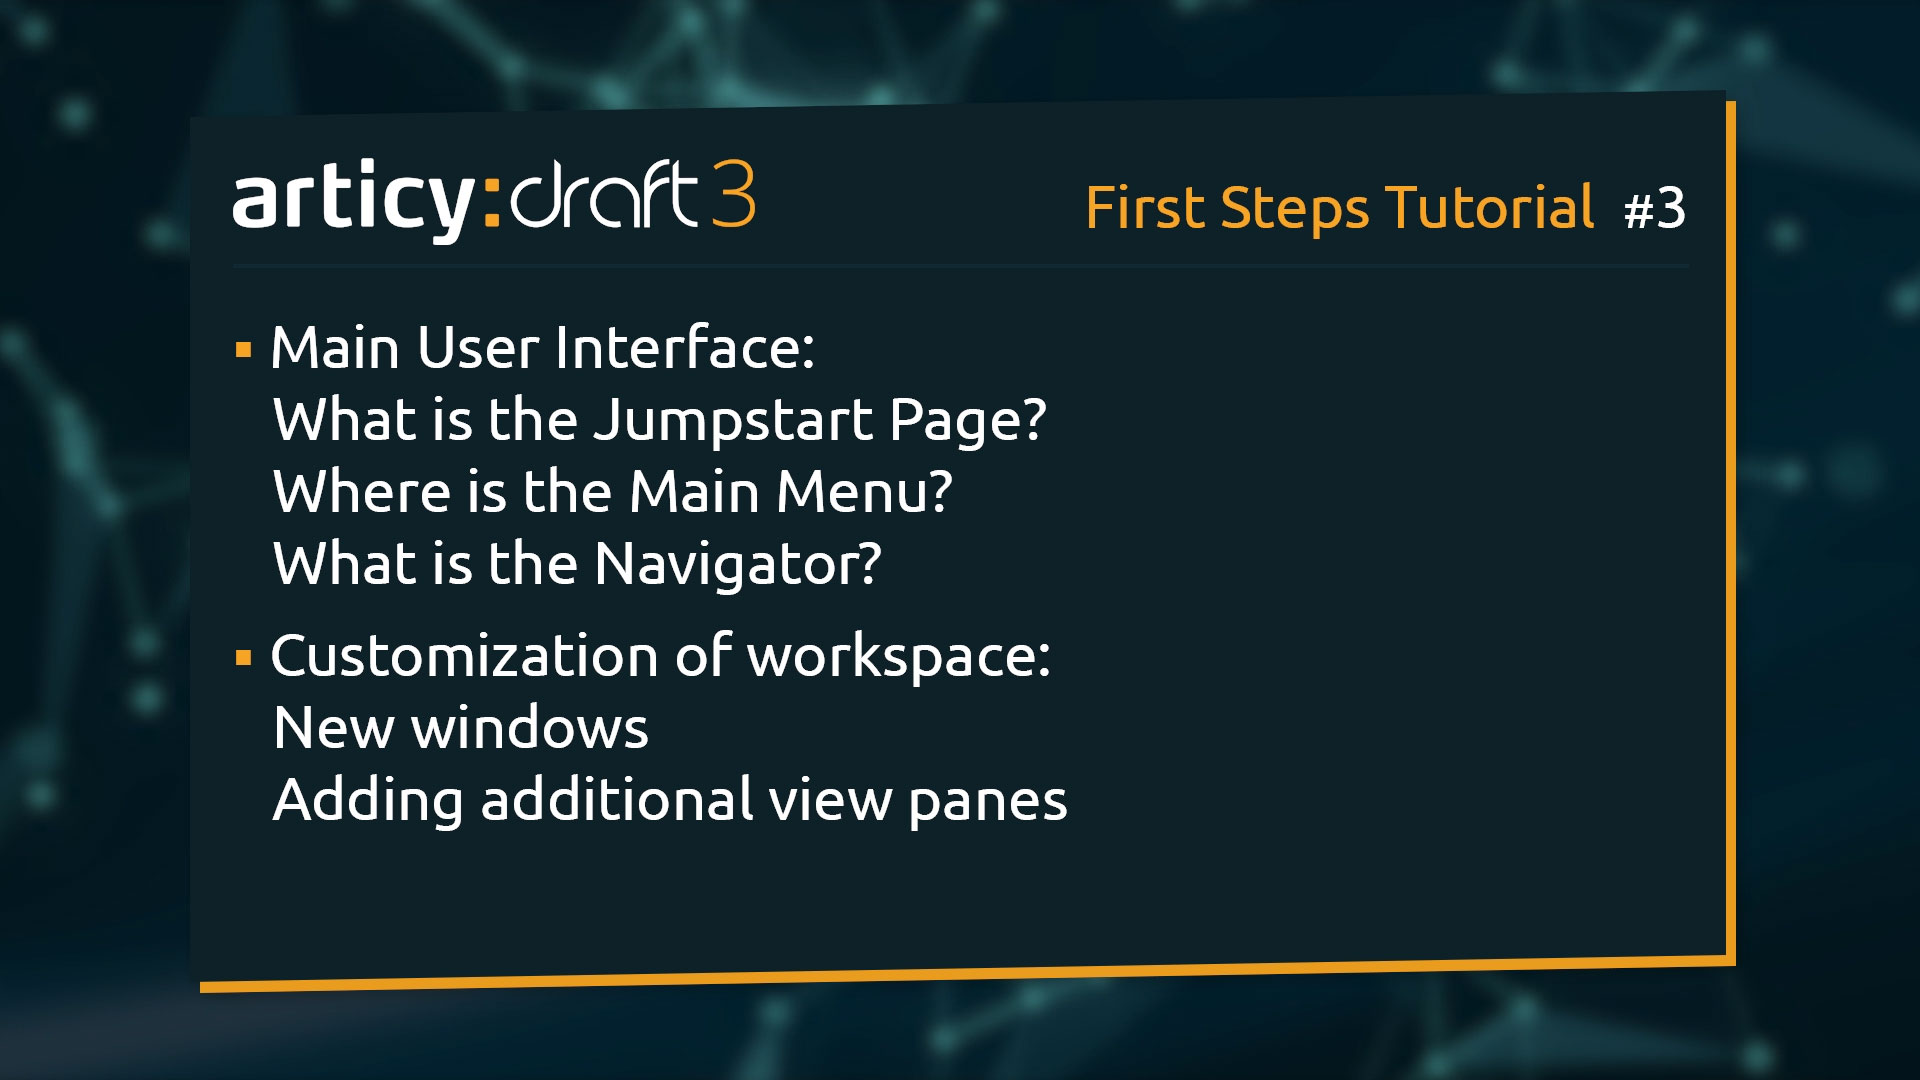
Today we will take a first look at the User Interface: focusing on Jumpstart page, main menu and navigator, and see how the workspace layout can be adapted to personal preferences.
Powering up articy:draft
When starting articy:draft for the first time you might have noticed some windows opening up automatically.
1. One is the In-app tutorial. The in-app tutorial is not tied in directly with this tutorial series, but it might provide you with additional details if you are looking for specific information. You can always access the in-app tutorial by clicking the tutorial bar in the top right corner of the screen.
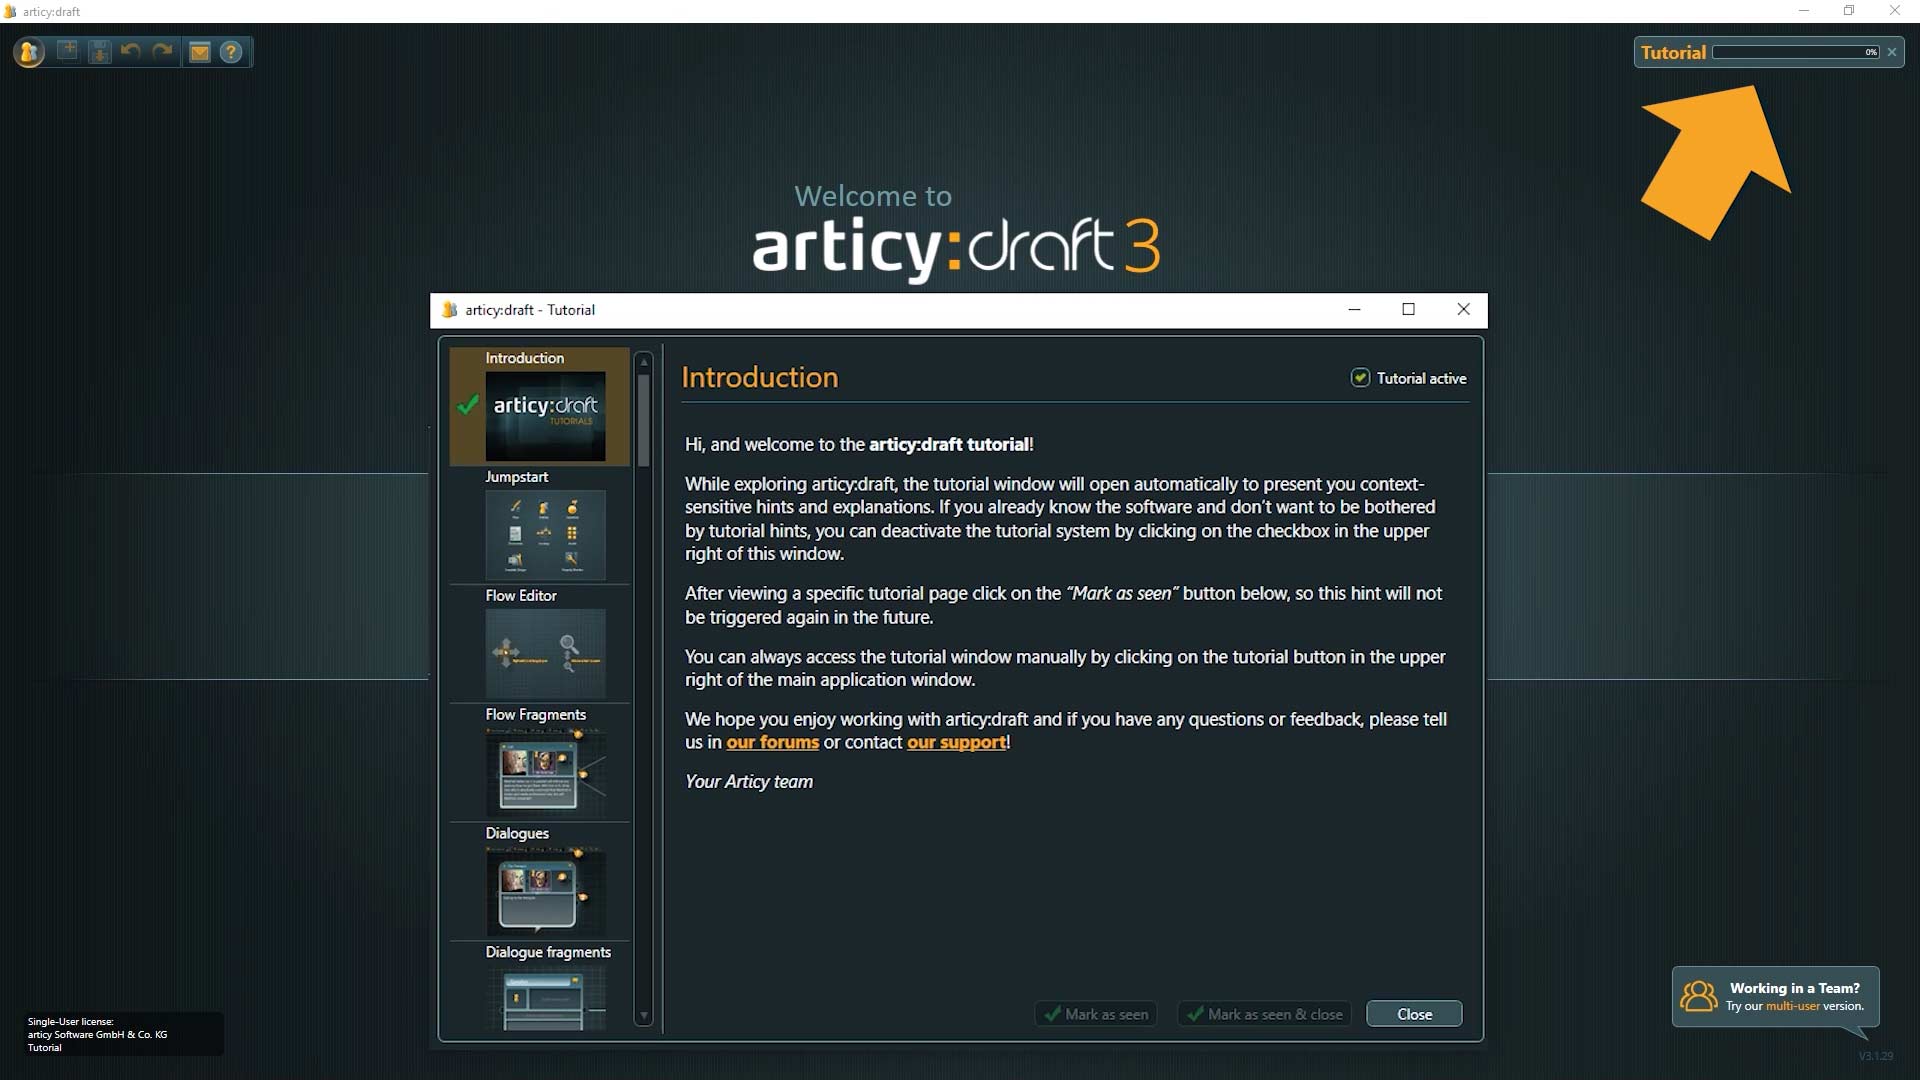
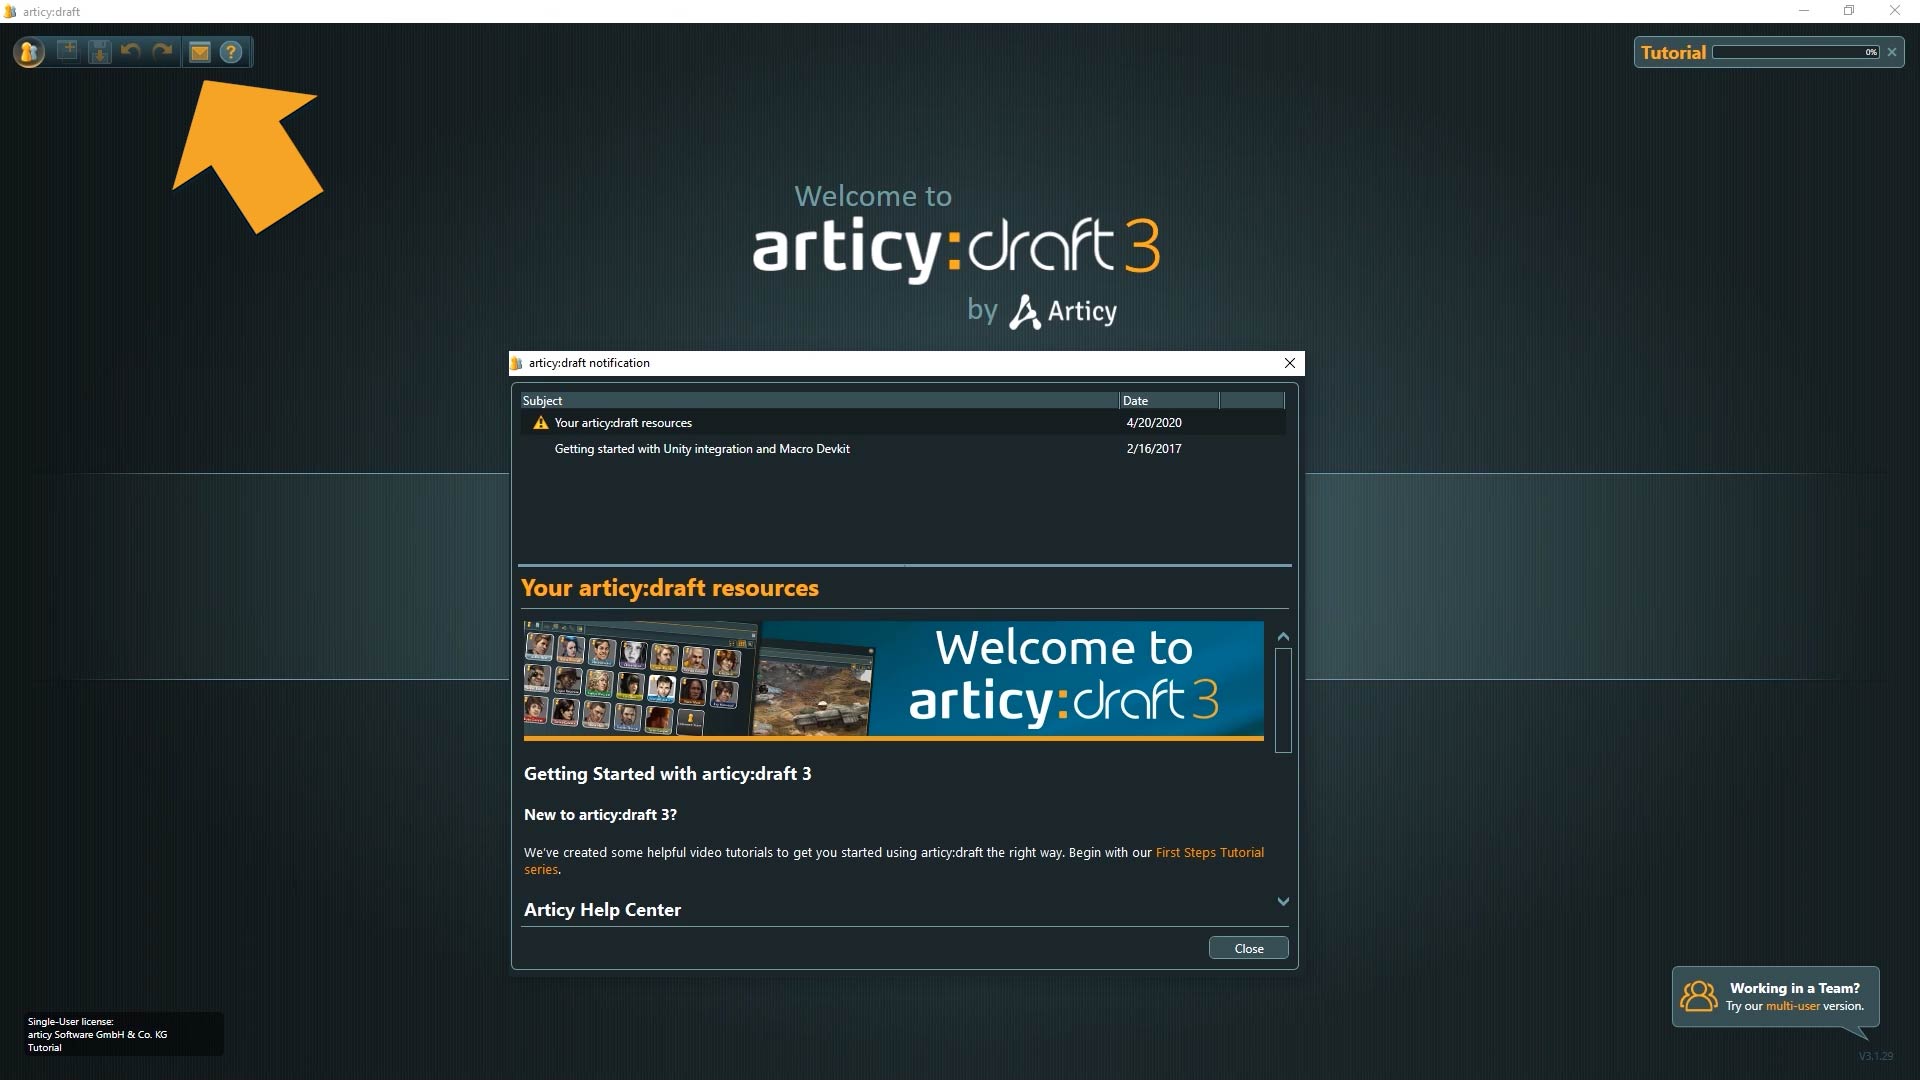
2. The other kind of self-opening windows are notifications. They inform you about important news around the software, like new patches, maintenance periods, etc. You can open notifications by clicking the envelope icon in the master tool bar.
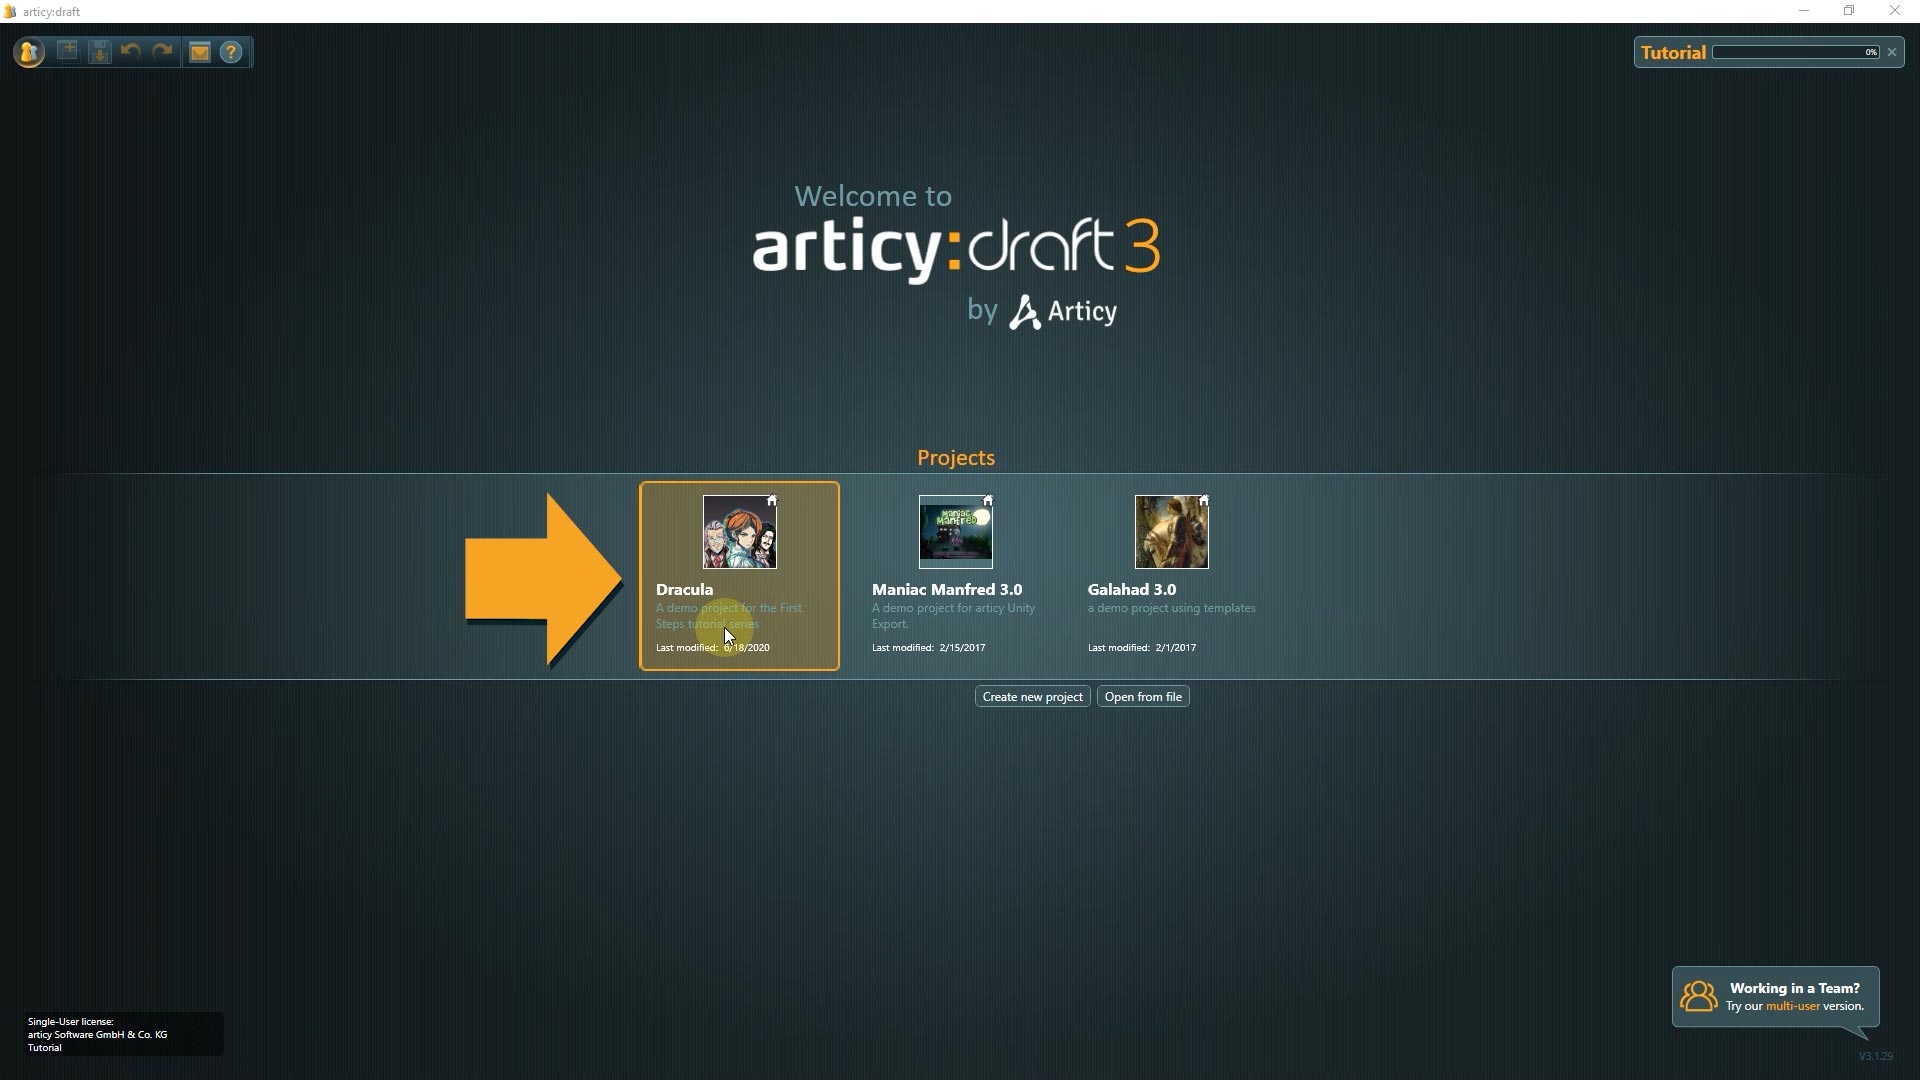
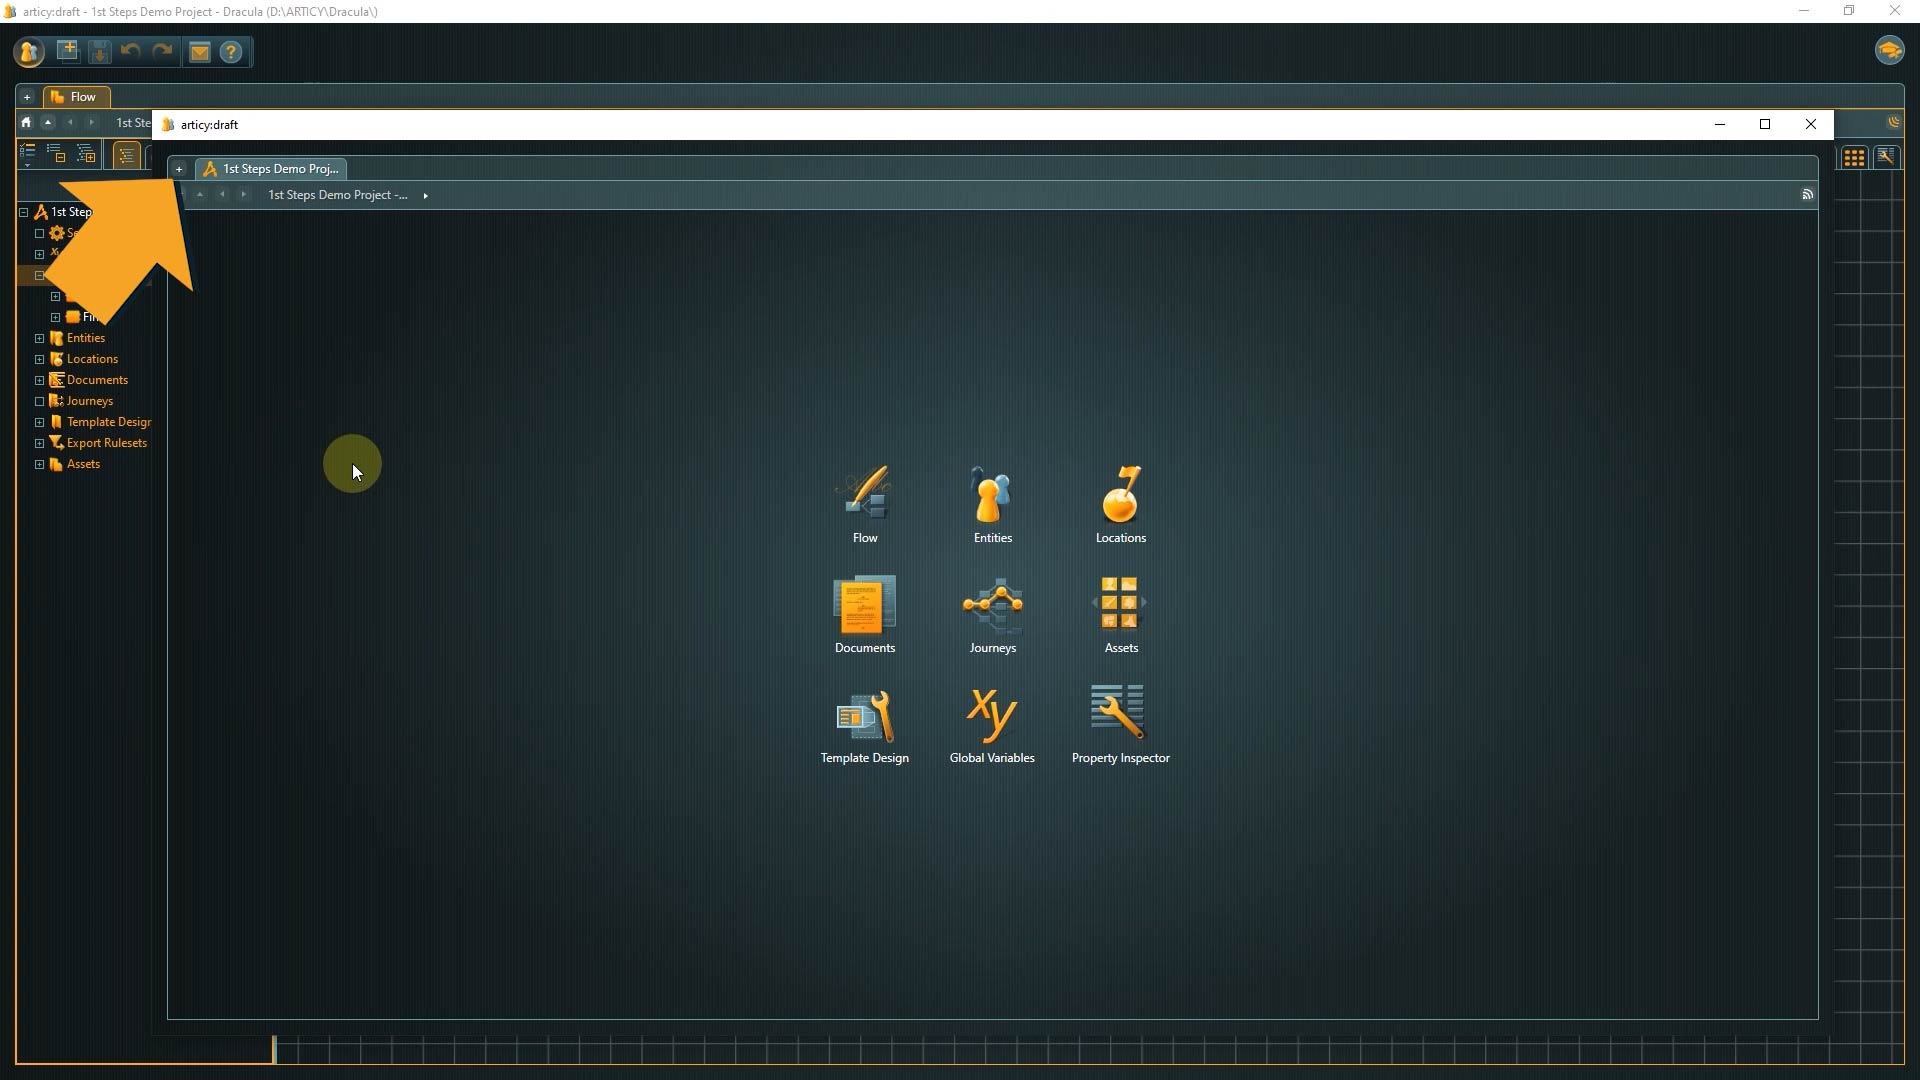
3. From the welcome screen open the Dracula project now by double clicking the preview image in the project list.
Main user interface
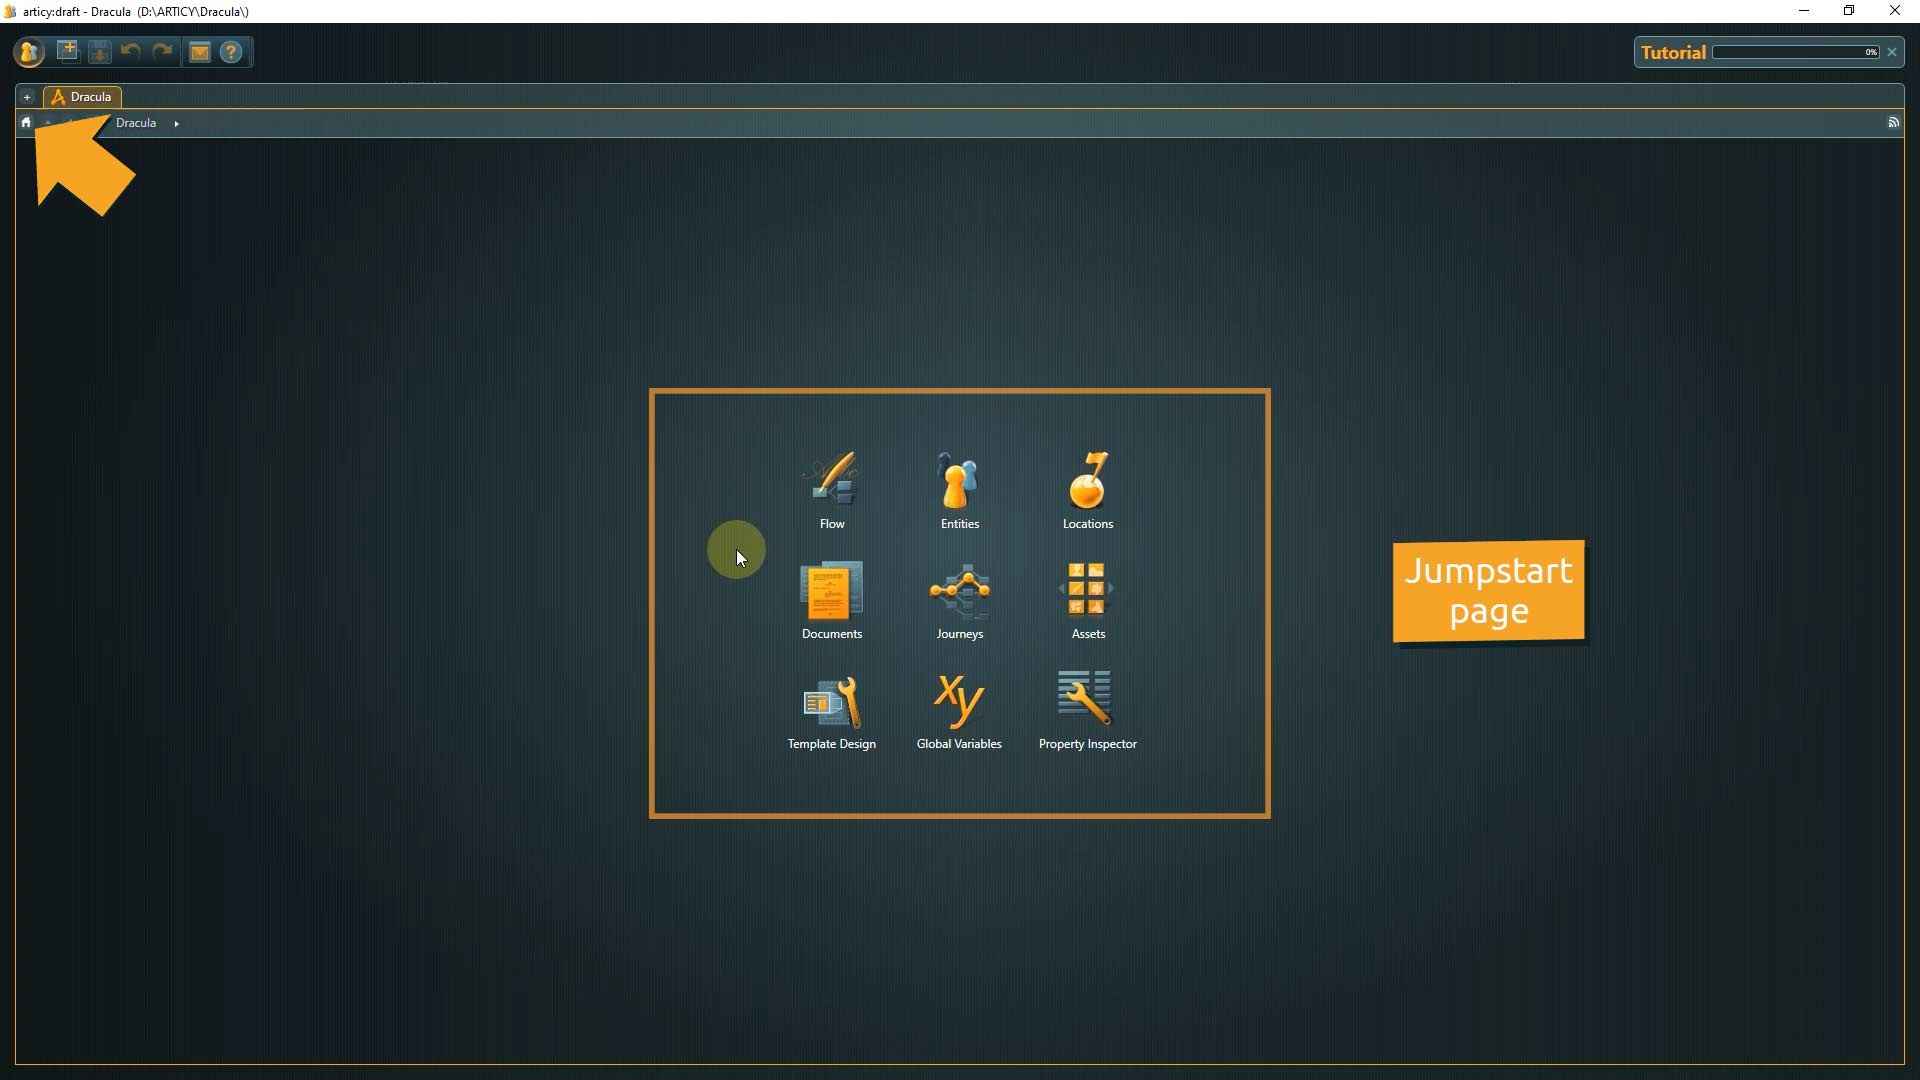
1. The first thing you’ll see is the so called Jumpstart Page. By double clicking the icons you can easily move between different areas of the software. We will cover the most used ones during this series. You can always come back to the Jumpstart Page by clicking the home button towards the top left corner.
Let’s take a closer look on how the workspace layout of articy is organized.
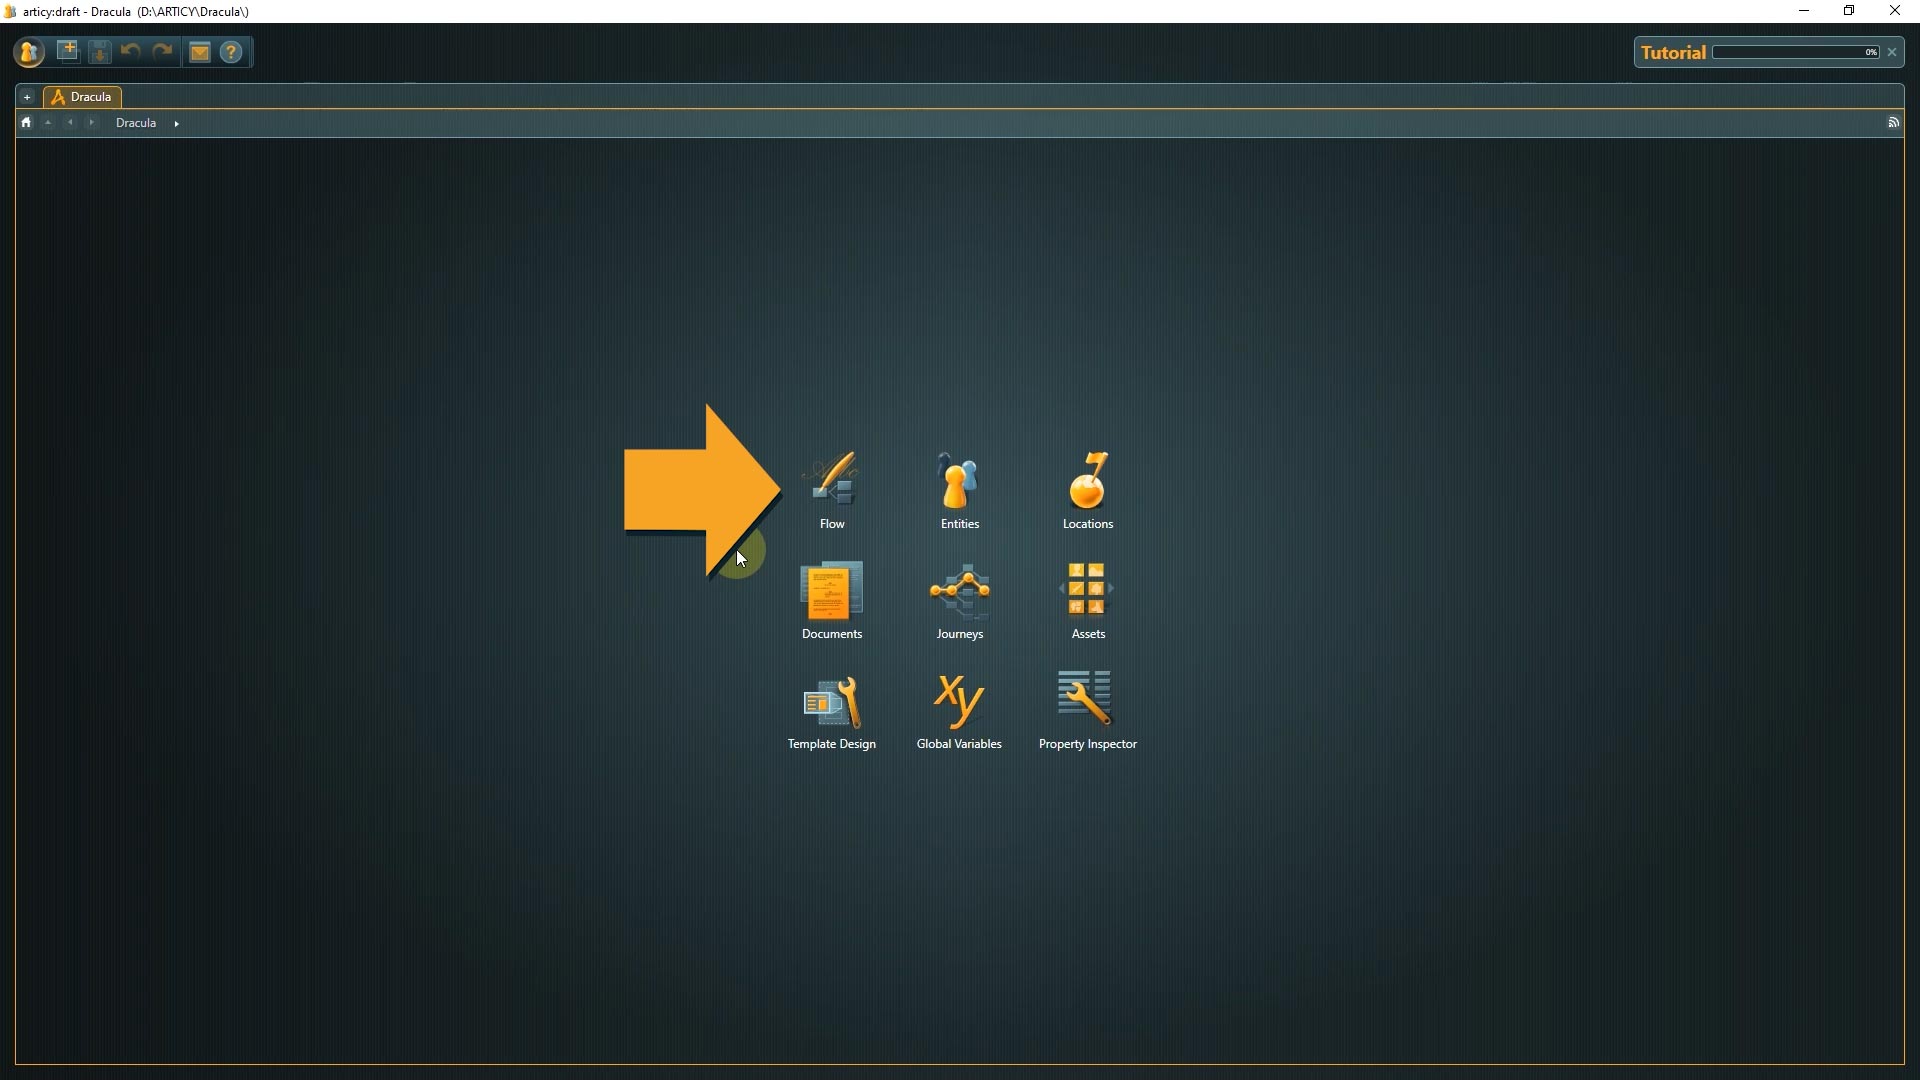
2. Double click the Flow icon on the jumpstart page, so that we can see the standard workspace layout of the software.
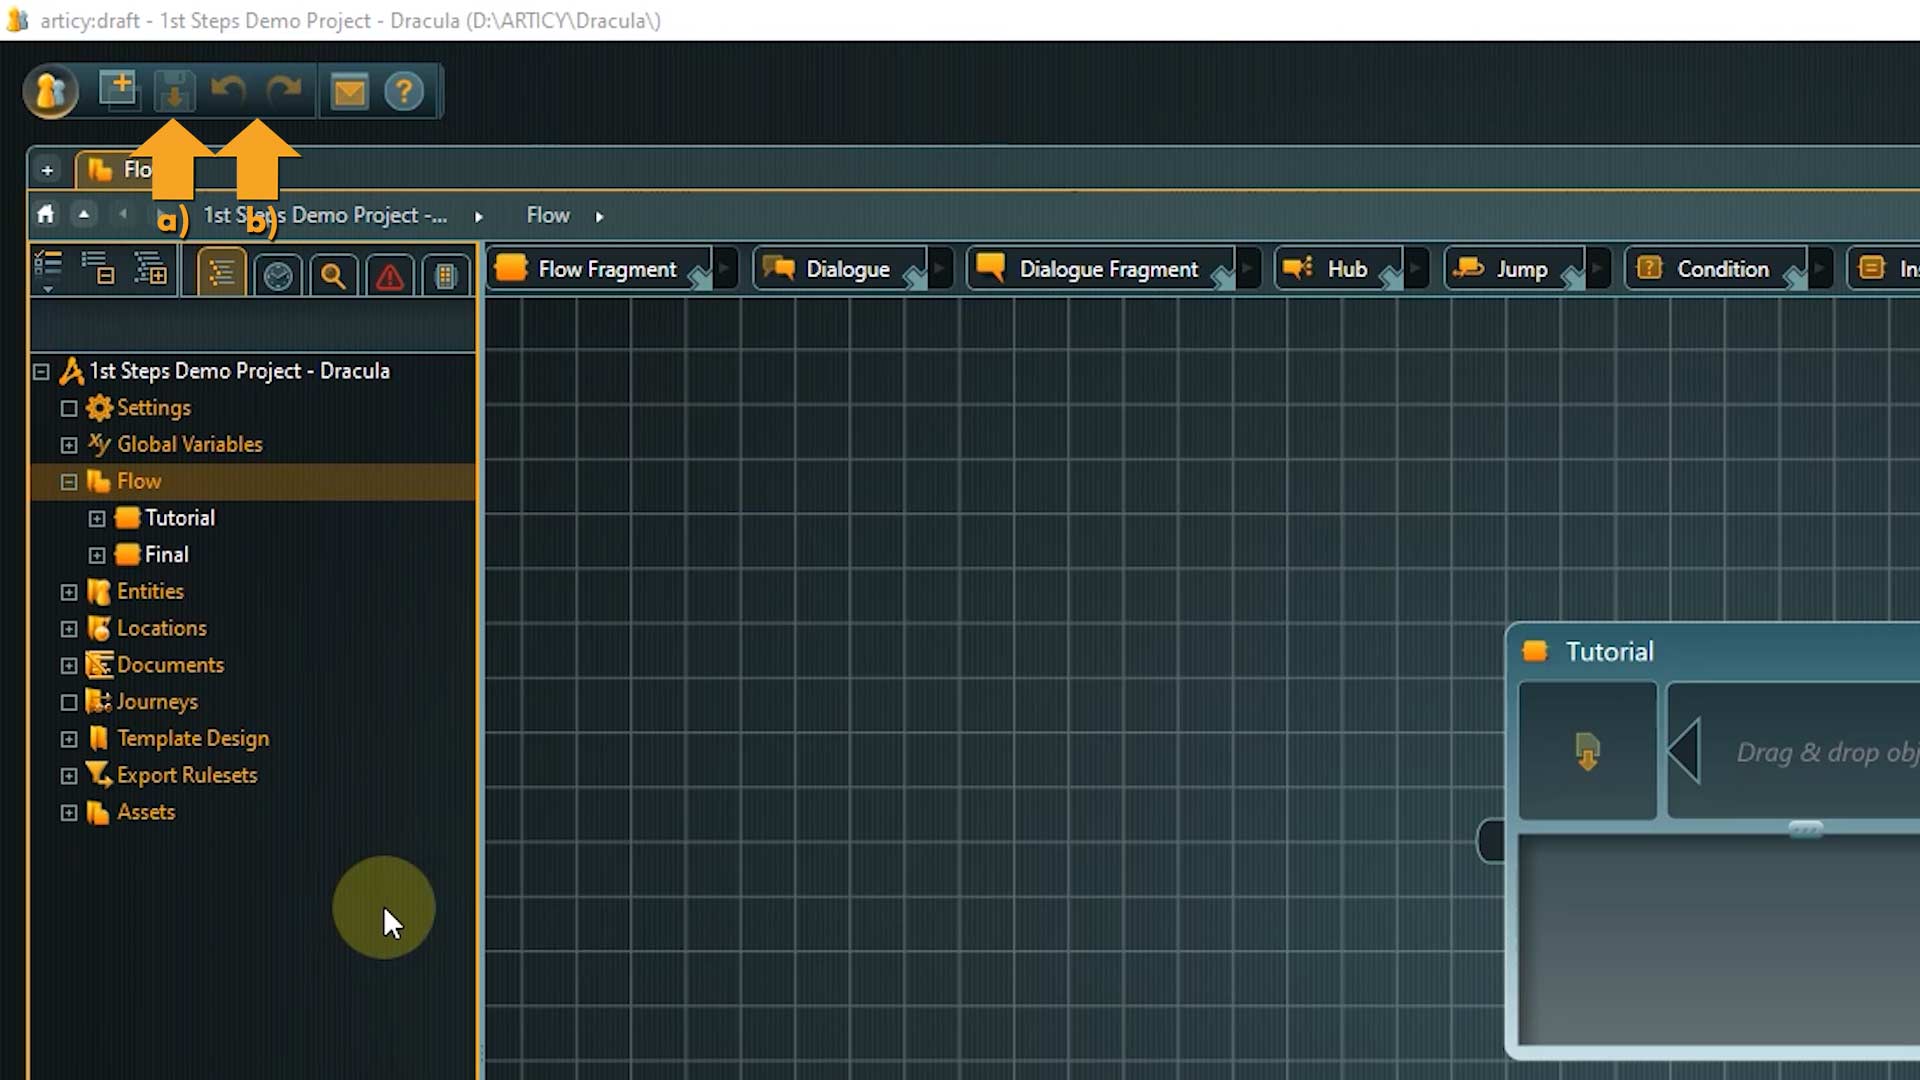
3. In the top-left corner of the screen we find the main menu and master tool bar. You might have noticed that these are always accessible, including the jumpstart page and even the project selection.

The main menu gives you access to essential features such as: a) exports, b) means to contact the support and c)the close project button.
The d) drop-down menu at the bottom allows you to change the UI language of the application.

The master toolbar provides frequently used commands, like a) Save project and b) Undo/Redo.
4. The area below the main menu and master toolbar is divided into two areas – the navigator on the left and the content area on the right.

In the navigator you can find all data stored in a hierarchical object structure. You can expand or collapse entries just like in a Windows explorer.
The content area and its toolbar are context-sensitive and may display different things dependent on what kind of content you are viewing. We will take a detailed look at this when we get to the specific topics.
Workspace Customization:
1. If you need extra space or want to structure the content you see, you can create extra windows, by clicking the New window icon in the master toolbar.

2. Or you can create new tabs, by clicking the plus icon located in the top left corner of a window.
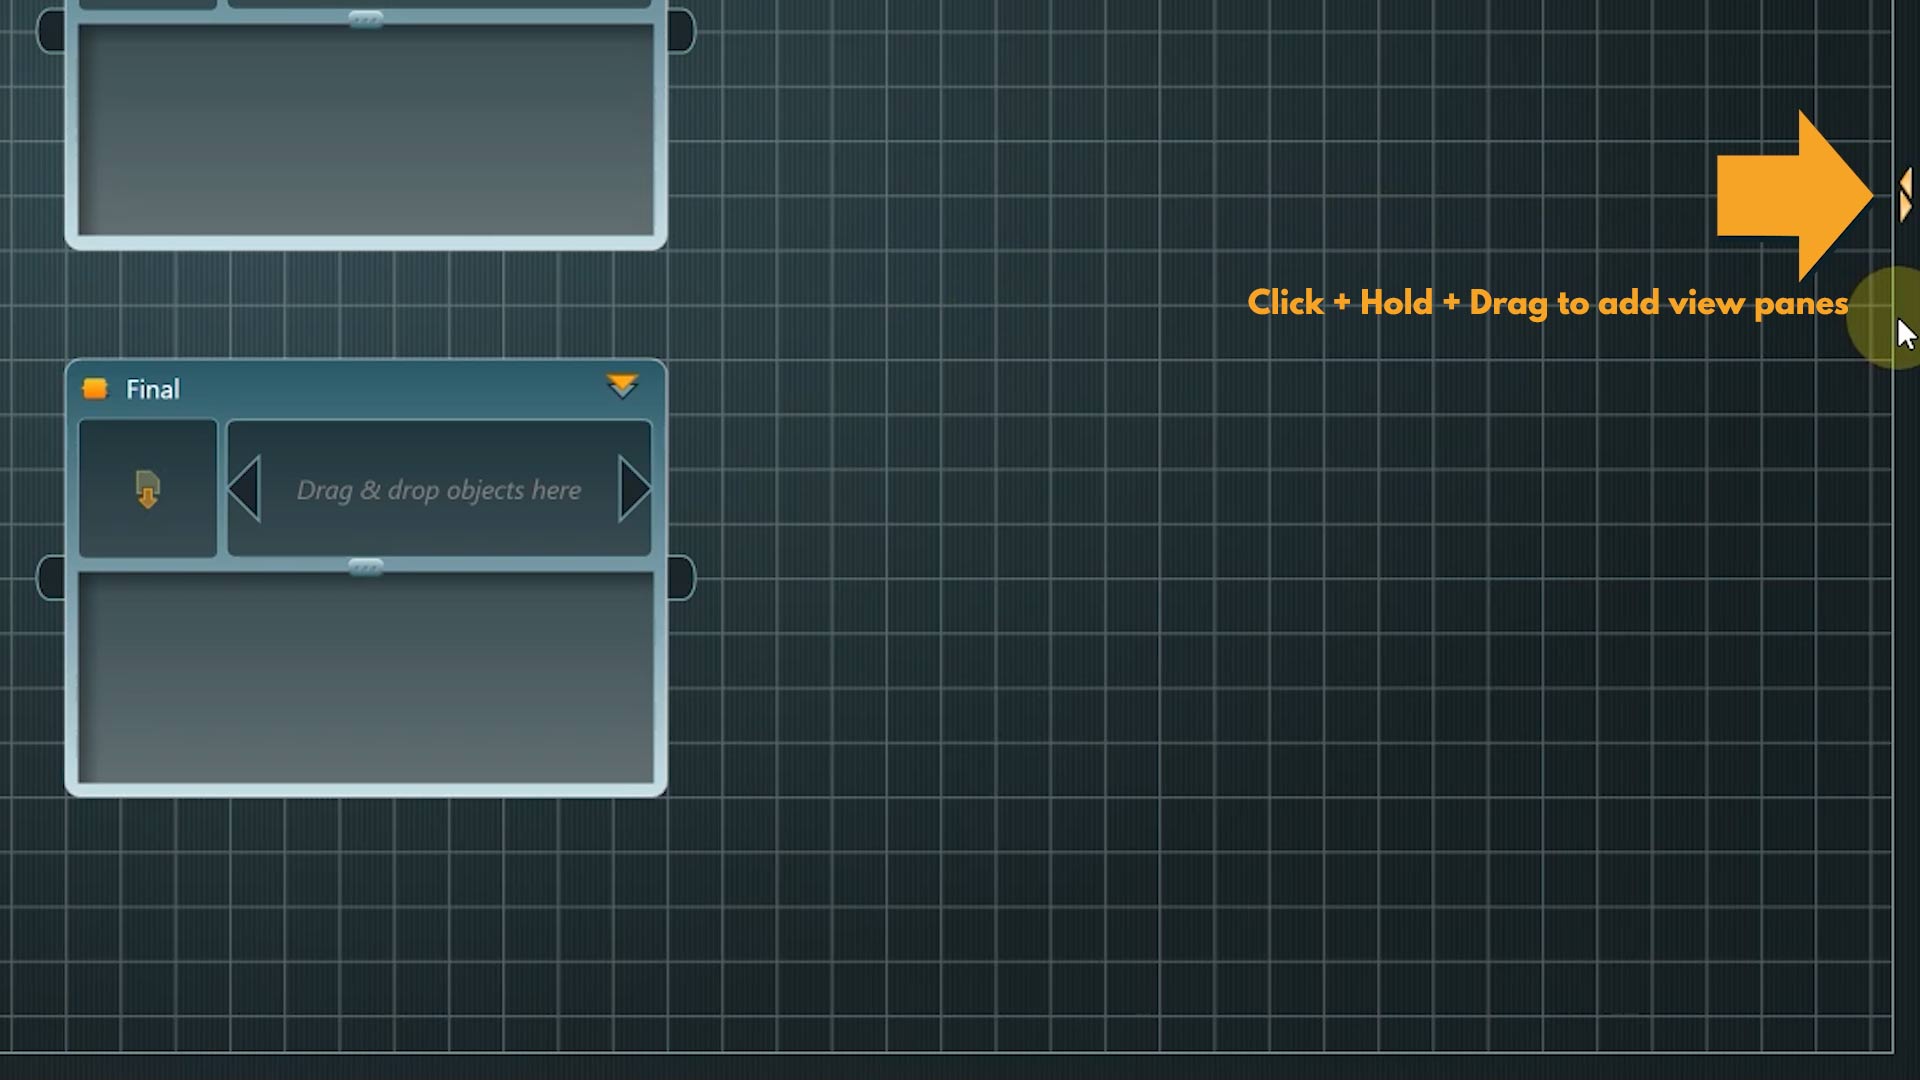
3. Another way of organizing your workspace is to add additional view panes. You can do this by positioning the mouse cursor at the edge of the screen on any side. When the little icon with the two arrows appears, click, hold and drag. With the same technique you can resize panes as well.
Recap:
We now know how the main articy workspace looks like and how to travel between different program areas with the help of the jumpstart page.
Up next:
In our next lesson we will really get going – with the creation of the main character for our story.
Thank you for joining us, and join us again in our next tutorial.
Useful links:
Don’t have articy:draft X yet? Get the free version now!
Get articy:draft X FREE
*No Payment information required
Follow us on Twitter, Facebook and LinkedIn to keep yourself up to date and informed. To exchange ideas and interact with other articy:draft users, join our communities on reddit and discord.