Hello and welcome to Lesson 9 of the articy:draft First Steps tutorial series.
Review:
In our previous Lesson we learned how to create global variables and used scripting to create a reaction point in our Mina – Dracula dialogue.
This Lesson:
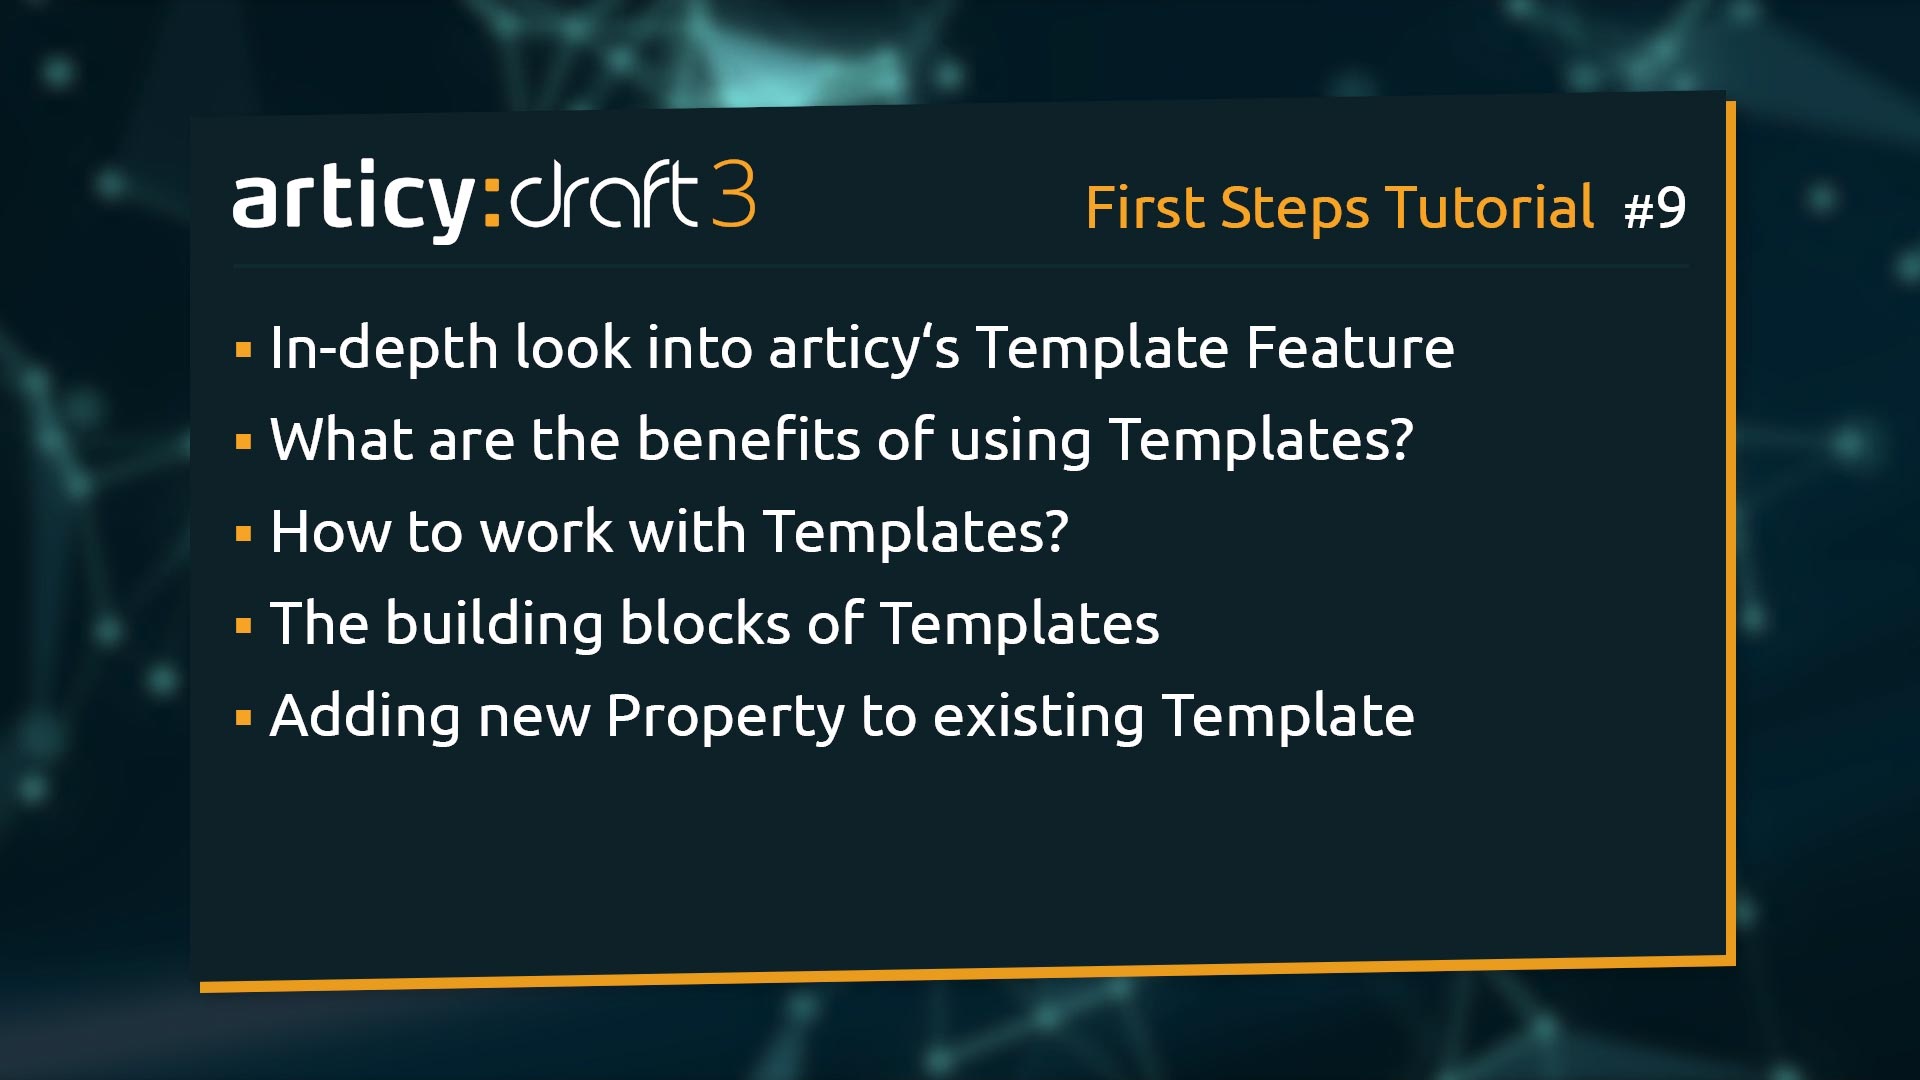
This Lesson will be all about Templates. We will talk about why we should use templates and how to work with them. We will take a detailed look at how templates are constructed and then update one of the existing templates with an additional property.
The importance of templates
Let’s start with the question what the benefits are of using templates?
We have a widely varied range of game genres spread across PC, console and mobile. And even within any one genre, games are not simply copies of the same old mold; every developer brings in unique ideas and tries to find new ways of telling stories.

A one-fits-all solution for all the ways to approach game projects is not really an option – it might work for some, but for others it would be far too constraining, and some would not even be possible at all.
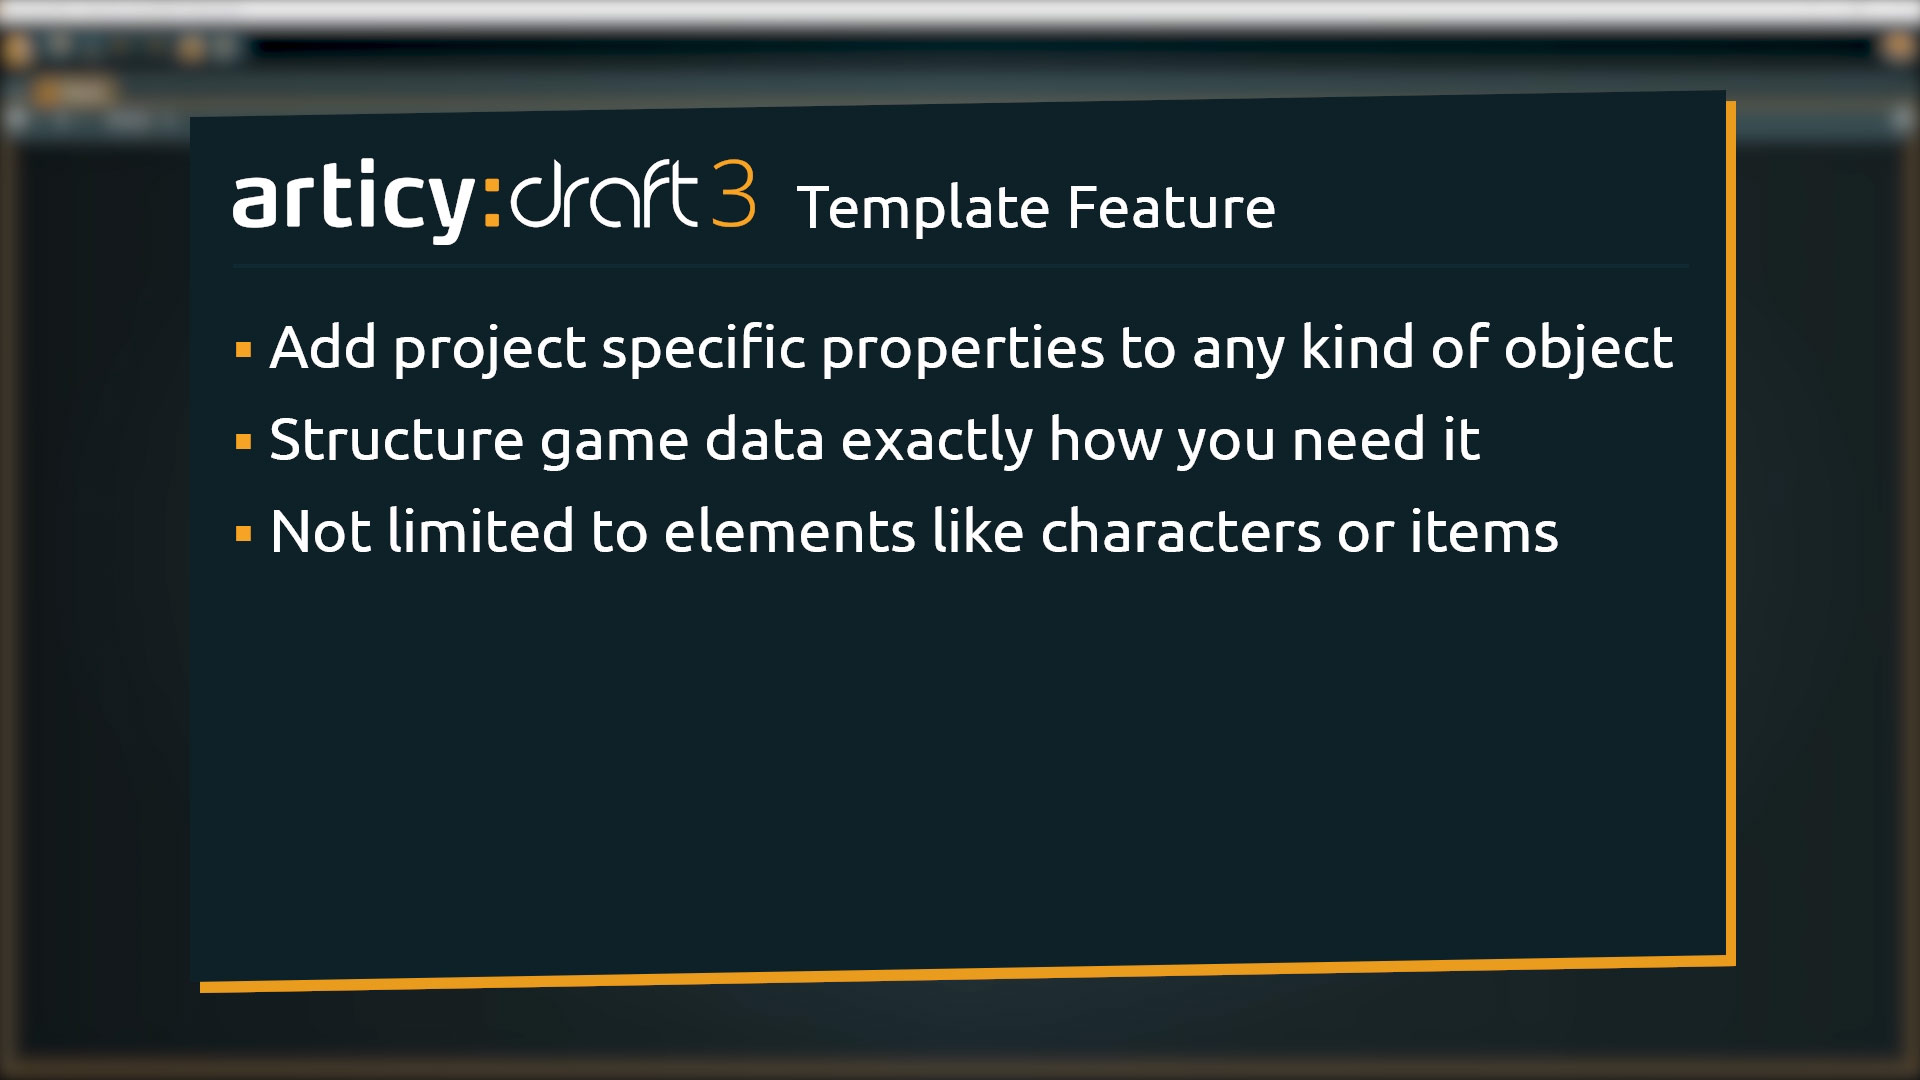
These are the reasons that lead to articy’s Template feature. With custom templates you can add your own project specific properties to any kind of object. Templates enable you to structure your game data in just the way you need it. And this is by no means limited to elements like characters or items. Later in this lesson we will take a look at some properties that get assigned to “Dialogue Fragments” by a custom template.
Template building blocks
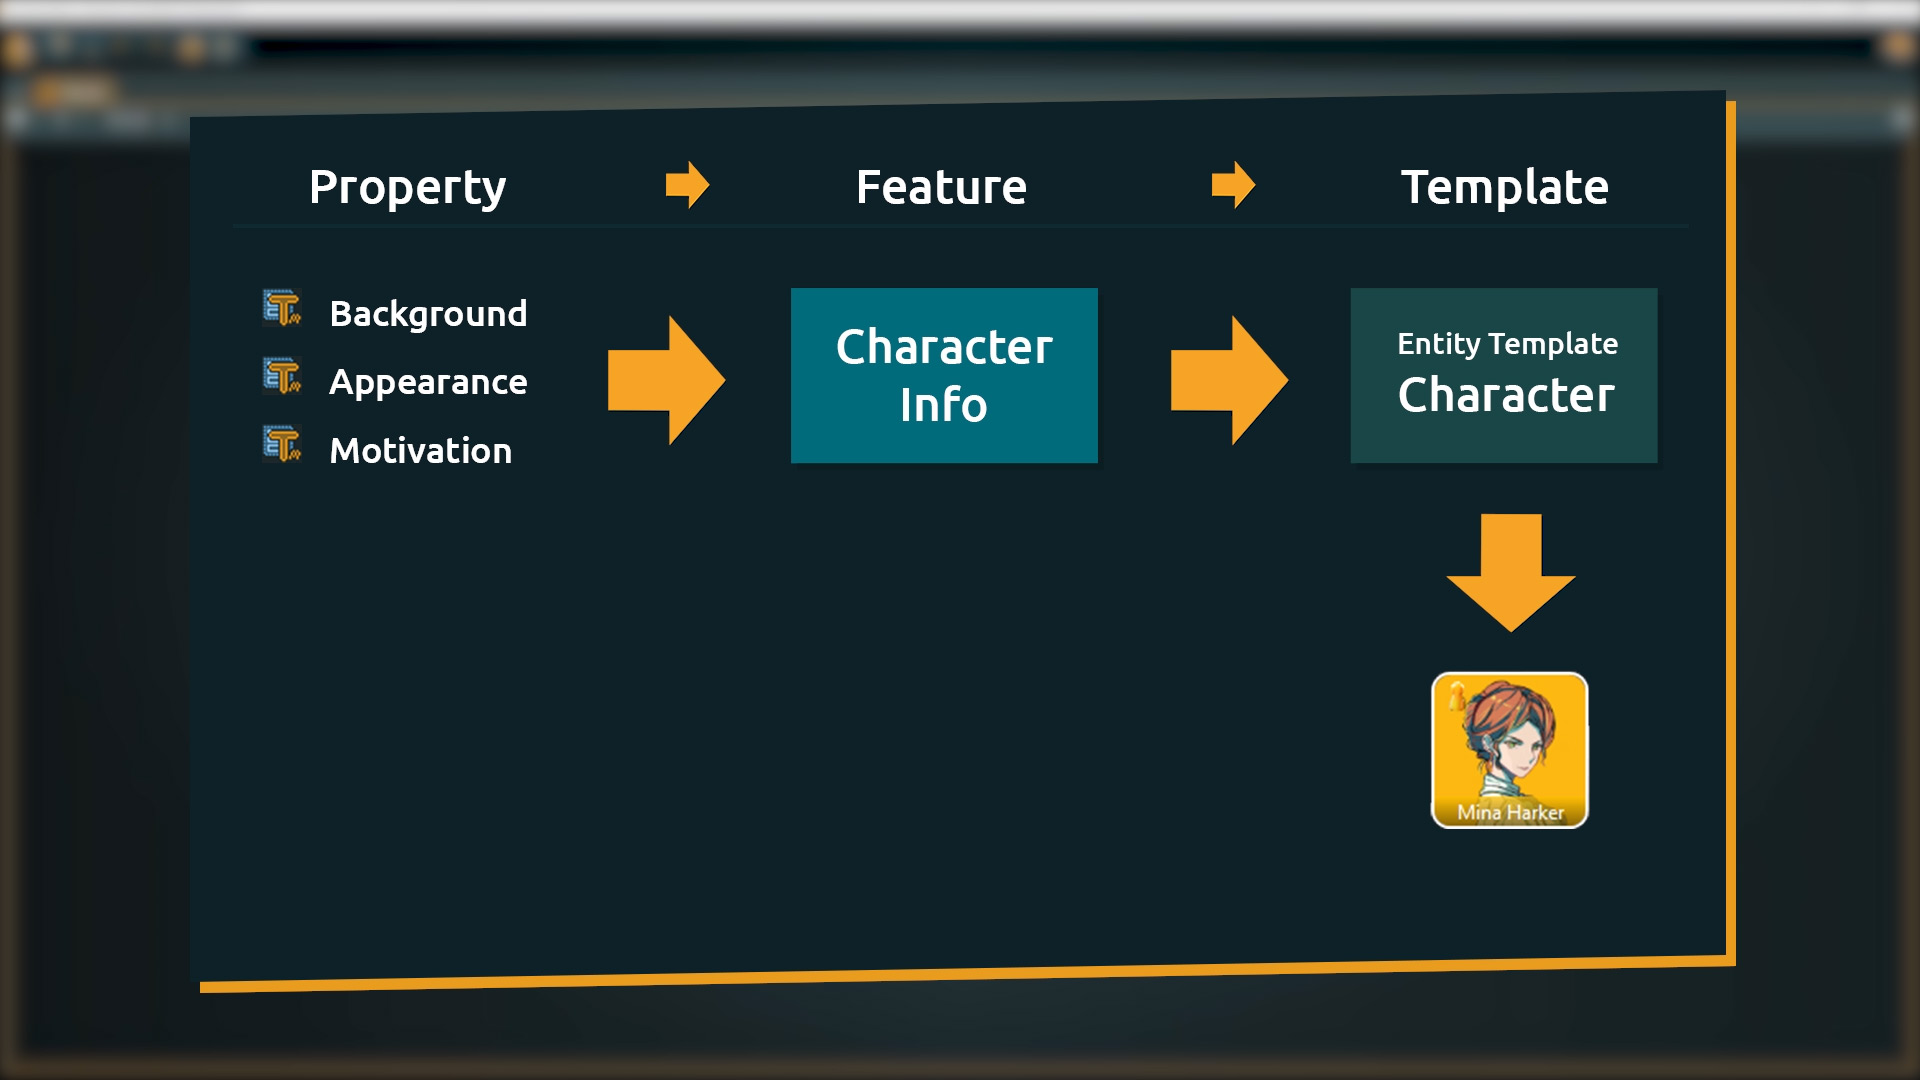
Templates are structured in a modular approach which consists of three levels.
– The first level are single properties, for example text fields, like we use for our characters to store Background, Appearance, or Motivation.
– The next level are Features. A feature is a set of properties. We grouped the three text properties into a feature called Character Info.
– The third level are the Templates themselves. They consist of one or more Features. Our character template consists of the “Character Info” feature.
👉 Templates are assigned to objects. Each object can only have one template assigned to it.
So why this distinction between Feature and Template? If there is only one feature in the template the extra step seems a bit pointless? You’re right, for this exact example it does not seem to make a lot of sense. But let’s say a bit further down the road we want to introduce some merchant characters. We could of course just add the extra properties we need for the merchants to the “Character Info” feature, but that would clutter the other characters with unnecessary data. It is better to group the needed properties like the money the merchants have and their stock into a second feature, and then create a new merchant template that consists of the “Character Info” and the “Merchant” features.
A feature is constructed by combining basic properties, and one feature can be used in multiple templates. It might take a bit of effort to set it up initially, but if you have established your structure it makes things easier down the road and produces a much cleaner output when exporting the project. But don’t worry, nothing is set in stone at this point. We know that a lot of projects undergo changes during development, so of course you can edit features and templates at a later stage to adapt to that.

Working with Templates
Now that we have seen how templates are structured, let’s go to the “Template Design” area in articy and look at some of the property types we can use in detail.
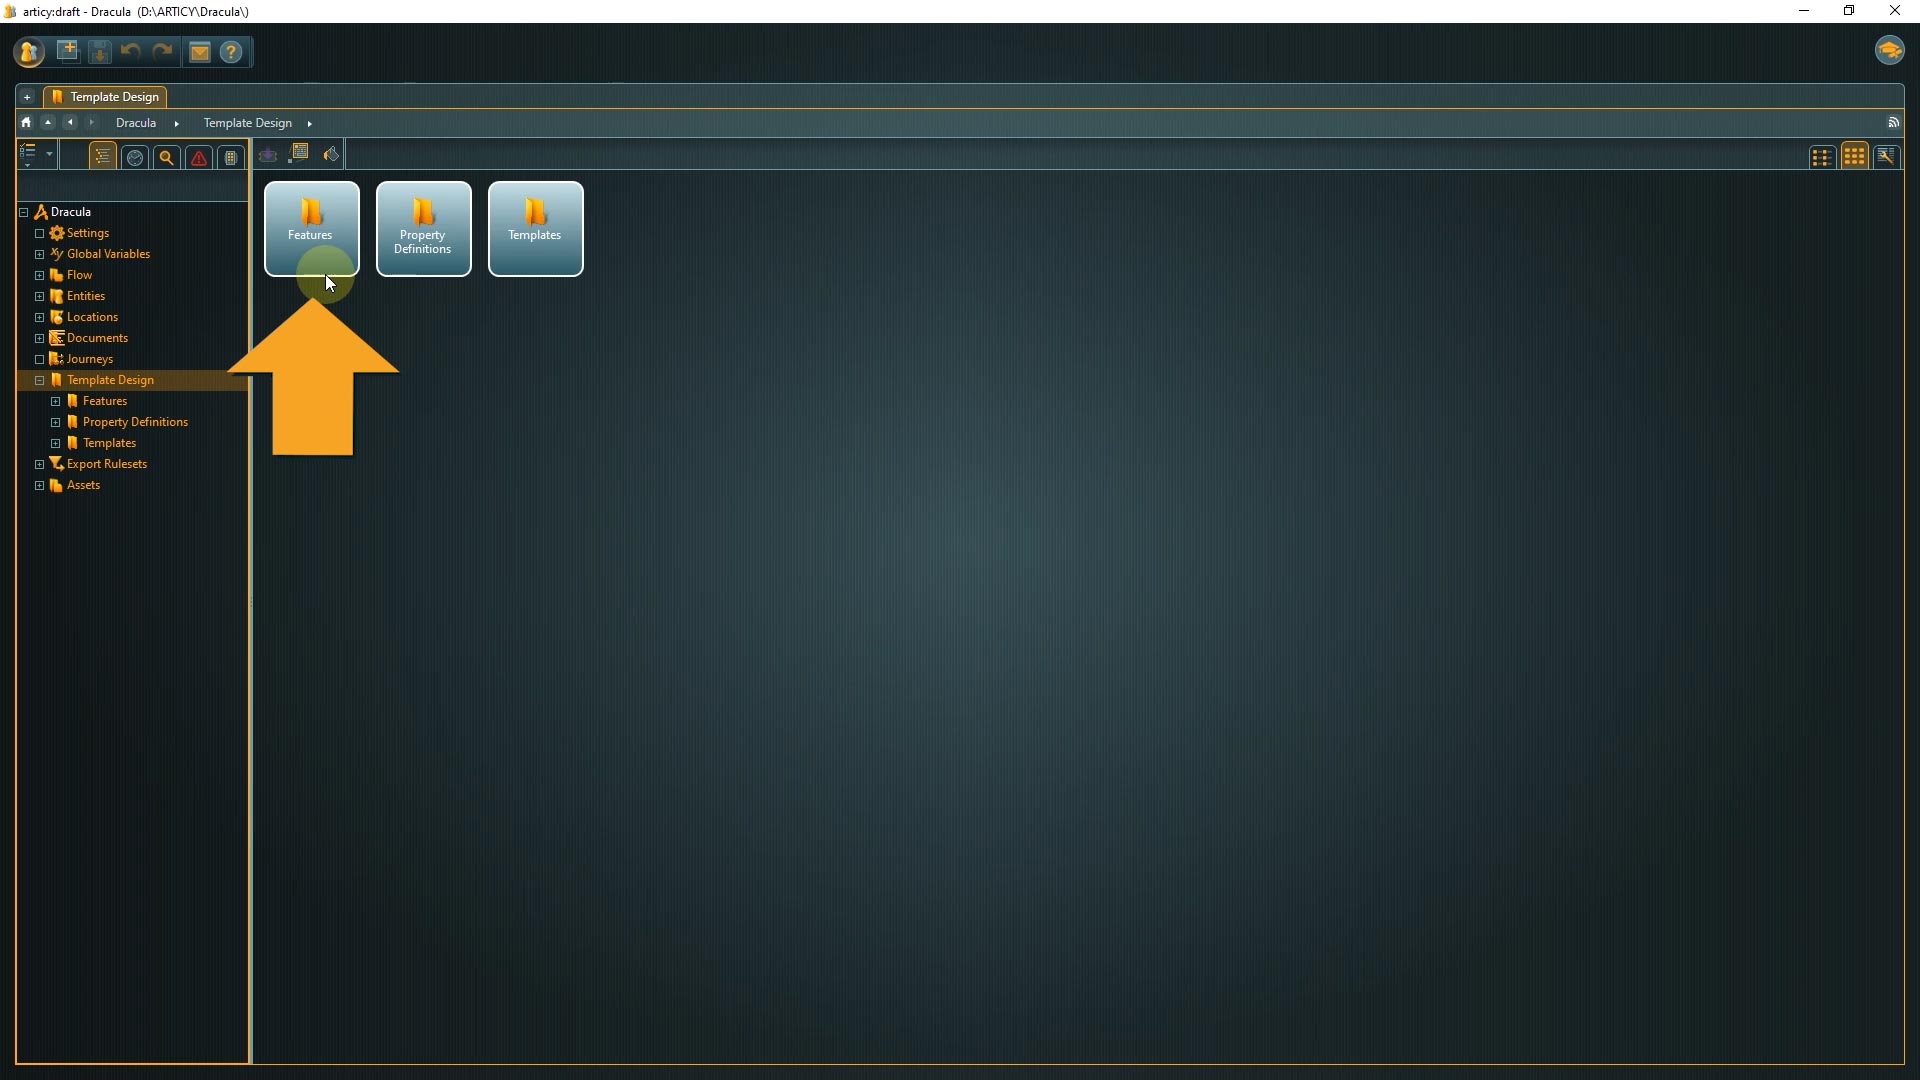
1. Click design template from the jumpstart page

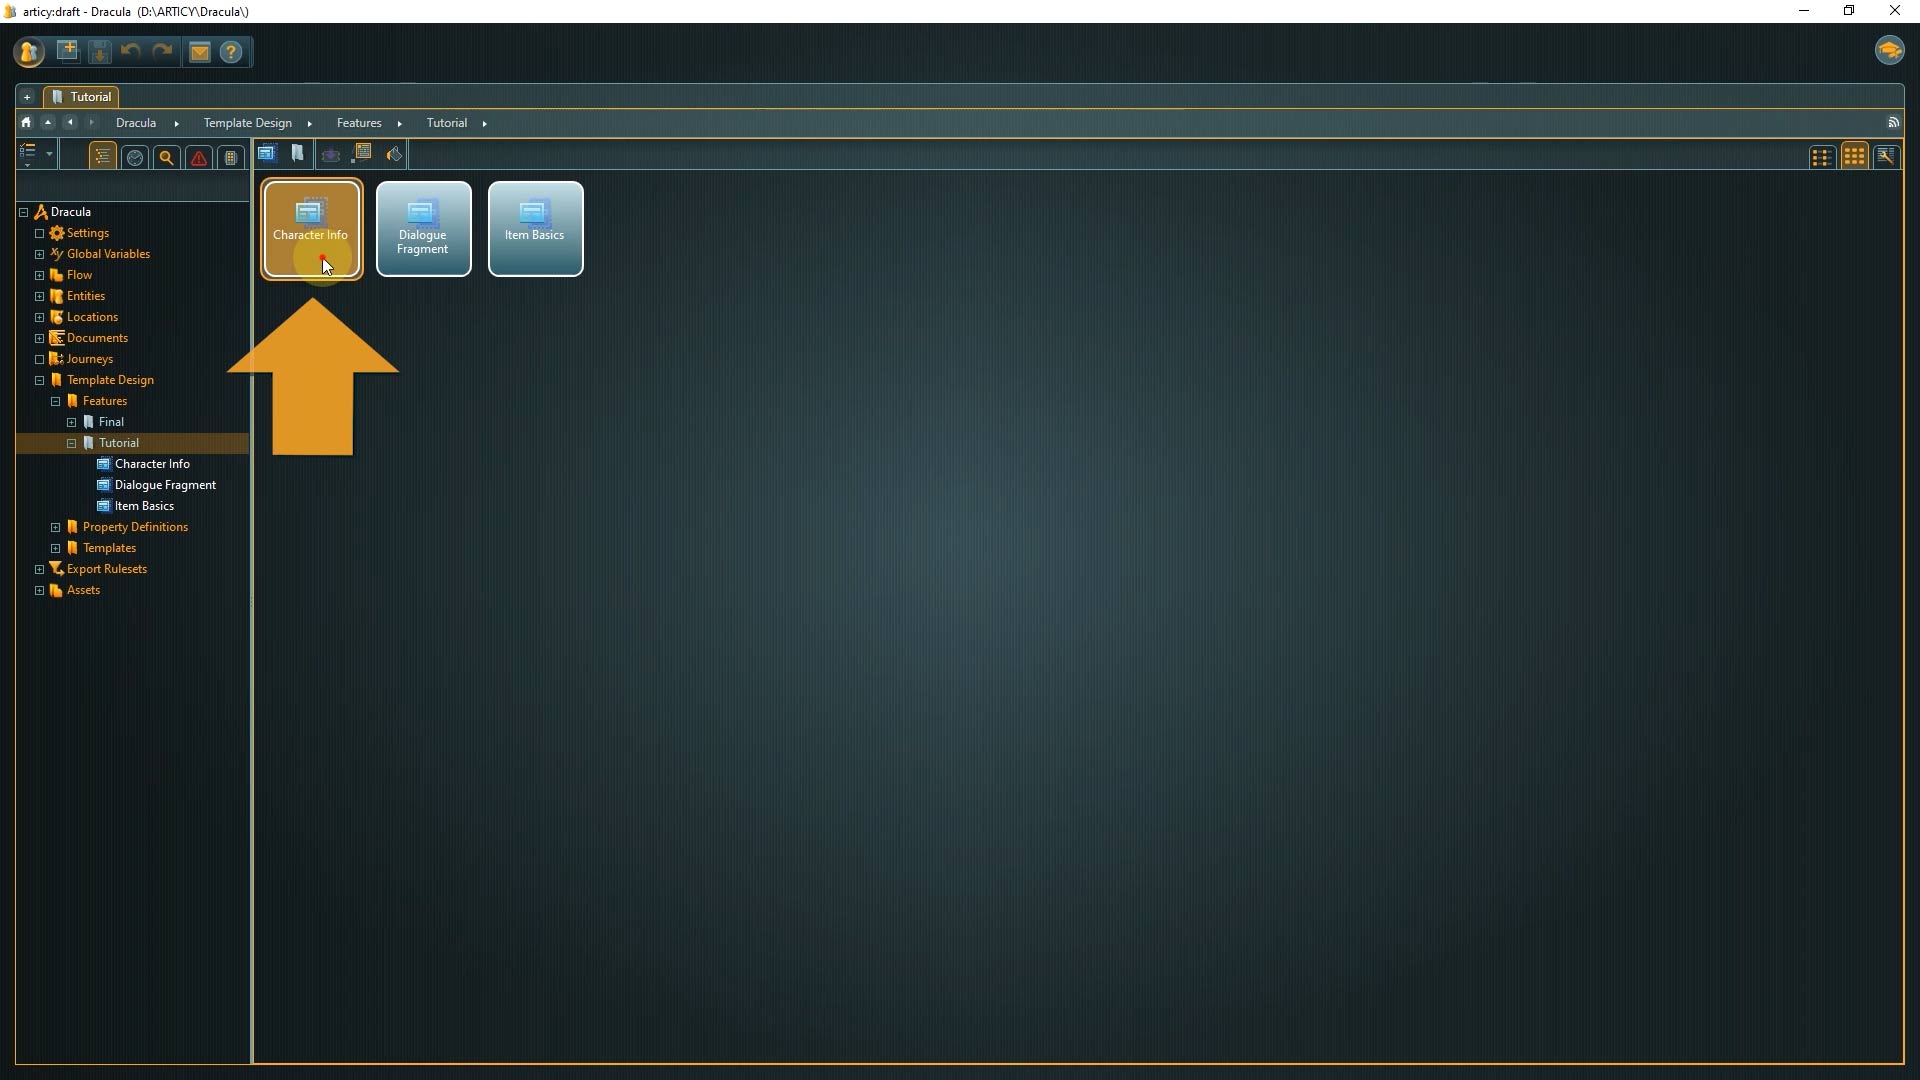
2. Go to Features
3. Then Tutorial

4. Open the “Character Info” feature.
5. The feature is now displayed in the content area, to be able to edit it, click the Edit button on the right side.
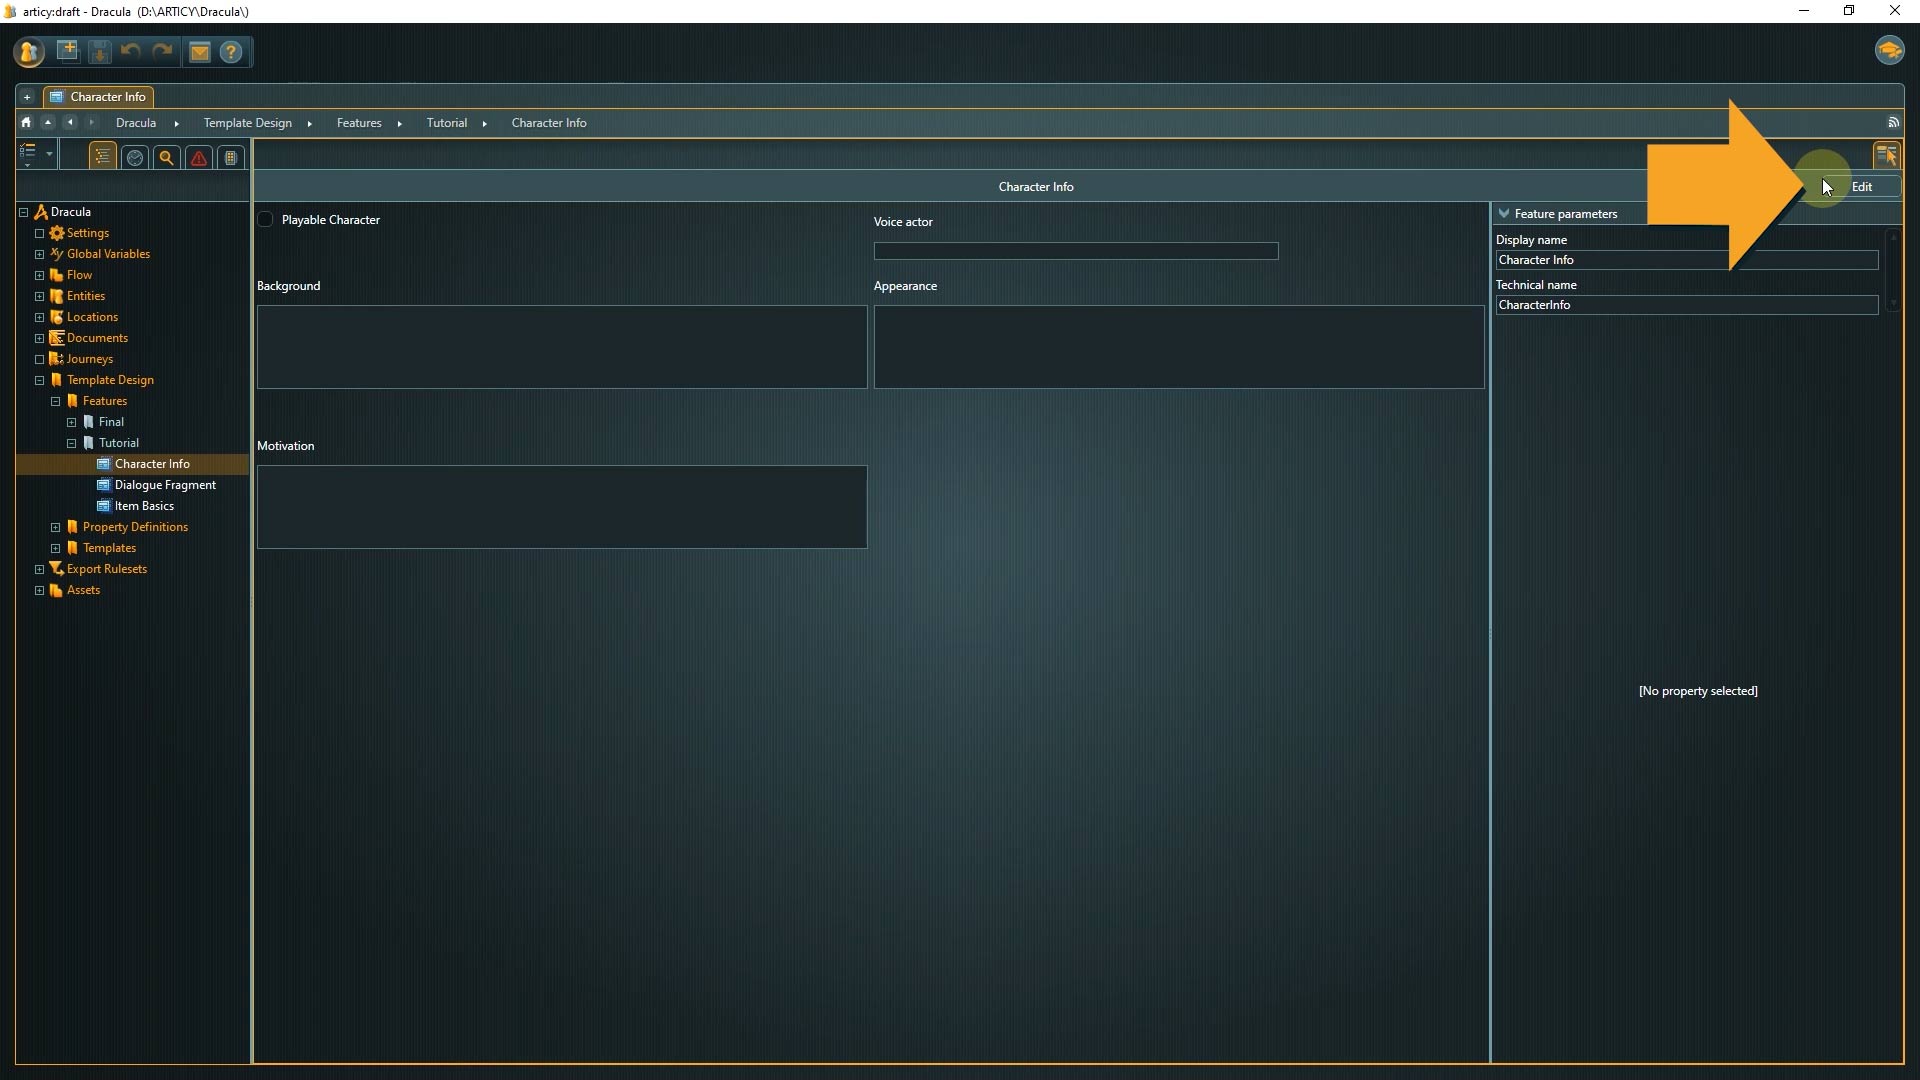
We are now in the “Feature Editor”, which opened in a new window. It is divided into three parts.
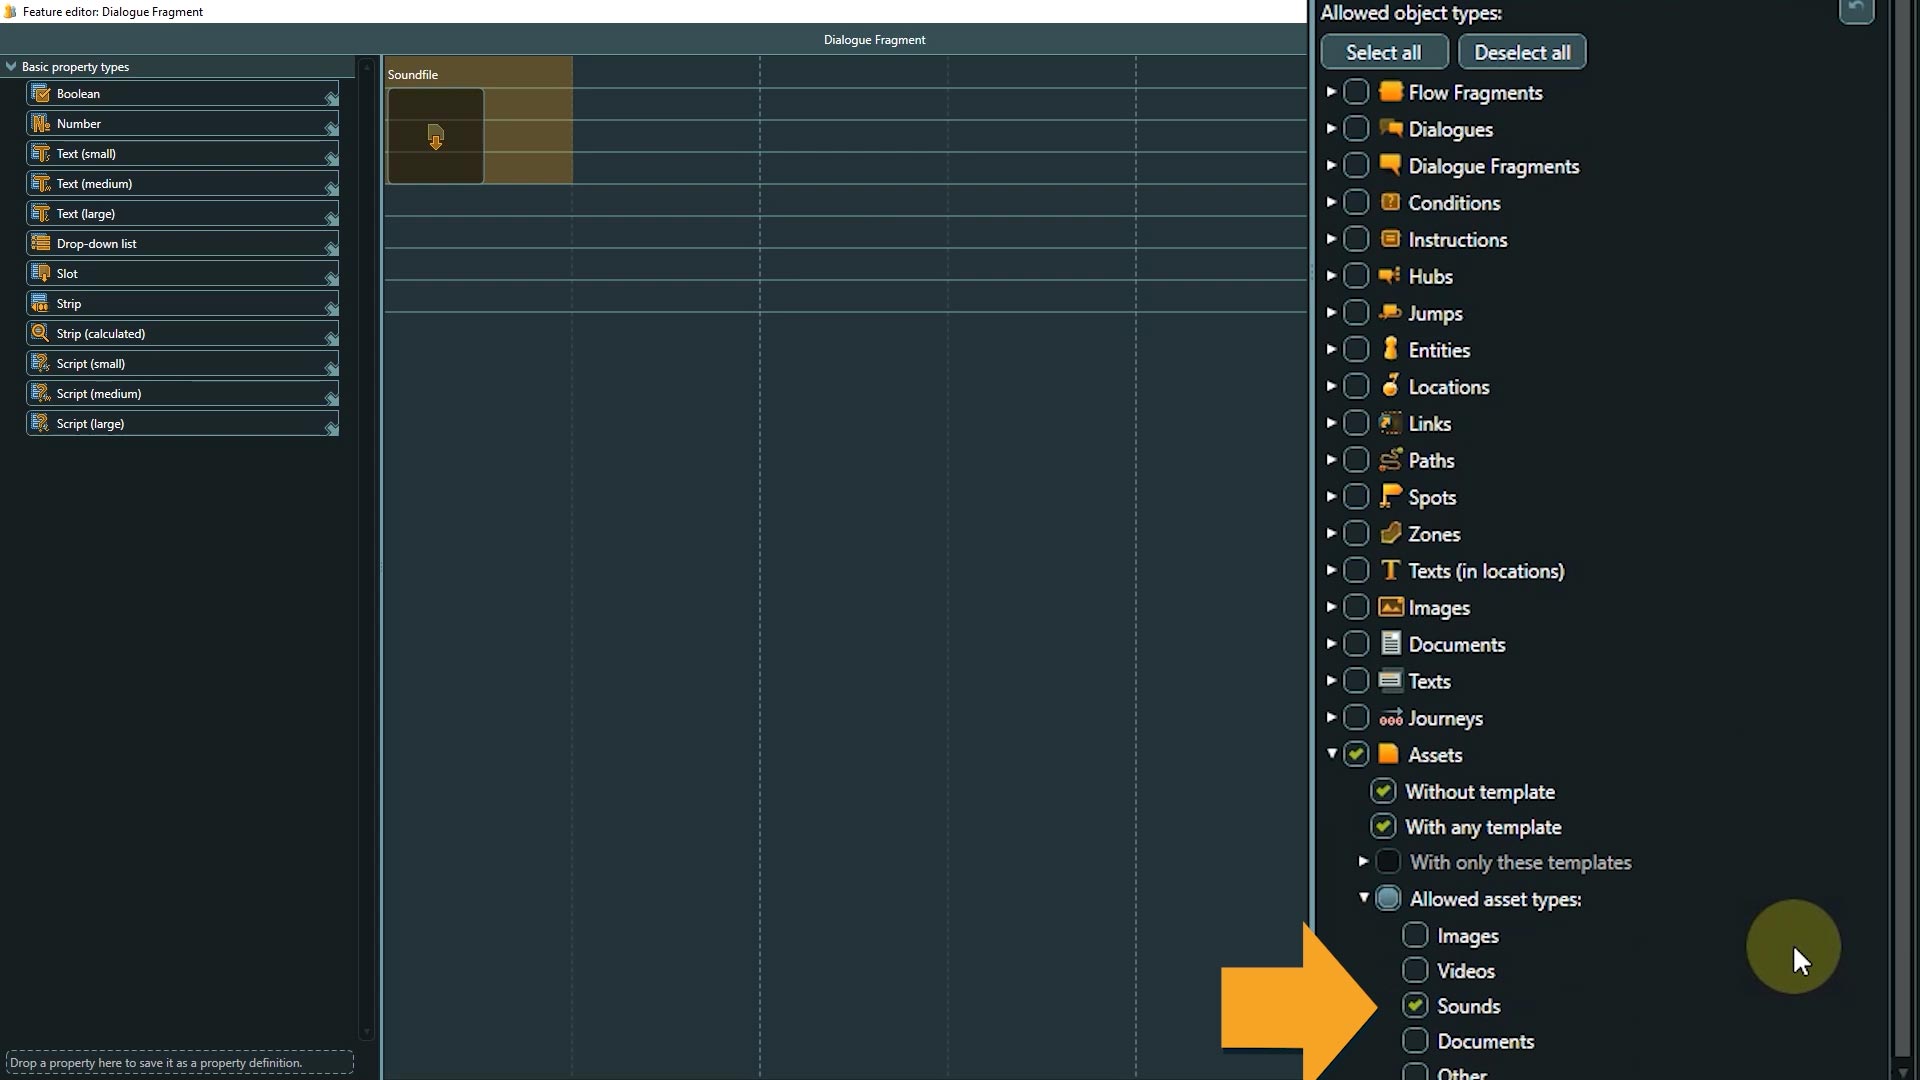
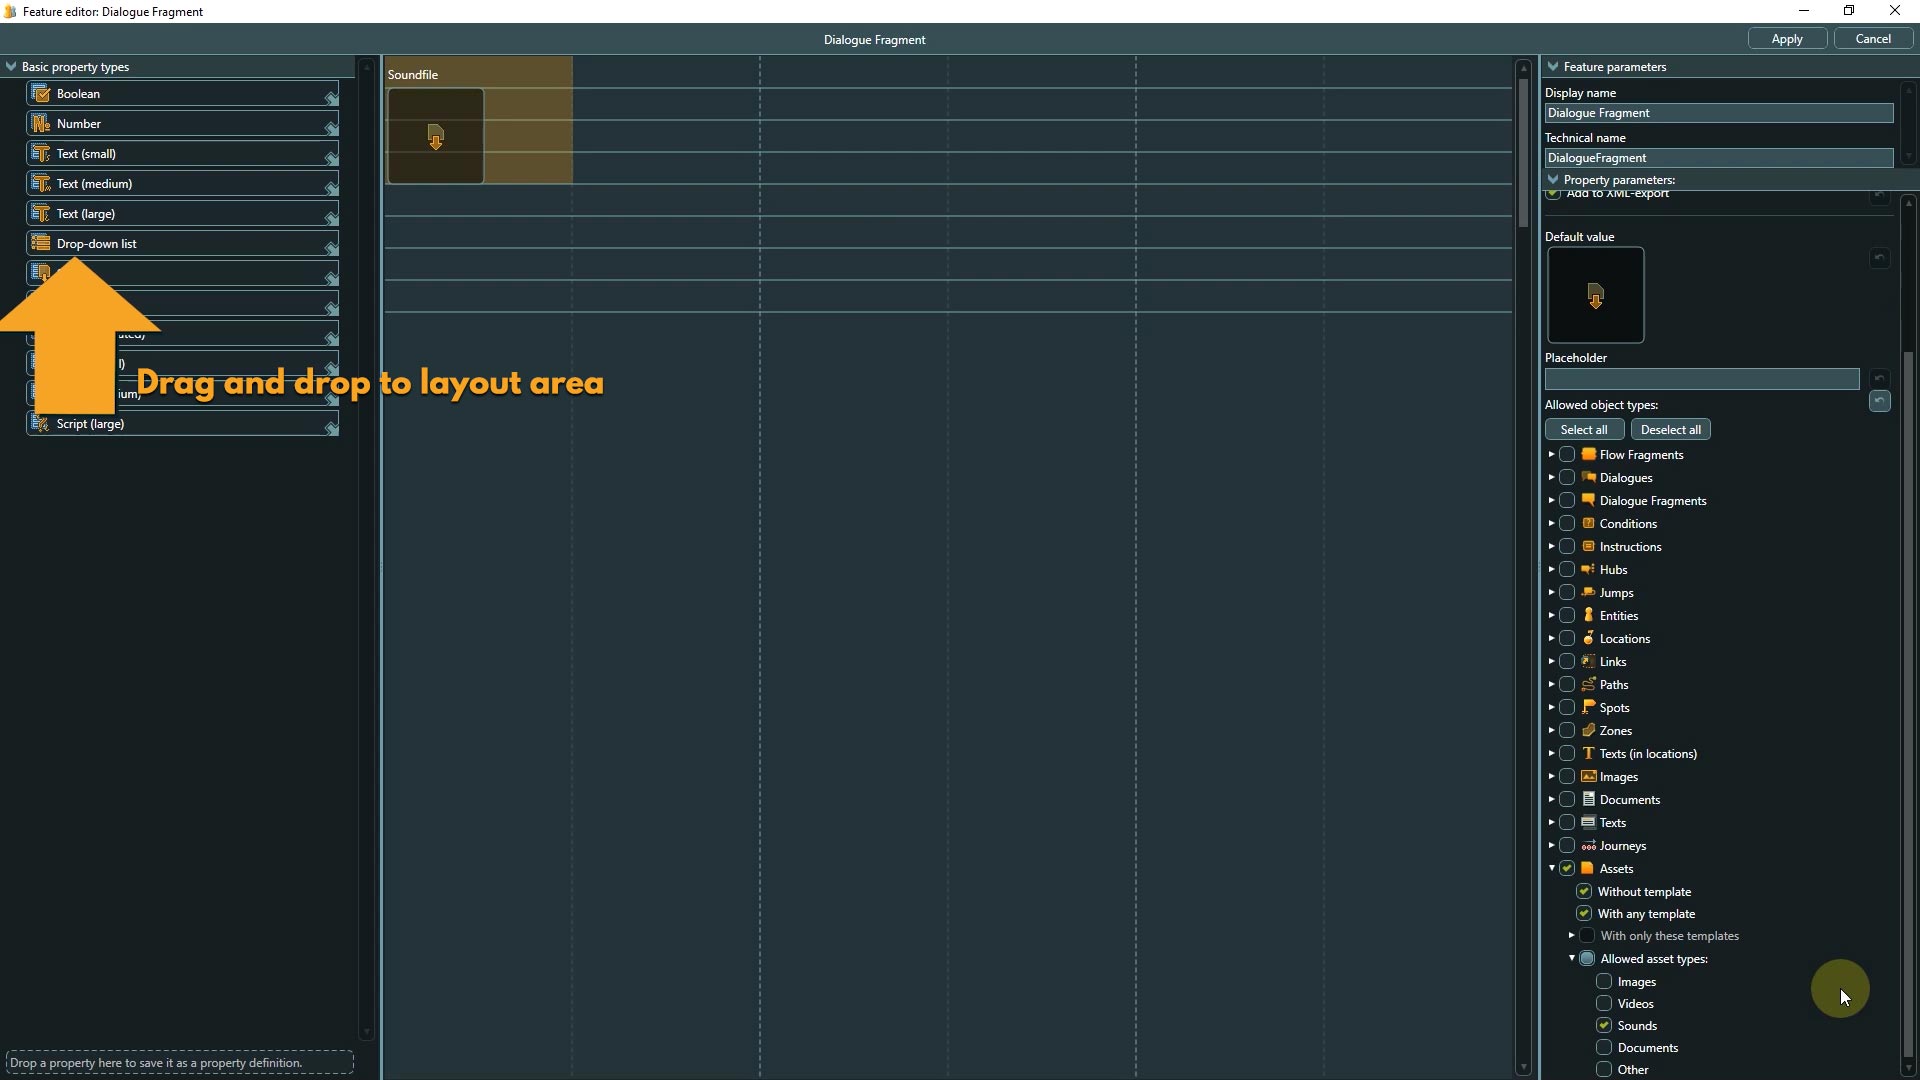
– On the left side you can find the property list, with all basic property types.
– In the middle, the layout area is located, where the current state of the feature is shown. – On the right side a list of parameters is displayed, divided between feature and property parameters.

👉 The naming convention for “Technical Names” is the same as for variables. You cannot use spaces or special characters, but you will be informed right away if the name is not meeting the specifications.
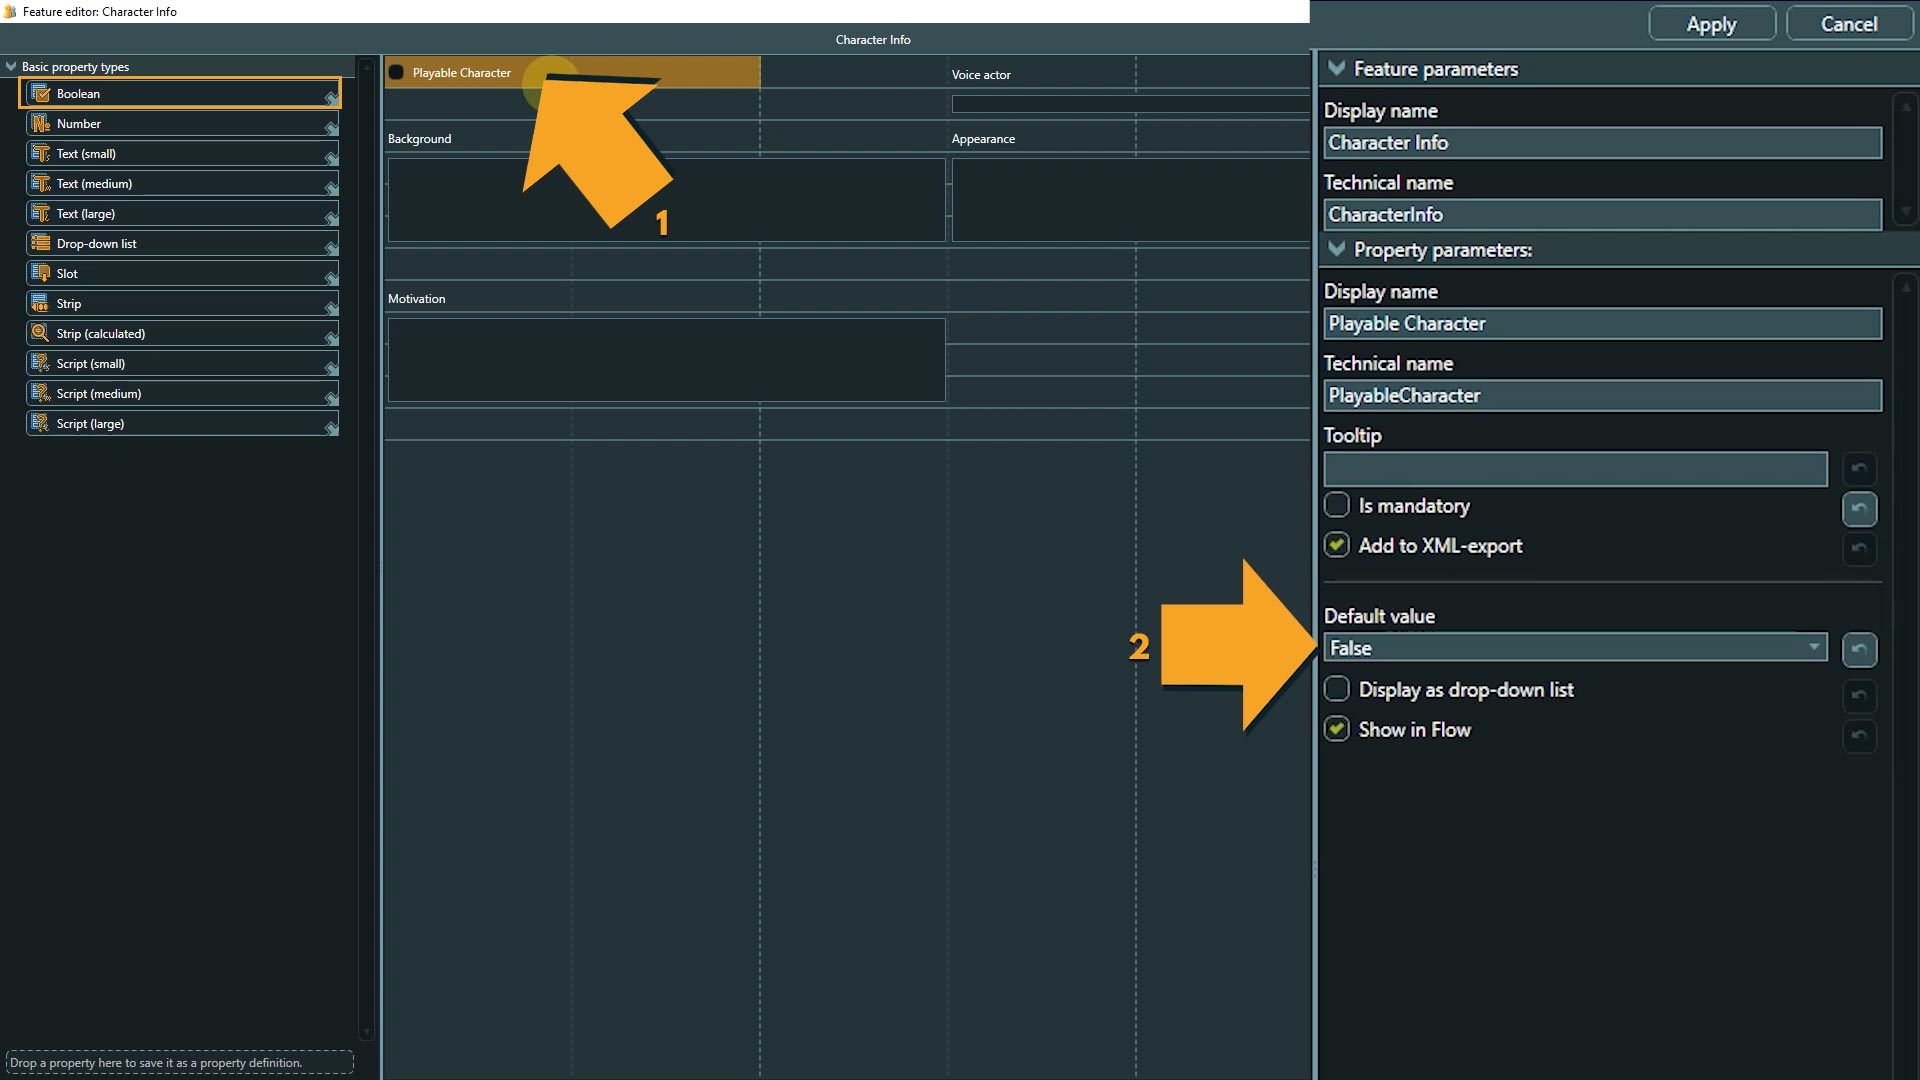
Let’s see which properties were used for this feature.
The “Playable Character” property is a Boolean property. We already know this from variables. This property can be either true or false. In the parameter area we can set the default value, which is false in this case, so we only have to touch this property to change the value if we want to make a character playable, like we did with Mina.
Number is pretty self explanatory, but let’s add one to the template feature, so we can take a look at the parameters.
6. Click, hold, and drag to add the property to the layout area.
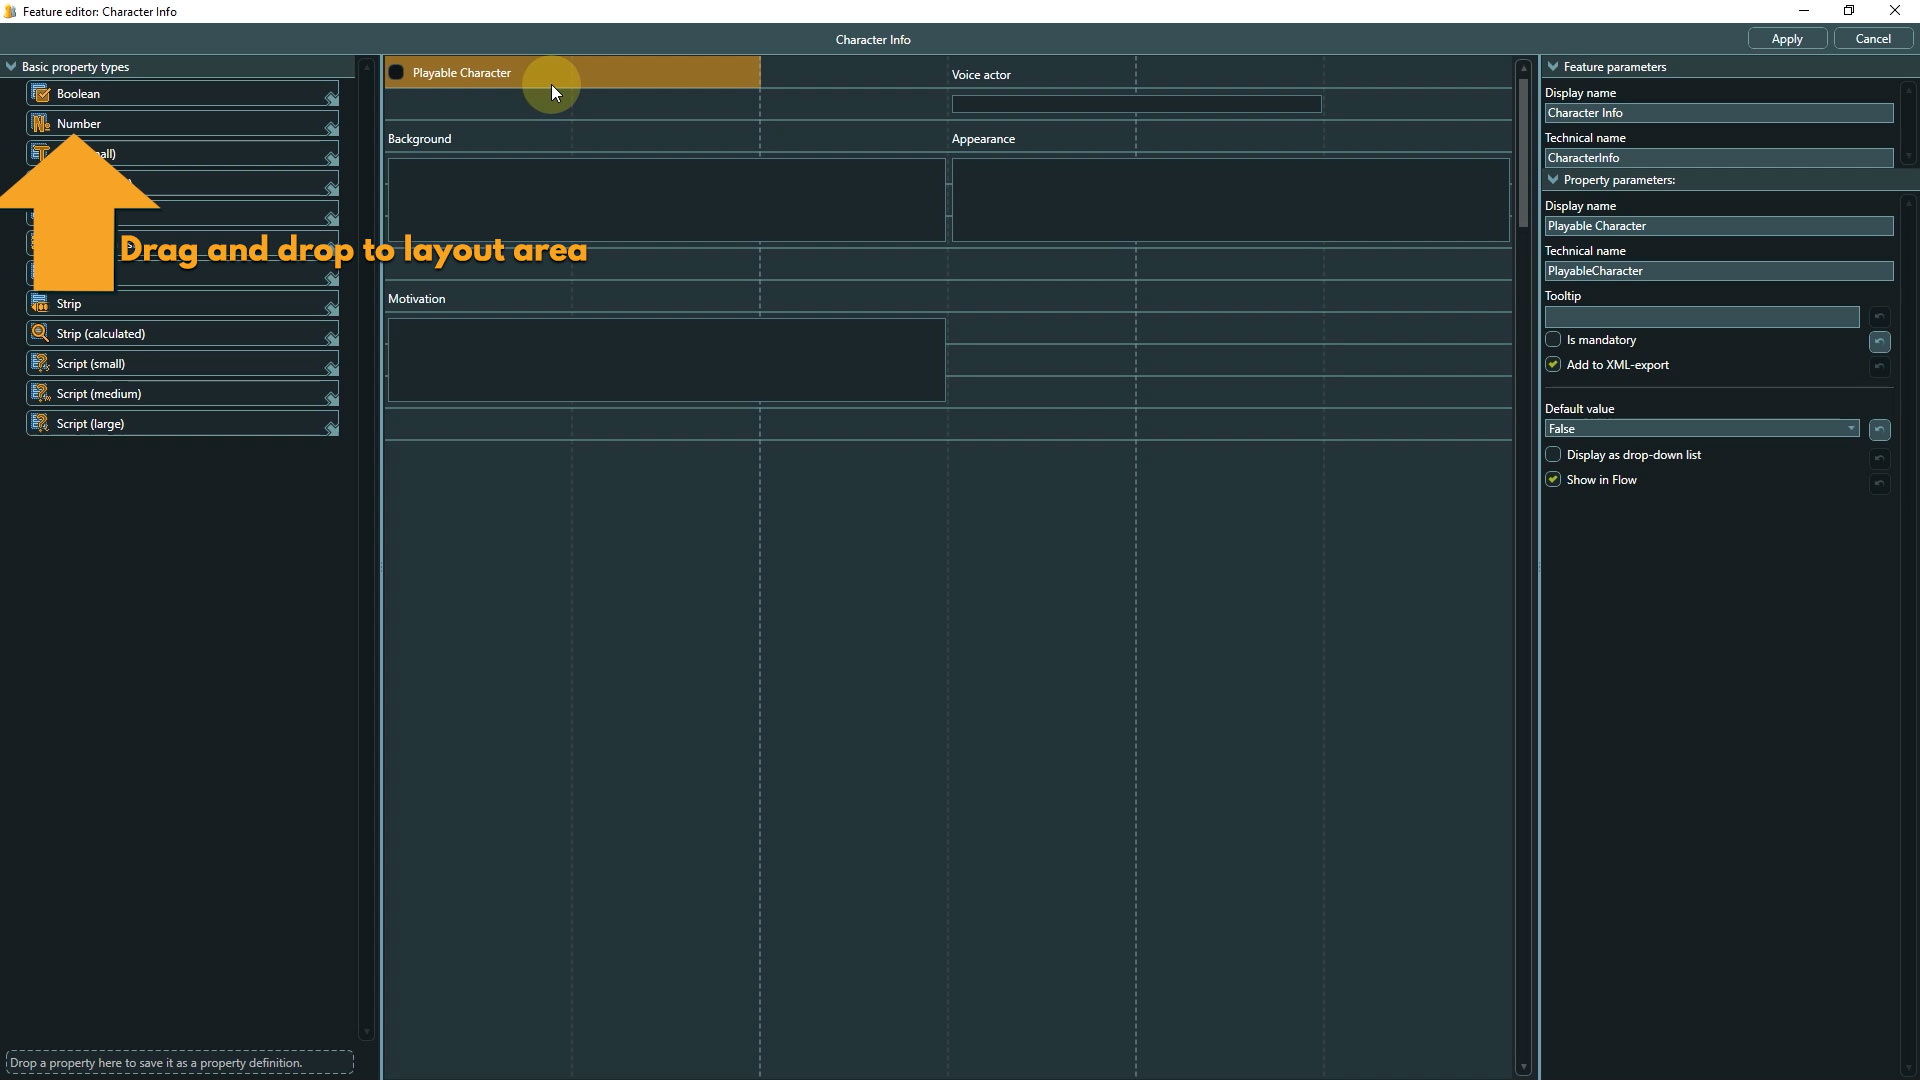
7. Click it again to select it. Here we are offered more options in the parameter region. In addition to setting a default value, we can also set min and max values.

⭐ Our tip: Do not skip setting constraints. They will be very useful later on because articy can show occurring issues to you, so they can get fixed before they even go into the game engine.
Imagine the Number property here is supposed to control the damage an enemy can do. Let’s say it should range between ten and a hundred. While entering the data in the actual entity a small typo happens and suddenly this enemy can do two hundred points of damage. It could take a long time until this is noticed in testing, with articy things like this do not even make it into the game.
Back to the feature. We don’t really need the number property, so we will remove it.
8. Select it and press the delete key or use the right click context menu to delete a property.

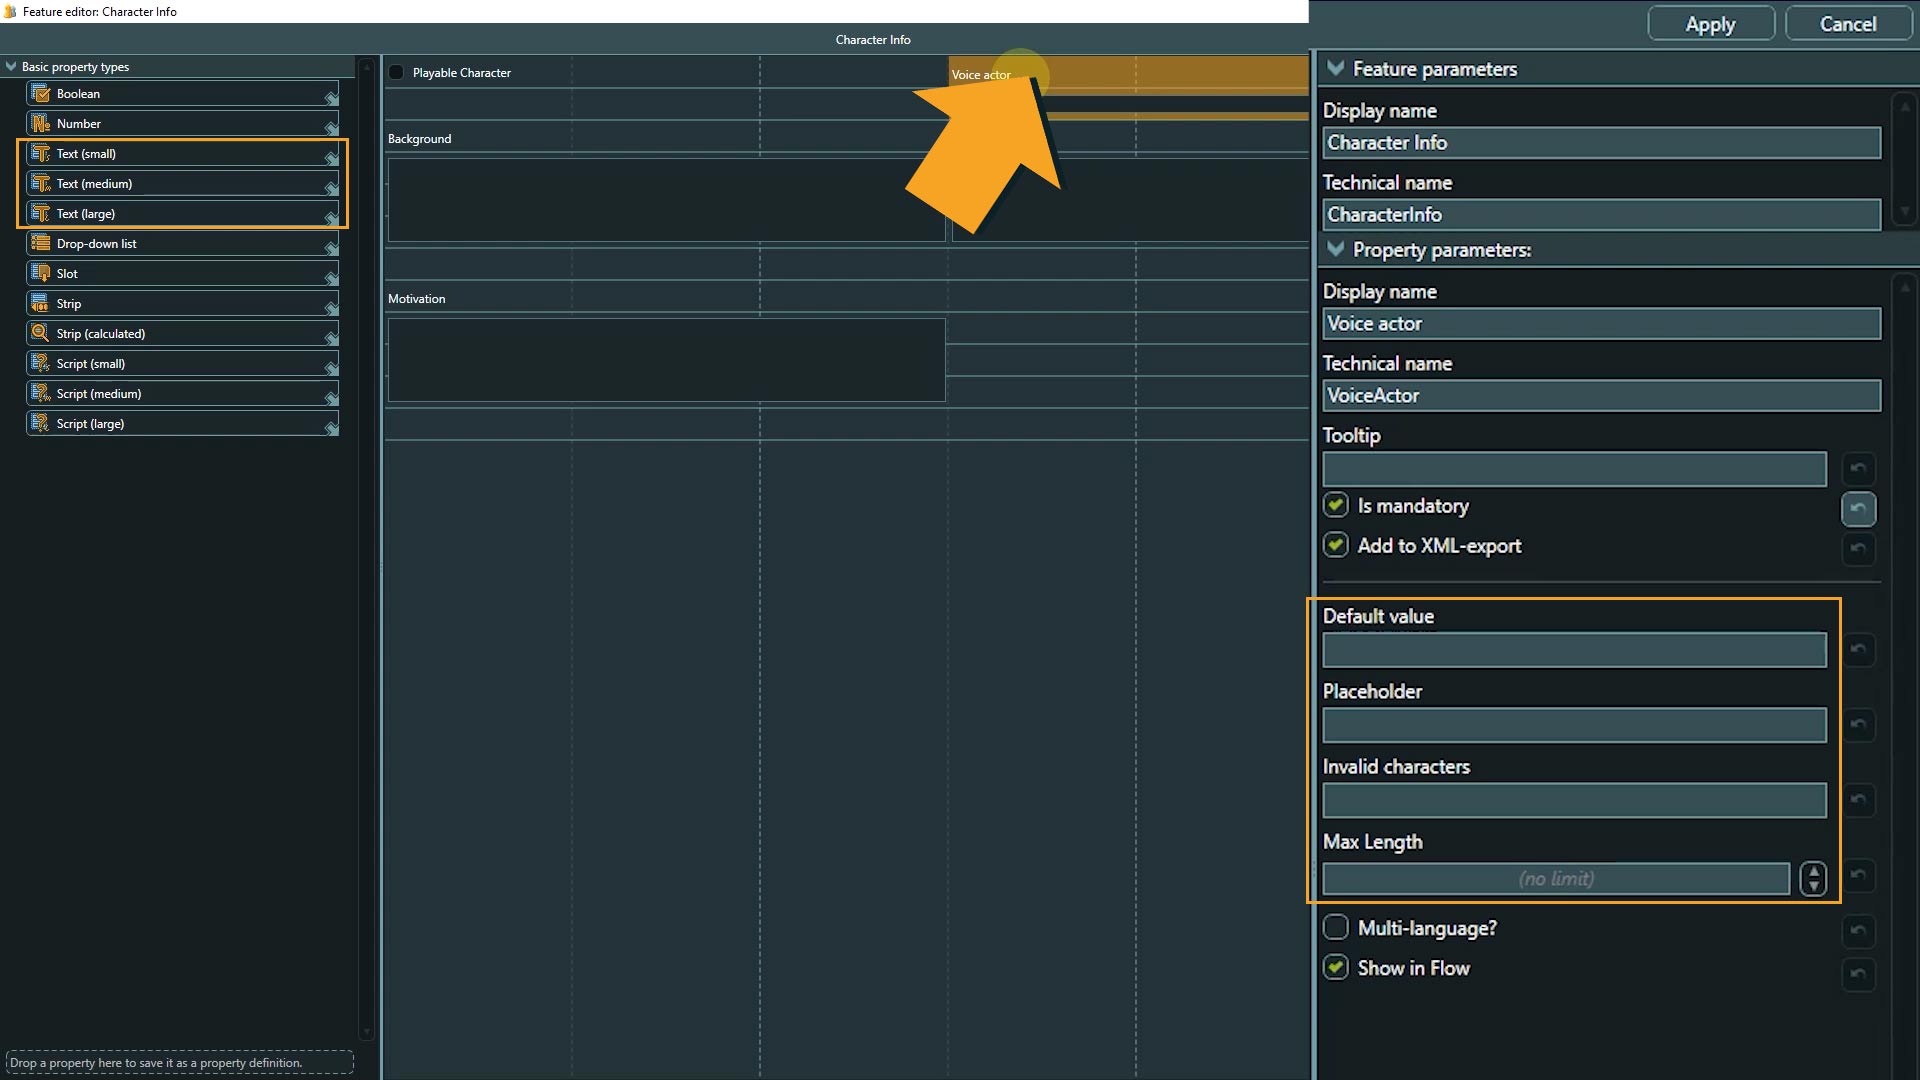
Next are the text fields. In our feature we use a small and three medium ones.
👉 The only difference between these three properties is the size of the text box displayed in the template tab of the object, and this is purely visual. The actual maximum amount of text is the same for all text properties and can be adjusted with the parameters.
It is also possible to define invalid characters that should not be usable in the text, or to set a placeholder text.
For examples of drop-down list and Slot properties we will switch to another feature.
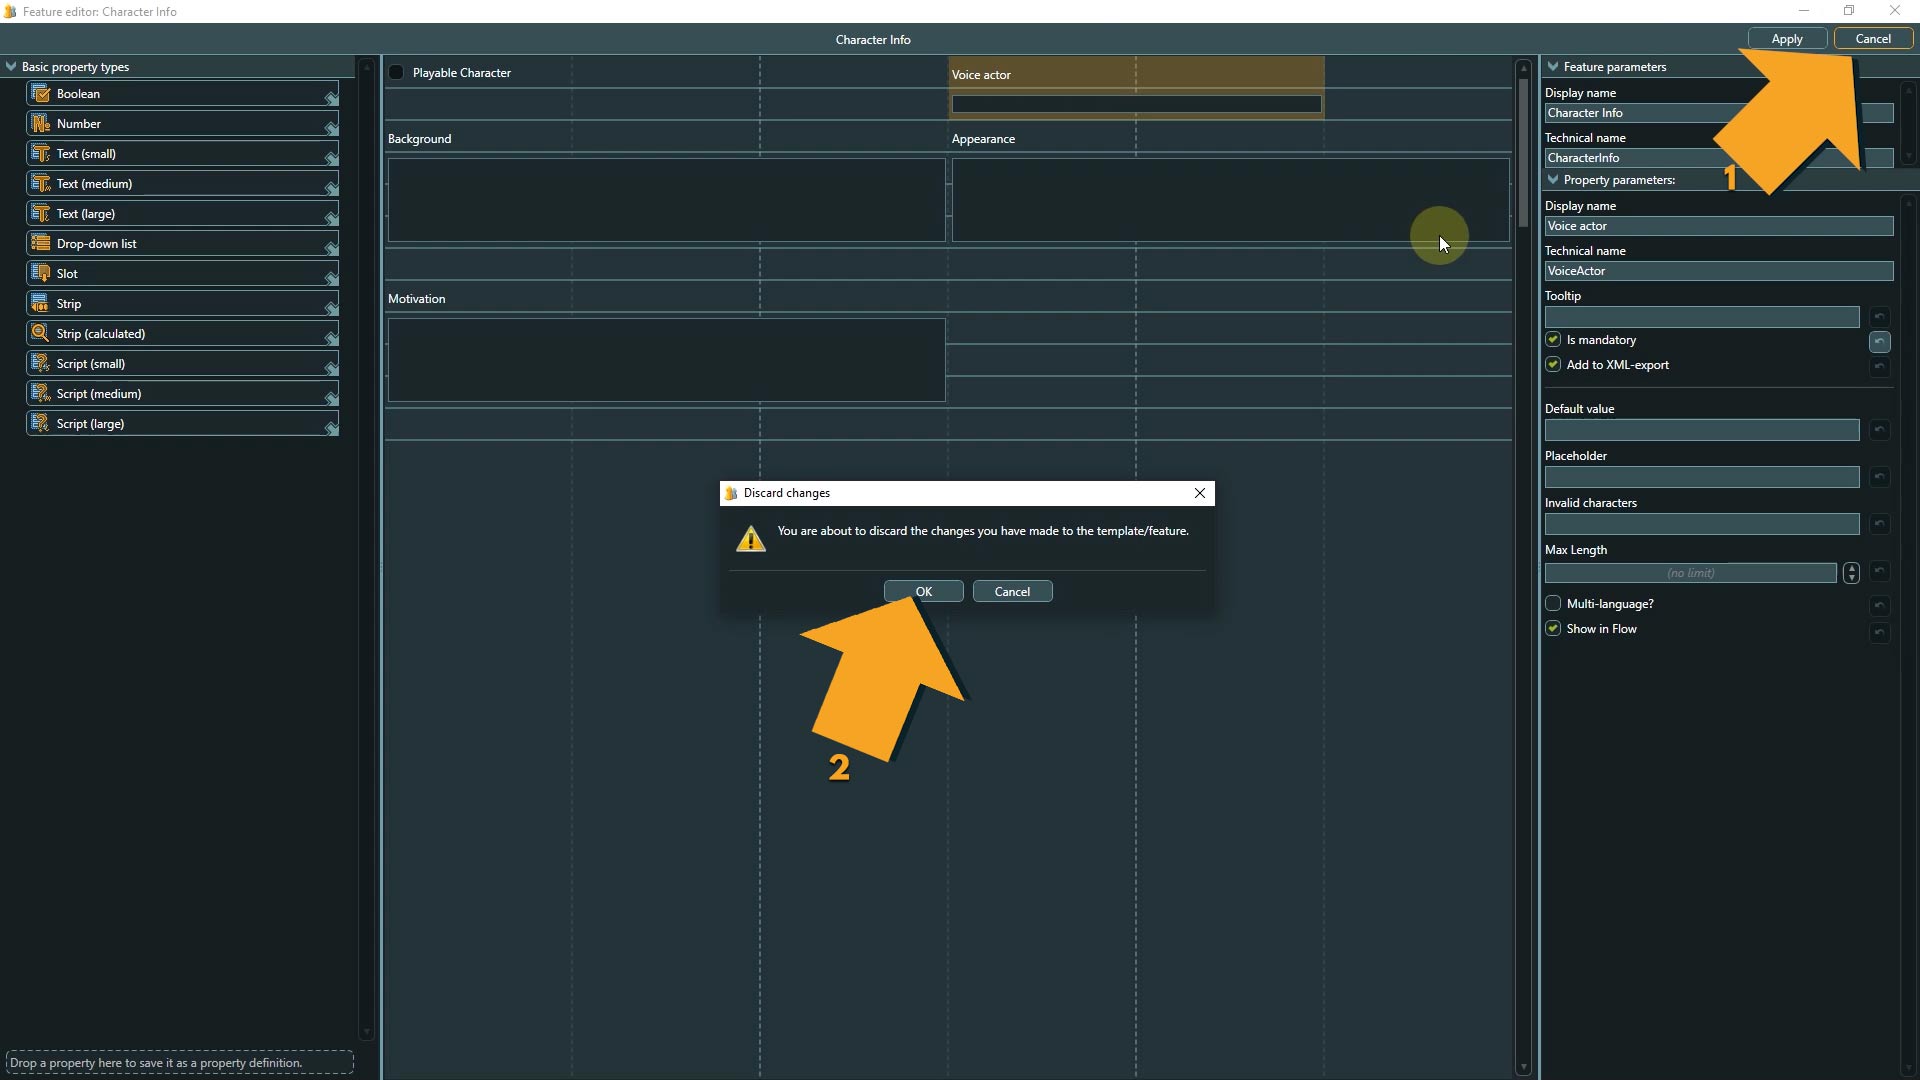
9. Click Cancel, then confirm, to leave the Feature Editor without saving any changes to this feature.
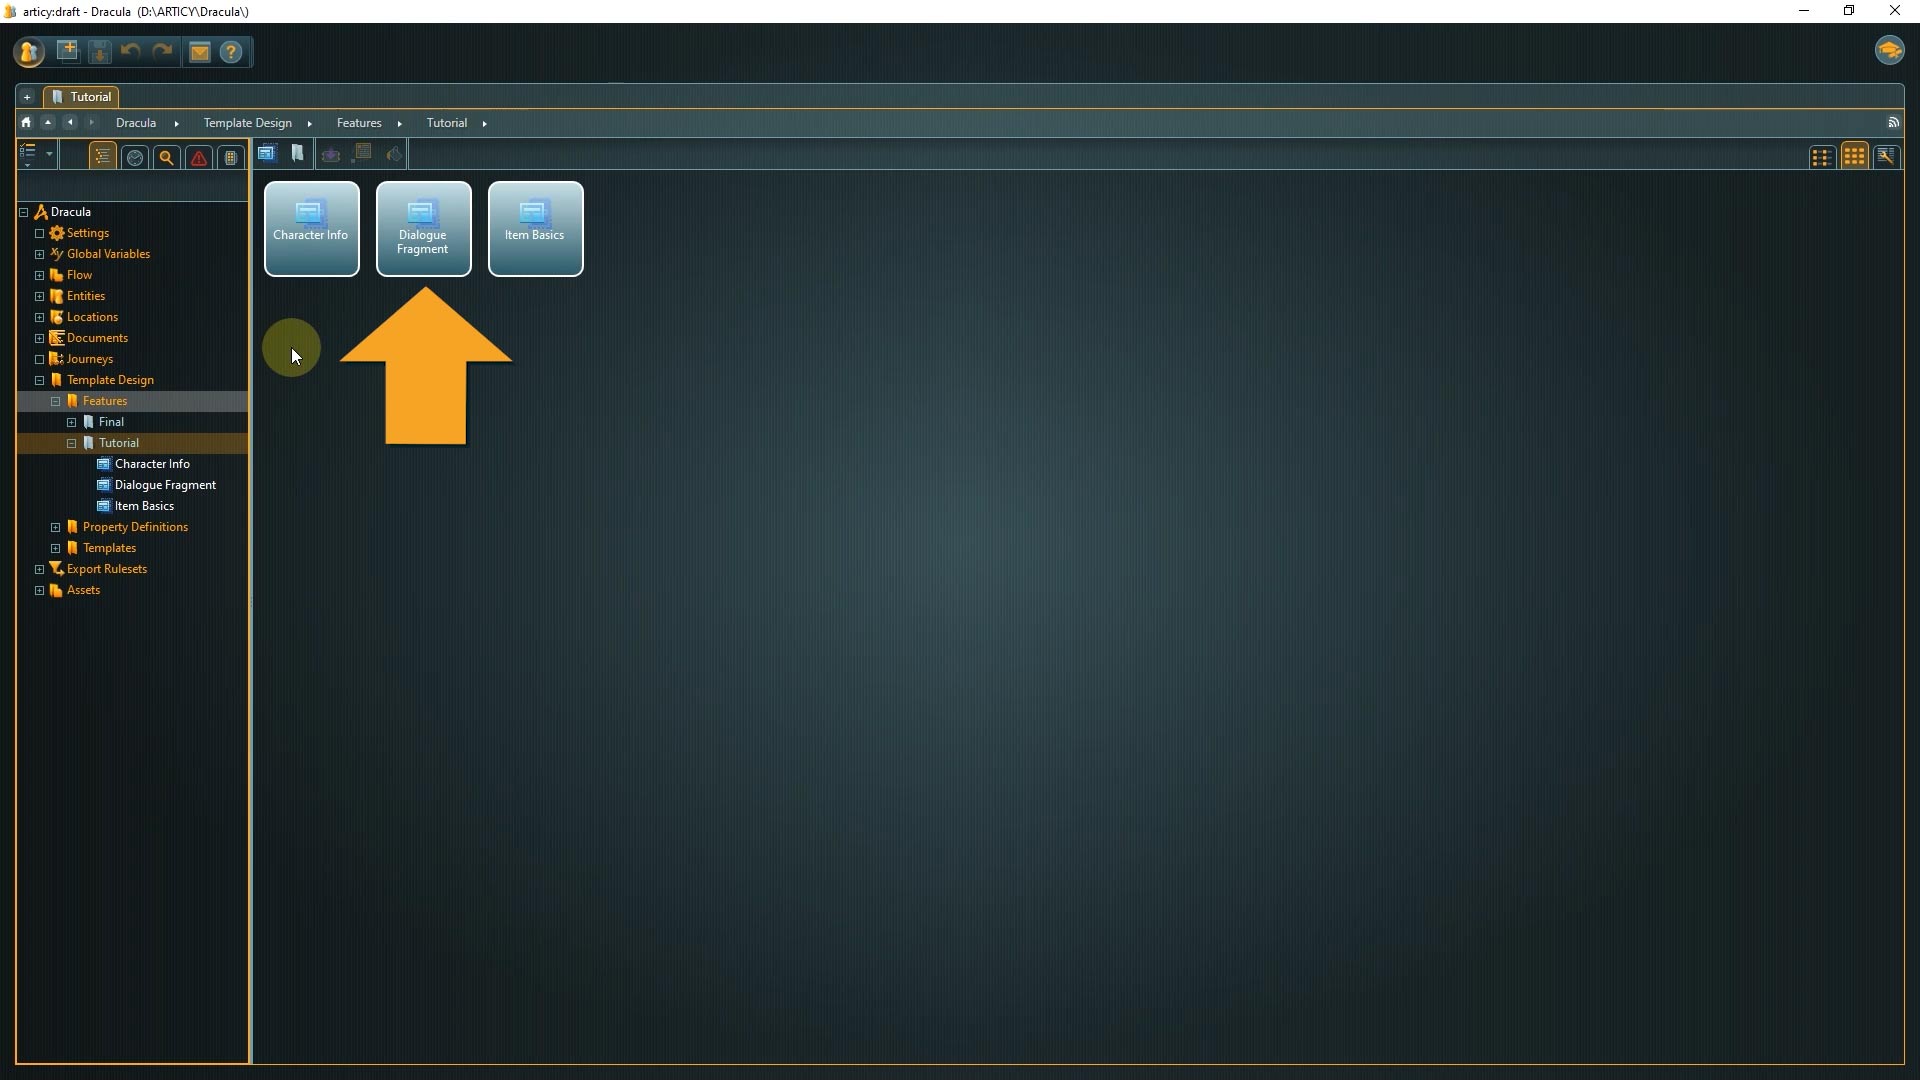
10. Then select the feature called “Dialogue Fragment” from the Tutorial folder
11. Go to the Feature Editor again.
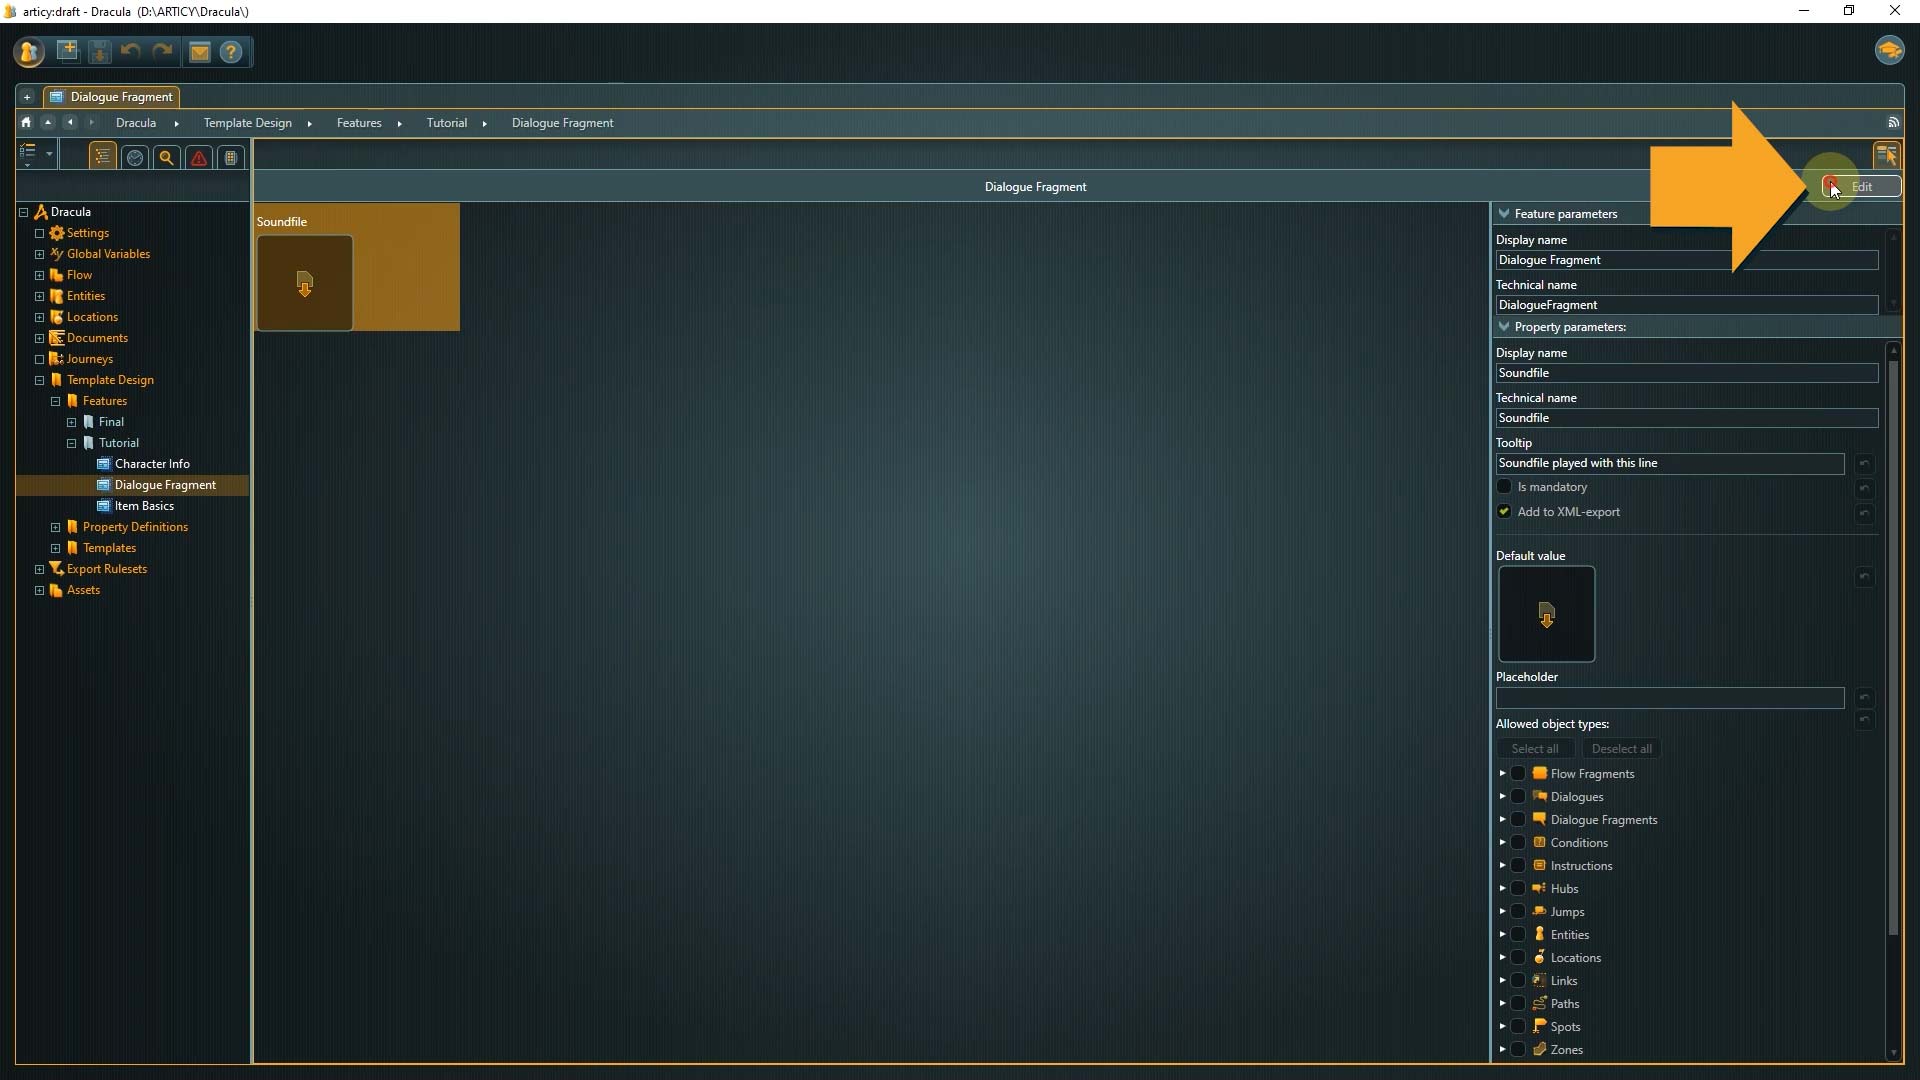
In this feature, we have one property so far. It is a slot property called sound file. A slot property allows you to connect a specific file or object to the element with this template. It is a bit like the reference strip we have encountered in Lesson 4 – the character creation and Lesson 5 – the flow.
For a slot we can define the allowed object types in the parameters. For this example we want to use the slot property so we can assign a sound file to be played at a specific part of the dialogue. By allowing only the asset type “sounds” as input for the slot, we can prevent errors like accidentally linking an image or a video file.
A strip is basically the same as a slot, but you can assign multiple files or objects at once.

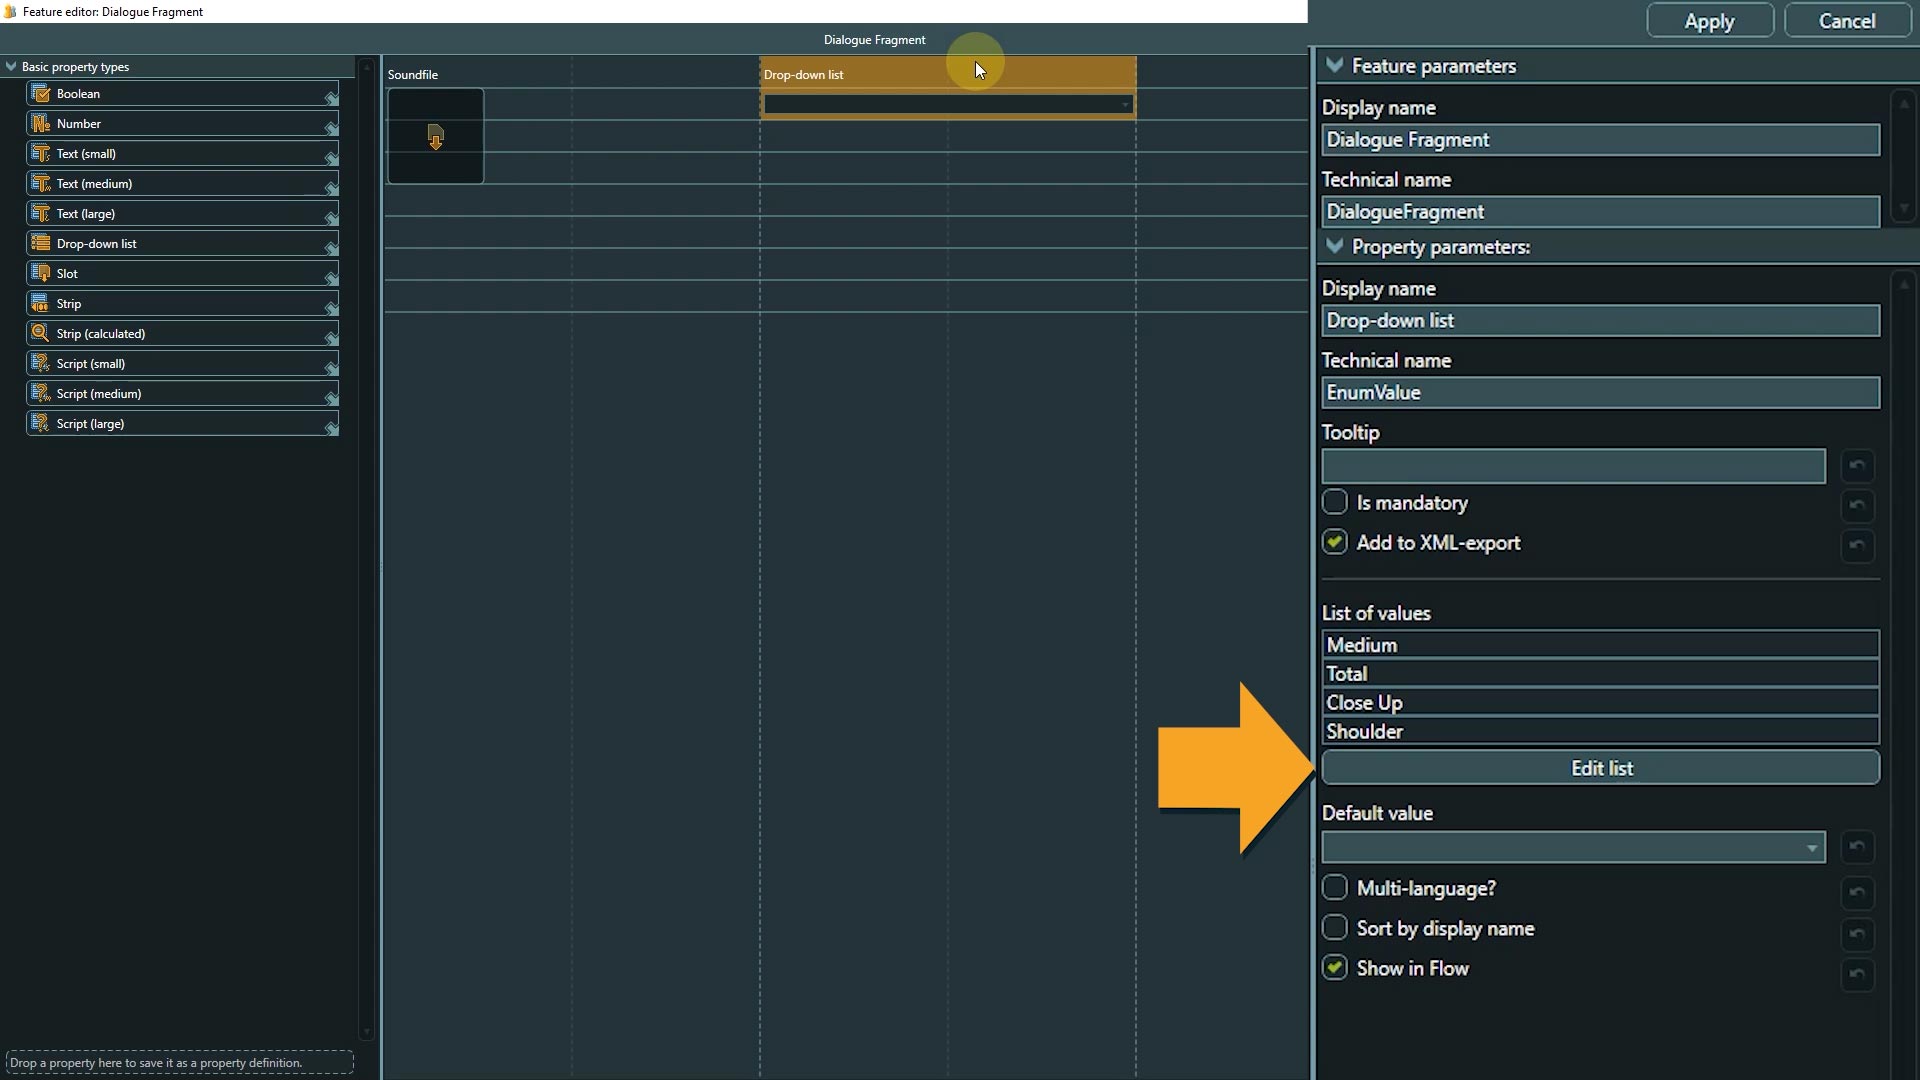
12. The drop-down list property provides an enumeration. Drag a drop-down list to the layout area now, we will use it to create a property for the selection of camera angles for dialogue lines.
13. After placing the list, the “list editor” opens automatically. Here we will enter the camera angles as list items. Click the plus sign to add list items.
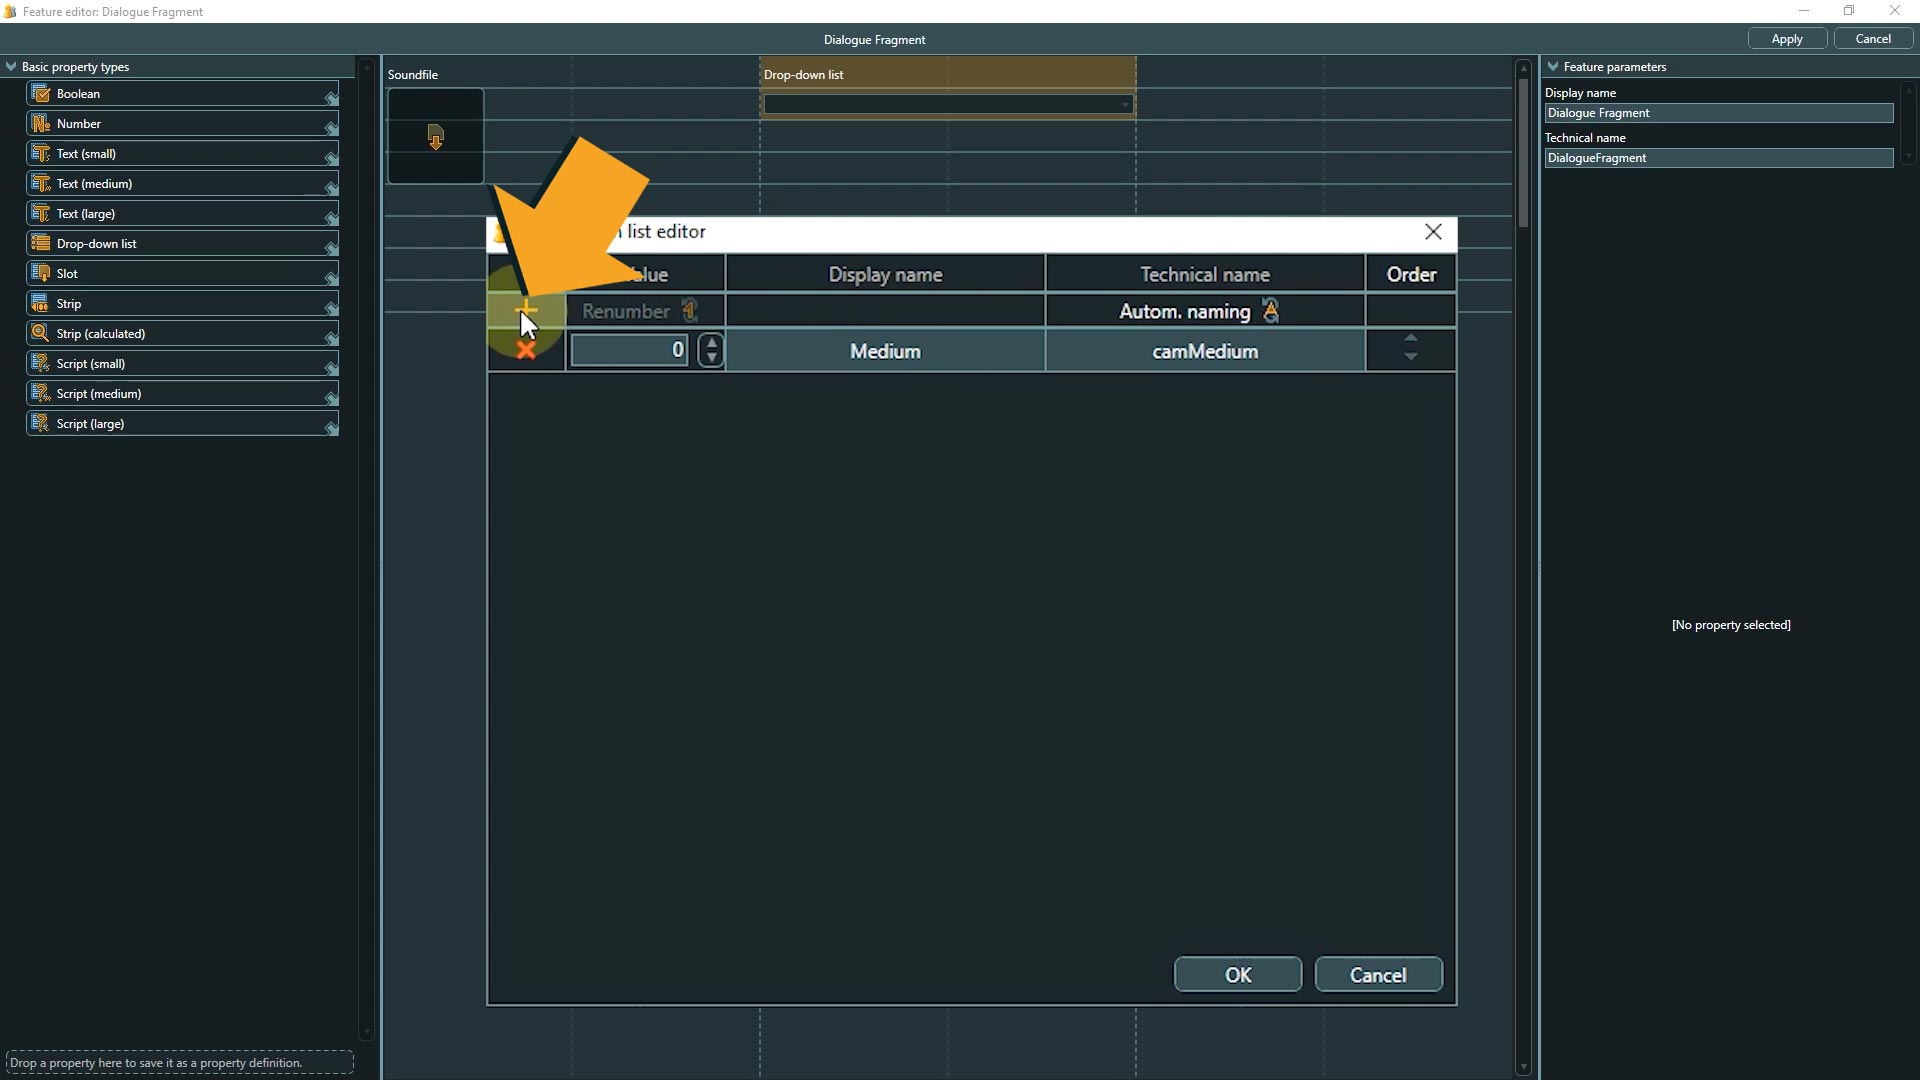
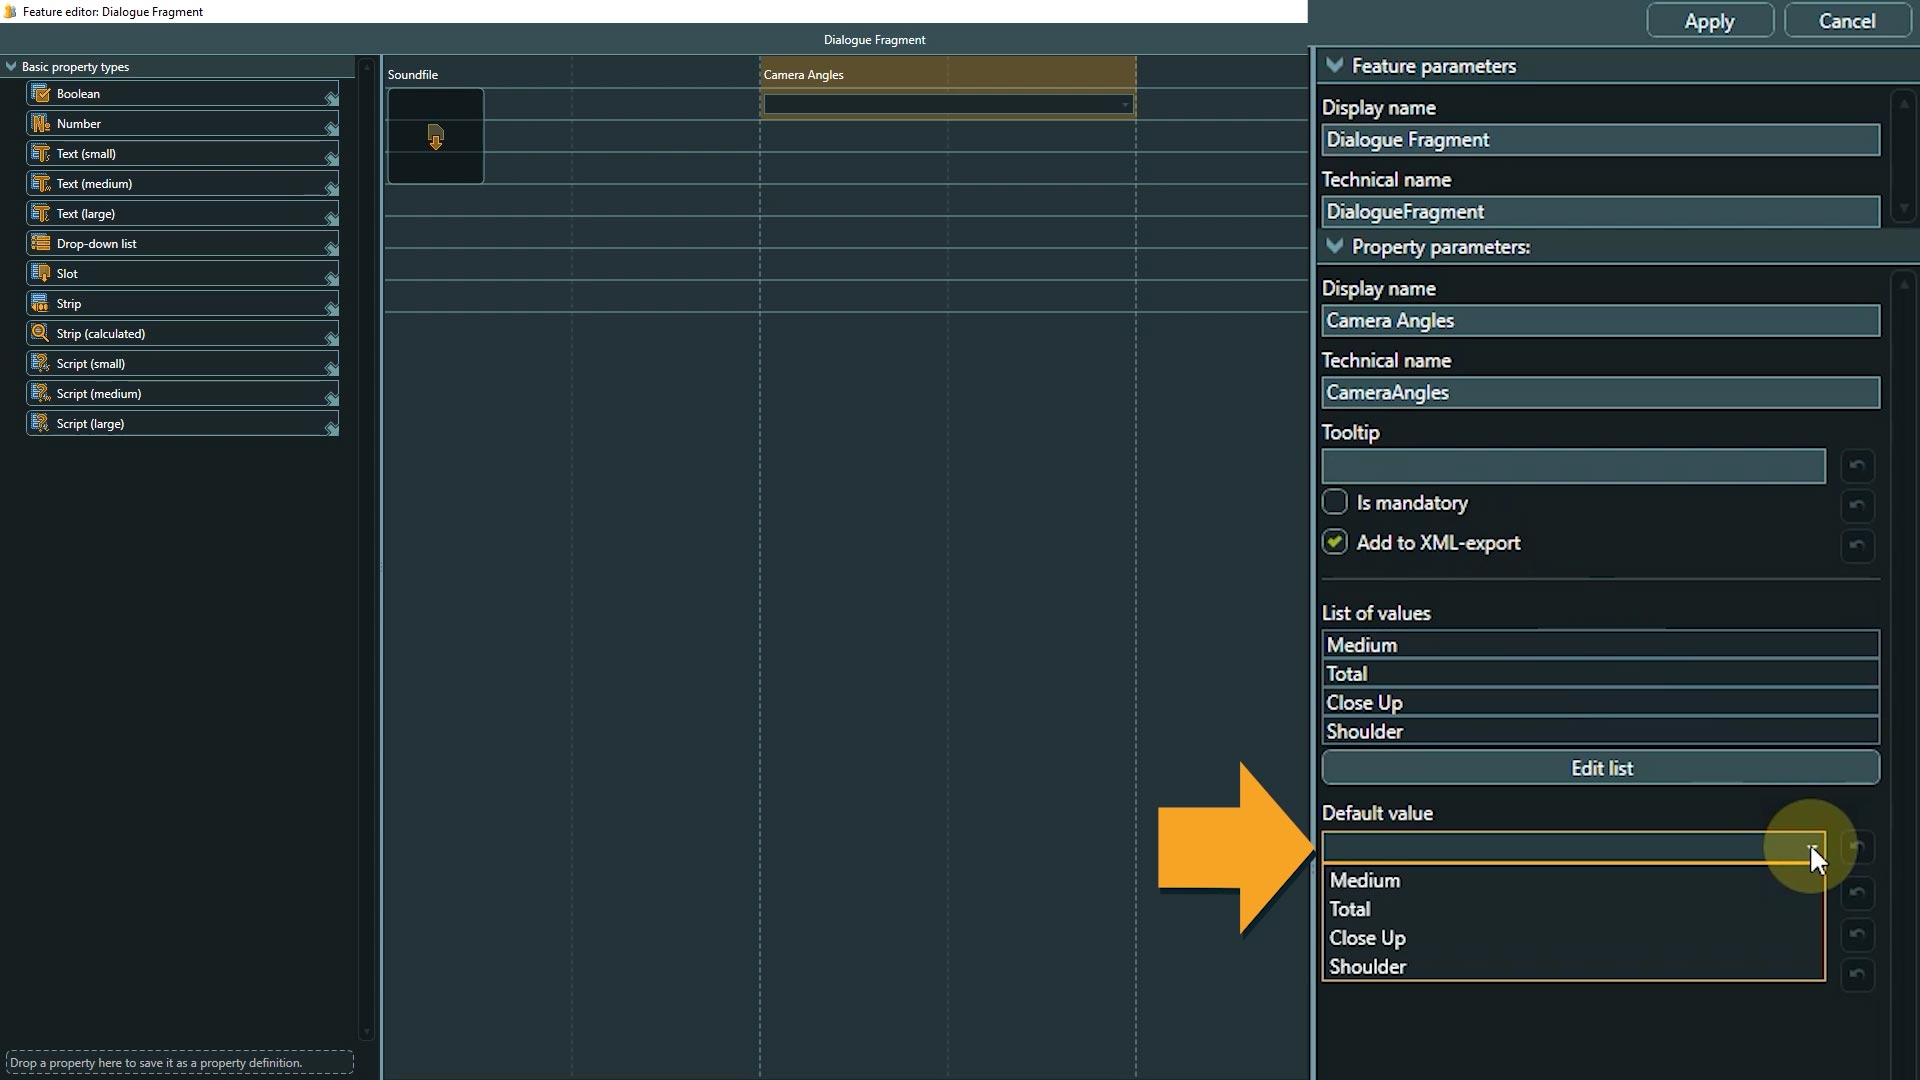
14. We will start with a Medium Shot entry, then add Total, Close Up, and Shoulder to round out the list. Click Okay to close the list editor when done.

If you want to add or edit something later you can always open the editor again by clicking the “Edit list” button. Don’t forget to select a telling name. I usually use the same name as display and technical name, but of course without the spaces for the latter.
15. Let’s set a default value, so we do not have to set a camera angle later in each and every dialogue fragment, but only have to touch the elements where we want to deviate from the standard angle.
The remaining property types are more advanced and go beyond the scope of this first steps series. You can find additional information about all property types, including the more advanced ones, in our help center
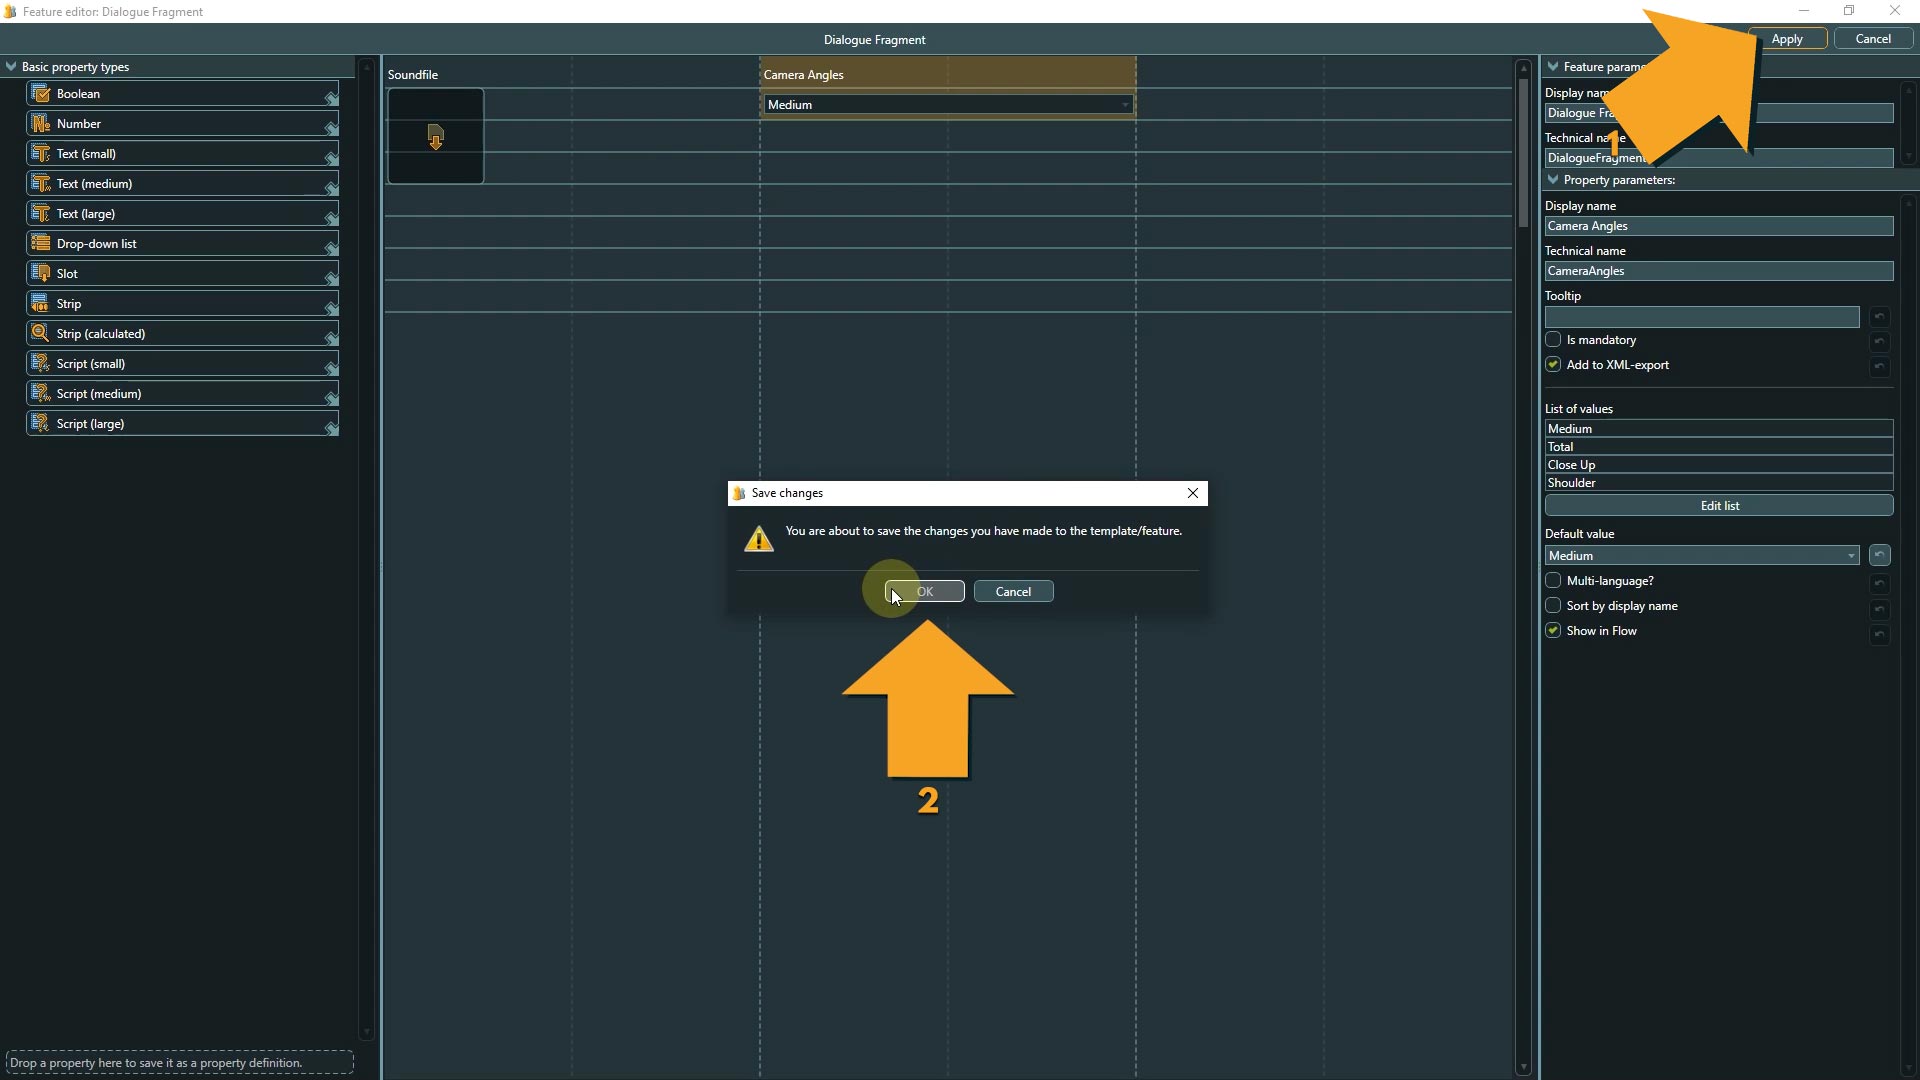
16. Now save the changes to the Feature by clicking Apply and then confirm.
We have arrived at the end of this lesson.
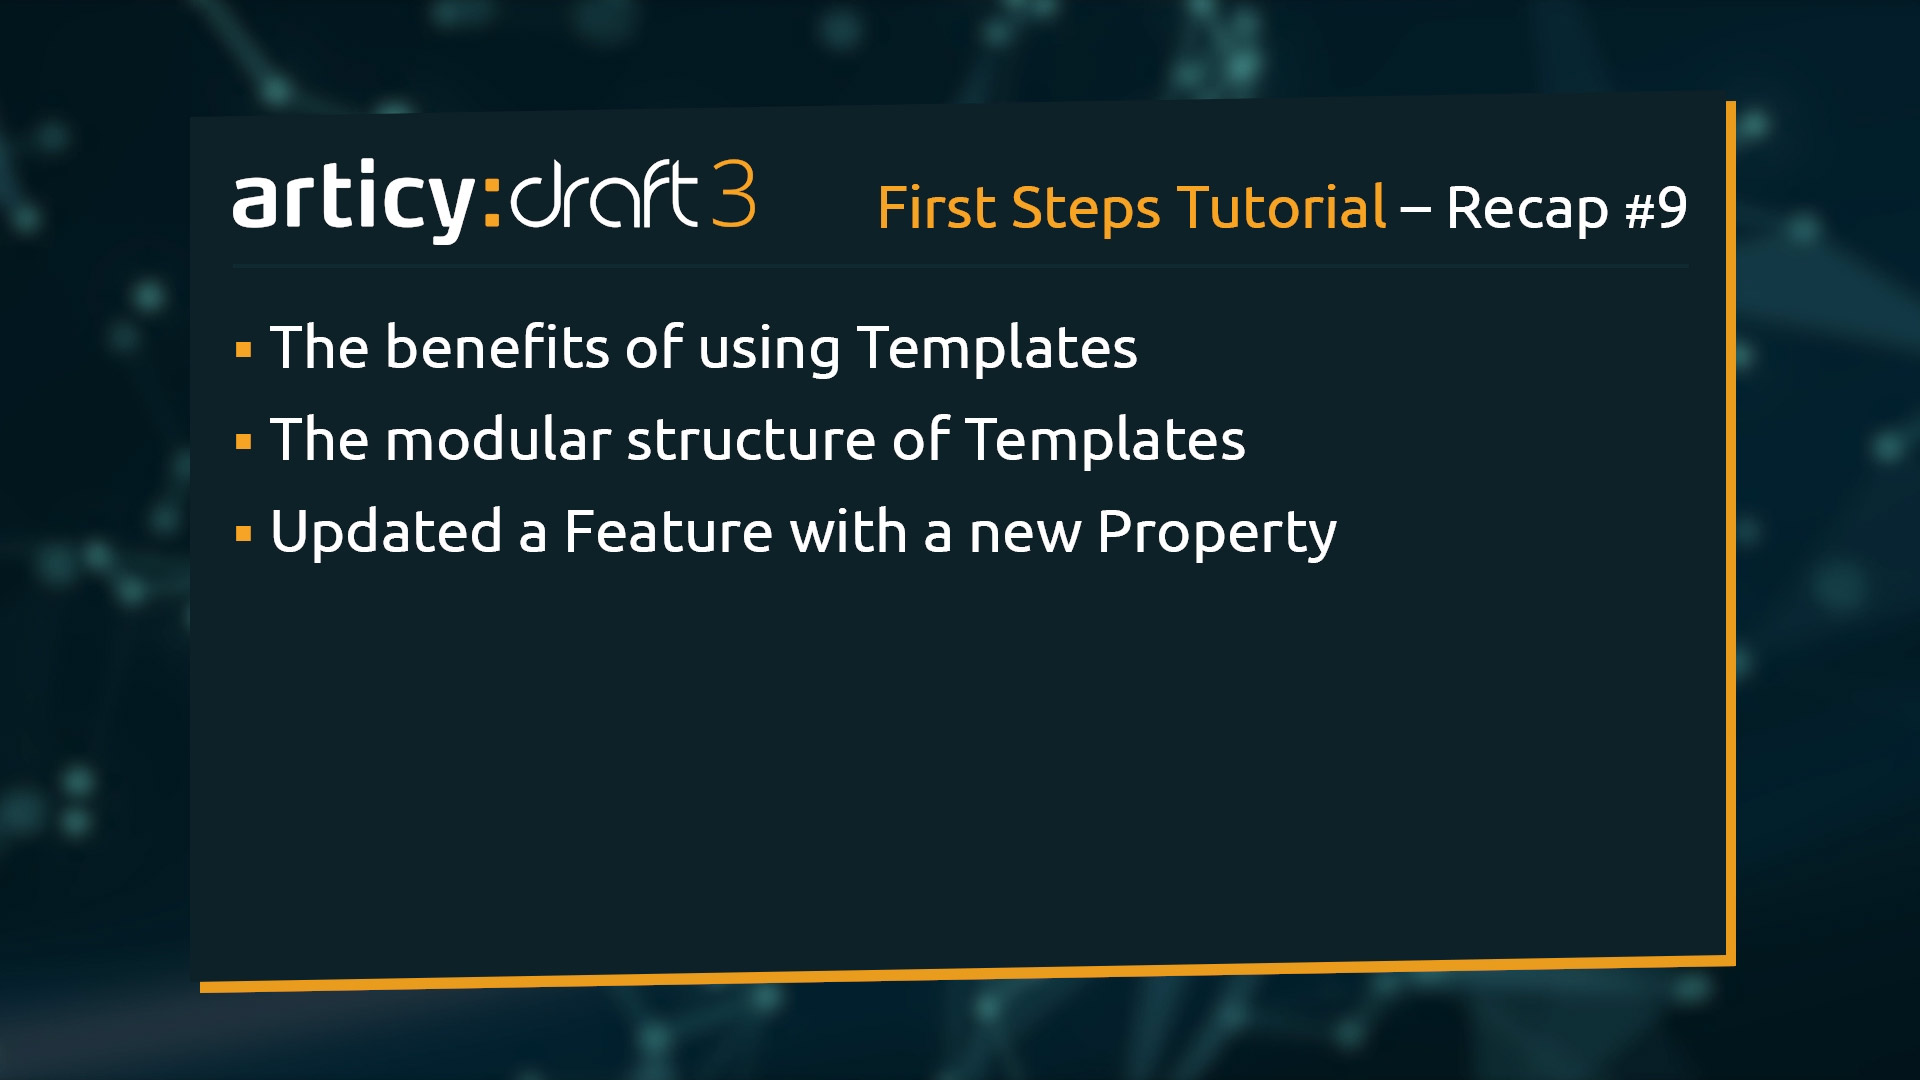
Recap:
We talked about the benefits of using templates, looked at how they are constructed, and updated a feature with an additional property.
Up next:
In our next lesson we will learn how to assign a template to multiple objects at once with the help of the “query search”, and use the “property inspector” to get an additional view on an object for faster editing.
Thank you for joining us, and join us again in our next tutorial.
Useful Links:
Help Center – Properties
Help Center – Calculated Strip
Help Center – Property type script
Don’t have articy:draft X yet? Get the free version now!
Get articy:draft X FREE
*No Payment information required
Follow us on Twitter, Facebook and LinkedIn to keep yourself up to date and informed. To exchange ideas and interact with other articy:draft users, join our communities on reddit and discord.