Hello and welcome to Lesson 16 of the articy:draft First Steps tutorial series.
Review:
In our previous Lesson we updated the structure of the “Final confrontation” dialogue with Jump and Hub Flow elements.

This Lesson:
Today, we will visit a new area of articy: the “Location Editor”. We will use it to add reference markers to a map, so that our team can easily see what is going on at specific game locations.
Location Editor:
articy’s “Location Editor” primarily serves as a means of communication within the team. In addition to that it can also assist the writer by providing them with a spatial view on the project.
👉 The “Location Editor” is no level editor and was not designed to create game levels for direct use in the game engine.
With that small disclaimer out of the way, let’s dive in:
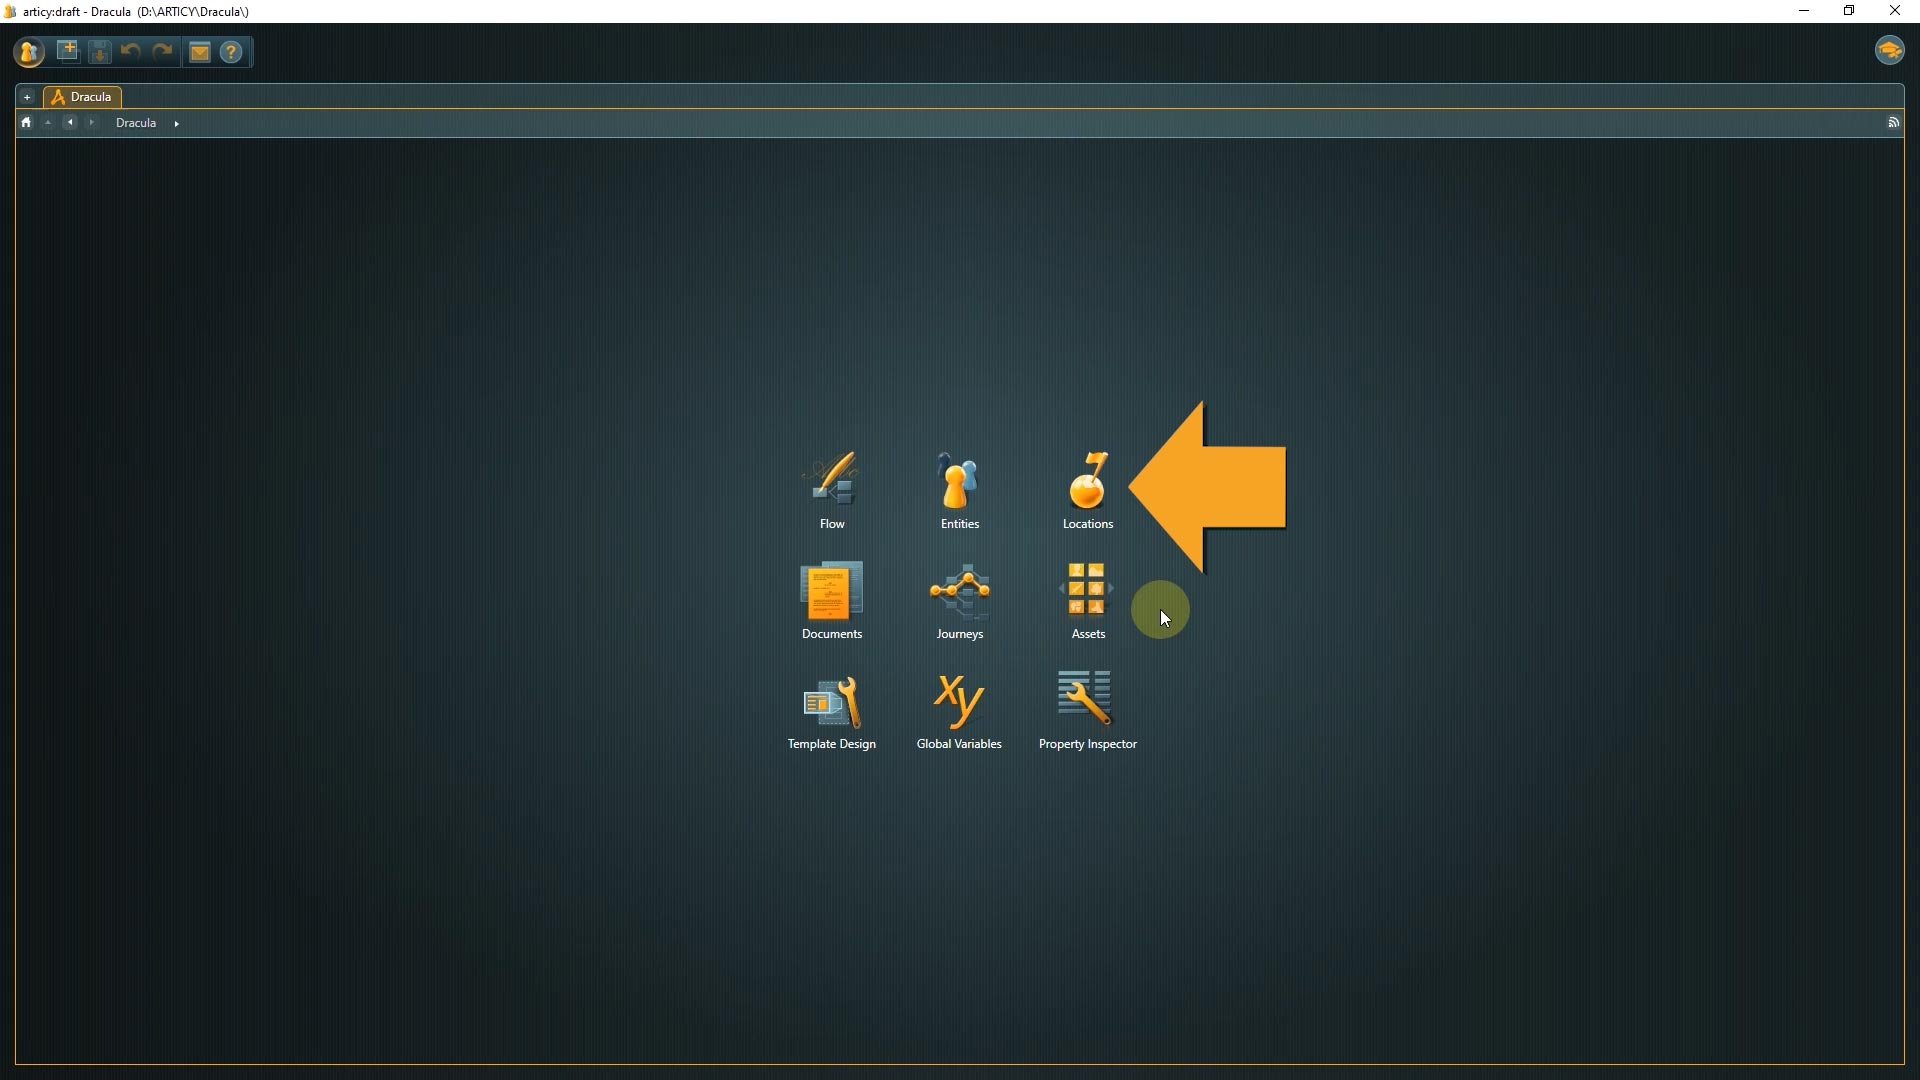
1. Click the “Locations” button on the Jumpstart page
2. Select the tutorial folder.
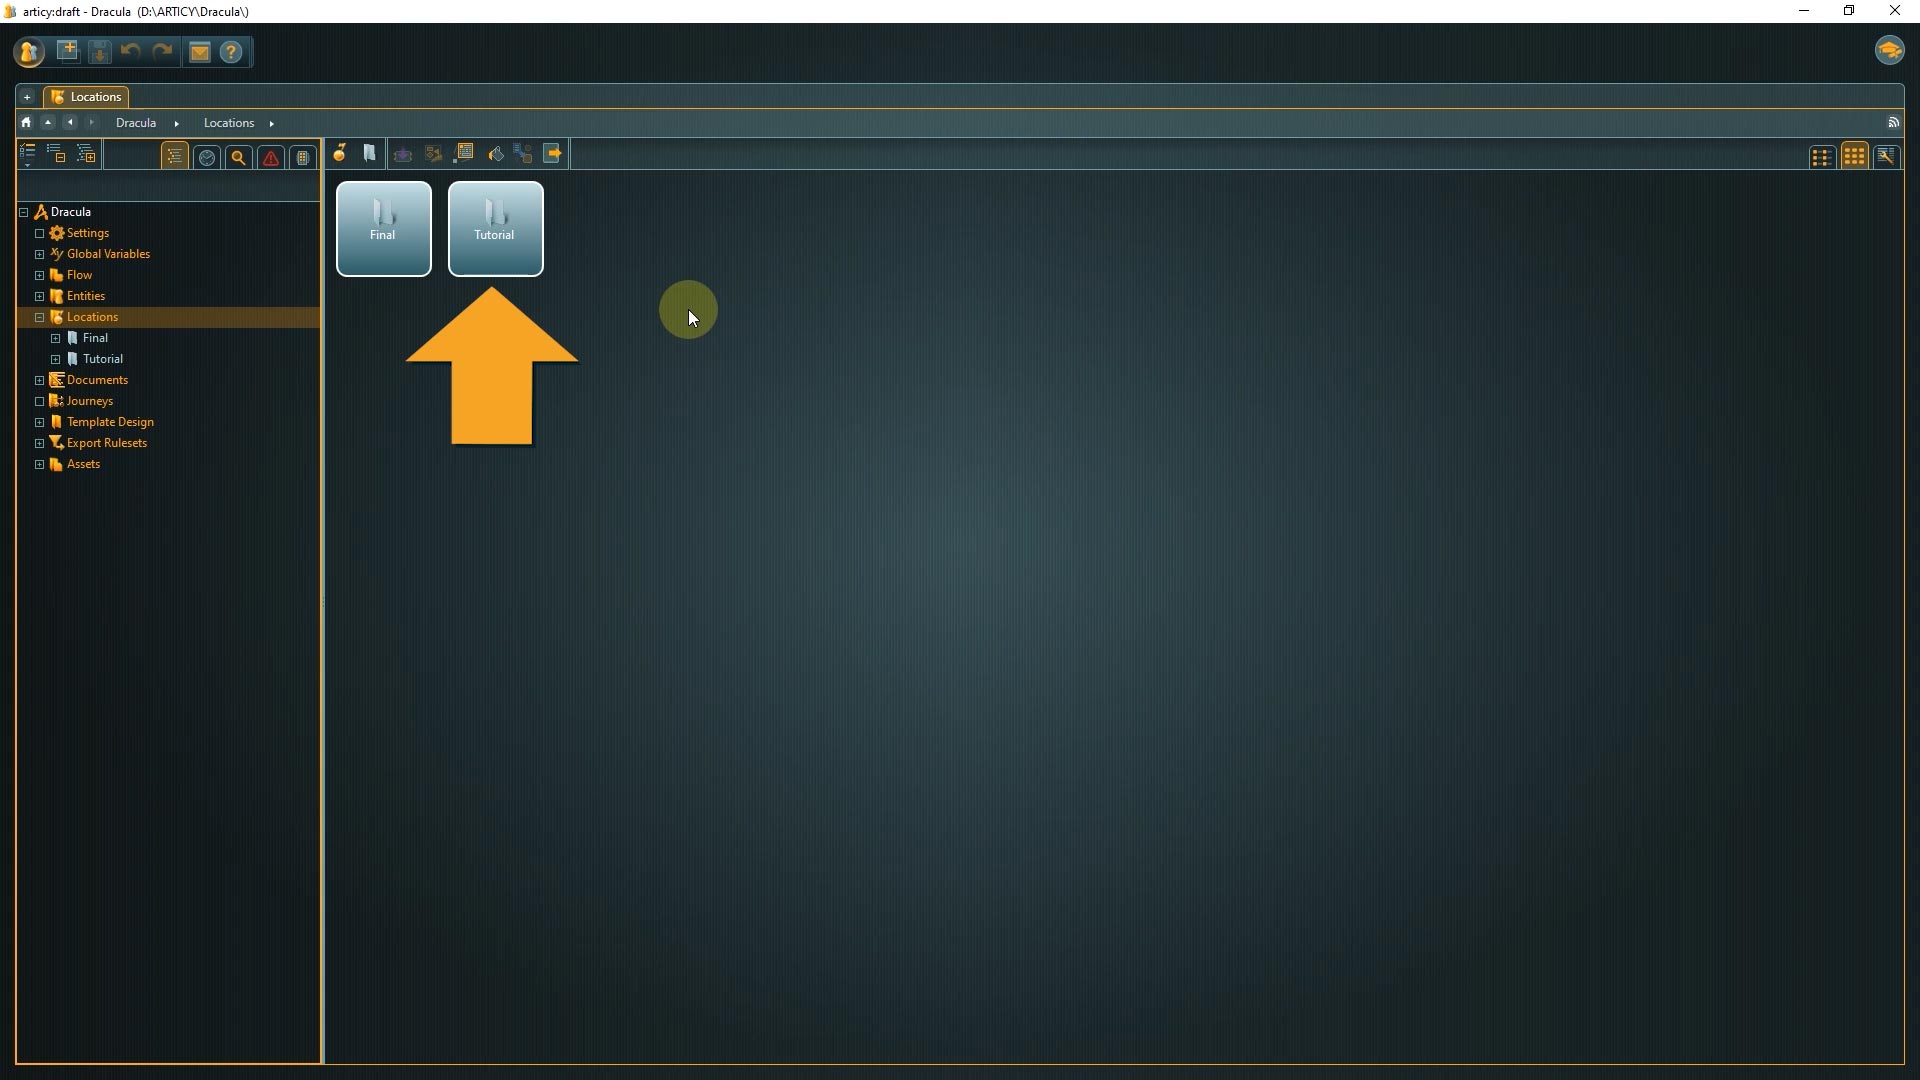
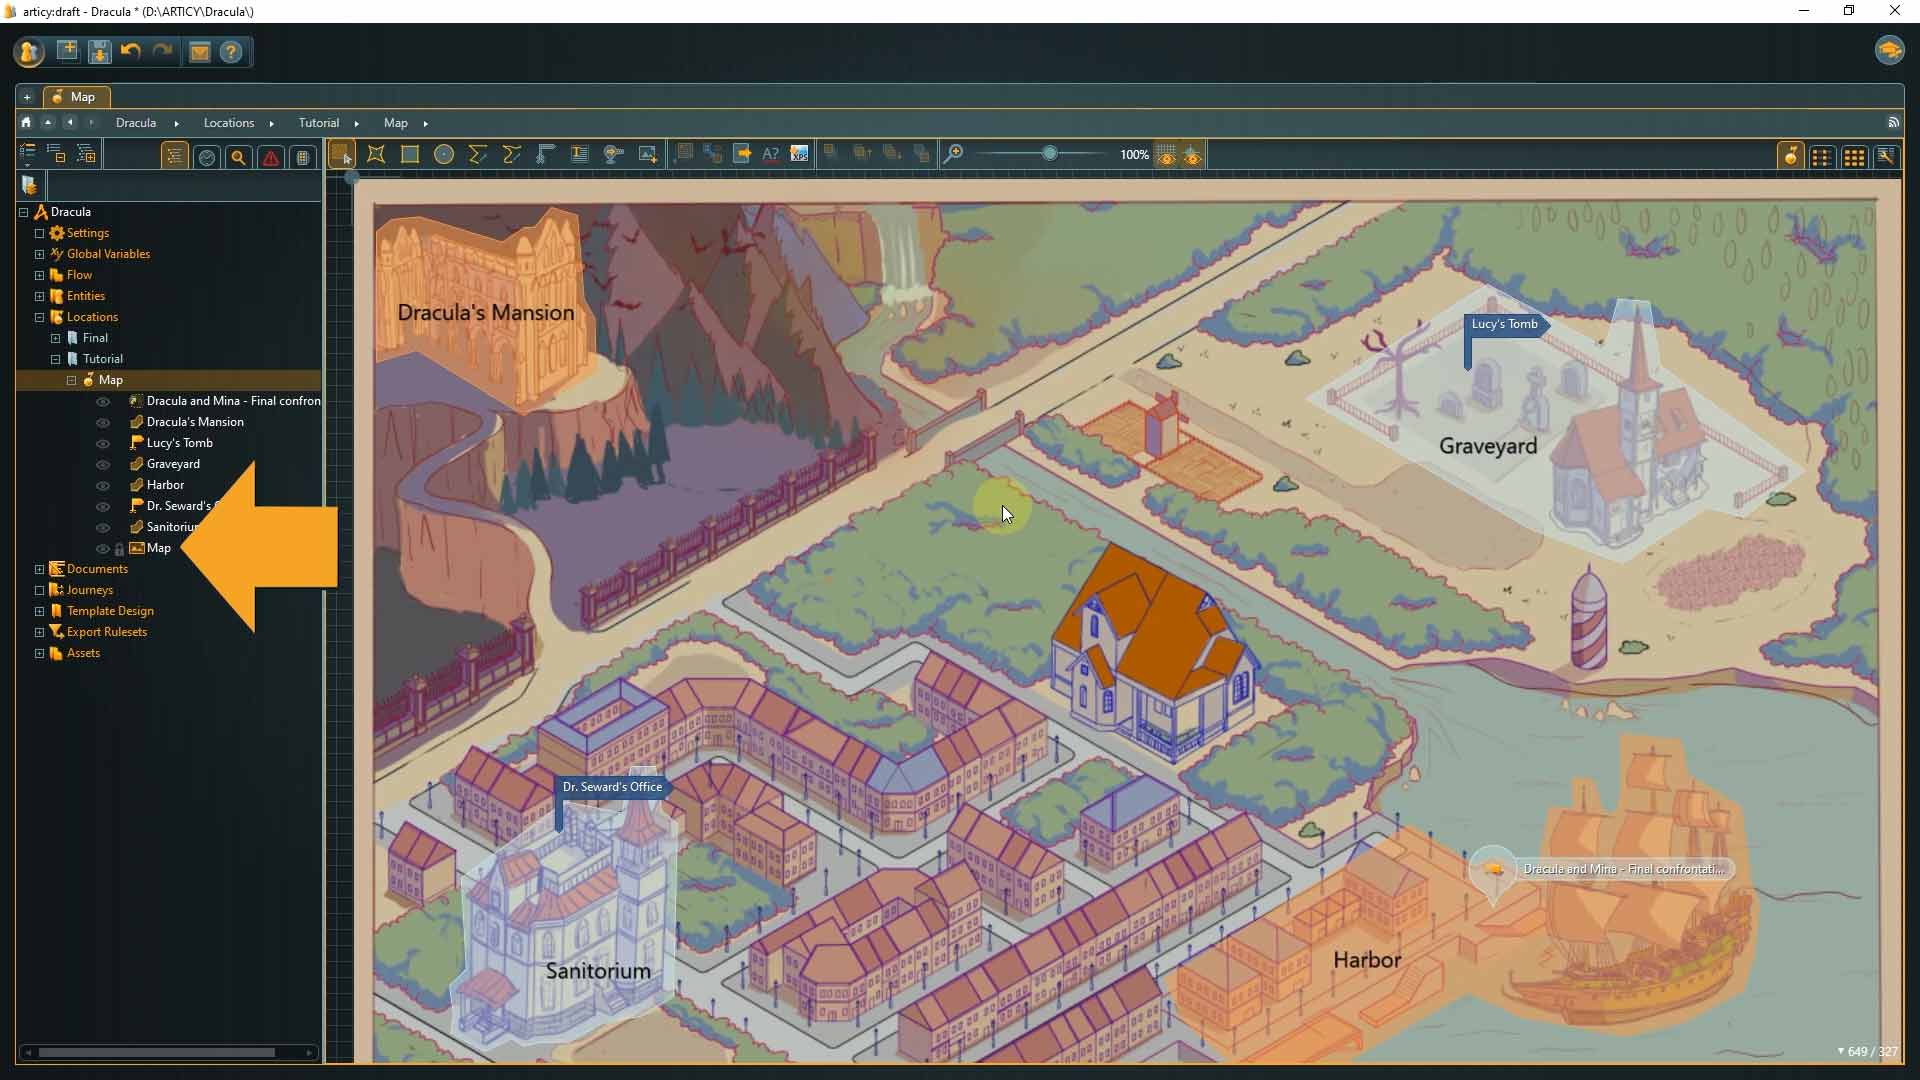
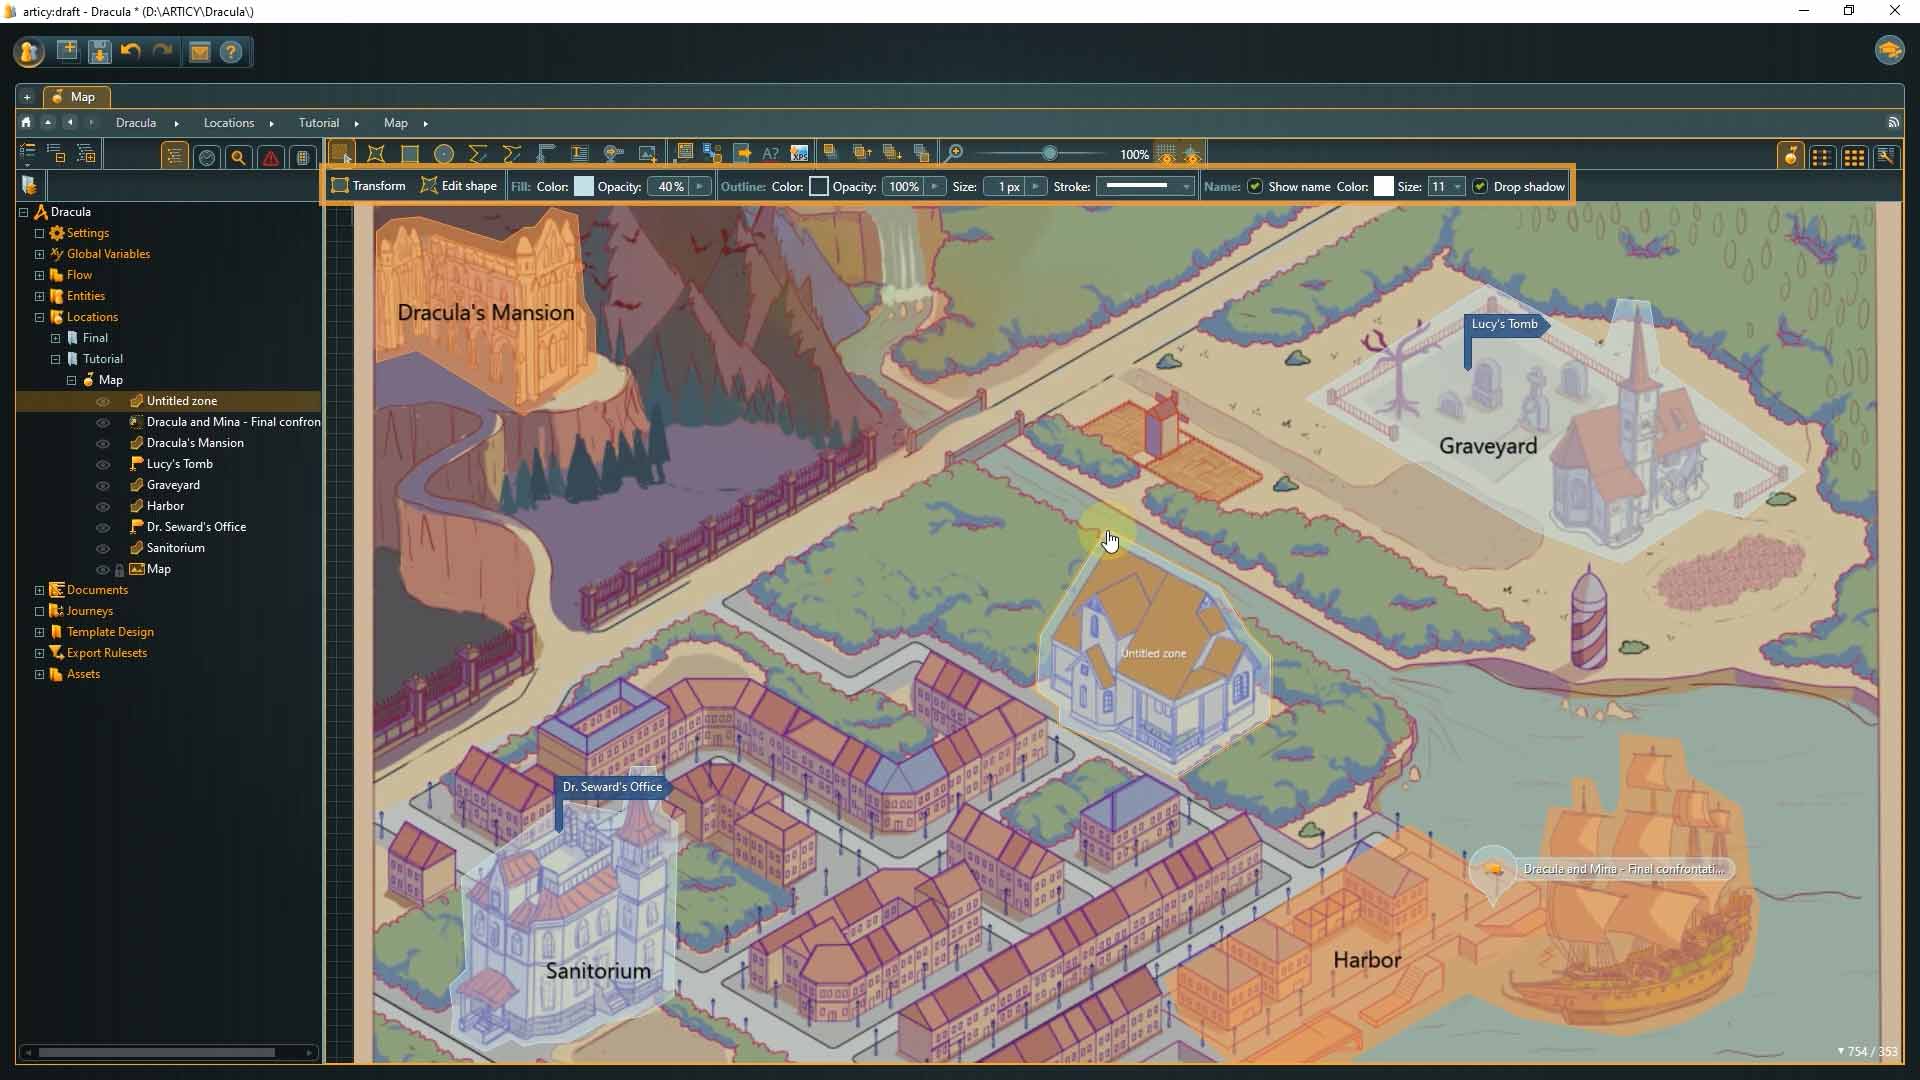
3. There is already a location object called “map” in here, which we open by double-clicking.

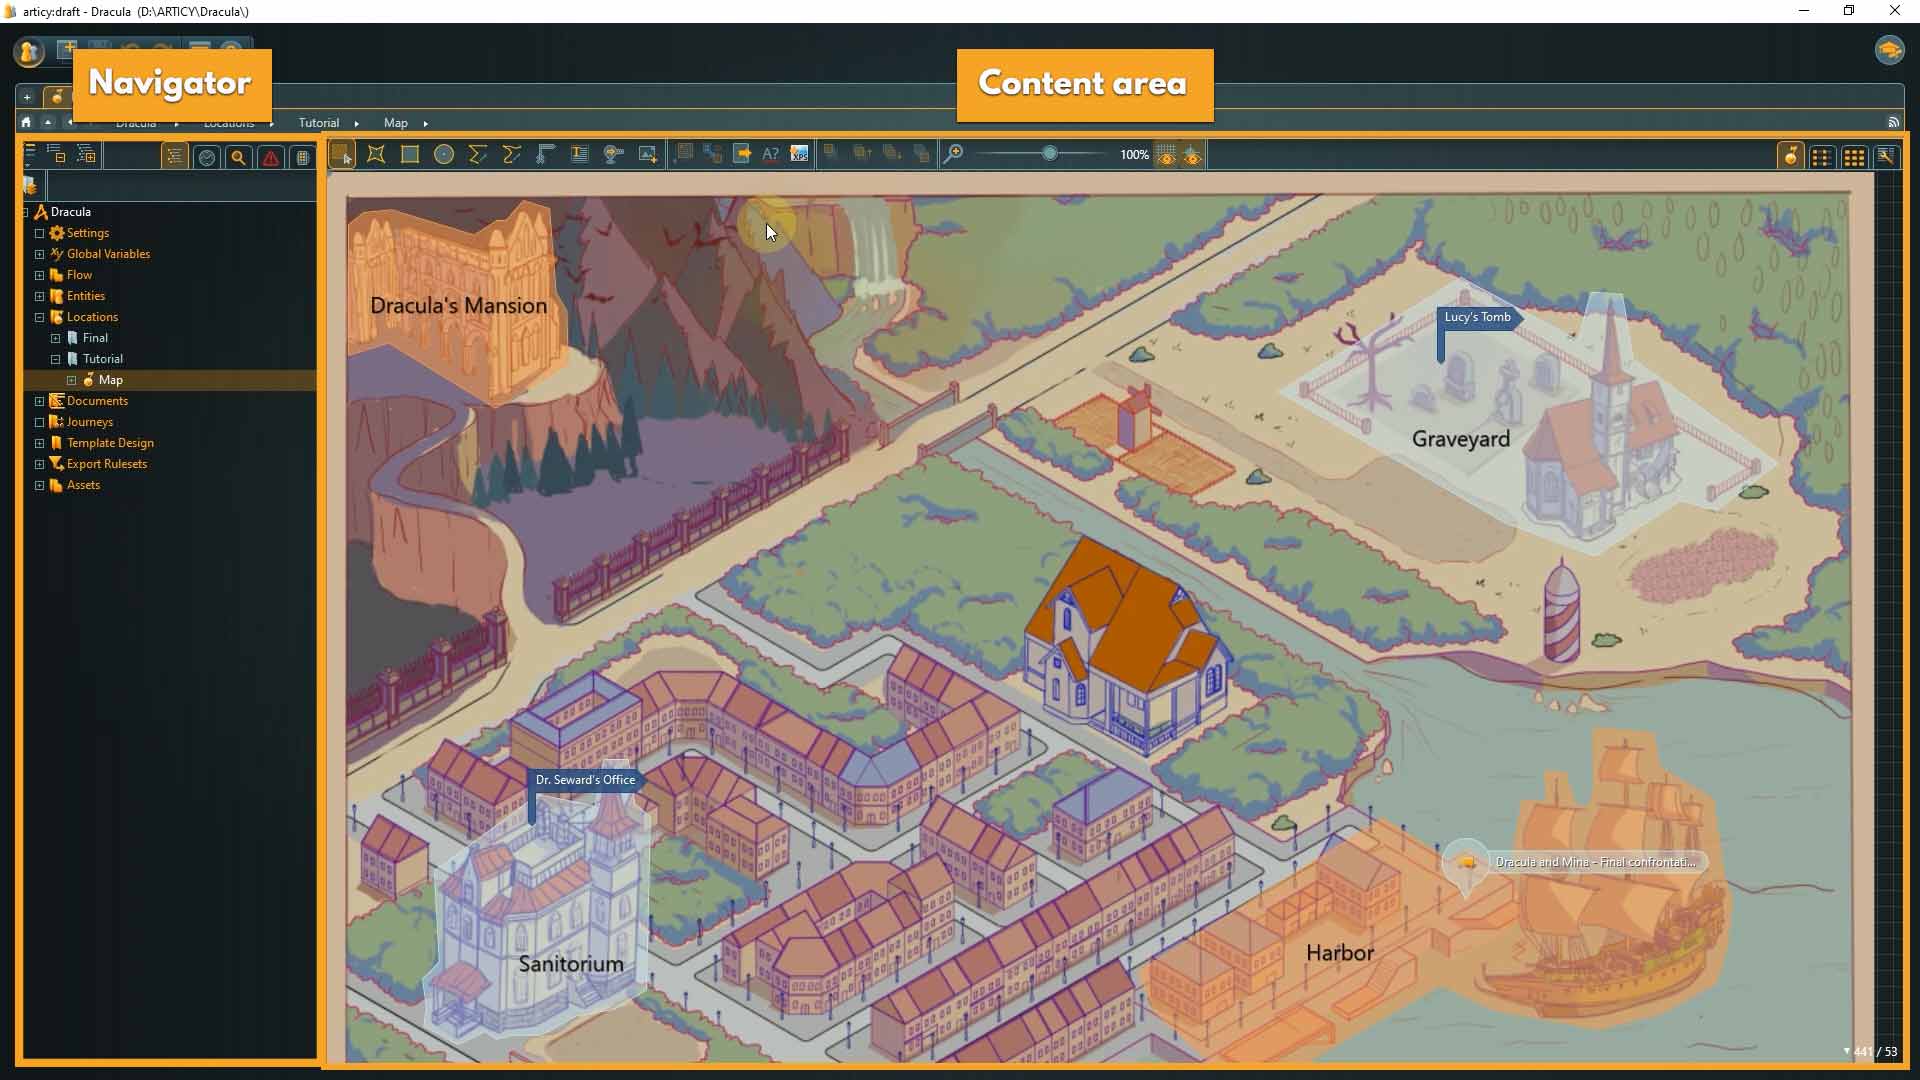
In the content area on the right side the location is displayed, in the Navigator on the left you get a nice overview of the elements that were used. Here you can also toggle the visibility of elements or lock them in place with a click next to the element’s name.
Just like in the Flow you can zoom in or out with the mouse wheel and pan around by clicking middle or right mouse button, hold, and drag.
Let’s look at the elements that have been used for this location so far:
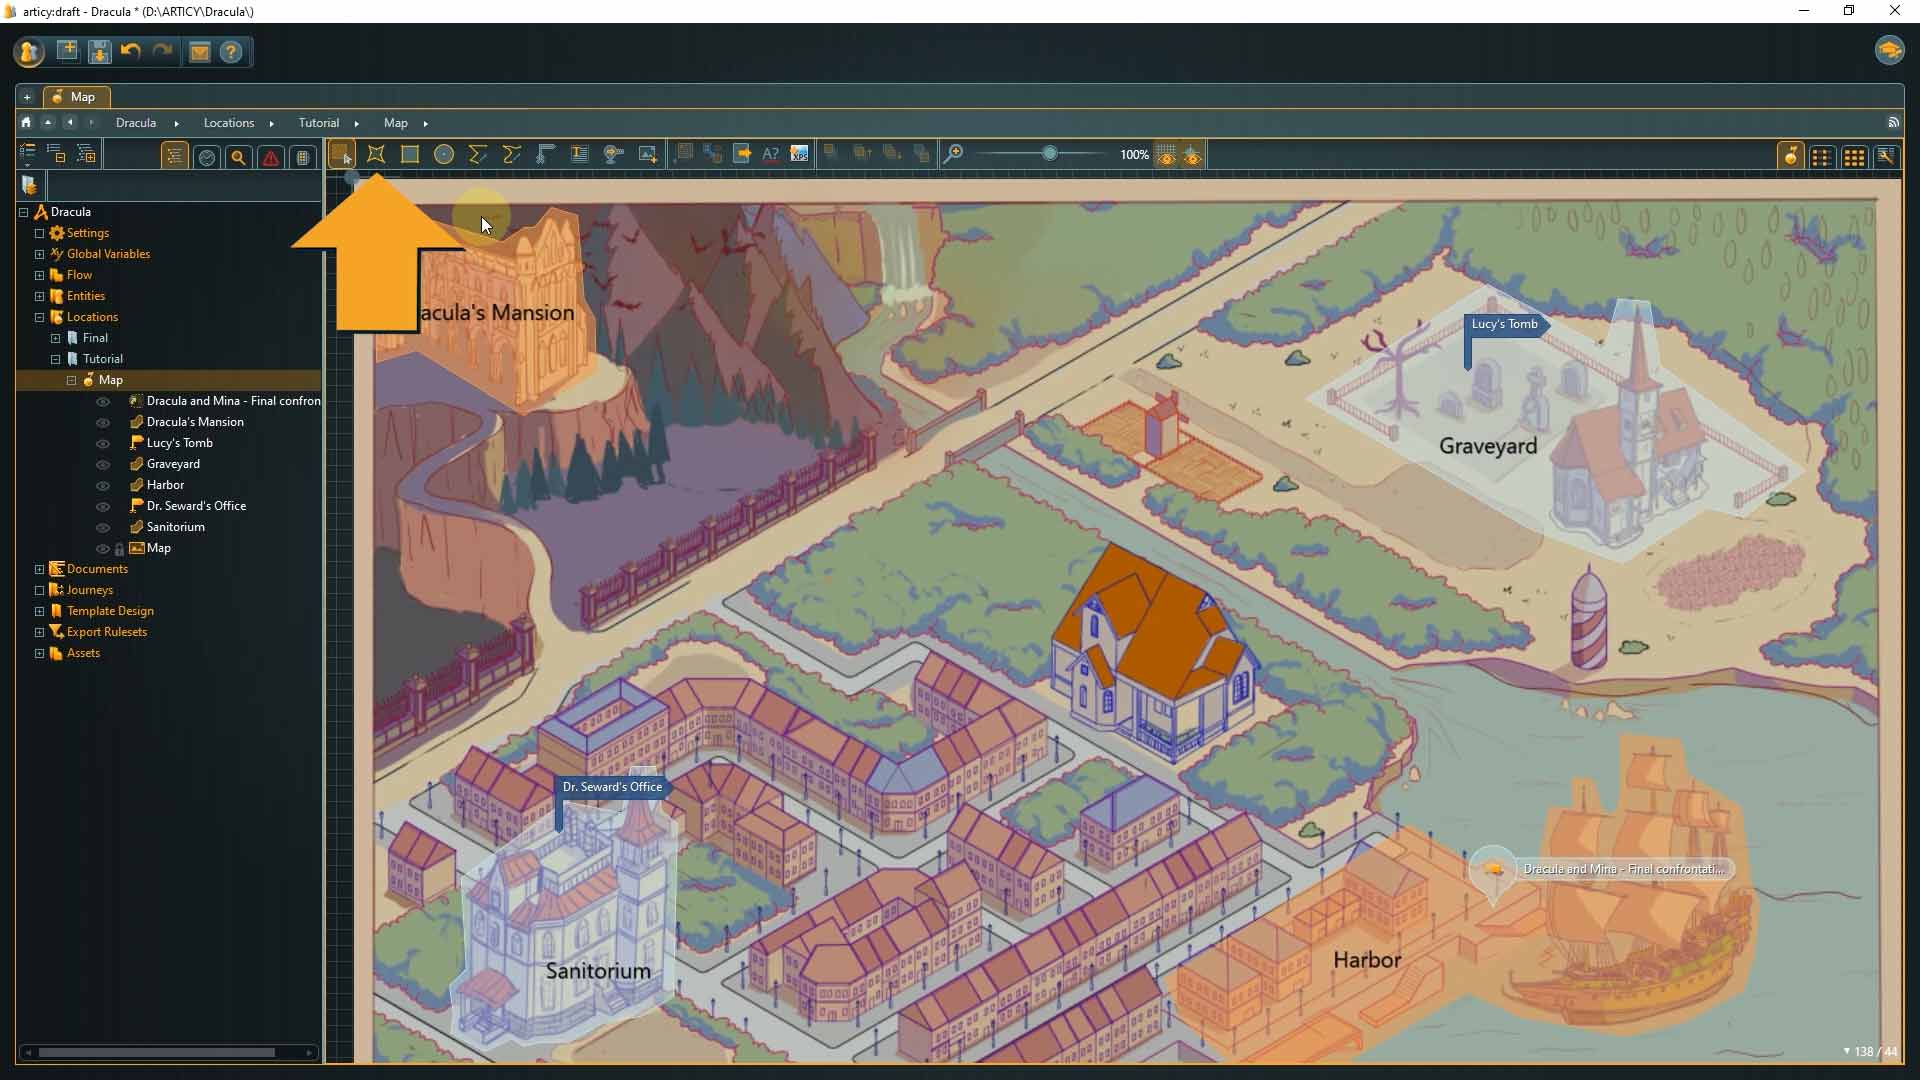
4. For the background, a concept art of the game world was used. To use an image asset in a location, click the Image icon in the toolbar, or use the hotkey “Shift + 9”.

⭐ Our tip – it’s usually a good idea to lock the background element, to not move it unintentionally, while working on other elements.
The background element is locked in our case as well.
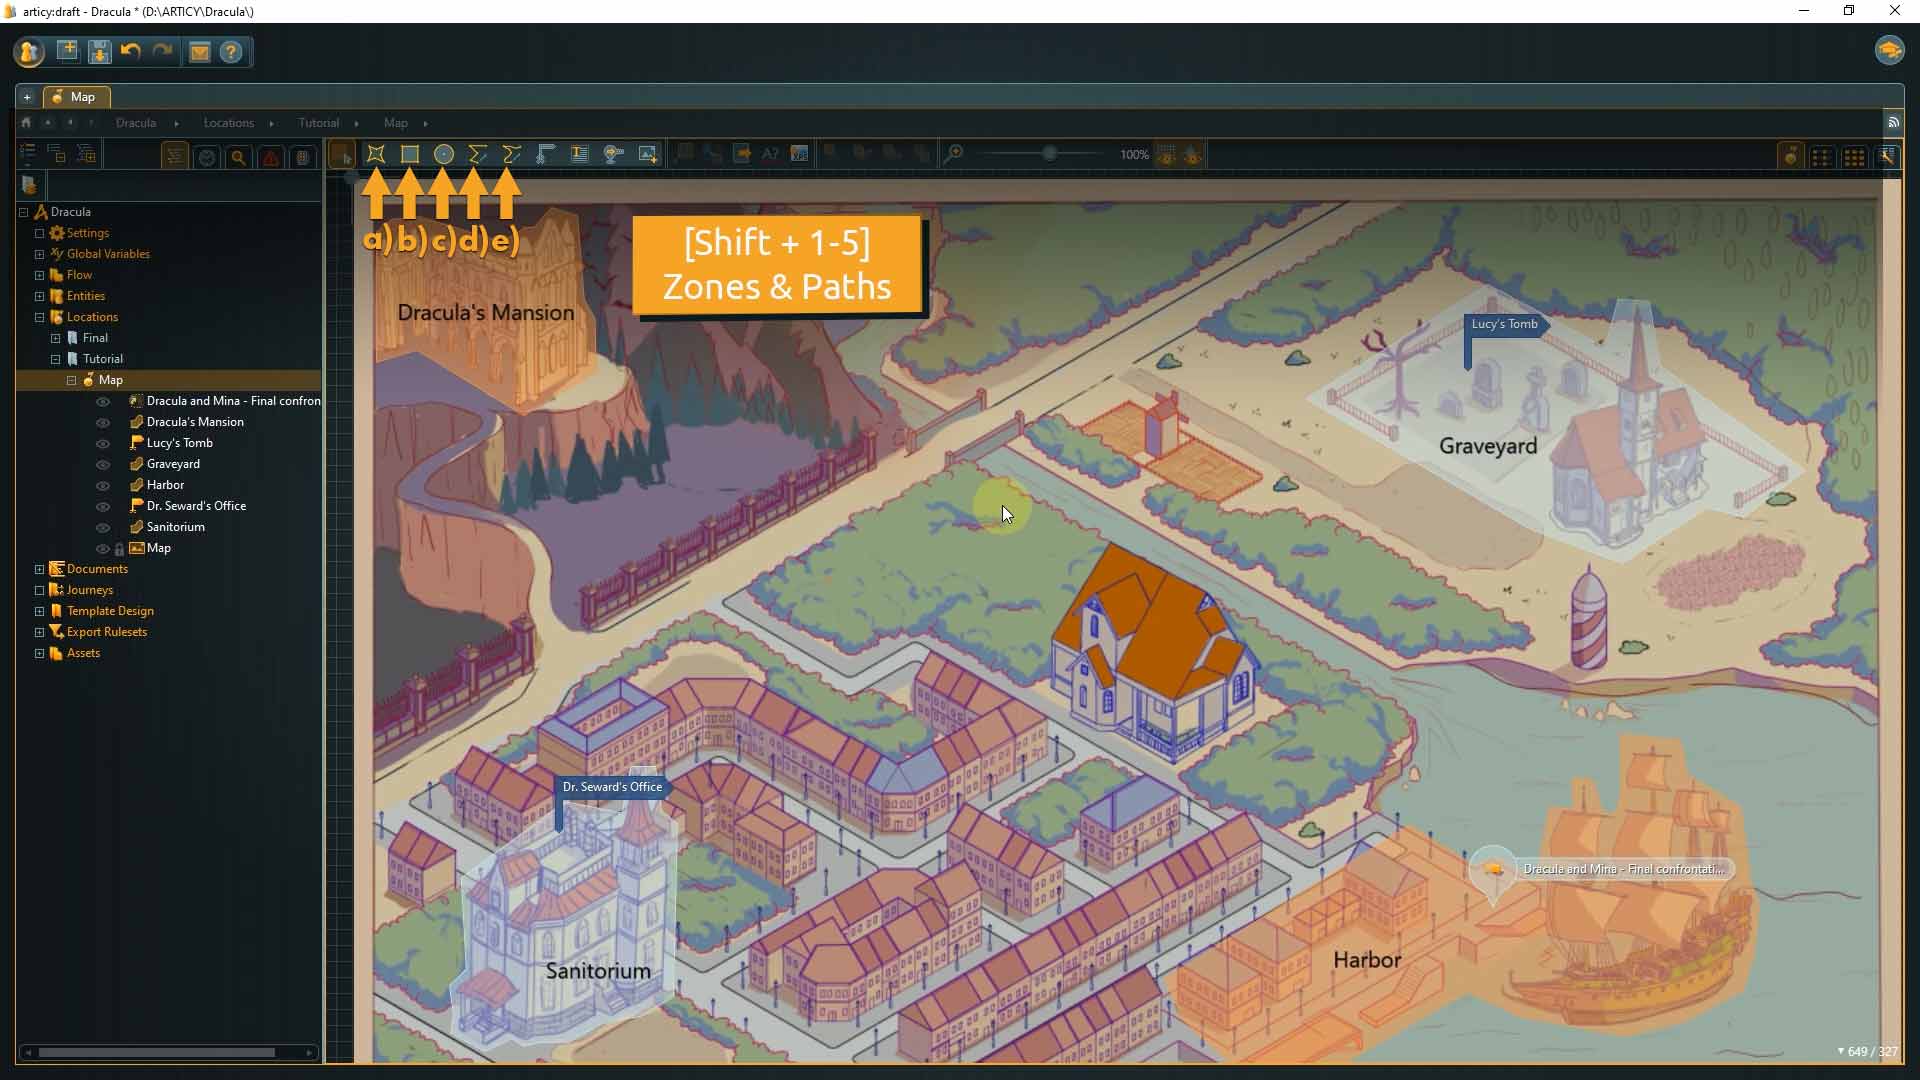
If you want to draw your own levels or mockup maps you can choose from different zone and path options. These are a) custom shaped zones, b) rectangular zones, c) circular zones, d) path, or e) free-hand path. They can be selected via the tool-bar or with the hotkeys “Shift + 1 to 5”.
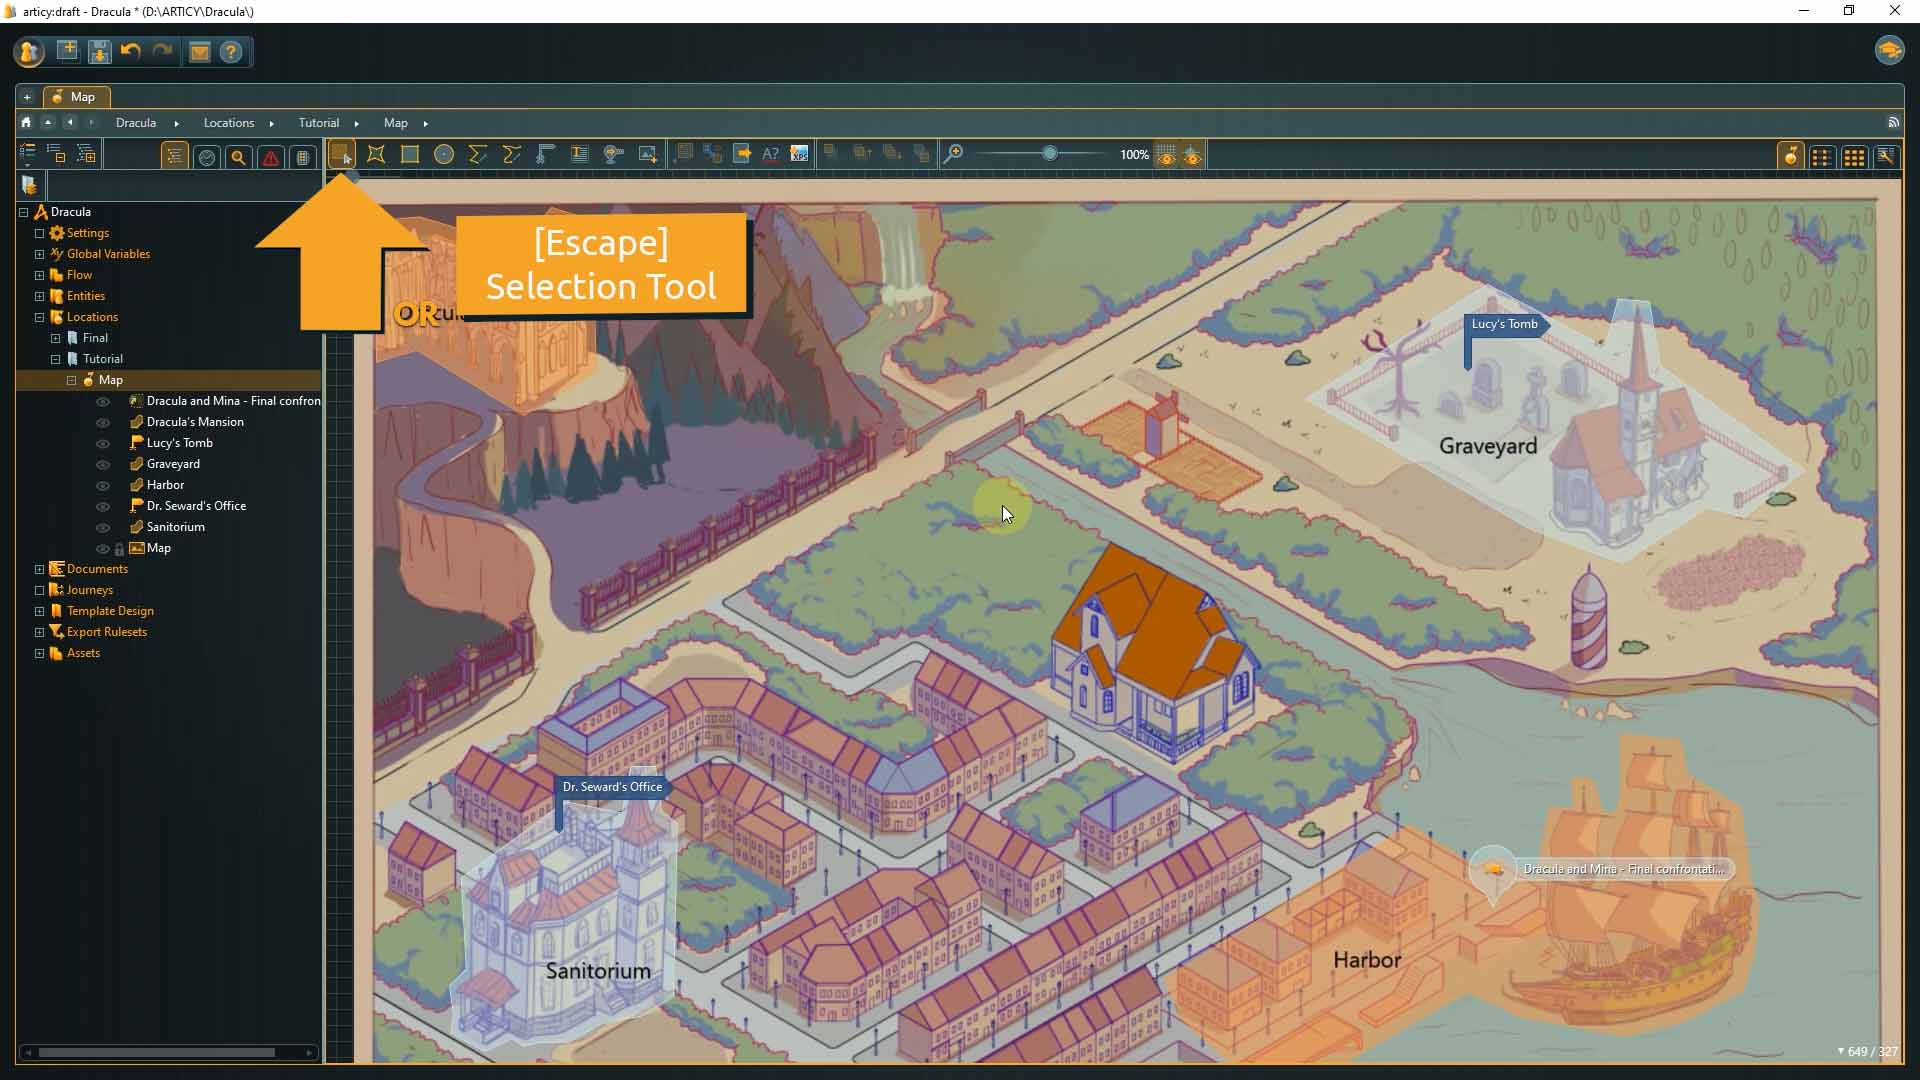
With the hotkey “Escape” you get back to the “Selection tool”.
For our map, zones were used to highlight special areas. The orange zones are the ones where the scenes are part of this demo project. In Dracula’s mansion the “first meeting” dialogue takes place and the harbor is the location for the “final confrontation”.
The cutscene takes place in Mina’s house, which is not yet highlighted. Let’s do this now.
5. Select the custom zone tool by clicking the icon on the toolbar or by using the “Shift + 1” hotkey and draw a shape roughly around the house in the center of the map.
As soon as the path is closed the tool changes to the selection tool and the newly drawn shape gets selected. We now have a second, context-sensitive toolbar, with a lot of options to further edit the zone element.
With “Transform” we can scale or rotate the zone as a whole.

“Edit shape” allows us to move single points to change the overall shape. We can add points by a left-click on the zone’s border or delete points by holding “Control” and left-clicking the point we want to remove.

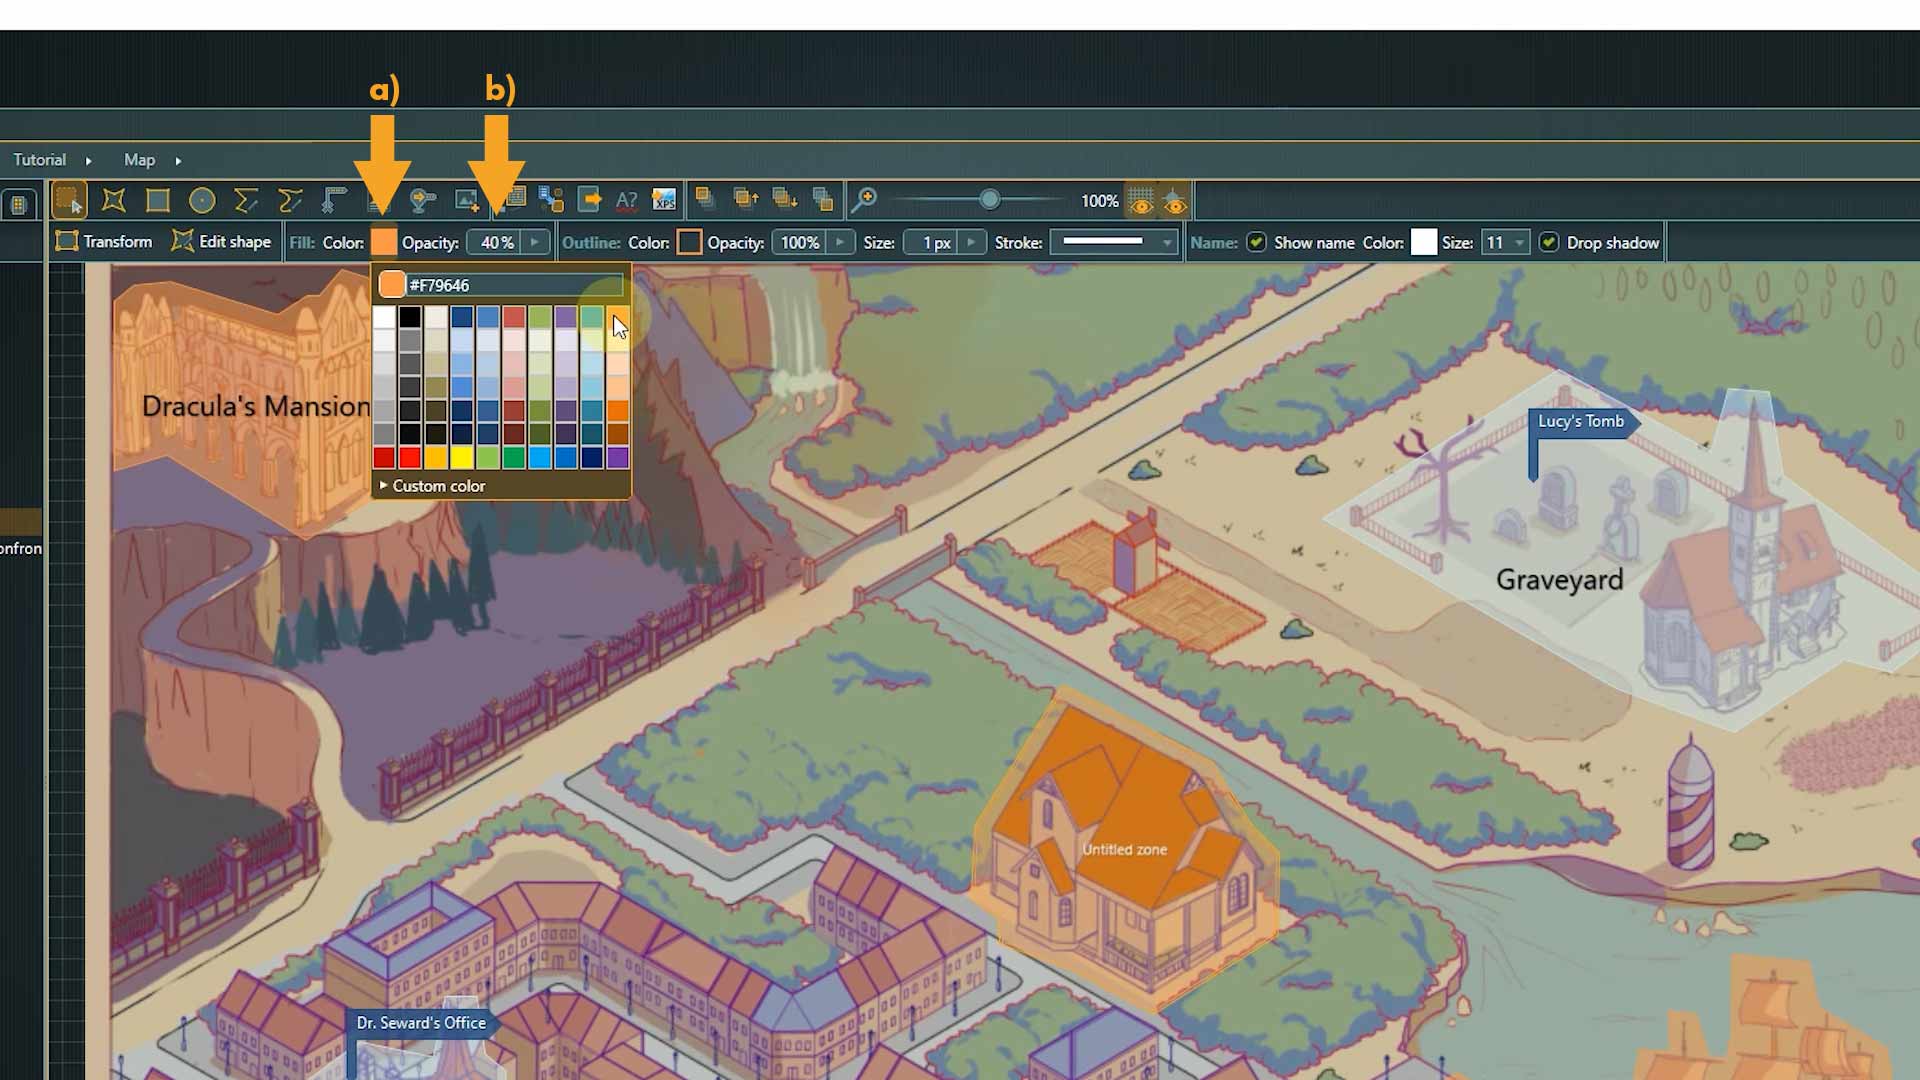
Next we can select a) color and b) opacity. The color options are divided between fill and outline. As Mina’s house is a location where one of our project scenes takes place I will change the color to the same orange the other scene locations are marked with. I will also increase the opacity a bit to enhance visibility.
With the controls on the right side we can decide if we want to a) display the zone’s name and if yes b) in what color and c) size.

Now we can properly read the name. Well, we could, if it wasn’t called “Untitled Zone” ^^
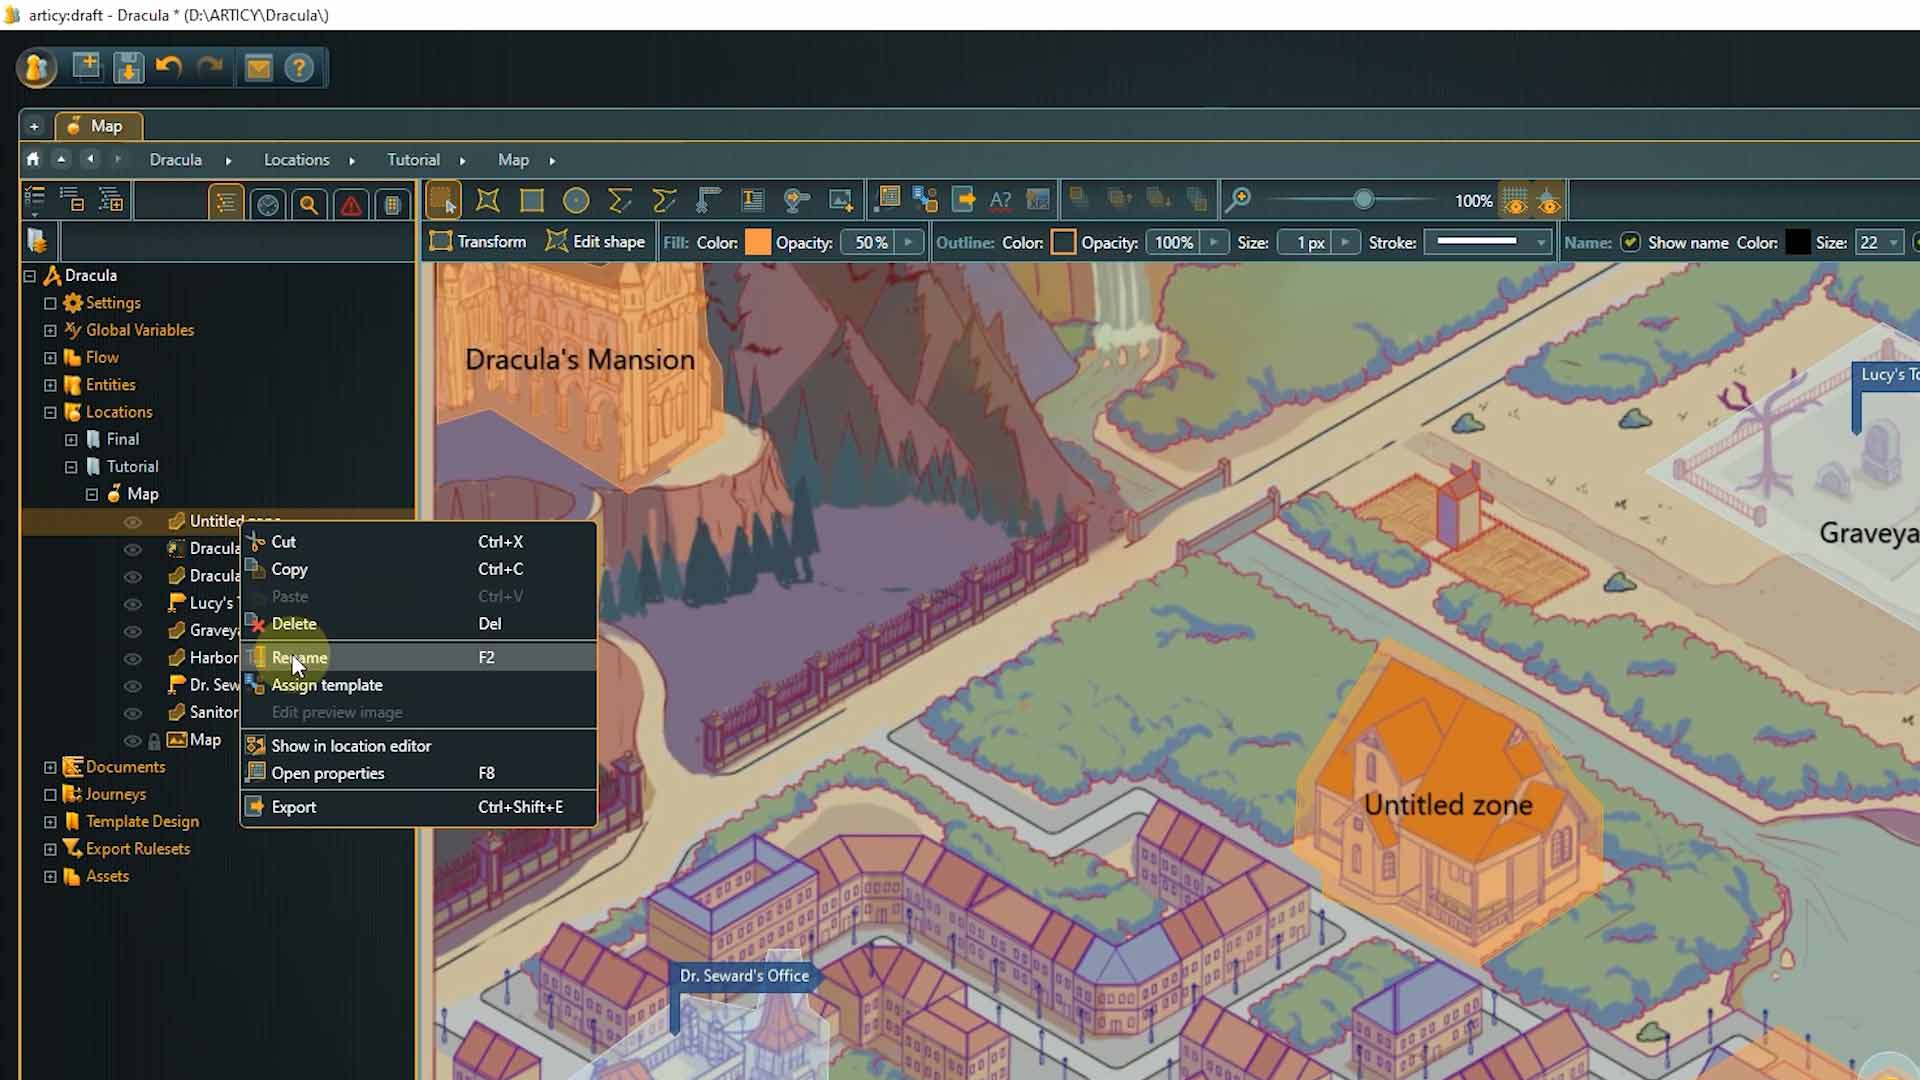
6. To rename a zone right-click it in the content area or its entry in the Navigator and select “Rename” from the context menu.
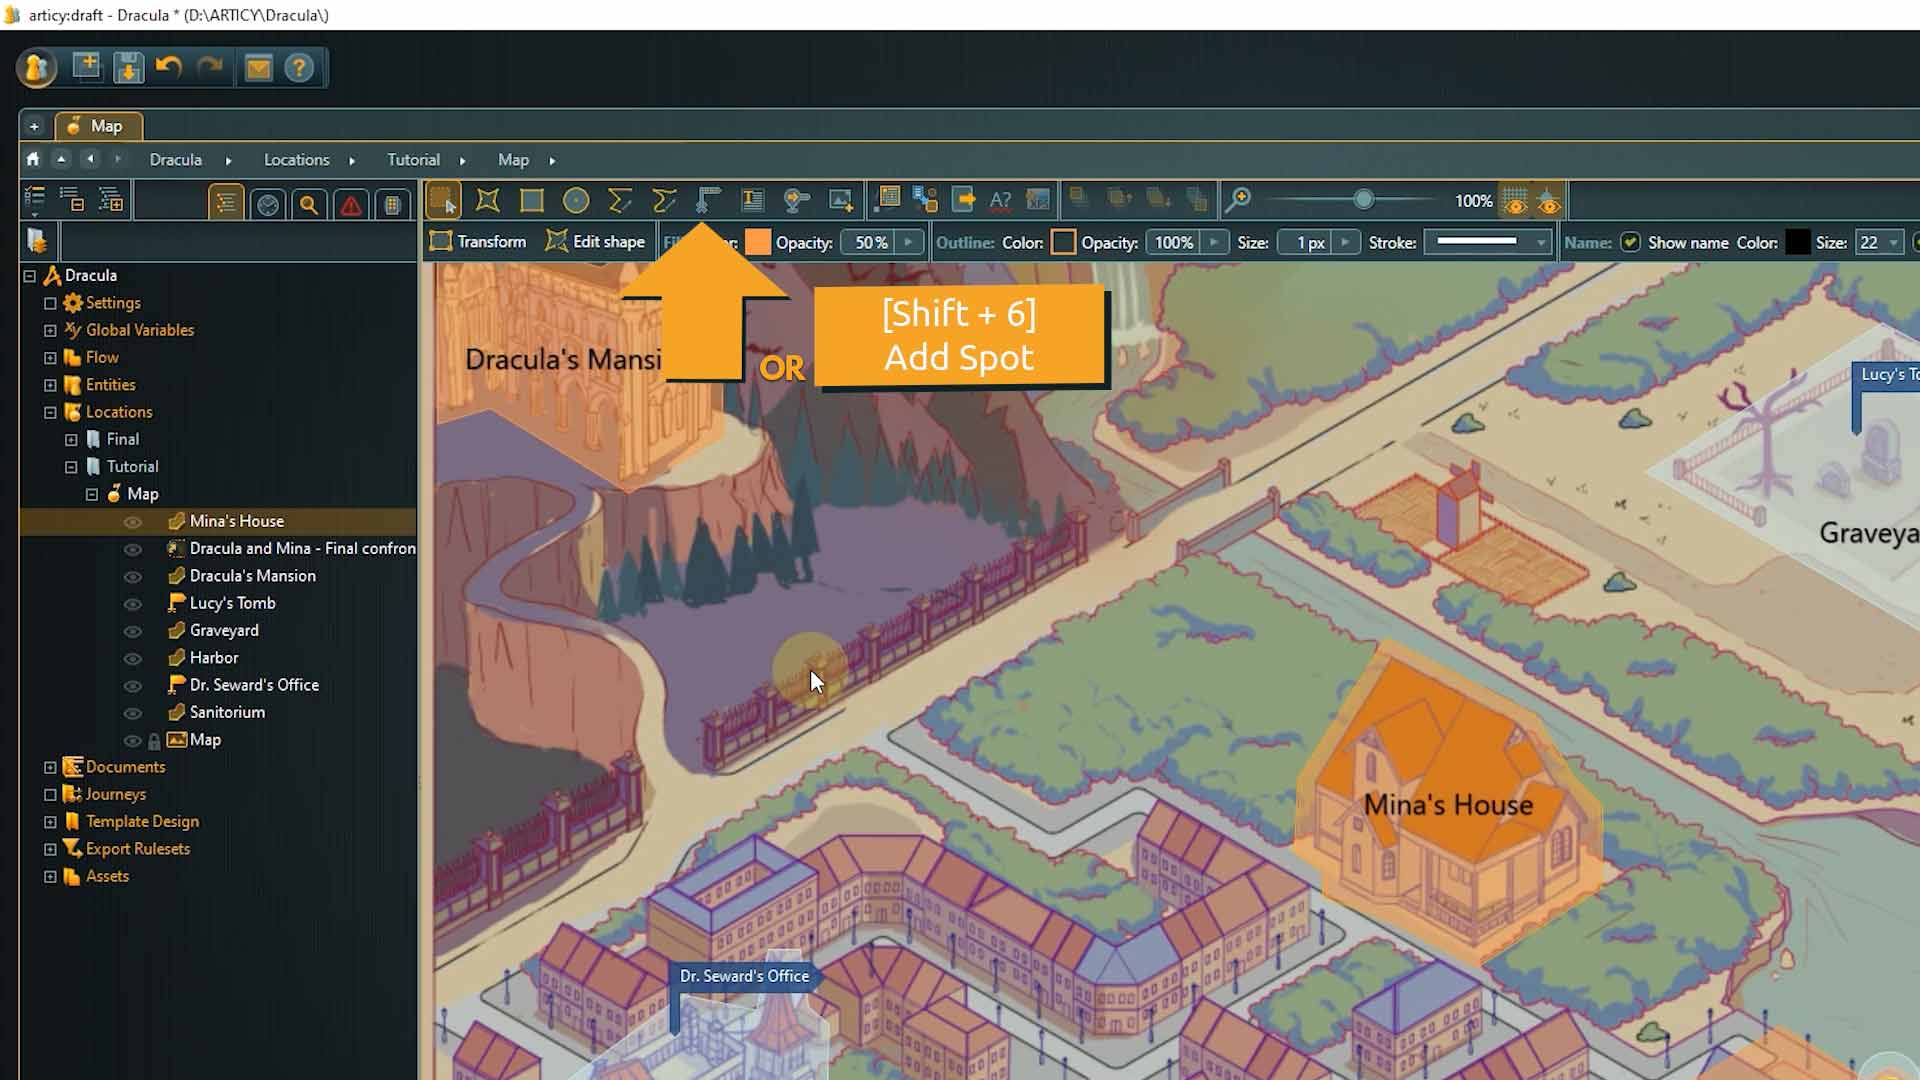
To mark a point of interest, we can use „Spots“. Flag or cross styles and three different sizes are available to choose from.
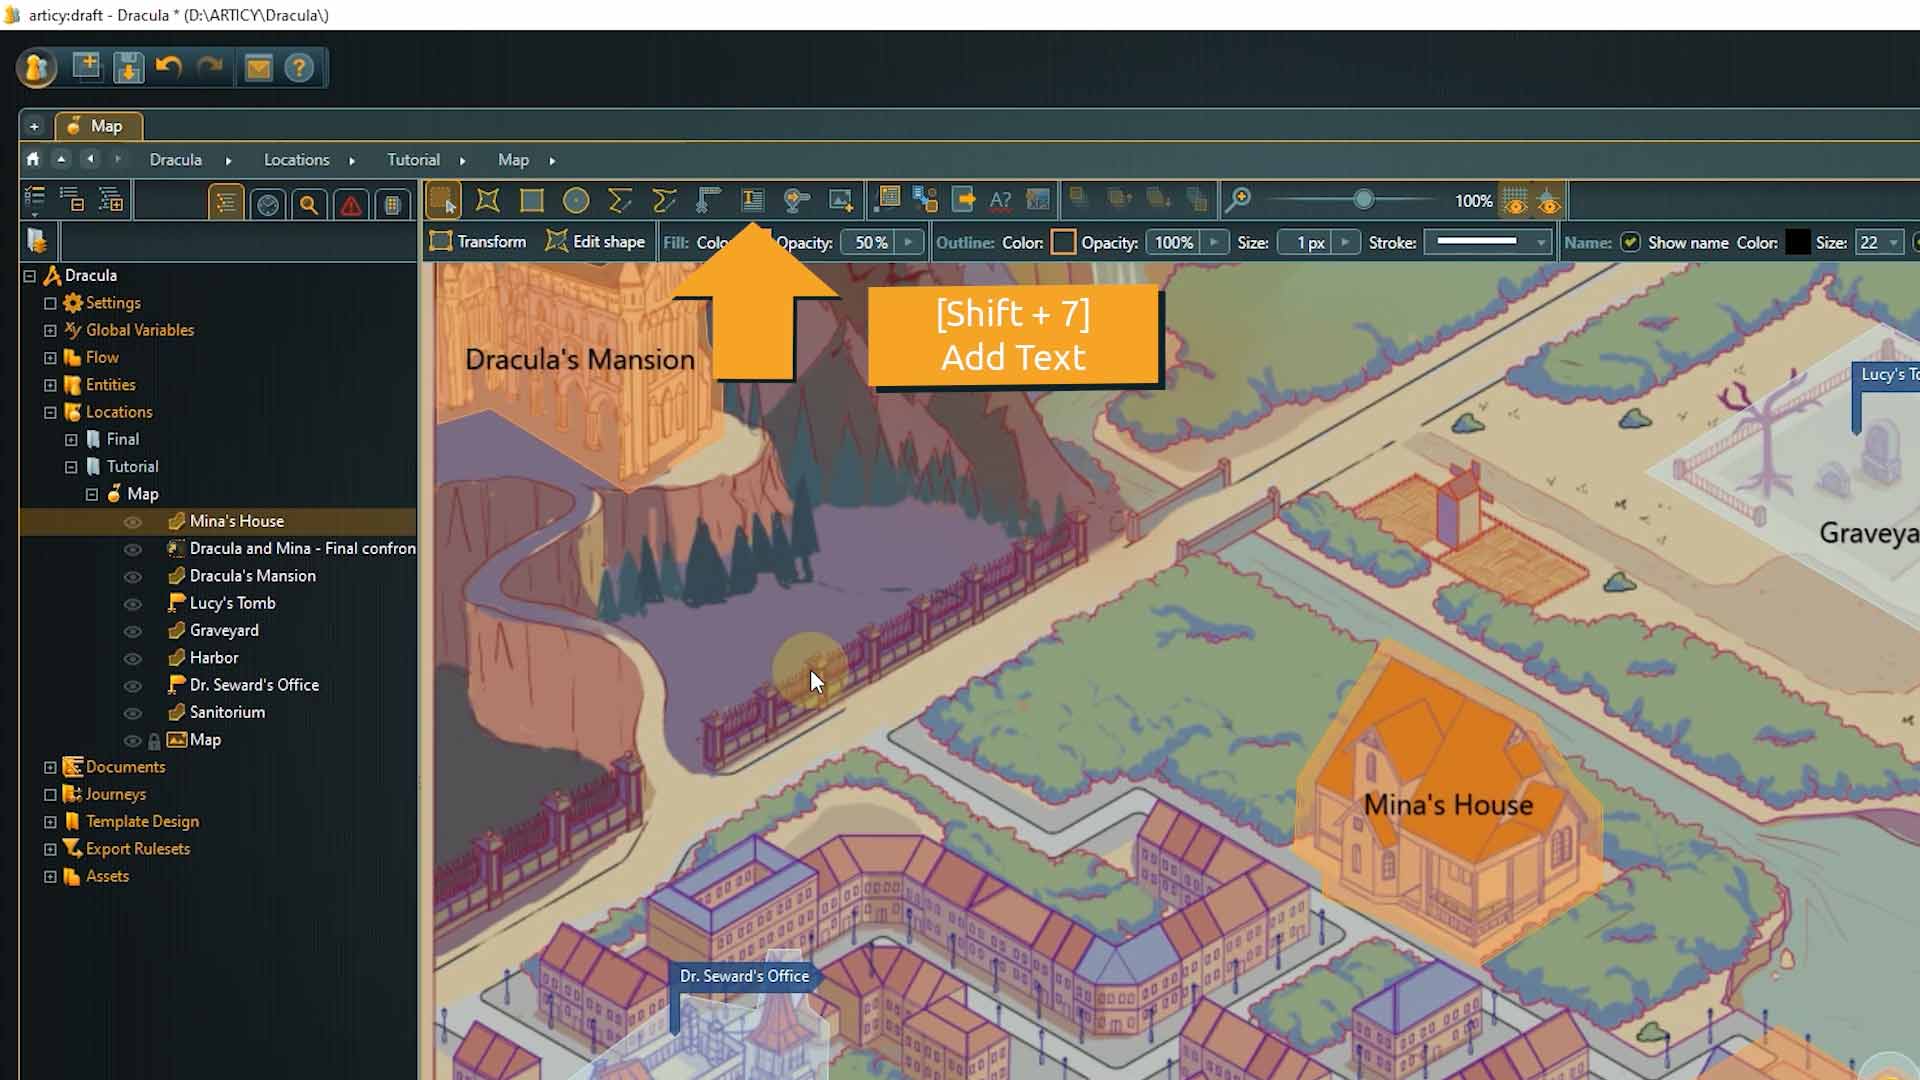
If you want to add more text to a location, you can use the “Text” tool.
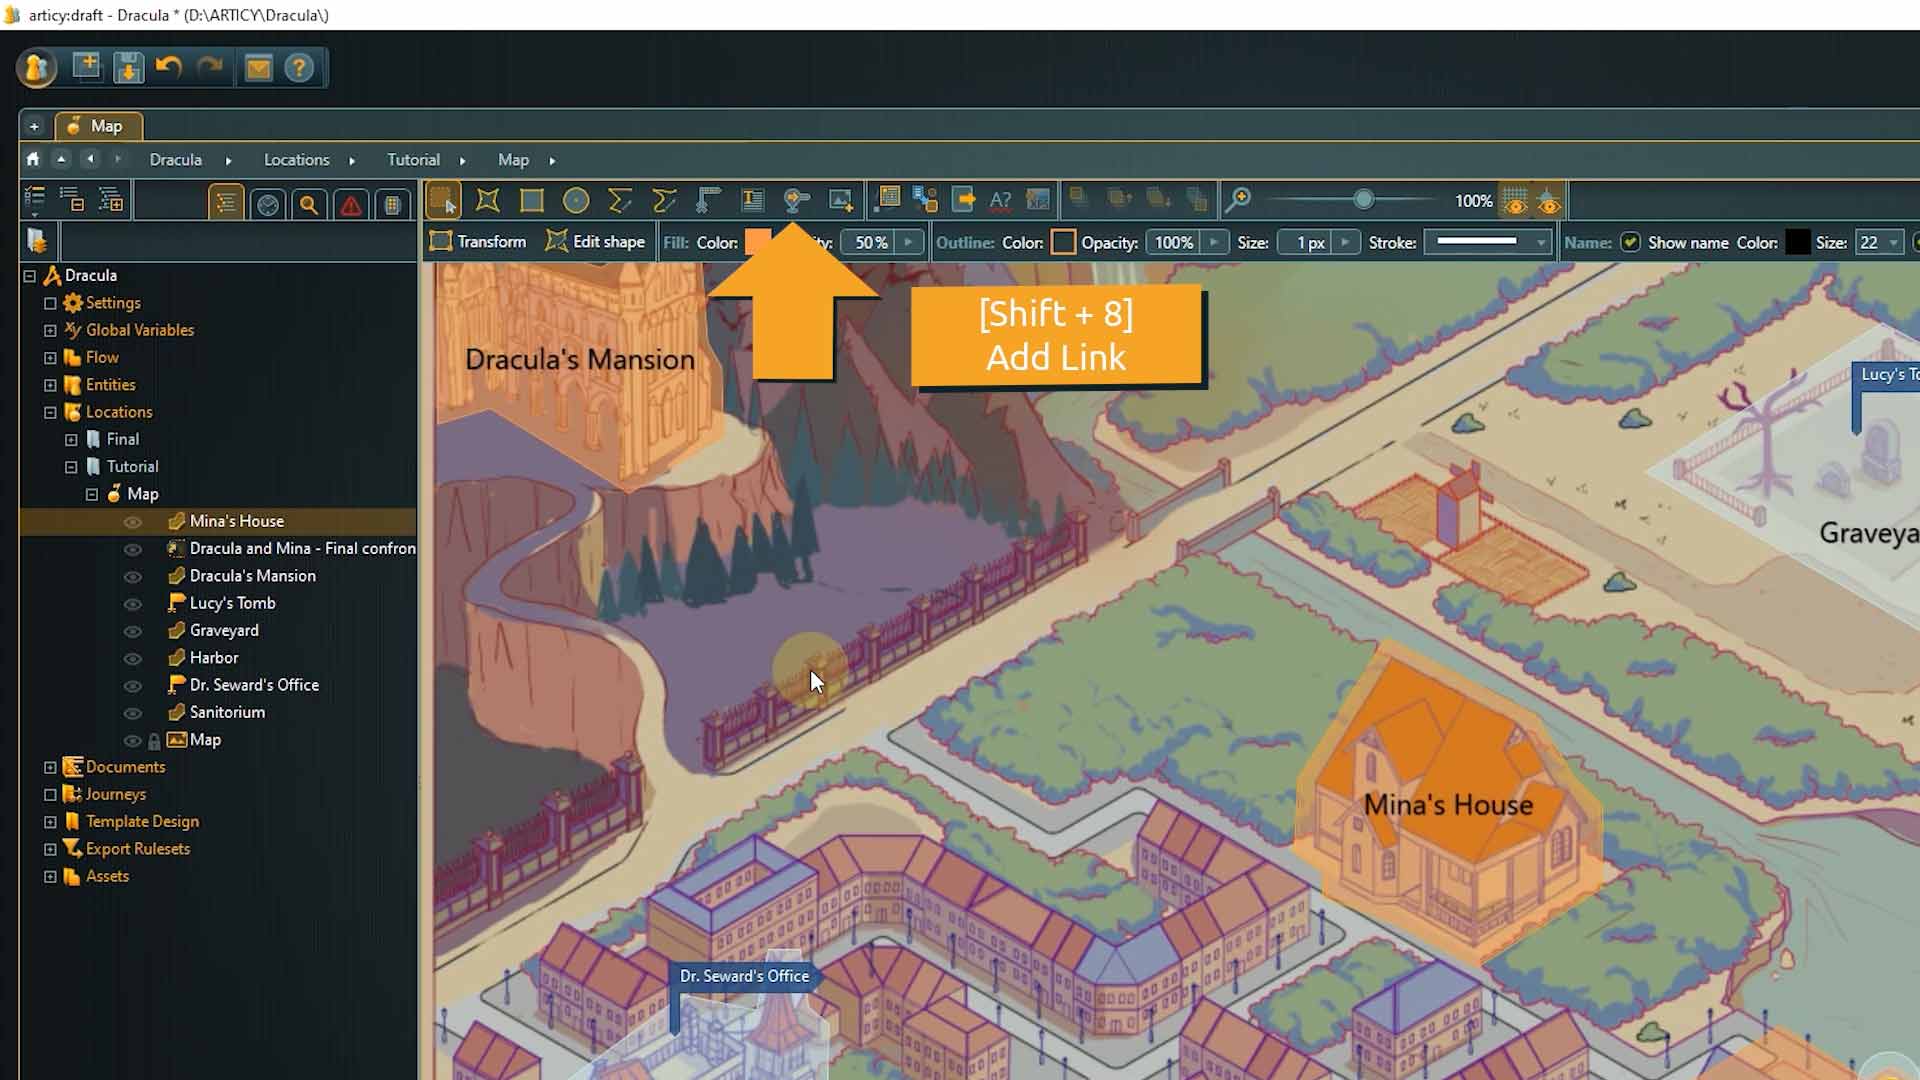
A great way to add reference points to a location is the “Link” tool. Links are used to position other articy objects like flow fragments, dialogues, or entities inside locations. They can also be used to connect different locations with each other. By double-clicking a link, you immediately jump to the referenced object.
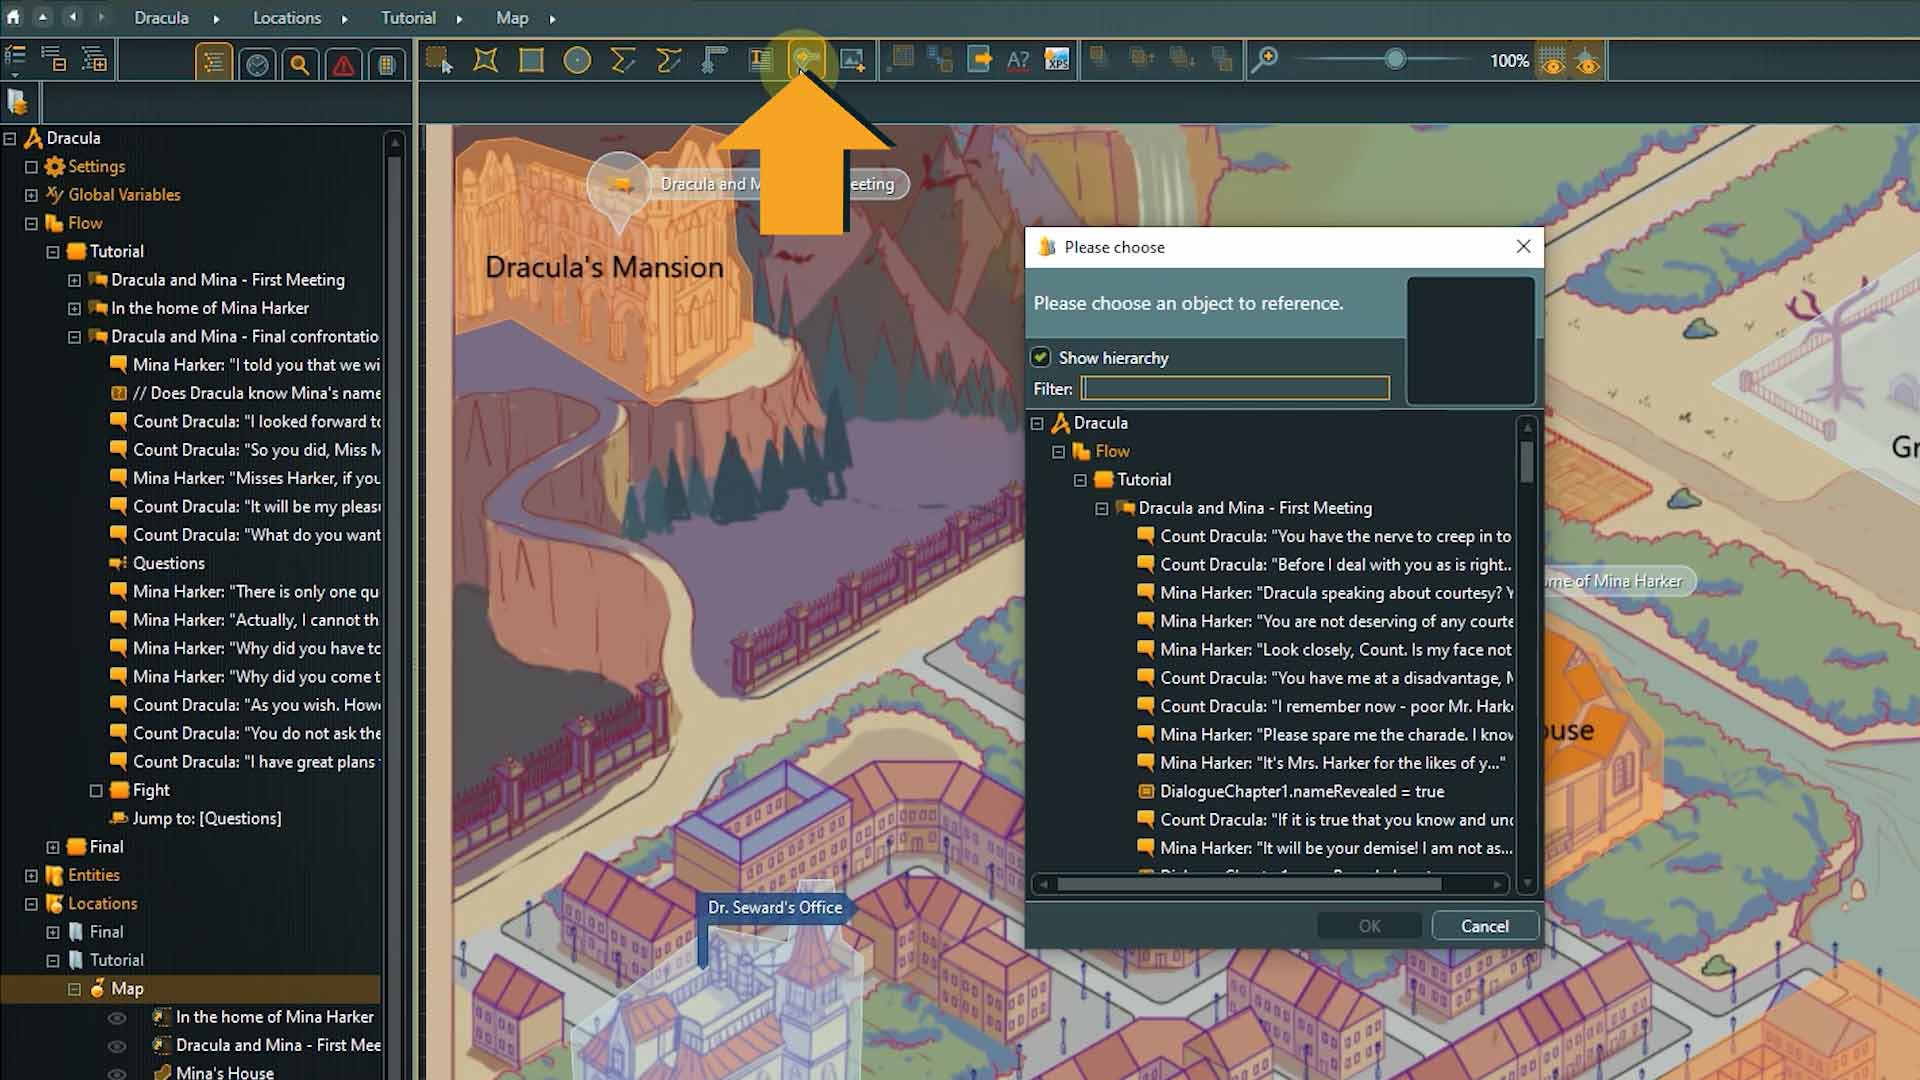
7. Click the “Link” icon in the toolbar or use the hotkey “Shift + 8”.
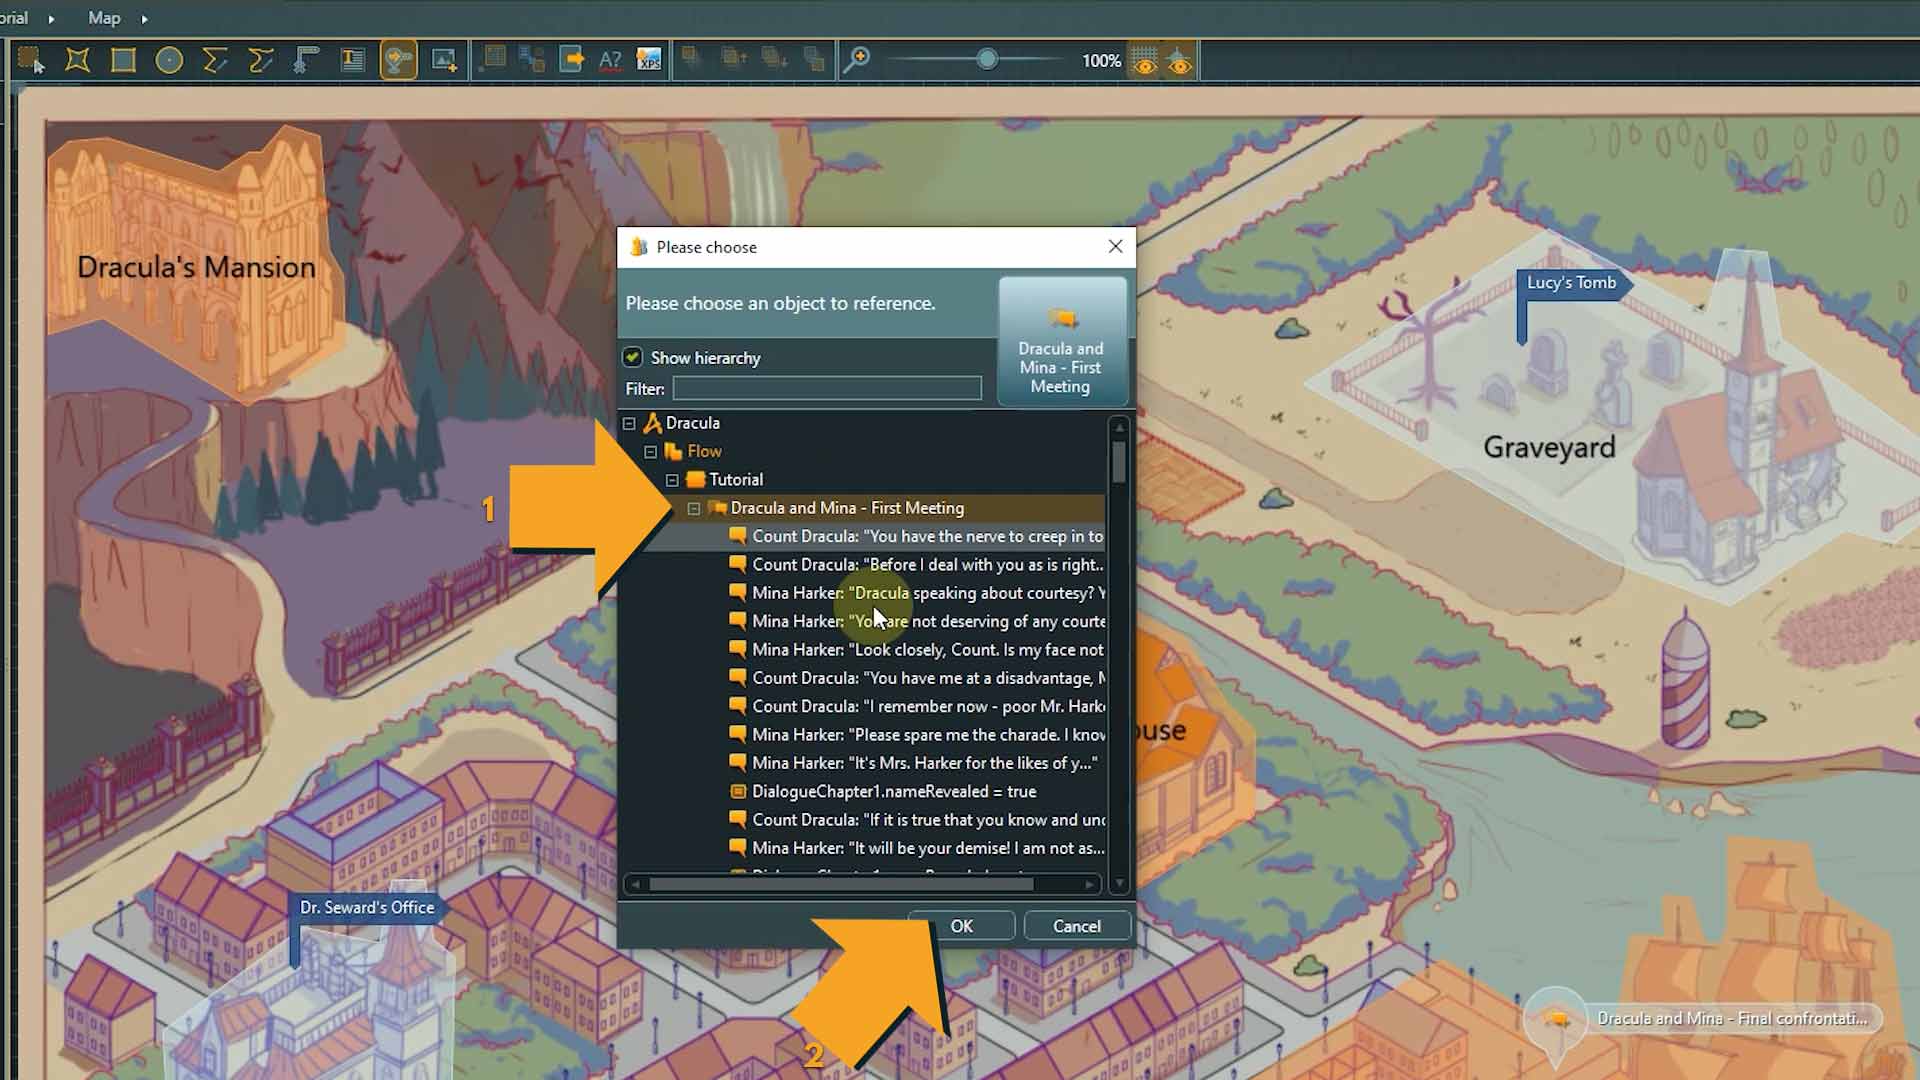
Choose the “First meeting” object from the Tutorial folder as the reference object and confirm with Okay.
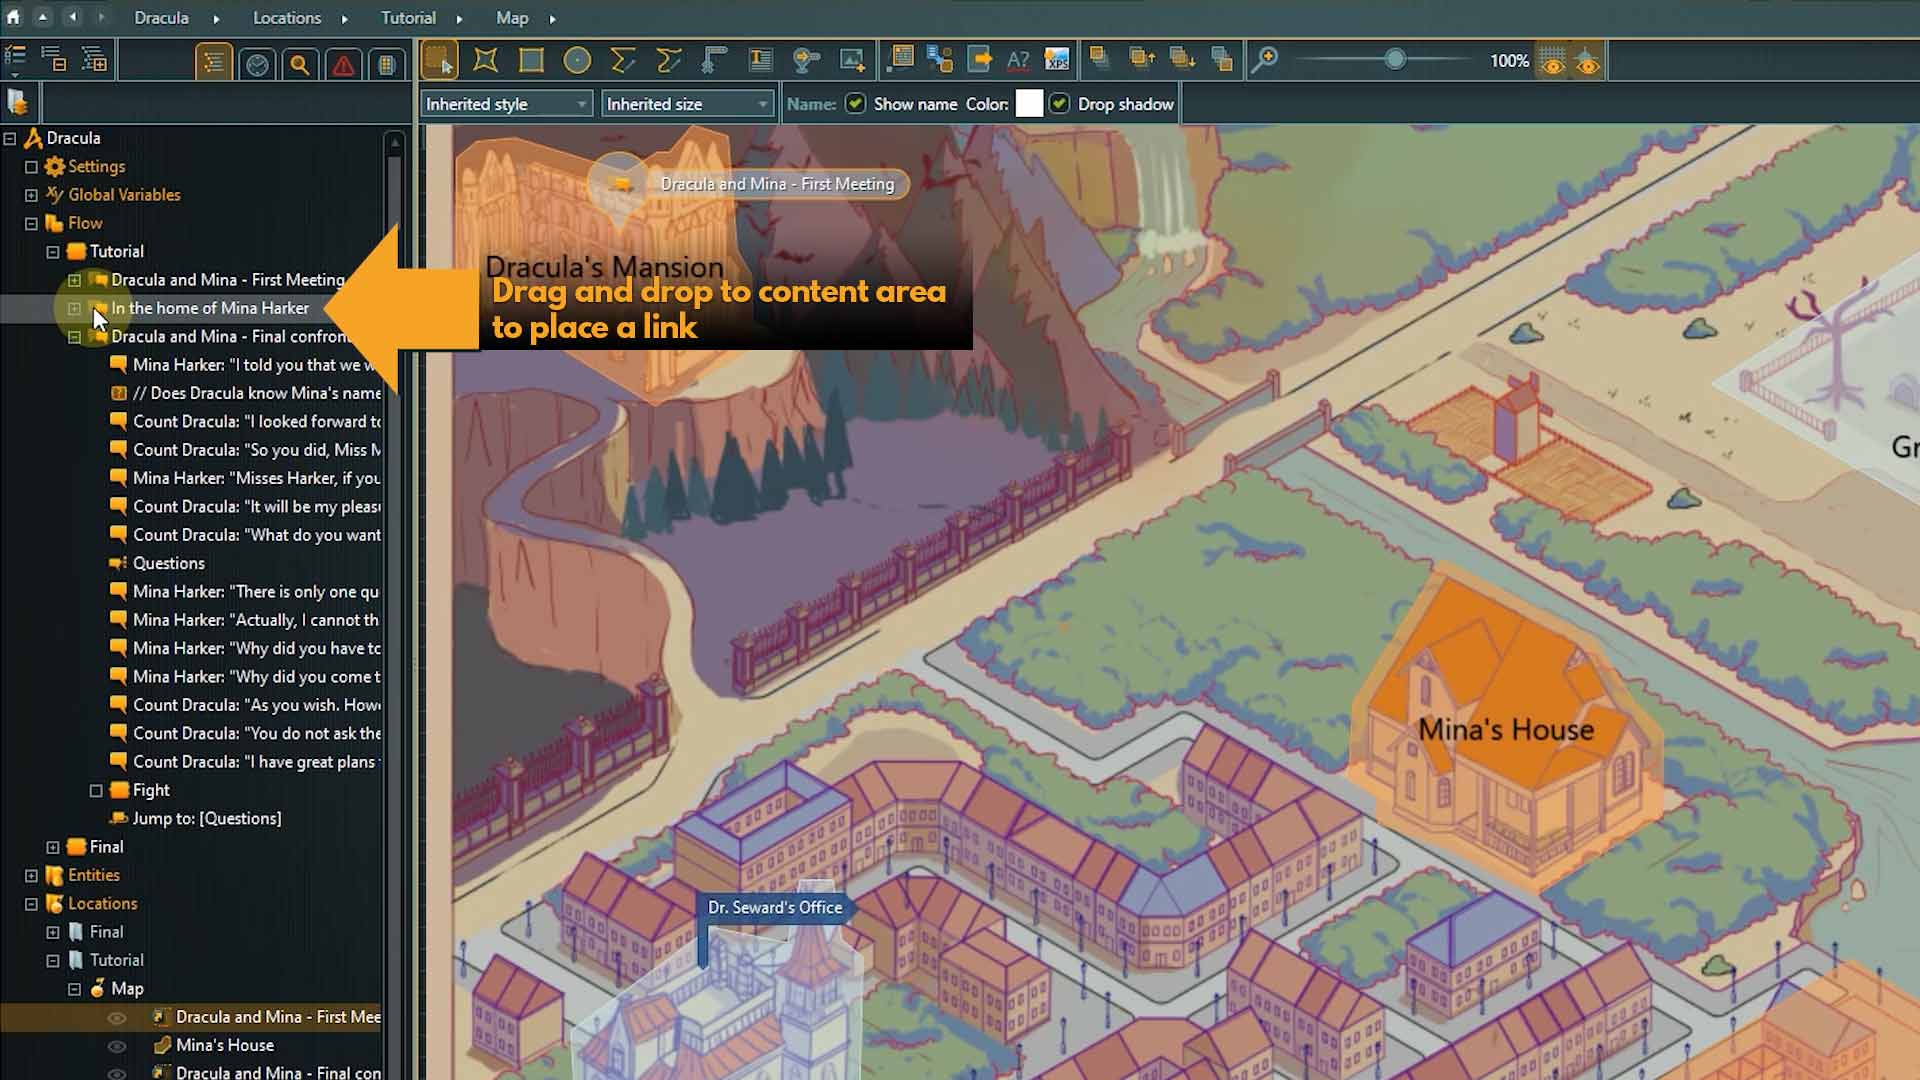
Then move the link to the desired position and place it with a left click. Another way to place a link is to drag and drop the object directly from the Navigator.
8. In the object selection pop-up we can use the filter to quickly find specific objects.
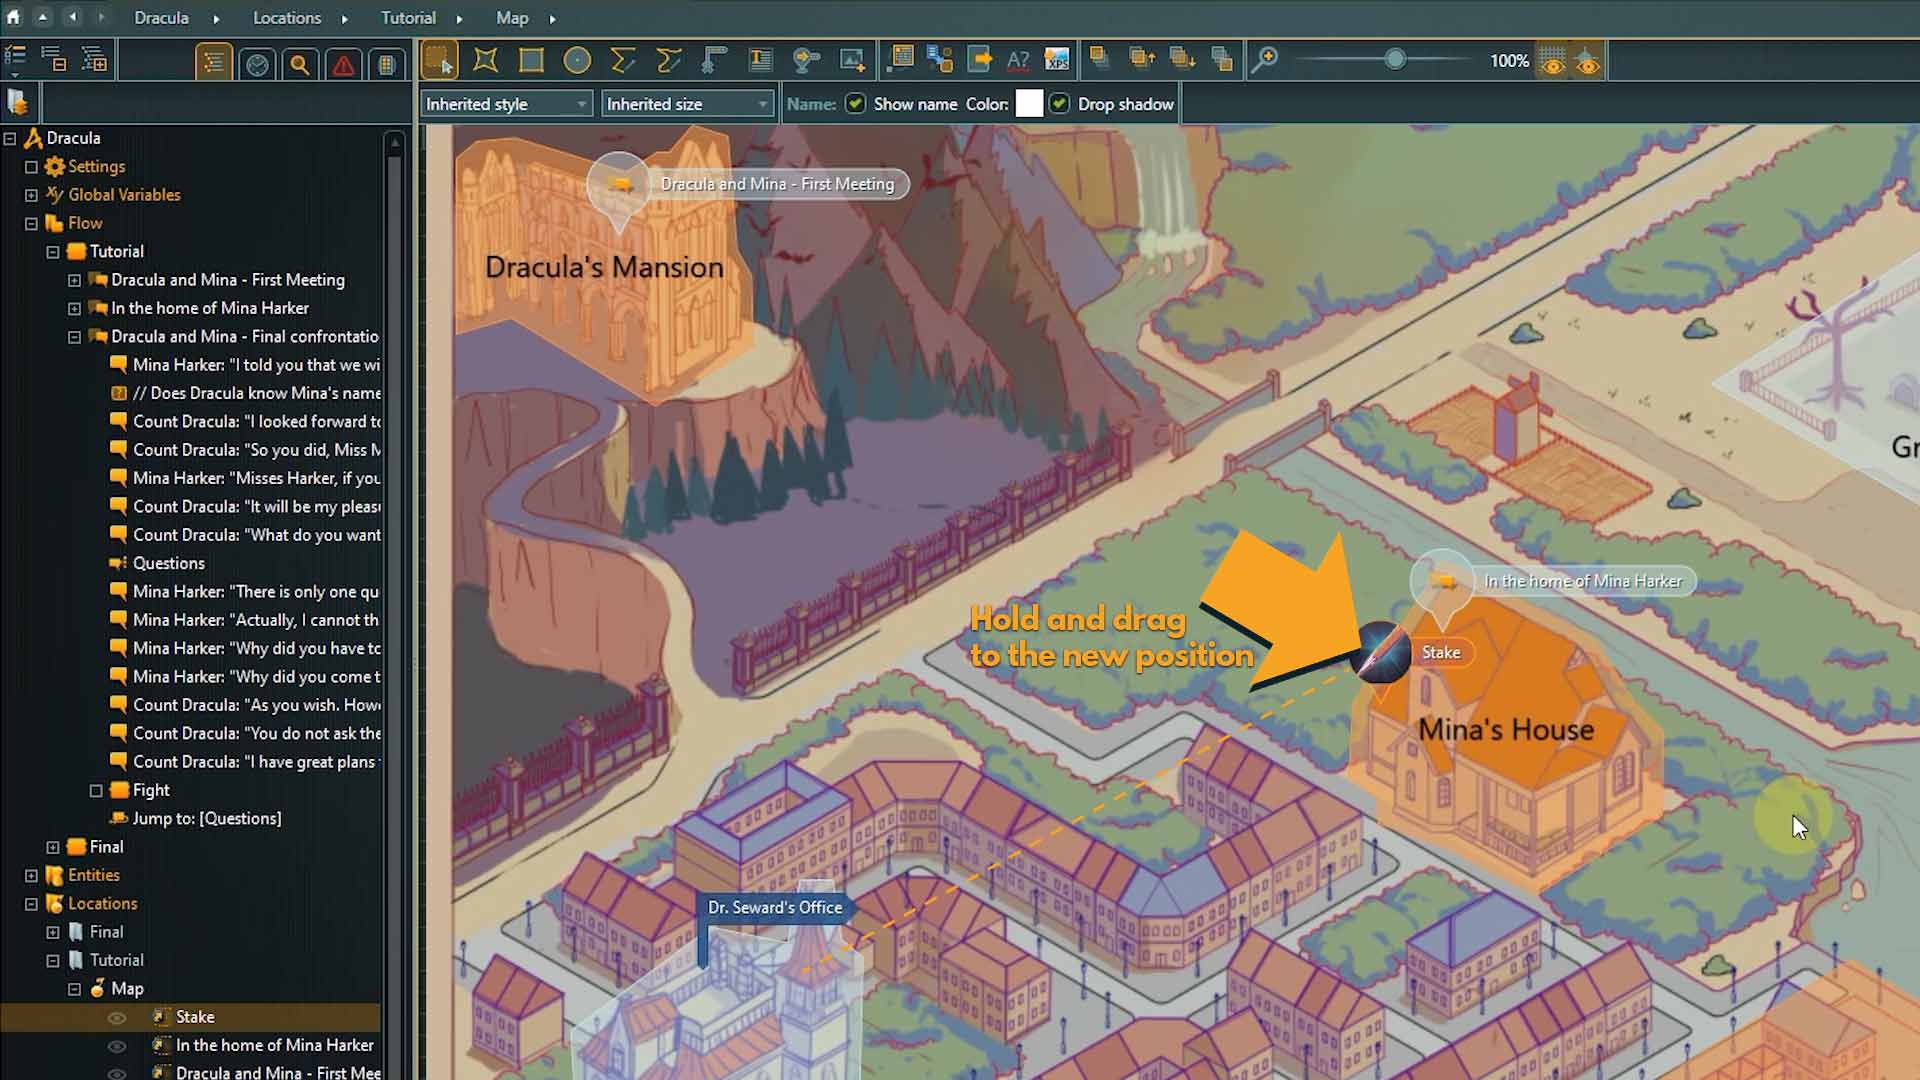
In addition to the dialogues I also want to mark the position of the Stake item, so that the level-designer already gets an idea where this item needs to be positioned to fit the story flow. Of course you can move and re-arrange links and other elements later. Just make sure they are not locked. Left-click the element, hold, and drag to the new position.
We have arrived at the end of this Lesson.
Recap:
Today we looked at articy’s Location Editor and used it to create a reference map for the team. With zone and spot elements we highlighted game scenes and points of interest, and by placing Links we provided an easy way for everyone to quickly check out the referenced objects.

Up next:
In the next lesson we will use the Conflict Search to check our project for conflicts and errors.

Thank you for joining us, and join us again in our next tutorial.
Useful links:
Don’t have articy:draft X yet? Get the free version now!
Get articy:draft X FREE
*No Payment information required
Follow us on Twitter, Facebook and LinkedIn to keep yourself up to date and informed. To exchange ideas and interact with other articy:draft users, join our communities on reddit and discord.