Hello and welcome to Lesson 13 of the articy:draft First Steps tutorial series.
Review:
In our last lesson we looked at articy’s export options. We went through the list of available exports, and then used the “Flow to Word” option to export our Mina – Dracula dialogue as a Word document.
This Lesson:
In this lesson we will visit the “Document View” and use it to write a linear cutscene for our project.

The Document View
The “document view” is ideal if you want to write in a linear fashion with the convenience known from typical word processors. It could be a design document describing the mechanics of your game, or a glossary to define the project’s terminology.
You can also use the “document view” to write linear dialogue in a screenplay-like format. And this is exactly what we are going to do today. We will write a linear cutscene featuring Mina Harker and Professor Van Helsing.
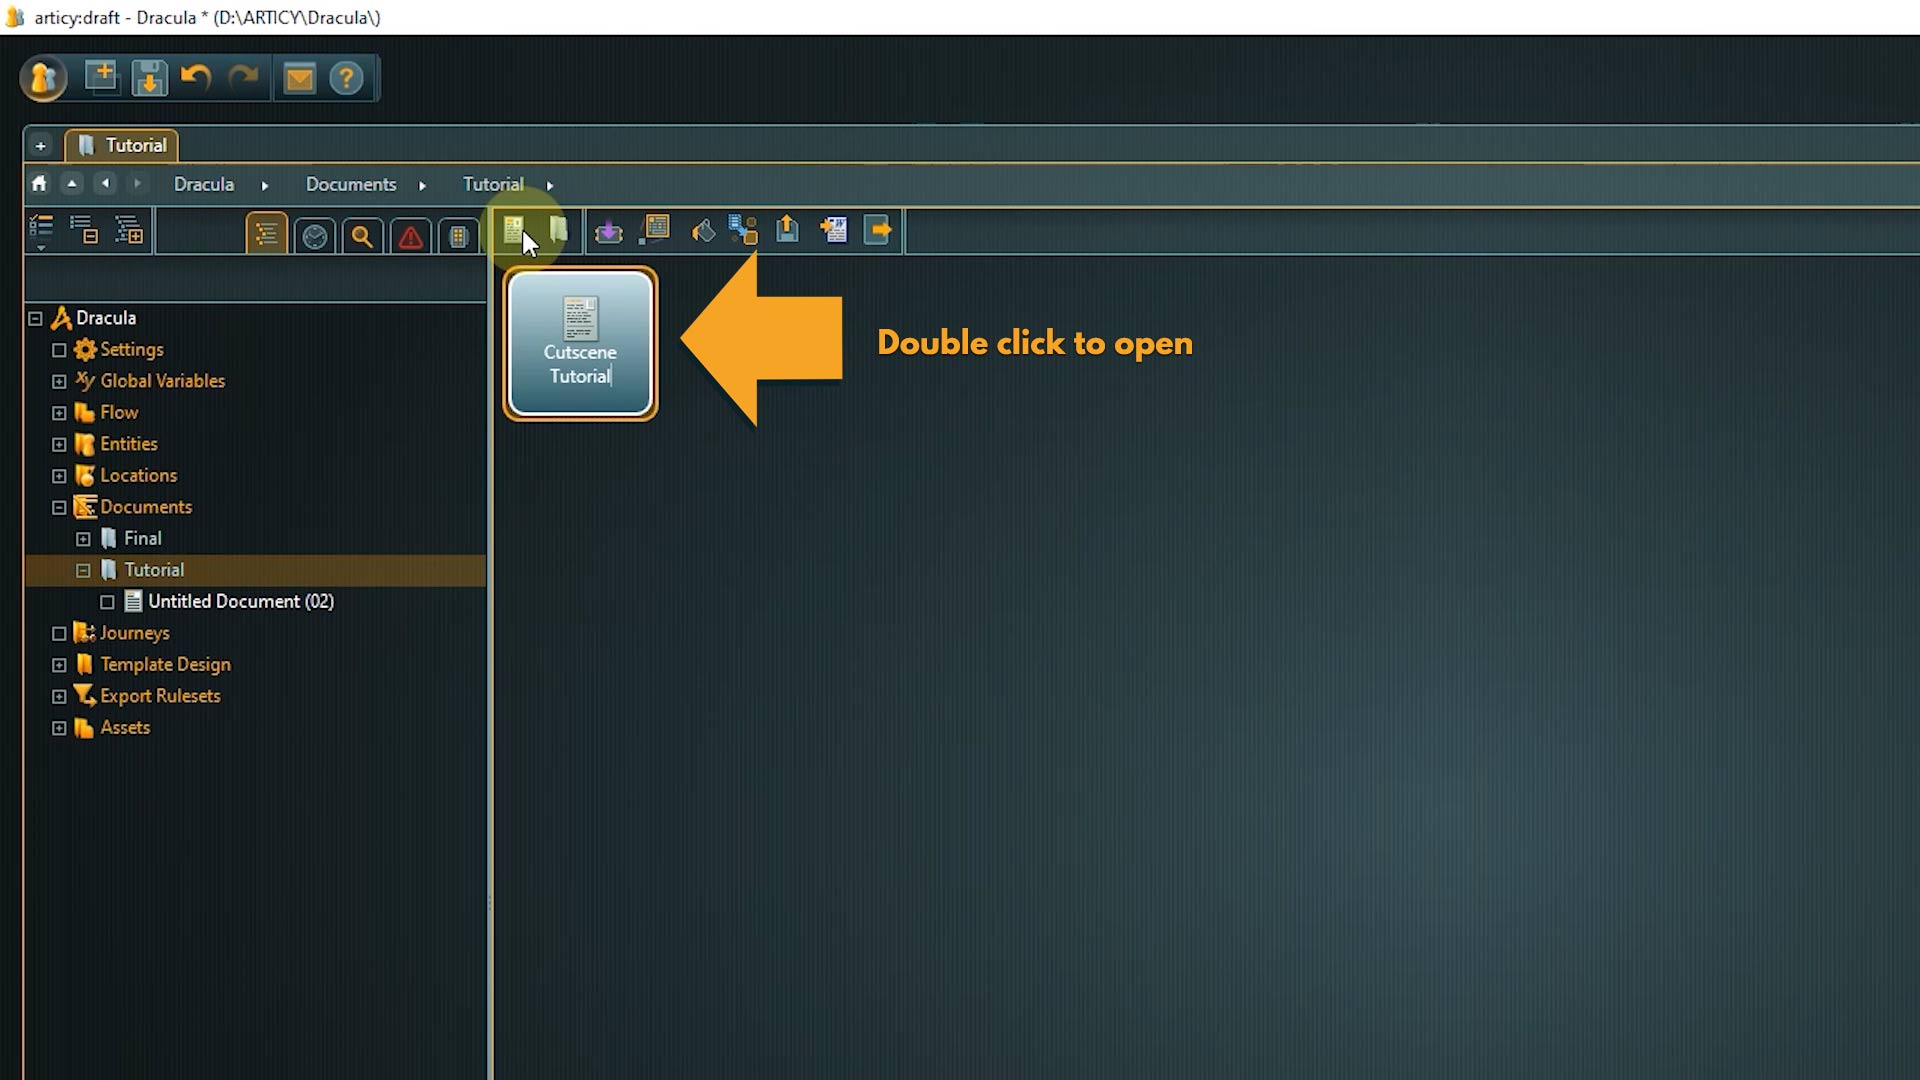
1. Double click the “Documents” icon on the jumpstart page.
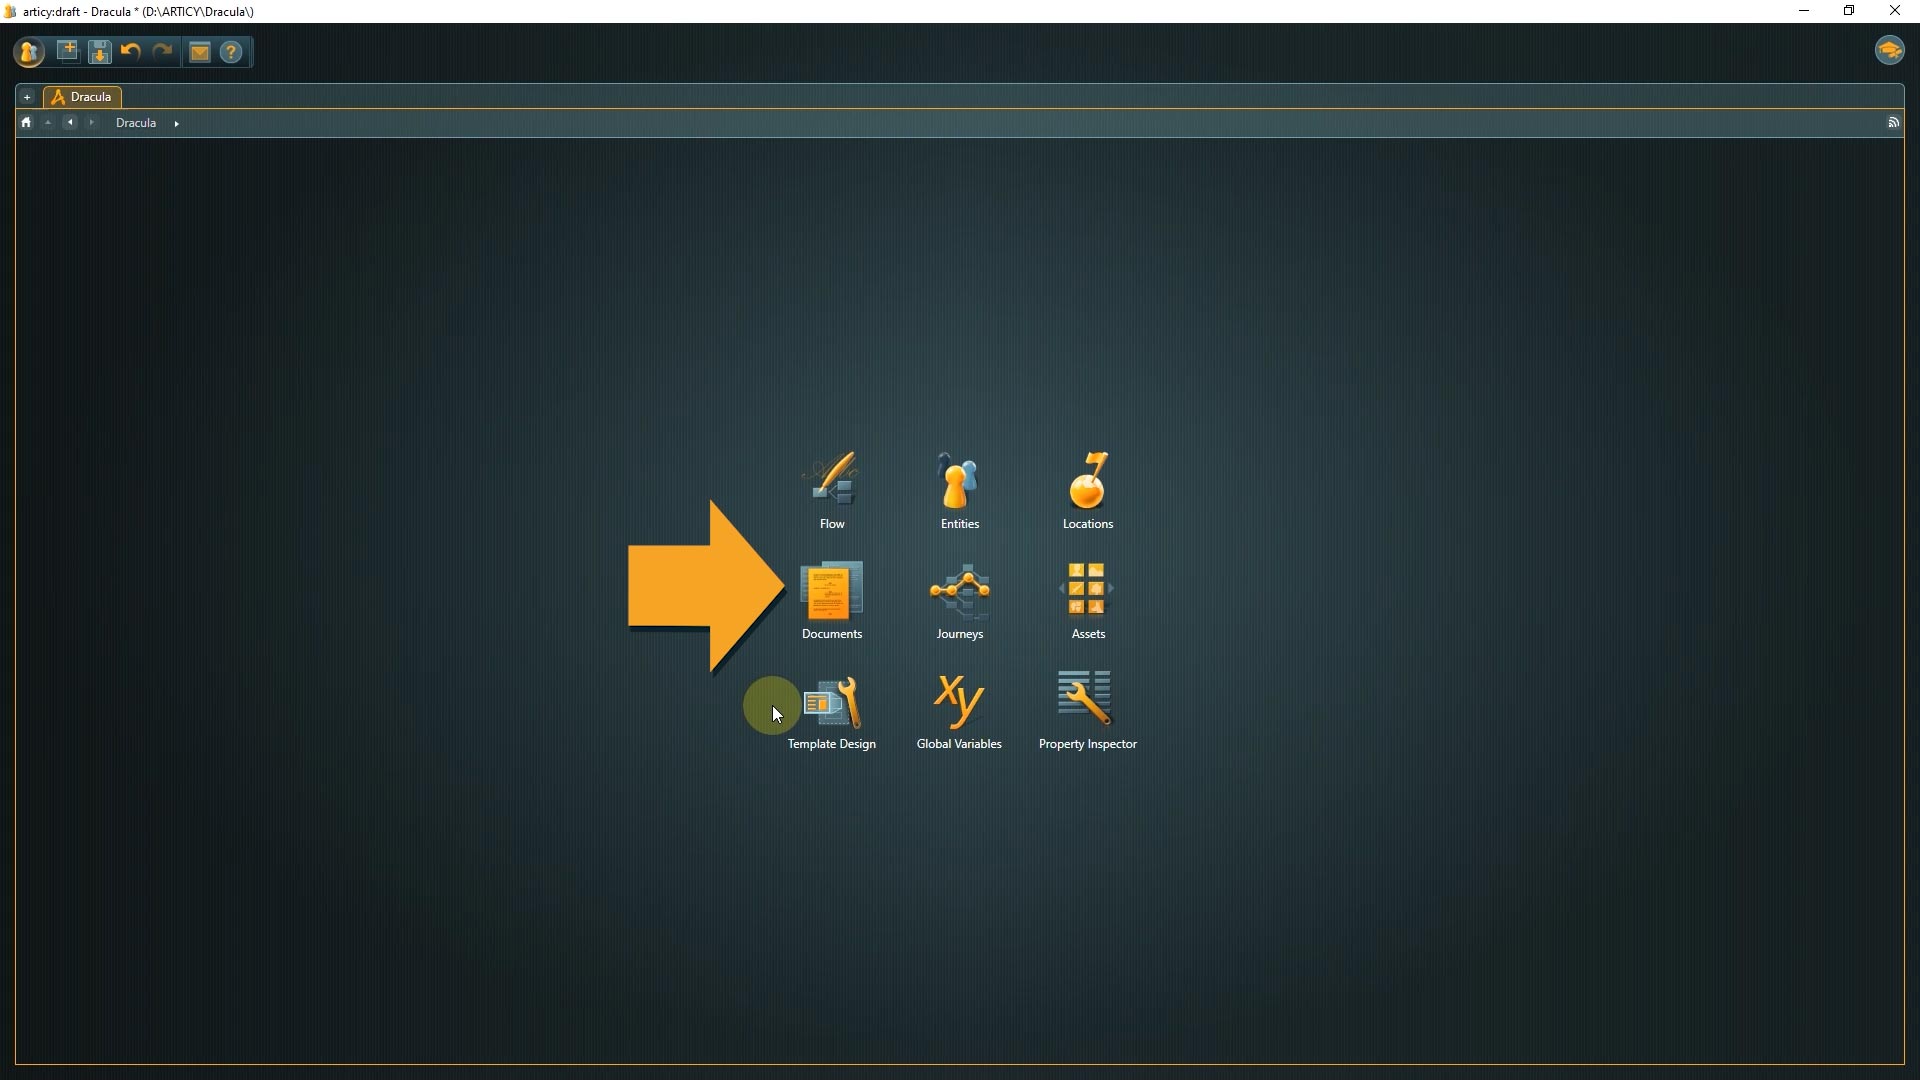
2. Then select the Tutorial folder.
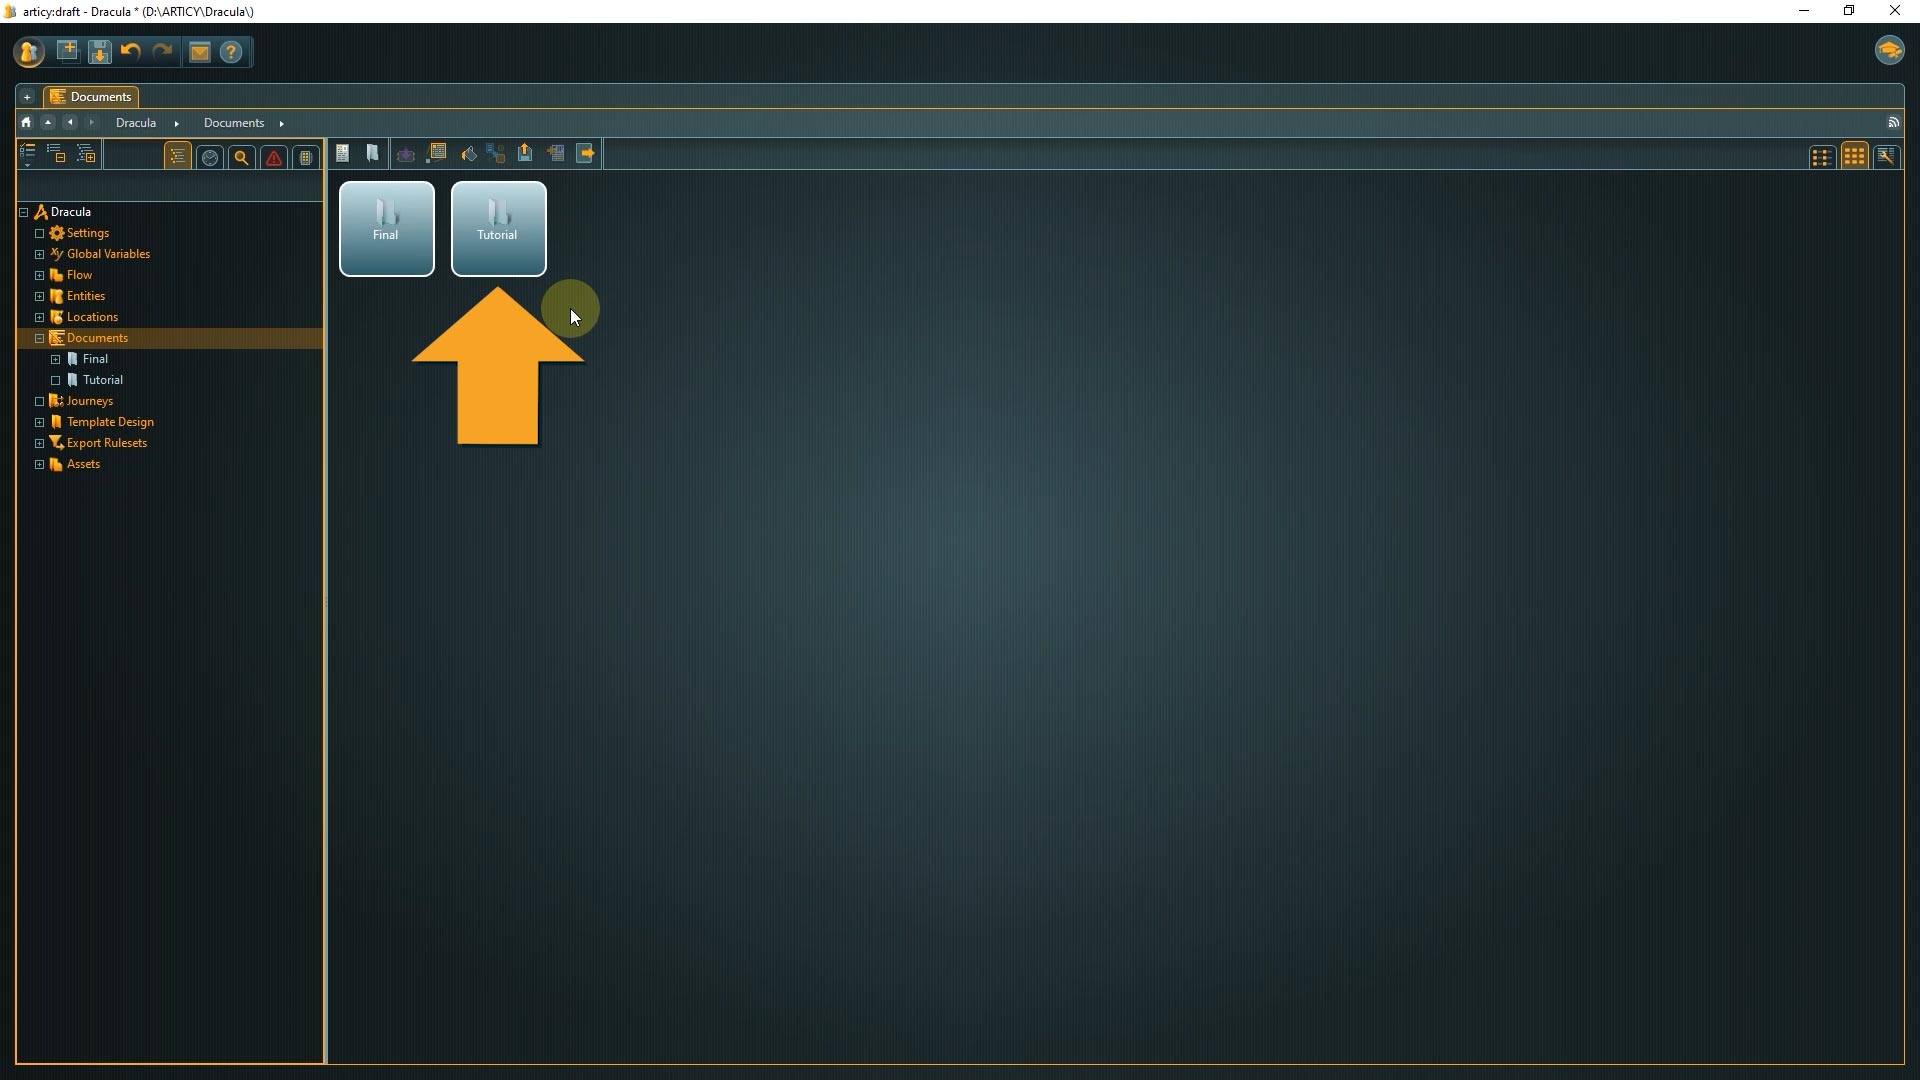
3. Now create a new document by using the icon in the toolbar or the right-click context menu.
4. I will call the document “Cutscene Tutorial” and open it by double clicking the tile.
articy documents consists of chapters.
A chapter can simply be some text, but also something more specific like a dialogue or an image. The idea behind this approach is to offer a modular system that makes it very easy to re-arrange and change parts of documents later on. So far our document does not have any chapters at all, all we see is the title of the document and the so called creation toolbar.
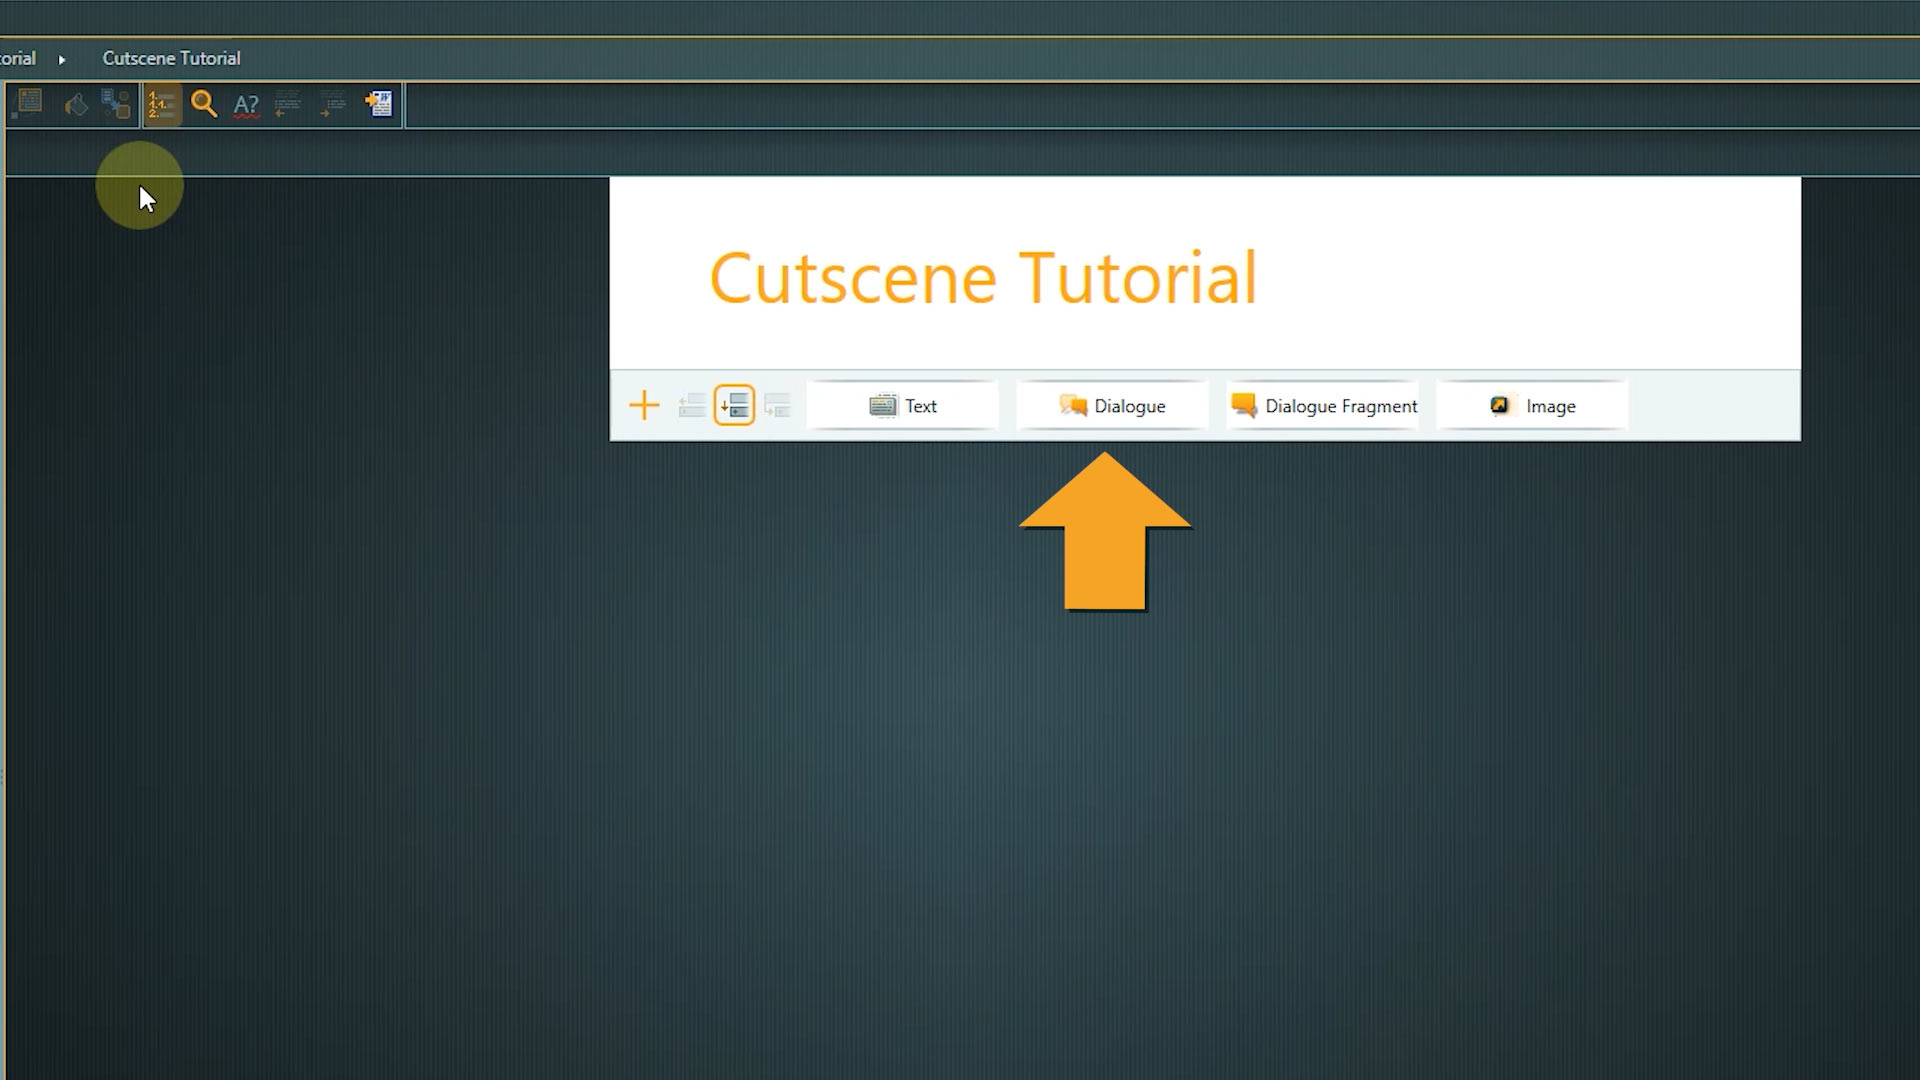
The creation toolbar is divided into two parts: on the left side are the “hierarchy selectors” you can use to structure your document; the rest of the toolbar shows all the chapter types that can be created at the current position.

Our cutscene will feature a conversation between Mina and Van Helsing, therefore we will use a dialogue for the chapter.
5. Click Dialogue in the creation toolbar to add a dialogue chapter to the document.
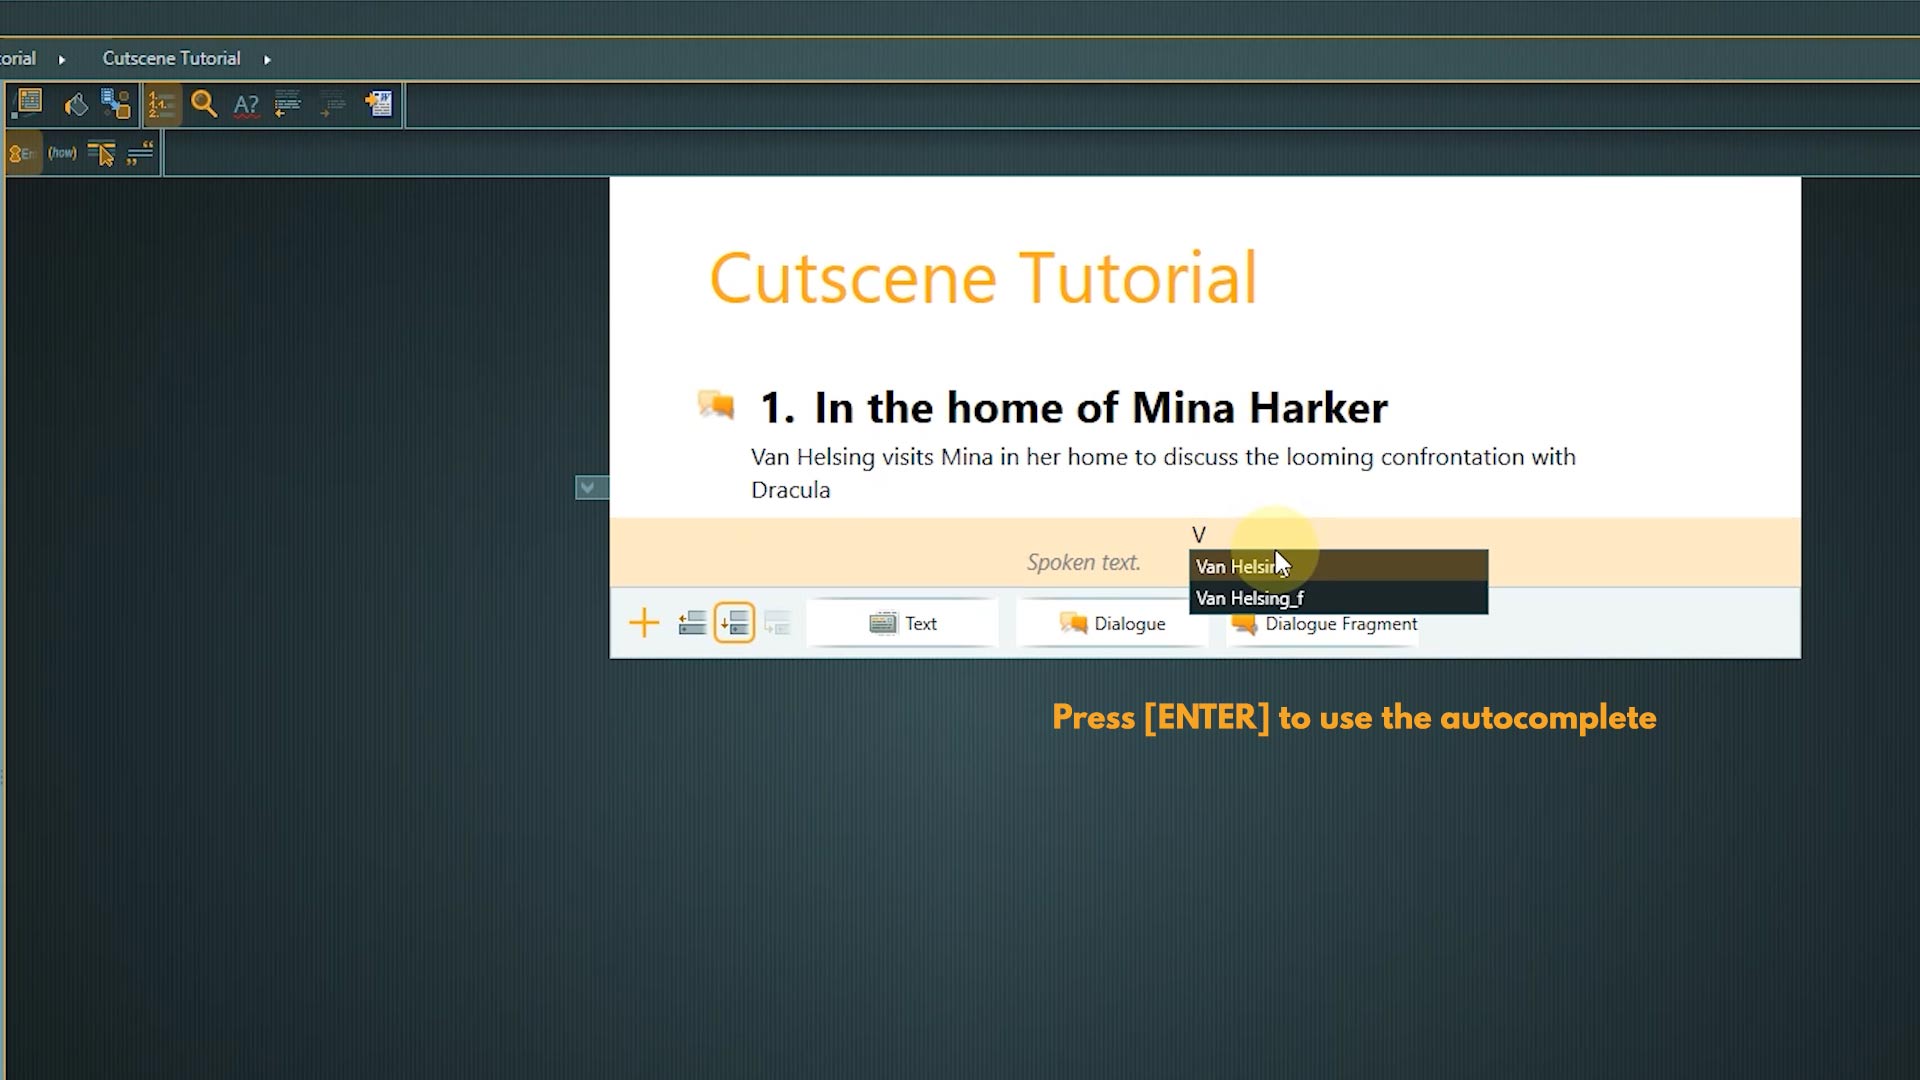
The title text can be entered directly by typing and after pressing Enter we can add some synopsis text, describing the scene.
Now our conversation between Mina and Van Helsing is supposed to begin.
6. To insert the first dialogue line within this chapter click the “Indents the new chapter by one level” button in the creation toolbar and then click the “dialogue fragment” button.

The cursor will be automatically positioned at the Speaker position and after we start typing we can auto-complete the name by pressing Enter. This moves the cursor to the text line, so you can immediately continue writing.
7. We can add new lines by using the creation toolbar, but a faster way to create dialogue lines within a dialogue chapter is by using the hotkey “Control + Enter”. This way you stay in the writing flow and can write the entire dialogue without your hands having to leave the keyboard.

8. We can also add stage directions or menu text by pressing “TAB” after the speaker was set for a line.
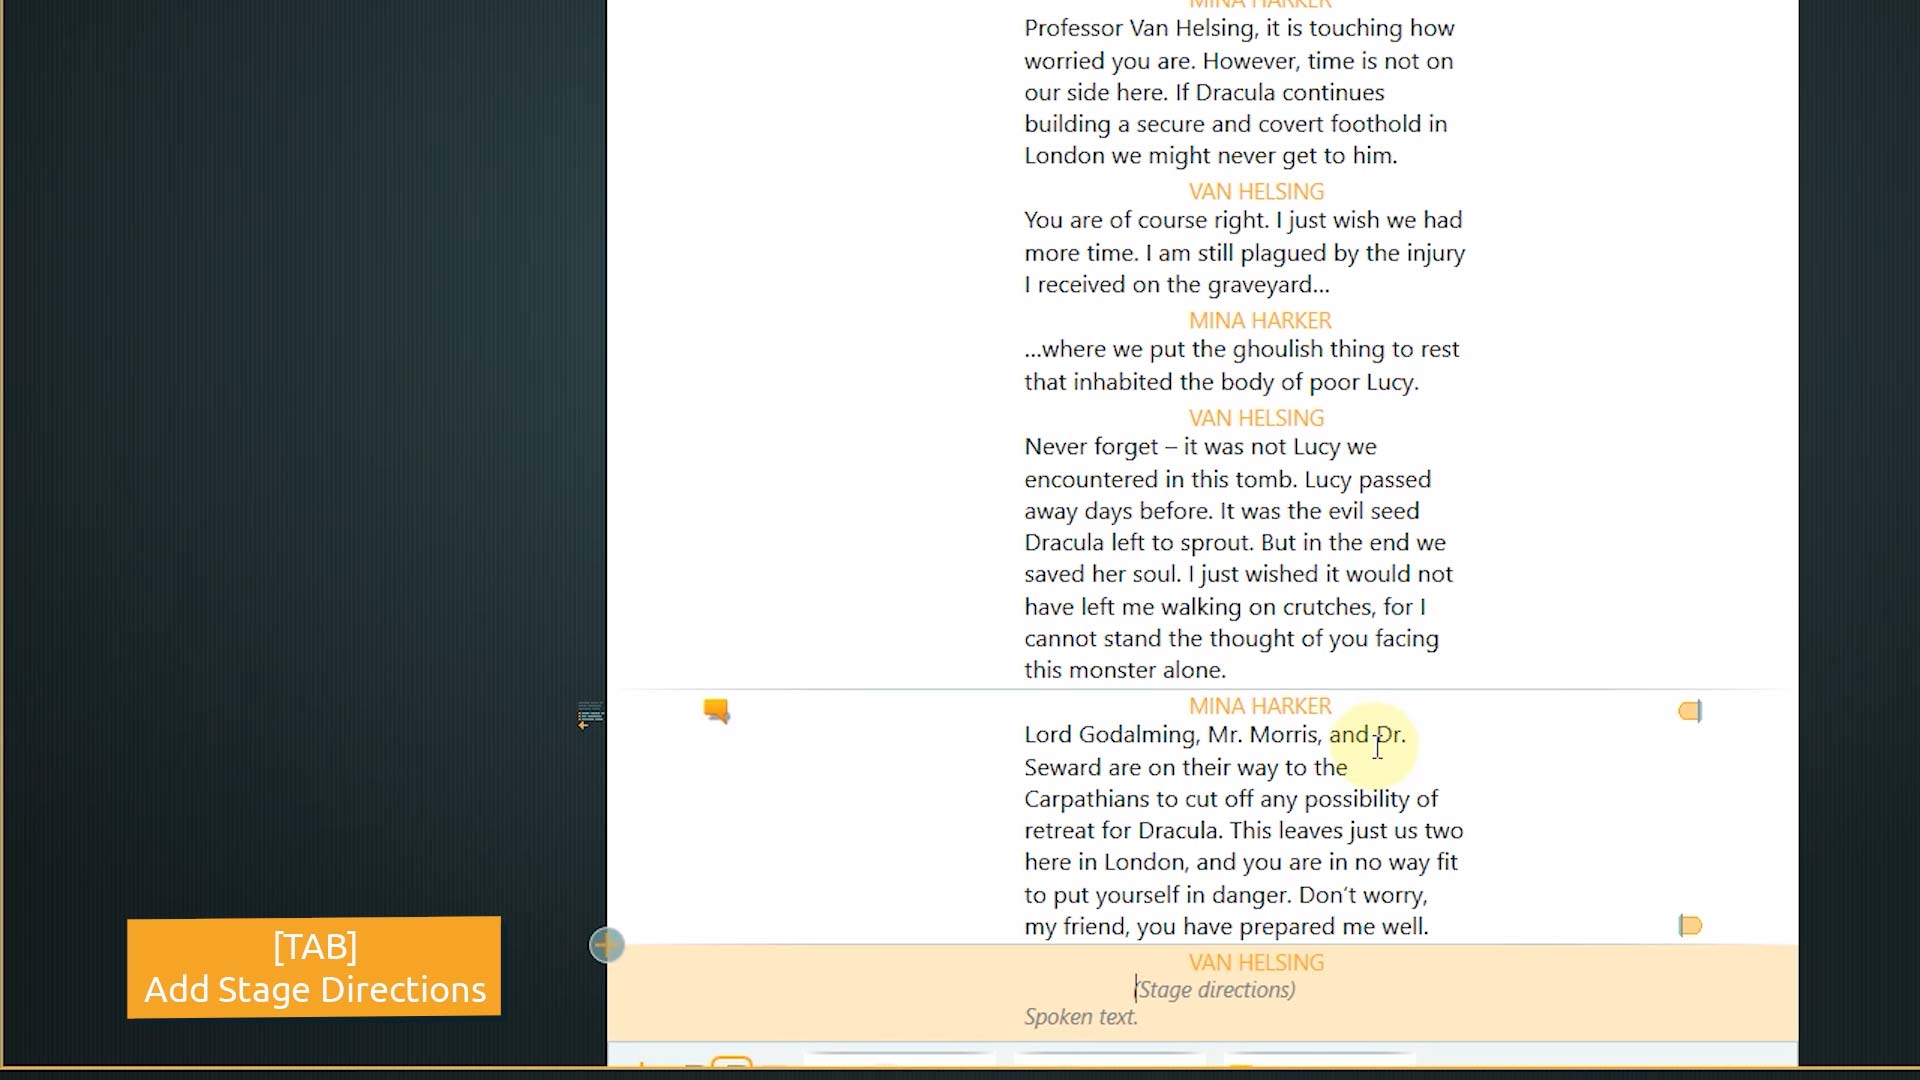
👉 Using “TAB” multiple times cycles through the available options.
We have arrived at the end of our little cutscene.
Similar to other articy data, there are multiple ways you can continue using documents:
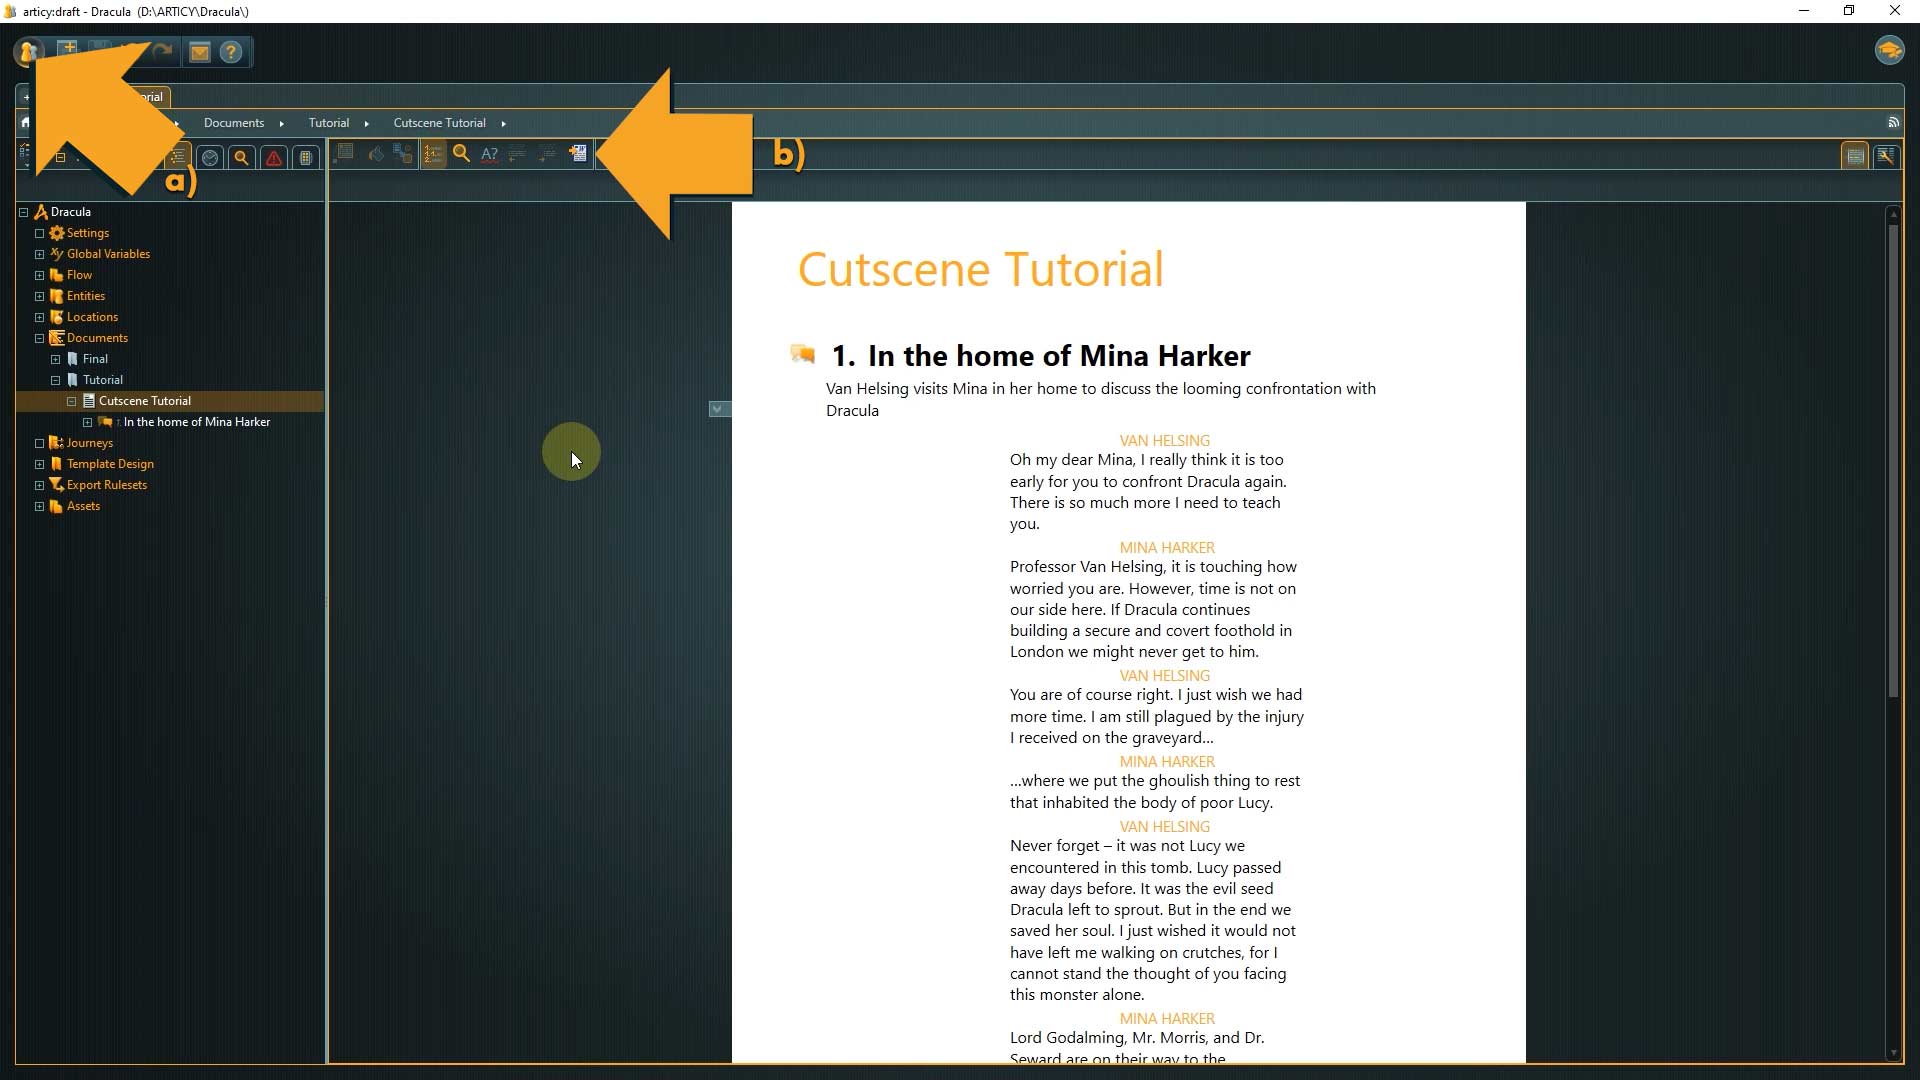
You can export them as part of a project export using the different options available from the a) main menu, or you can use b) a Word export that behaves similar to the “Flow to Word” export we saw in the last lesson. It is available in the toolbar of the “document view” “content area”.
This cutscene is a linear conversation, but I’d still like to have it as part of the Flow. For one, we already have our story structure where the cutscene is supposed to be a part of, and furthermore having it in the Flow gives me the option to assign our template to the dialogue fragments, if I for example want to add a sound file to a specific line or to add some variation with different camera angles.
We do not have to copy and paste dialogue lines though, there is an easy and quick way to convert a document, or parts of it, to Flow elements.
9. Let’s open a second view pane with our story structure in the Flow view.
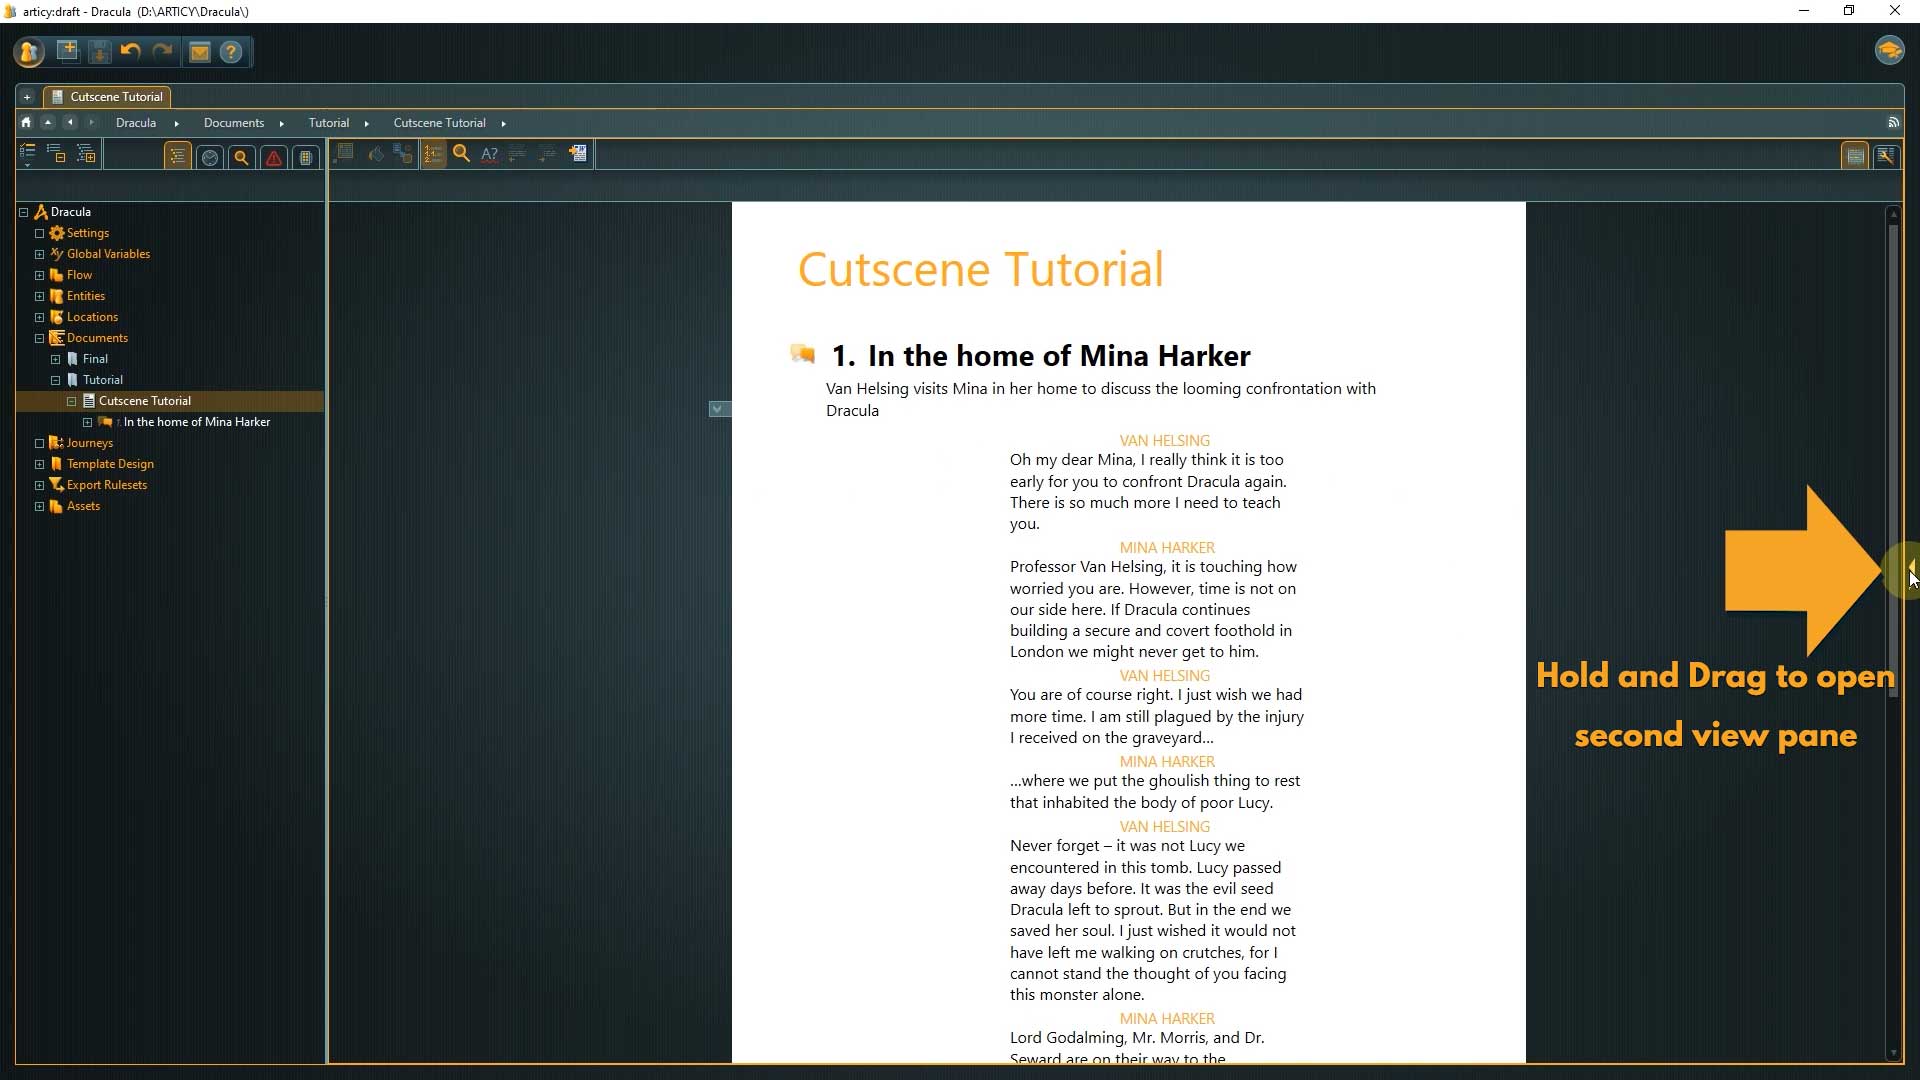
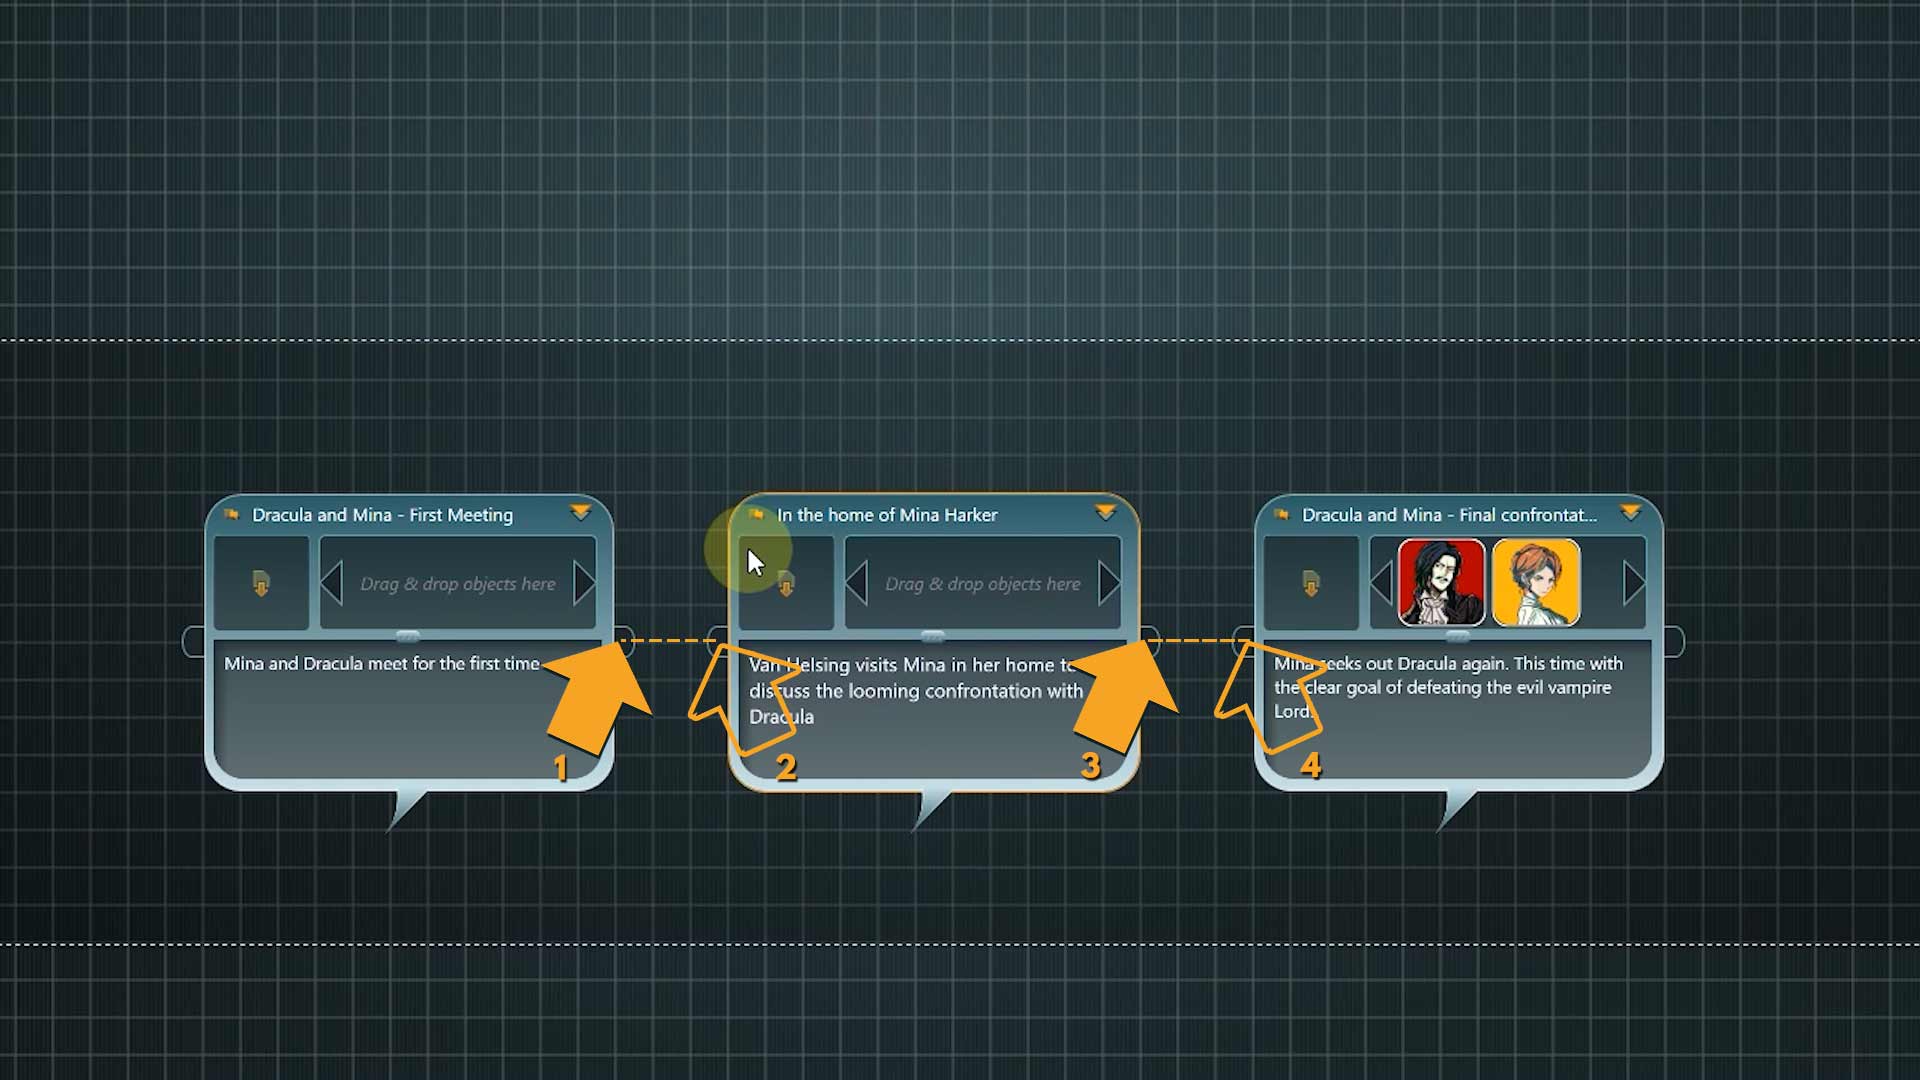
10. Now we can select a chapter in the document pane and move our mouse cursor to the left side of the highlighted area. When the cursor changes to a hand, left click, hold, drag to the flow, and release.
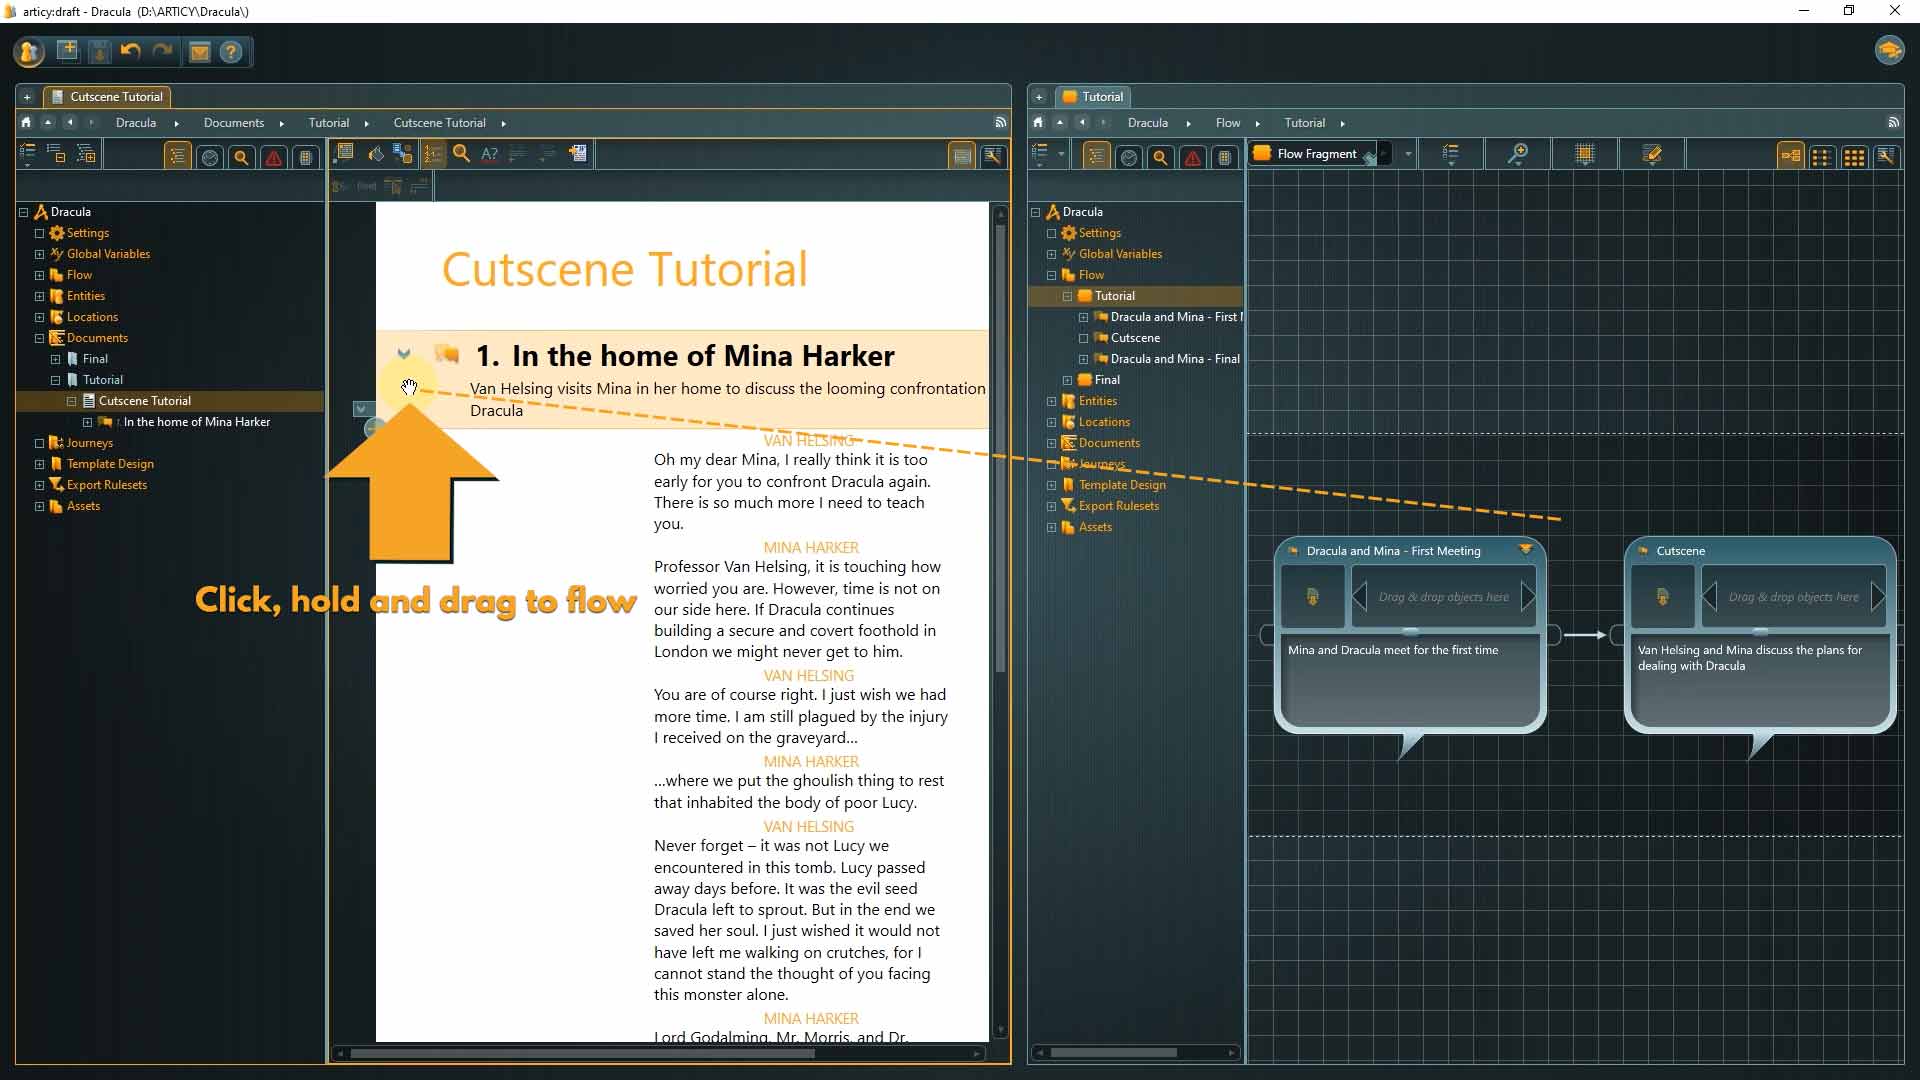
The chapter gets converted to a dialogue node and the single dialogue lines are now dialogue fragments within this node.
👉 Document and flow are now two separate copies. If you make any changes in the document they will not appear in the flow, and vice versa.
⭐ If you are using screenwriting software you might be happy to hear that it is possible to import “Final Draft” scripts into articy. You can import a script as a document or have it directly converted to flow elements. Just click the “Import Final Draft file” icon in the toolbar of the “document view” or the Flow, depending on you where you want to import to.

11. All that’s left to do is to delete the empty placeholder node we created when setting up the overall structure
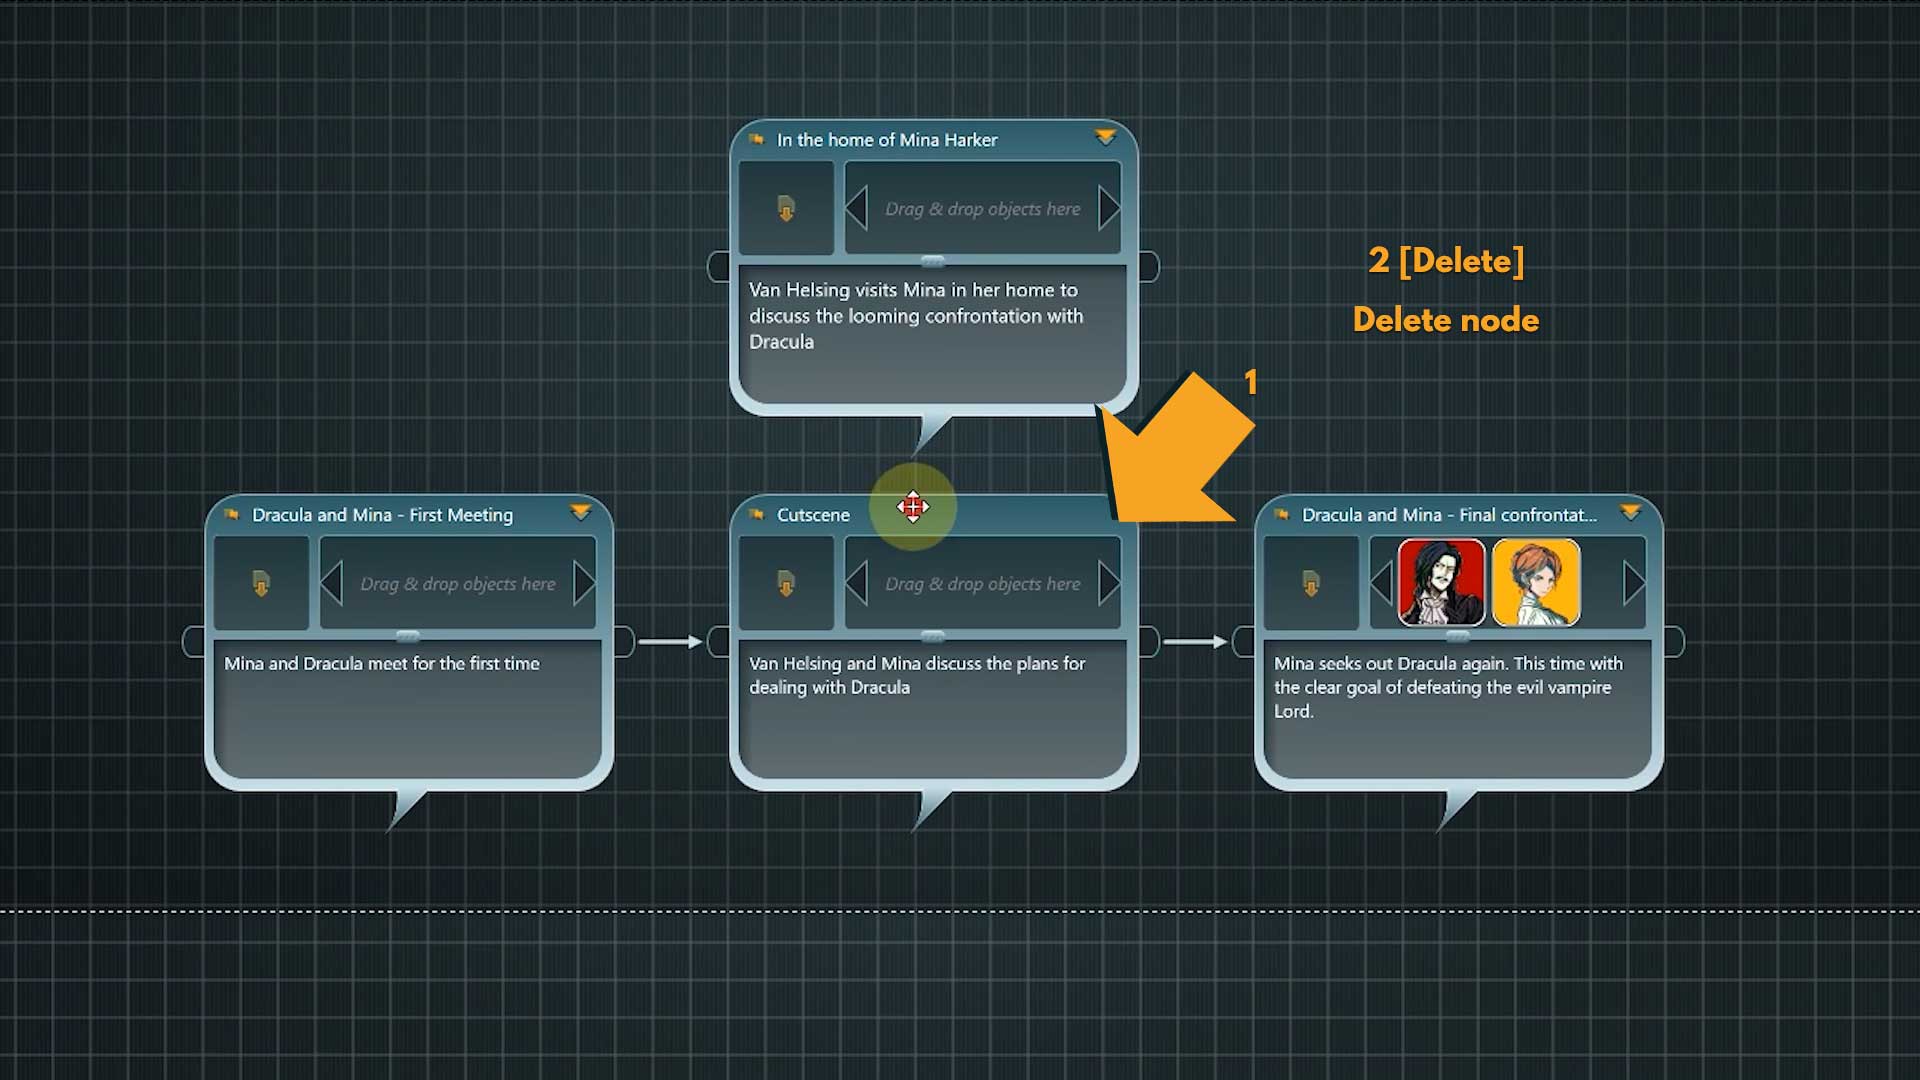
12. Then reconnect everything with the new cutscene node in place.
That will be all for this Lesson.
Recap:
We visited another area of articy:draft – the Document View. We saw how documents are structured in articy and wrote a linear cutscene dialogue that we then converted to connected nodes in the flow.
Up next:
In the next lesson we will add some scripting logic to the “Final confrontation” dialogue and learn about another way to use Conditions and Instructions.

Thank you for joining us, and join us again in our next tutorial.
Useful links:
Don’t have articy:draft X yet? Get the free version now!
Get articy:draft X FREE
*No Payment information required
Follow us on Twitter, Facebook and LinkedIn to keep yourself up to date and informed. To exchange ideas and interact with other articy:draft users, join our communities on reddit and discord.