Hello and welcome to Lesson 15 of the articy:draft First Steps tutorial series.
Review:
In our previous lesson we added interactivity to the “Final confrontation” dialogue by using Conditions and Instructions within node pins.
This Lesson:
Today we will take a look at what we can do to improve the structure of the Flow itself, with the help of Hub and Jump Flow elements.
Jumps and Hubs:
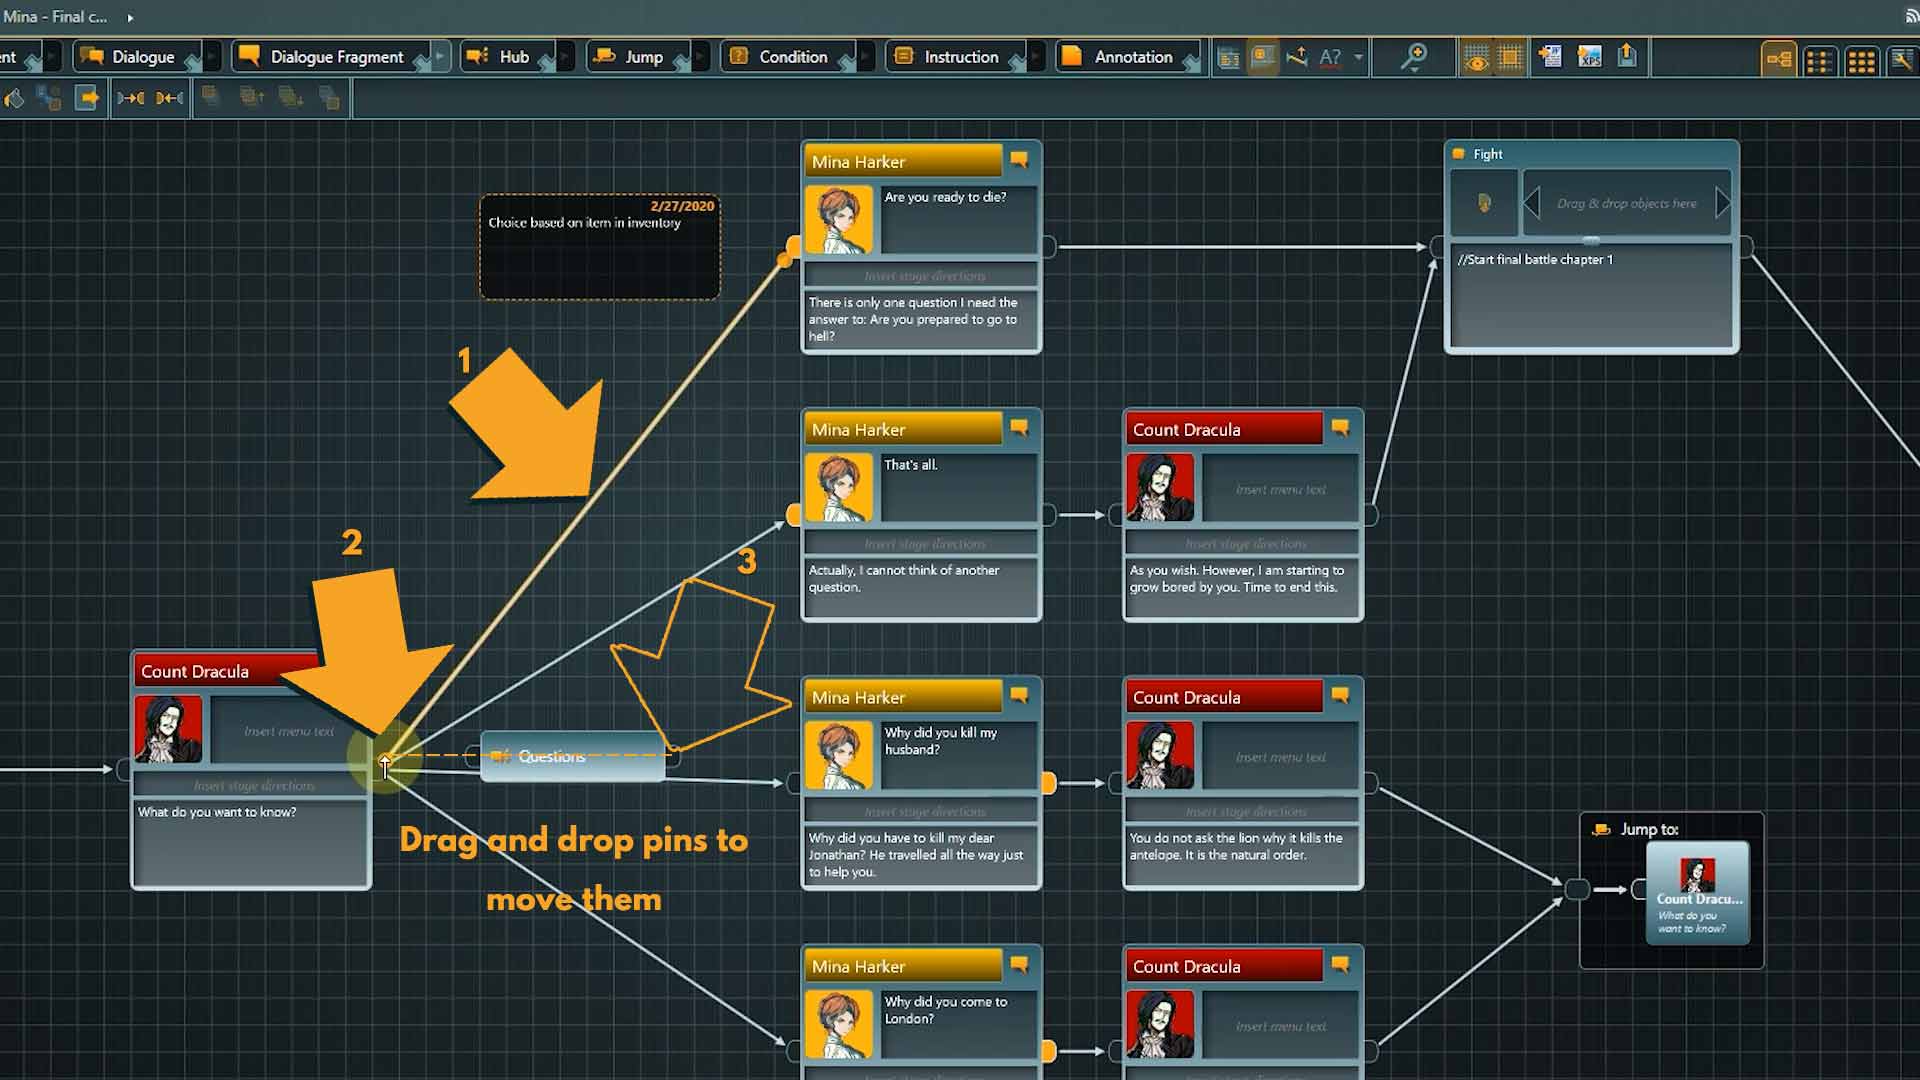
Having these connections going back looks already a bit messy in the current state of the flow, think about how it will look if the flow gets bigger and bigger and more and more branches appear. We can tidy it up by incorporating two new node types: Jumps and Hubs.
The Jump element:
1. Drag a Jump element from the toolbar to the canvas.

2. Remove the backwards going connections in the flow and connect the nodes to the Jump instead.

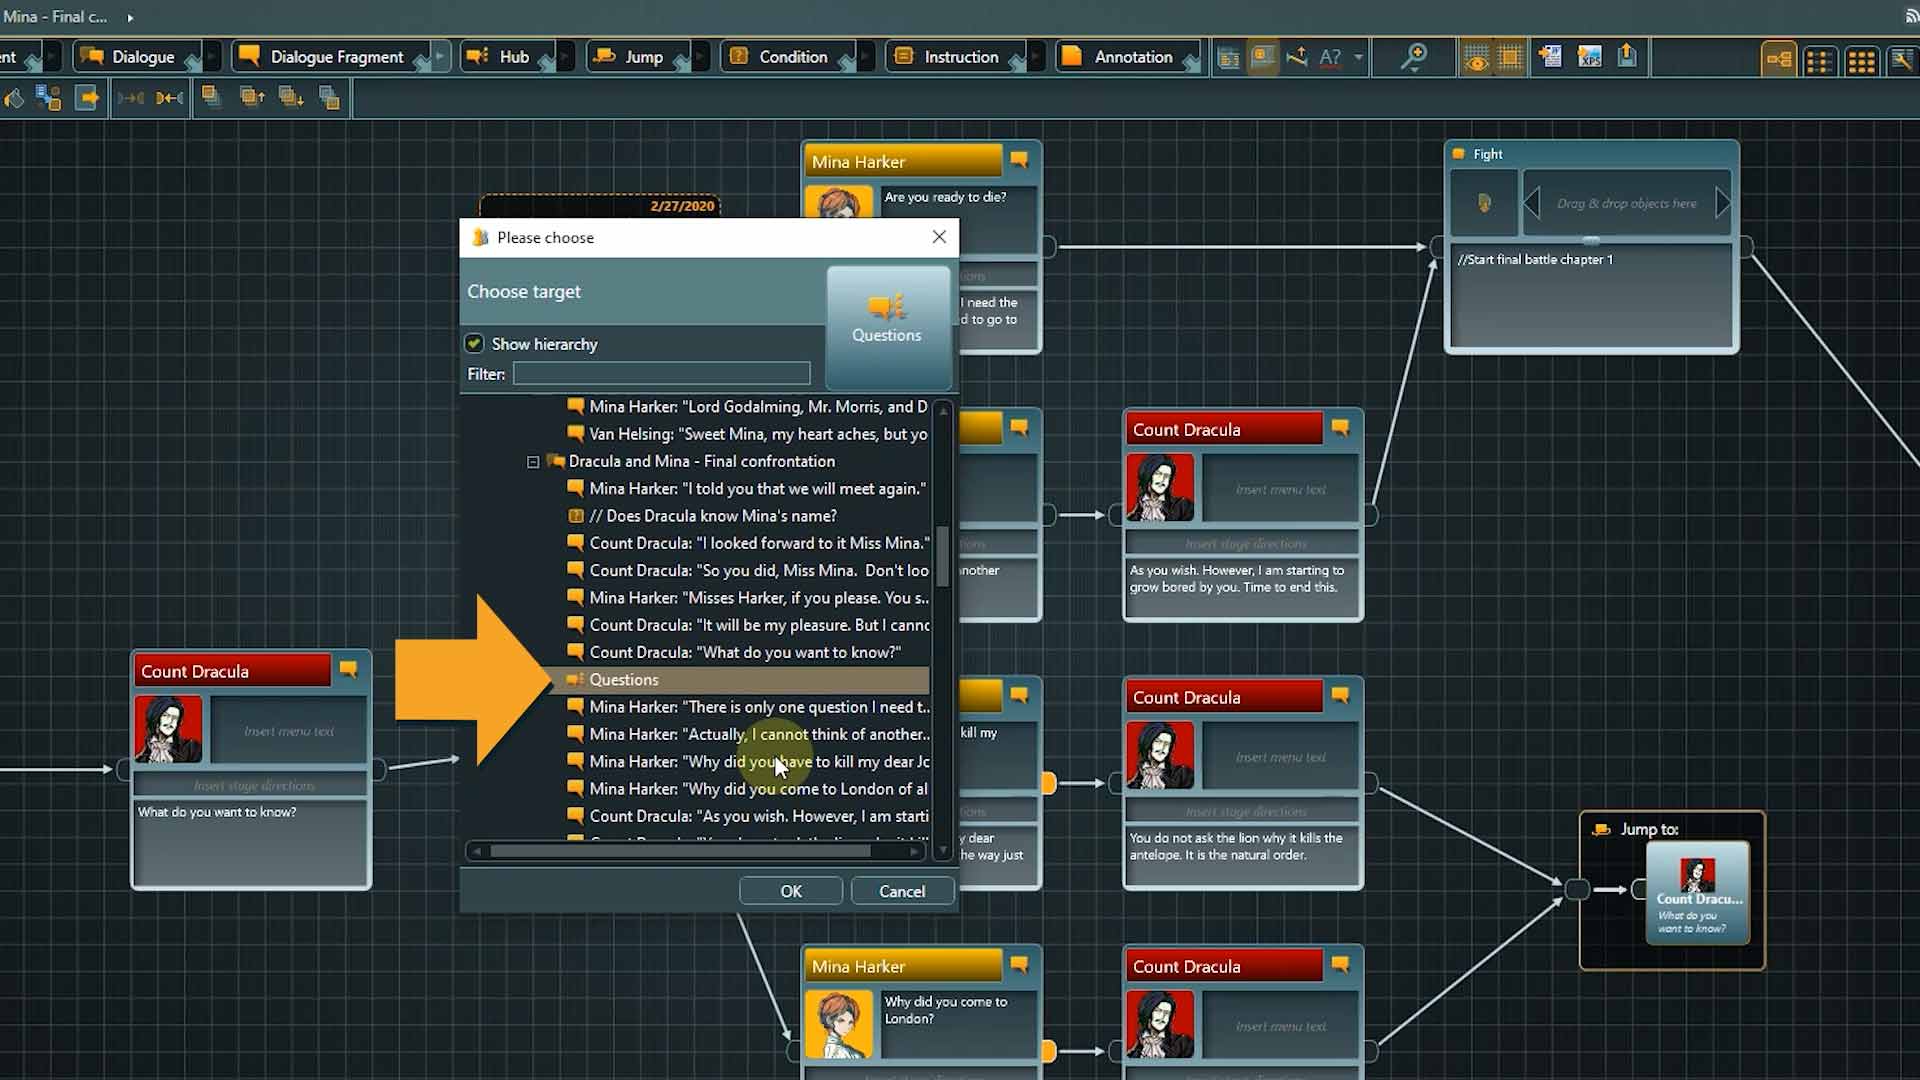
3. Now we need to specify the target of the Jump. Right-click the target area of the jump node and select “Choose target”.

A list opens, showing all valid targets. We are not limited to this layer.
👉 With a Jump we can go to any point in the flow, at any hierarchical layer.
Right now we want to retain the functionality our flow had before, so select the “What do you want to know?” Dialogue Fragment in the tutorial folder as the target.

Our flow still works exactly as before, but it already looks a bit cleaner, don’t you think?
The Hub element:
The second new Flow element we will use today is the Hub.
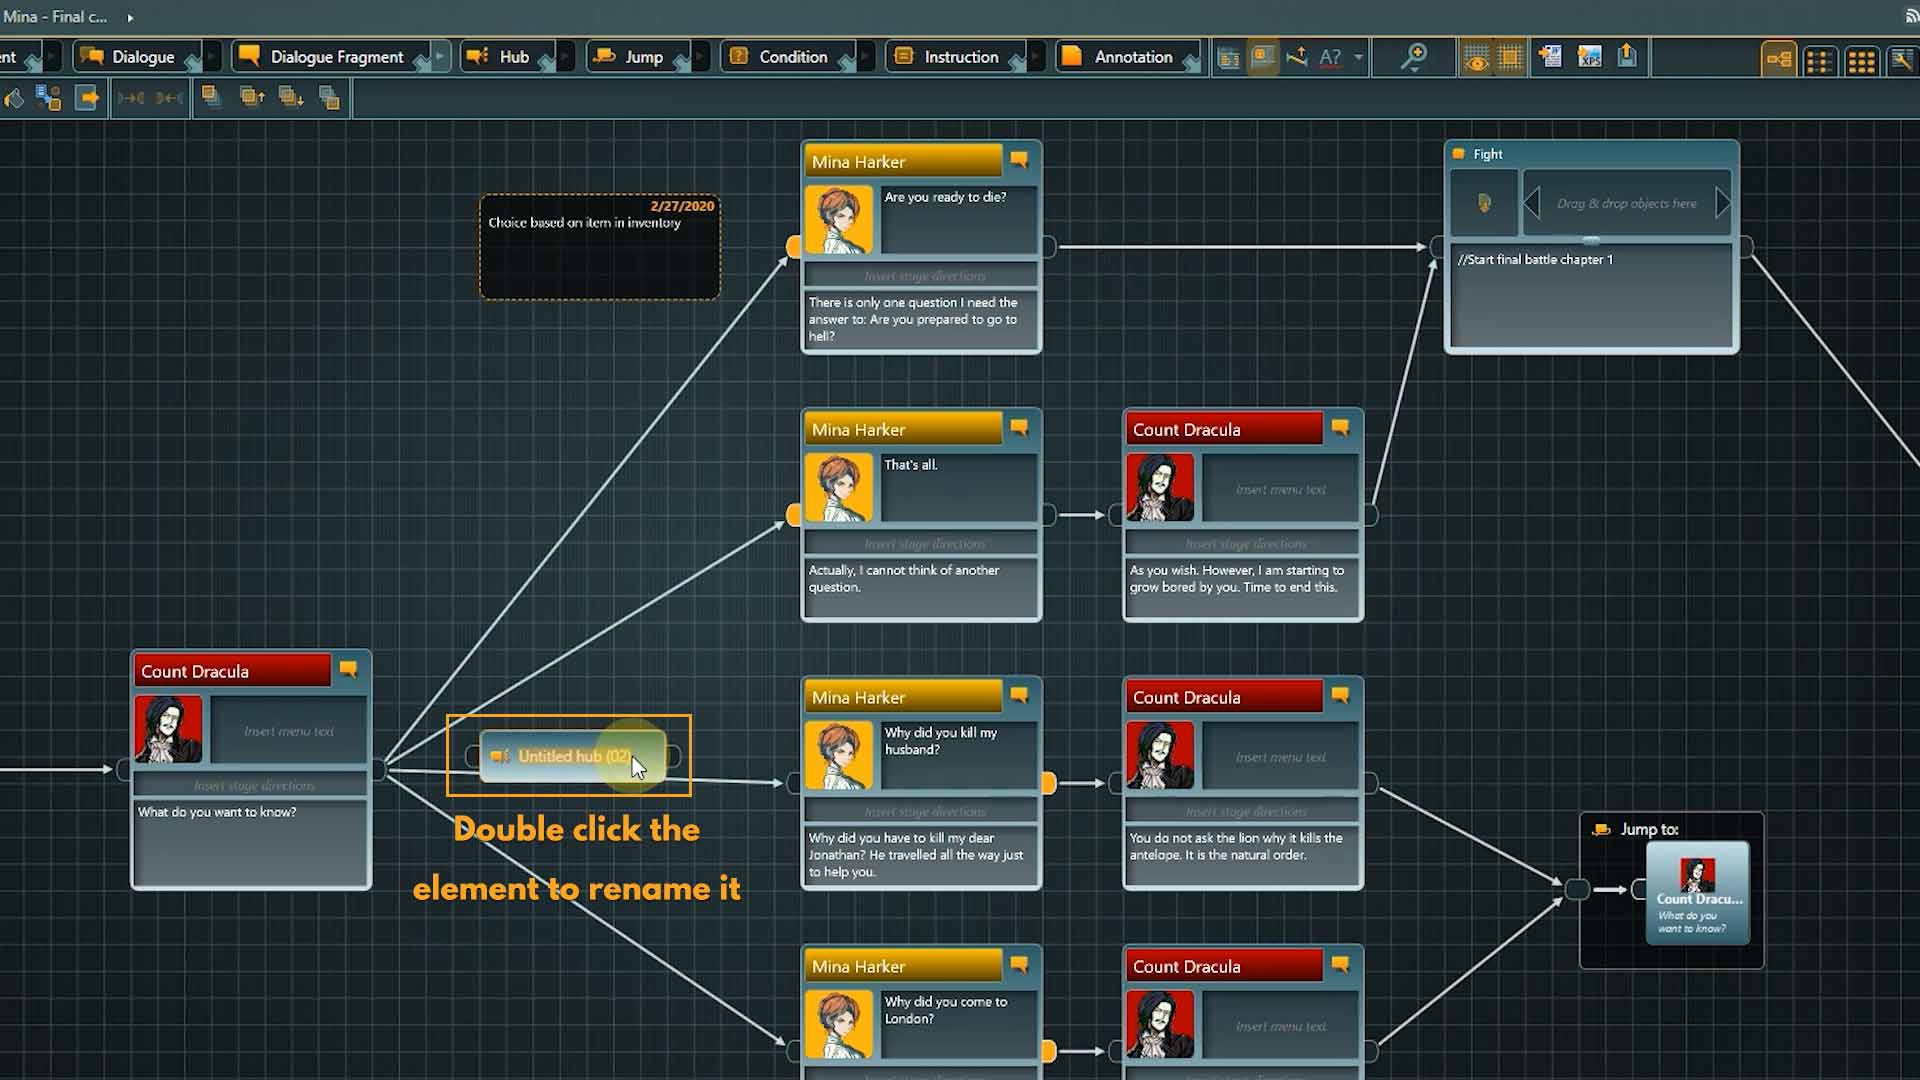
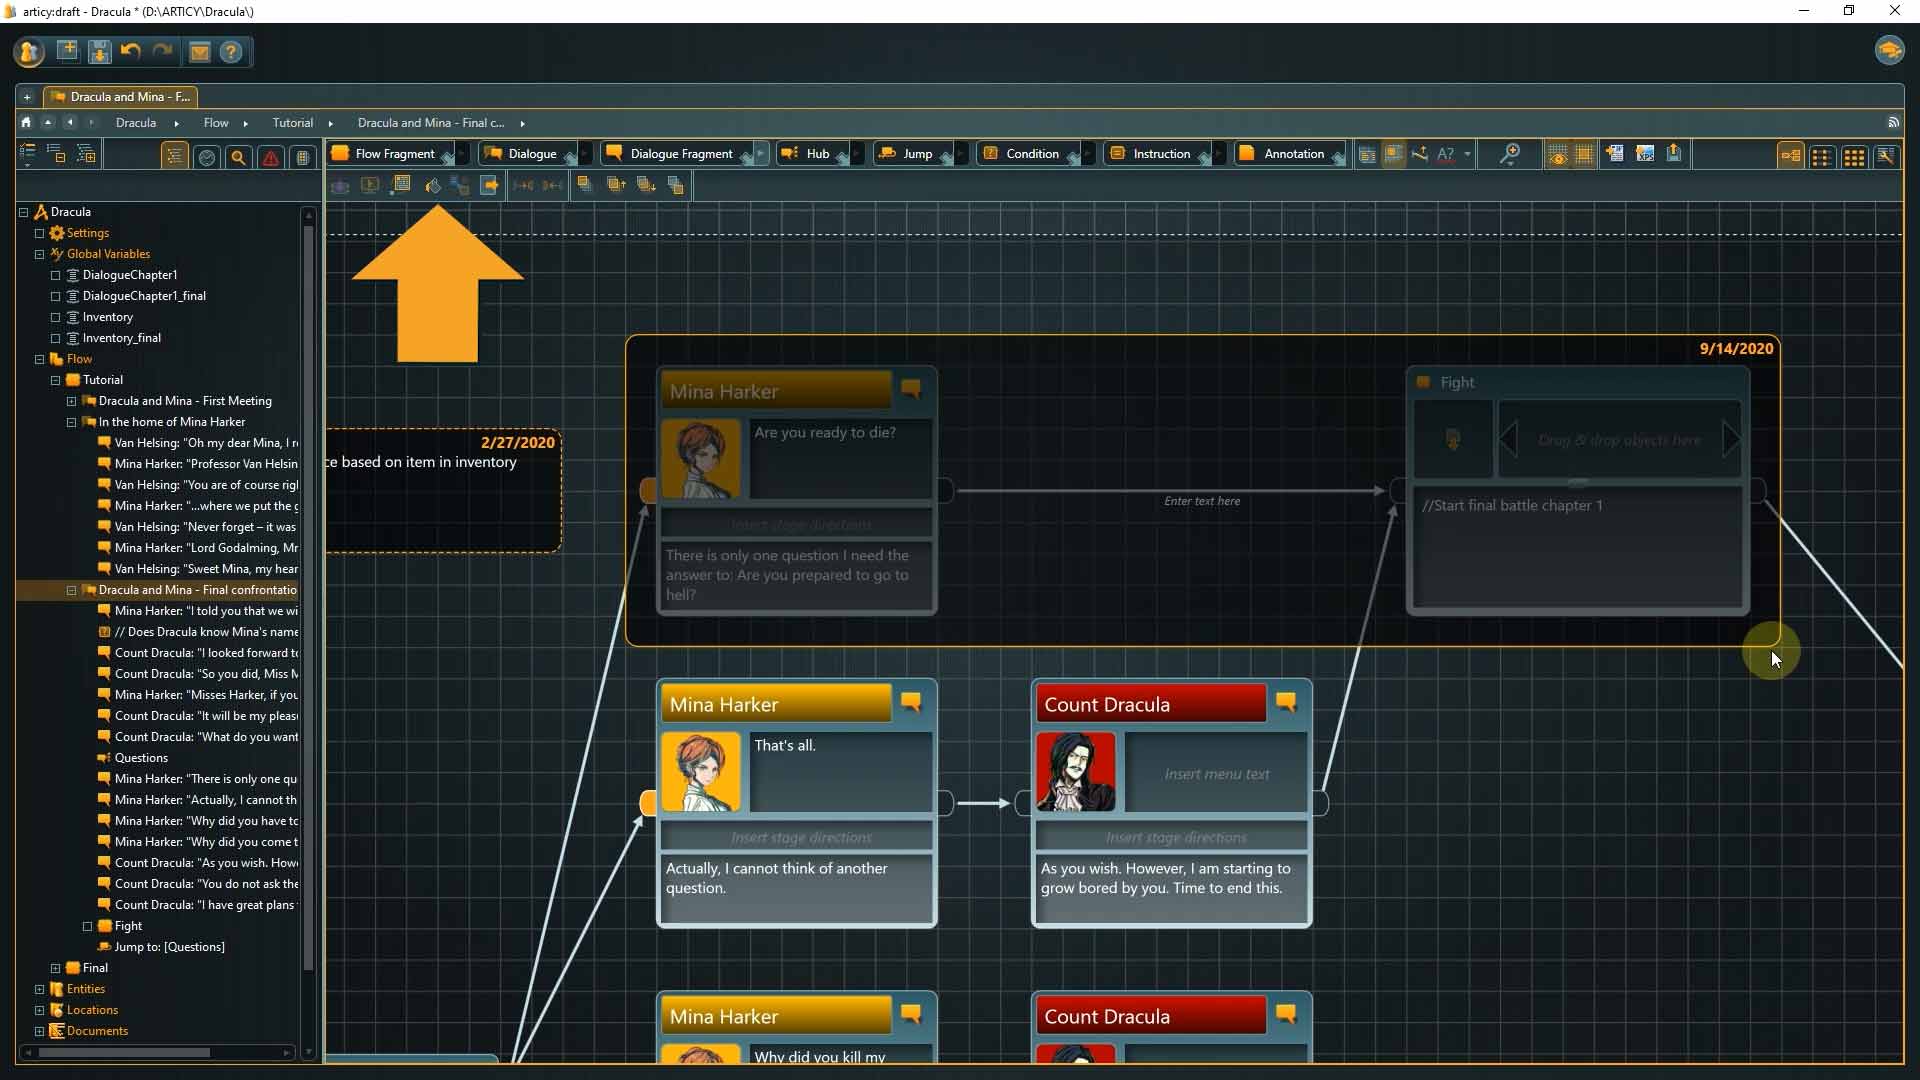
1. Drag a Hub element to the canvas and place it right before the choice point.
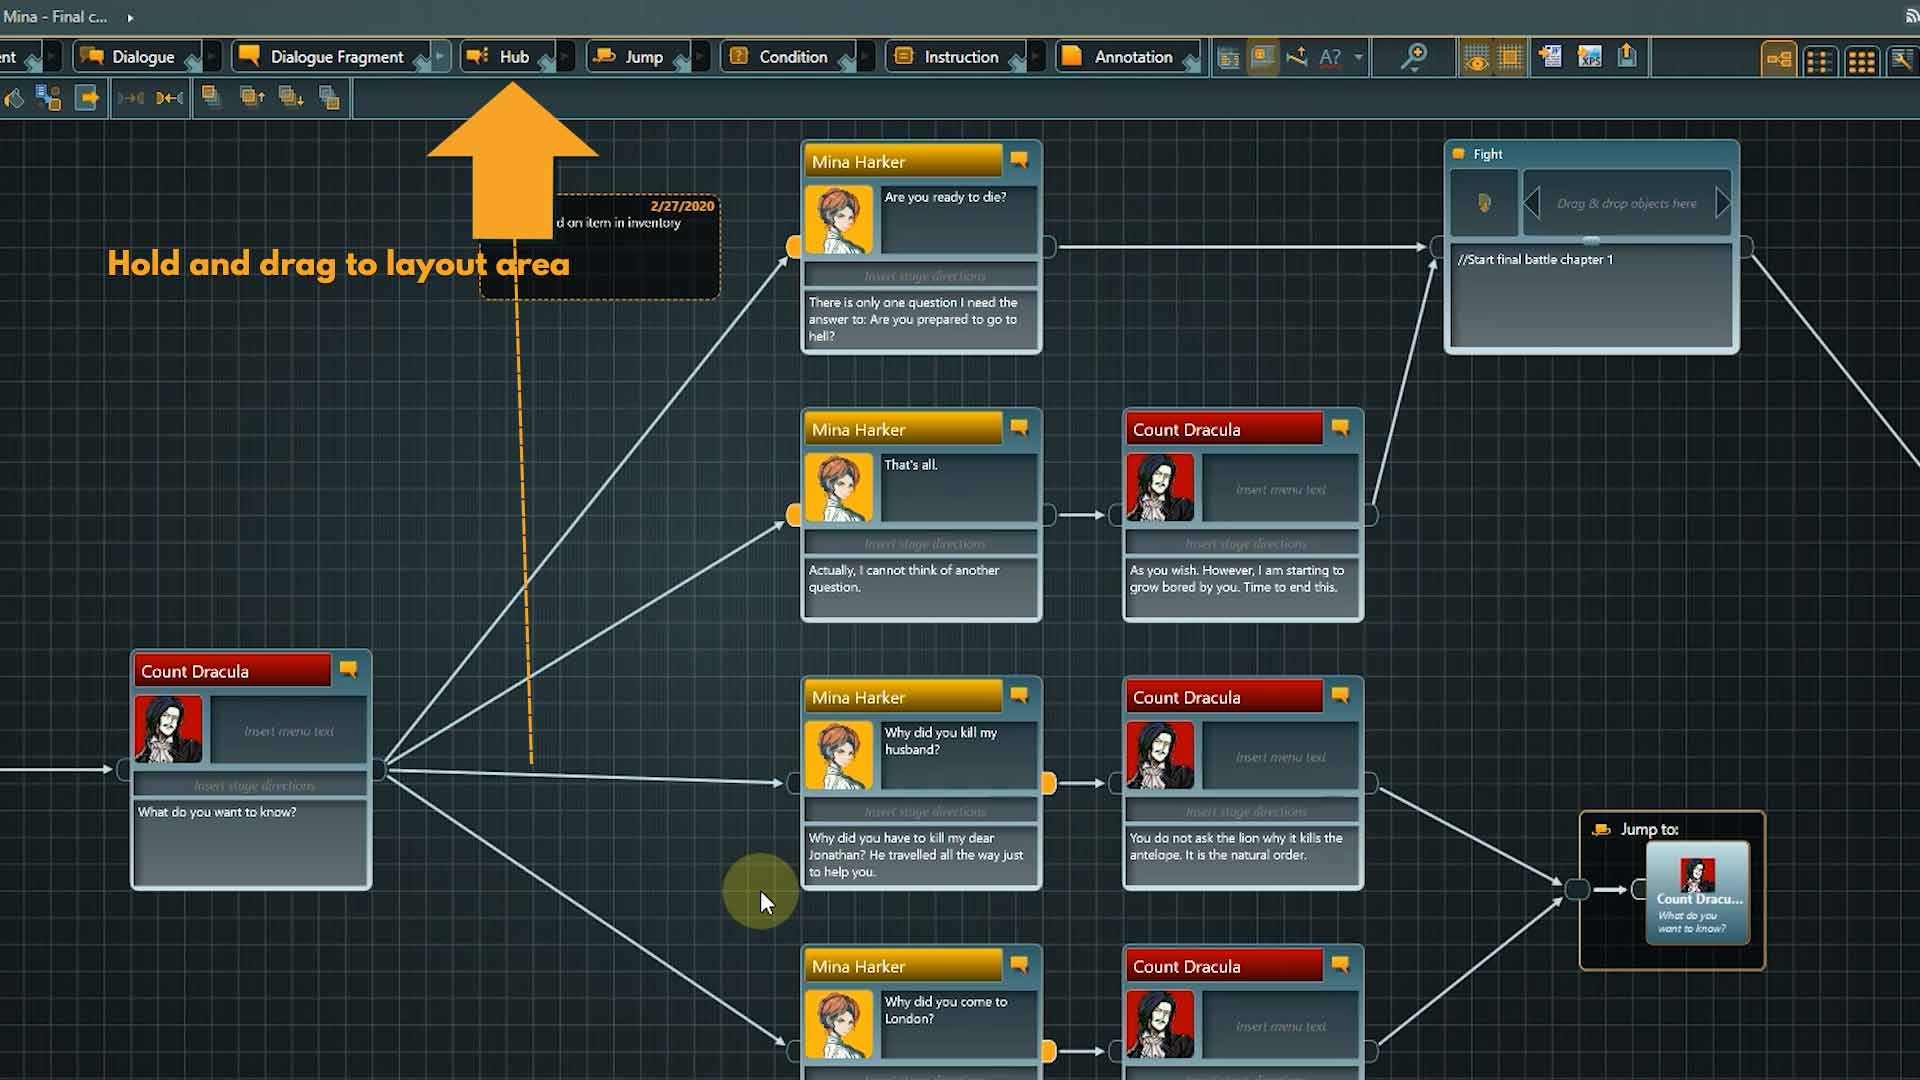
2. Double click the element to rename it.
A hub represents an anchor in the conversation. As we have seen, a Dialogue Fragment is a valid jump target, but a hub comes with some advantages: it is a separate element, to which you can assign a custom color and even a template. It helps to keep the overview, as you can recognize it even with only a quick glance at the Flow. And it brings a functional difference with it as well. In the way our Flow is set up at the moment, each time we jump back to the choice point, the node we jump to is played, that means Dracula’s question is repeated every time. With a Hub as the jump target, we are immediately presented with the choice options instead.
Let’s update the connections in a way that the Dracula node is connected to the Hub and from there the connections go to all responses by Mina.
3. To change origin or target of a connection, select it by left-clicking, then move the mouse cursor to start or end point until it changes to an arrow symbol. Now click, hold, and drag the connection to another pin.
After we are done with the connections, we can update the Jump target as well.
4. Right-click the target area of the Jump node again

This time select the Hub from the tutorial folder.
Nicely done, with that we completed the restructuring of our second dialogue.
Annotations:
As a last point, I want to give you a quick tip about how you can use Annotations to highlight specific areas in your Flow. We have used Annotations once before to add a note to our choice point within the first dialogue.
👉 You can use Annotations to add temporary information to the Flow, add notes to increase comprehensibility, or to provide background information for a scene.
👉 Annotations are not included in project exports!
1. Drag an Annotation node onto the canvas.

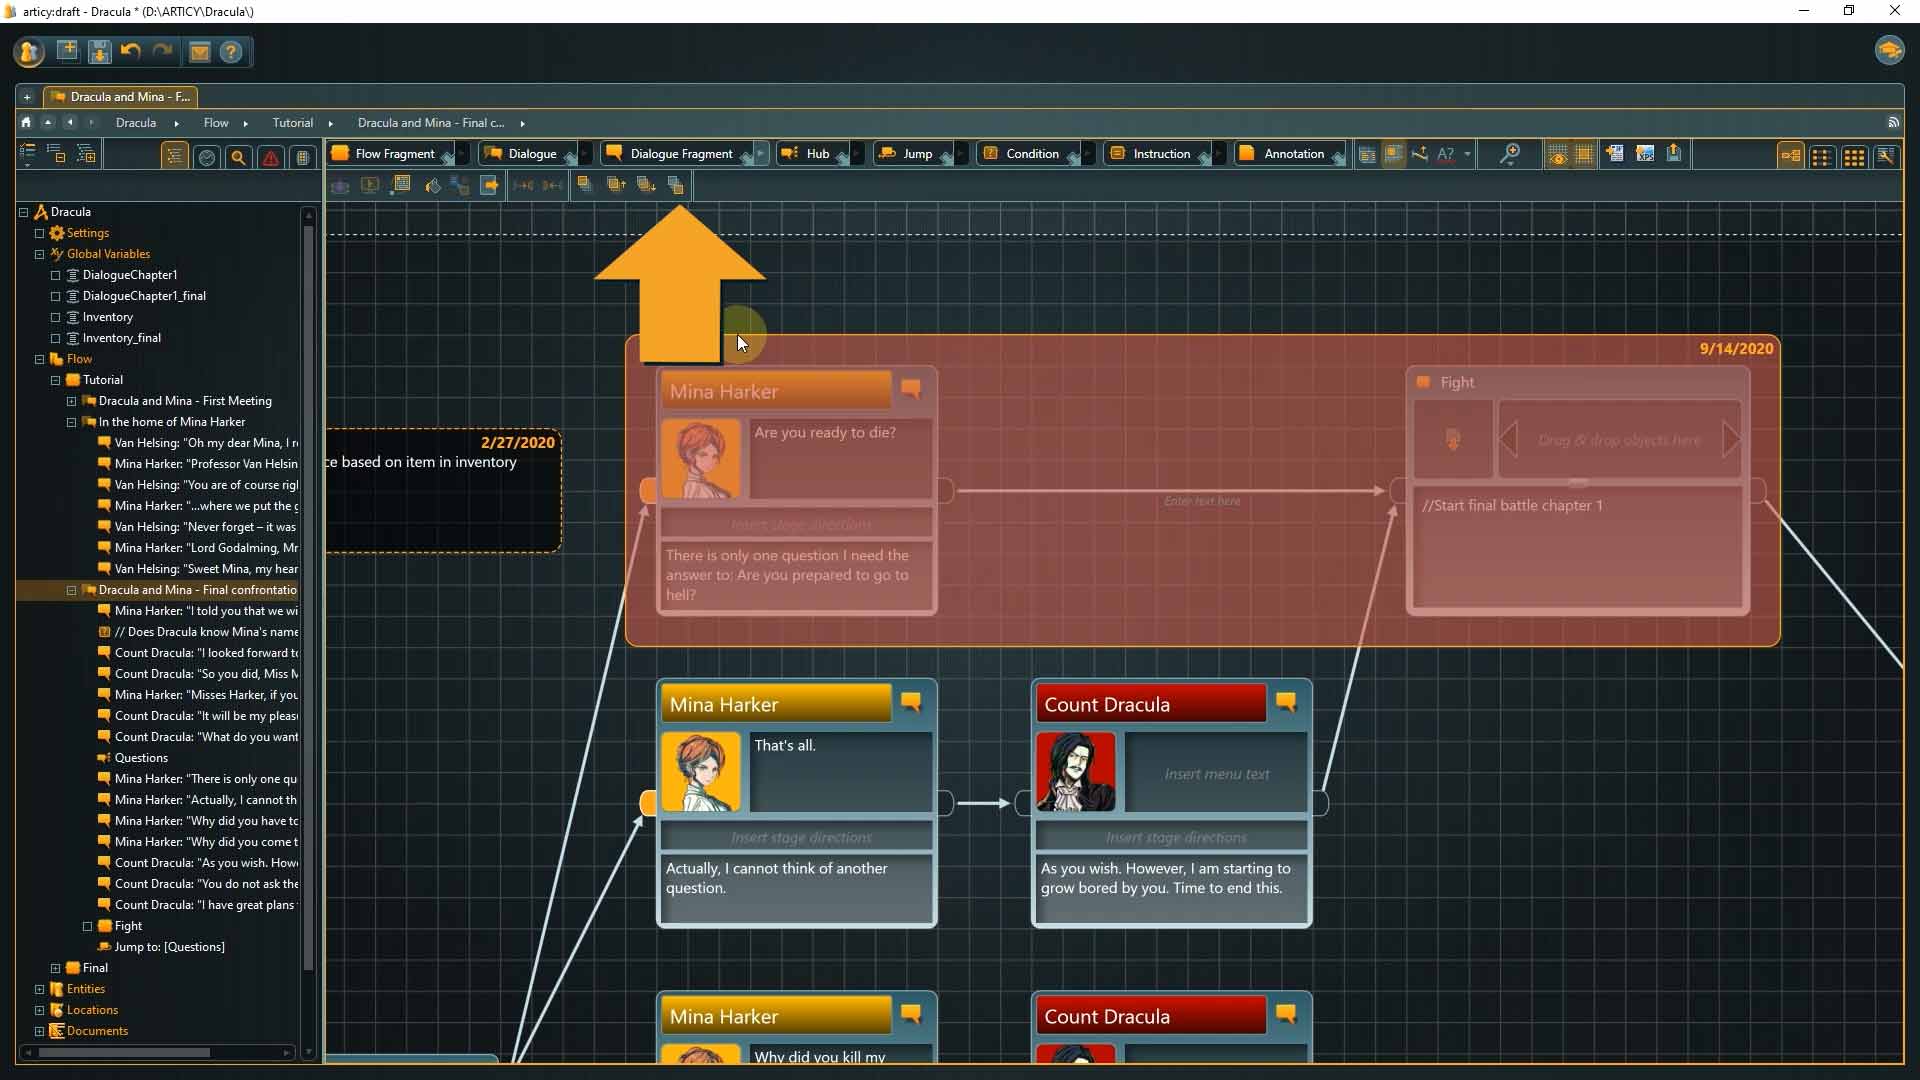
I want to highlight the area of the Flow which bypasses the last conversation loop, if Mina has the Stake with her so I’ll expand it to overlap both the Dialogue Fragment the “Fight” node as well.
2. Now click the “bucket icon” in the toolbar to change the color.
The area is nicely highlighted, although it is hard to read the covered nodes now.
3. When you have a node selected you find some alignment options in the toolbar. Simply click “Send to back” to position the color field behind the other nodes.
We have arrived at the end of this lesson.
Recap:
We learned how to use Jump and Hub elements, and how we can highlight areas in the Flow with annotation nodes.
Up next:
In our next Lesson we will take a look at the Location Editor and use it to create a reference map for our team.
Thank you for joining us, and join us again in our next tutorial.
Useful links:
Don’t have articy:draft X yet? Get the free version now!
Get articy:draft X FREE
*No Payment information required
Follow us on Twitter, Facebook and LinkedIn to keep yourself up to date and informed. To exchange ideas and interact with other articy:draft users, join our communities on reddit and discord.